
iOS can download and install updates without the need to connect to iTunes; this is known as Over-the-Air (OTA) updating.
When you have an OTA update waiting for you, your Settings app typically gets a red badge and iOS will constantly nag you about software updates. The thing is, not everyone always wants to install Apple’s updates.
In this tutorial, we’ll show you how to disable requests for iOS updates on your iPhone or iPad. This trick will also remove the nagging badge on the Settings app.
Why turn off iOS software update reminders
For the most part, keeping OTA updates enabled on iOS devices is a great idea for the average. On the other hand, there are a few select reasons for more advanced iOS device users for why you may want to disable it:
- Just for the sake of having the choice to tell Apple, “no”
- When you know a software update changes something in a way you don’t like
- When you want to keep your iOS device jailbreakable
- When you don’t want constant nagging messages about an available software update
If you fall under any of these categories, then you’ve come to the right tutorial. Below, we talk about the steps to disable OTA updating on your iOS device(s).
How to stop iOS software update prompts and remove the badge
If you’ve gotten this far, you probably have your own reason to disable OTA updates on your device. So let’s get right into it; here are the steps you need to follow:
1) Turn off Find my iPhone on your device from Settings > iCloud > Find my iPhone.
2) Delete any downloaded OTA update files you already have on your device by following this tutorial.
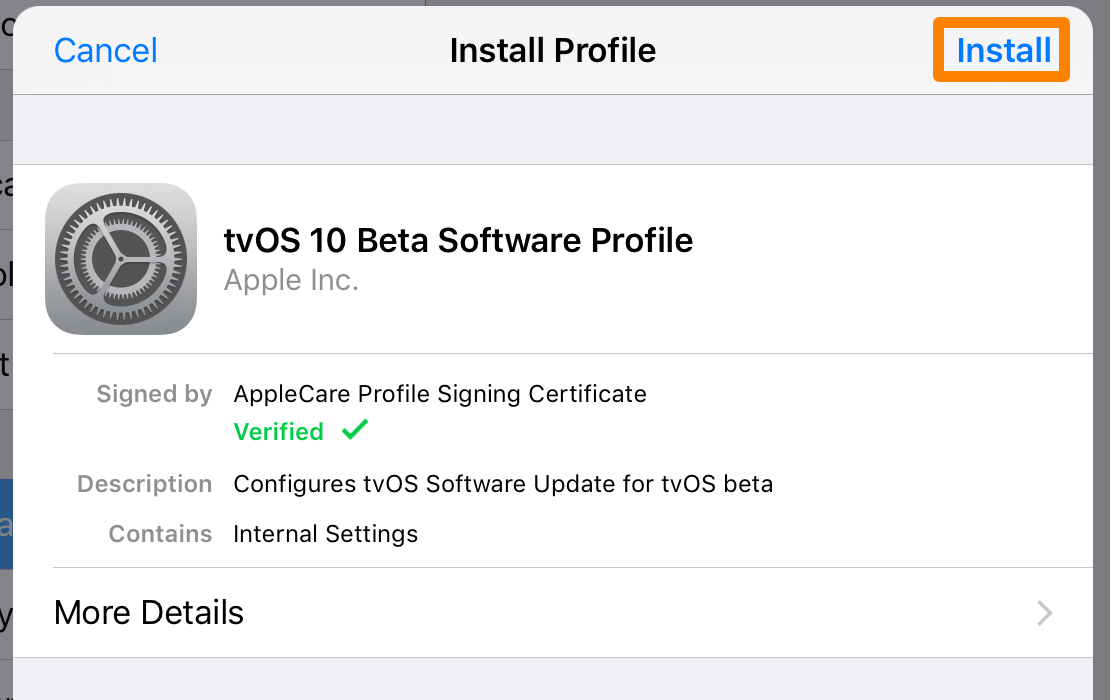
3) On your iOS device, download and install a tvOS configuration profile.
4) Your Settings app will launch and prompt you to install it, so tap on the blue Install button.
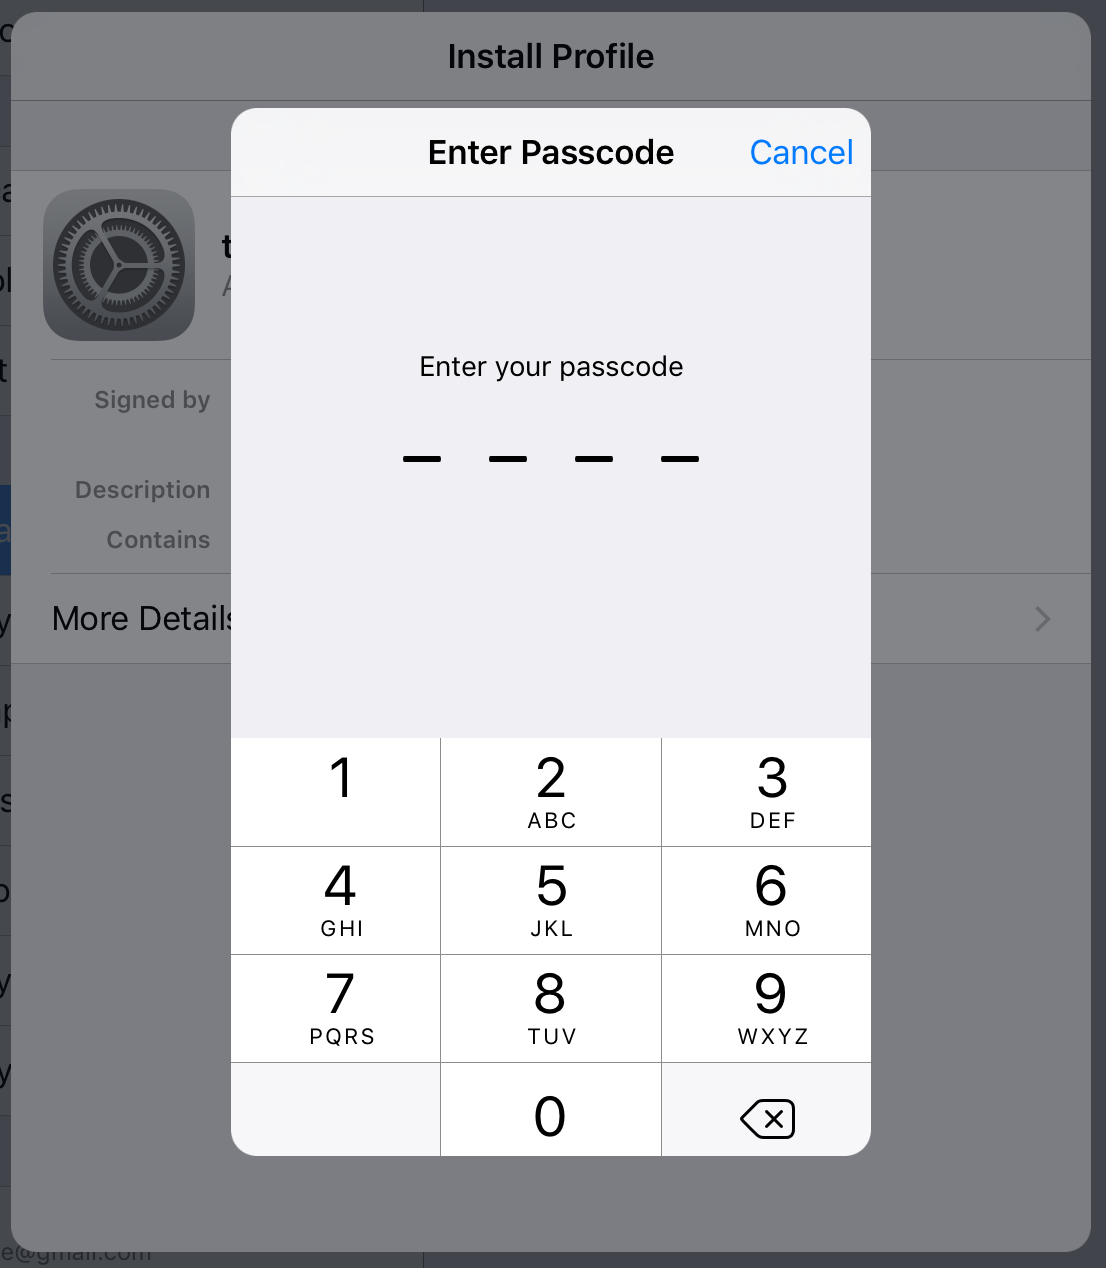
5) If prompted for your passcode, enter it now:
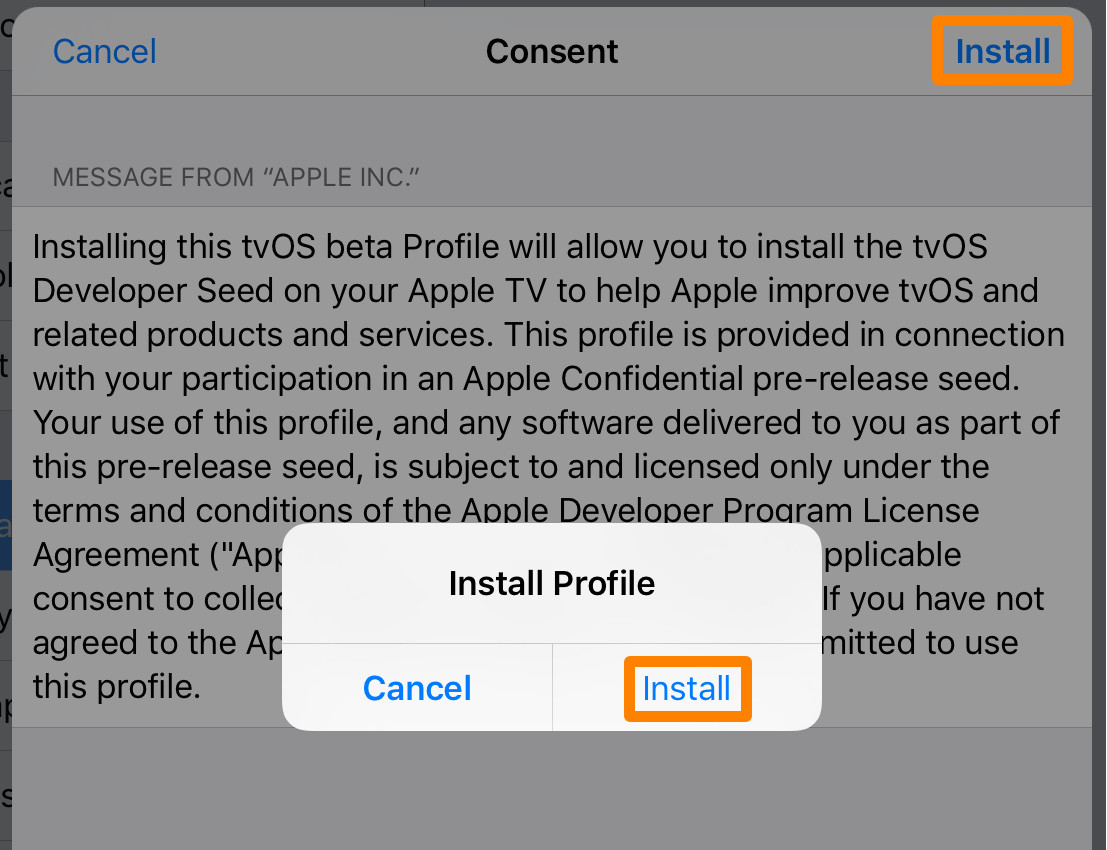
6) Next, tap on the blue Install button again, and when prompted, tap on the blue Install button one final time.
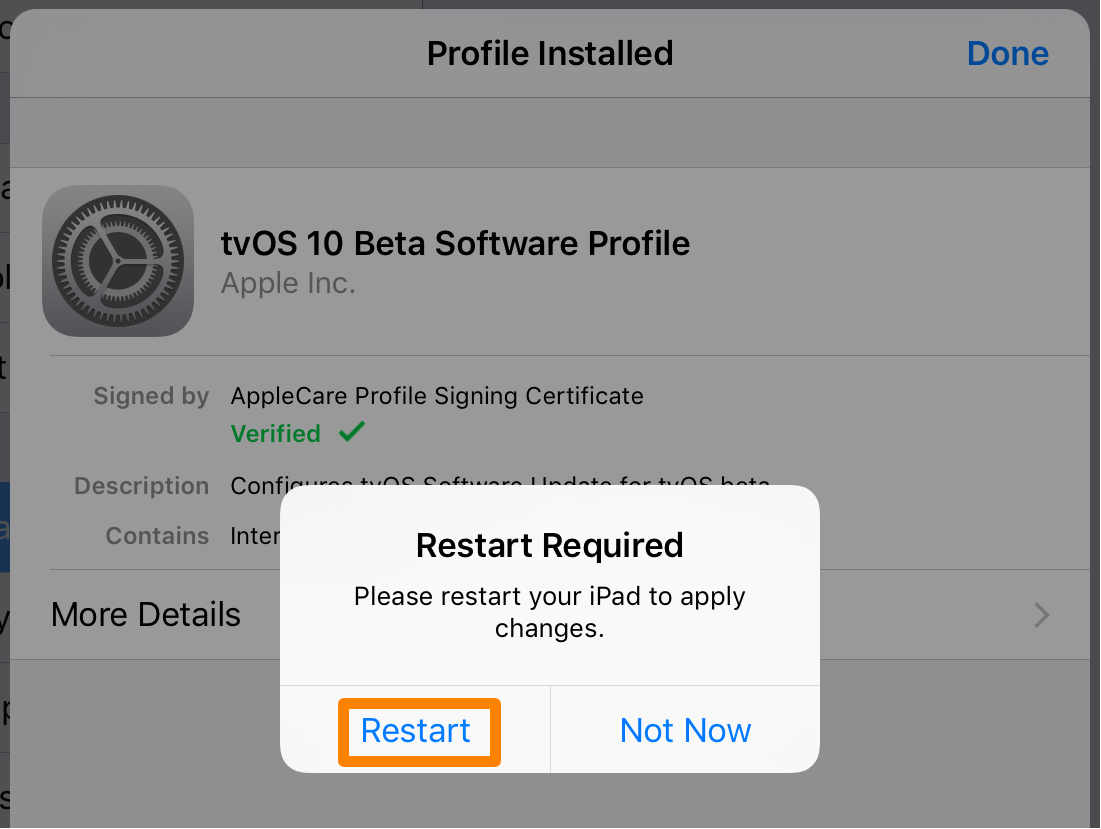
7) After it installs, you will be asked to restart your device; tap on the blue Restart button.
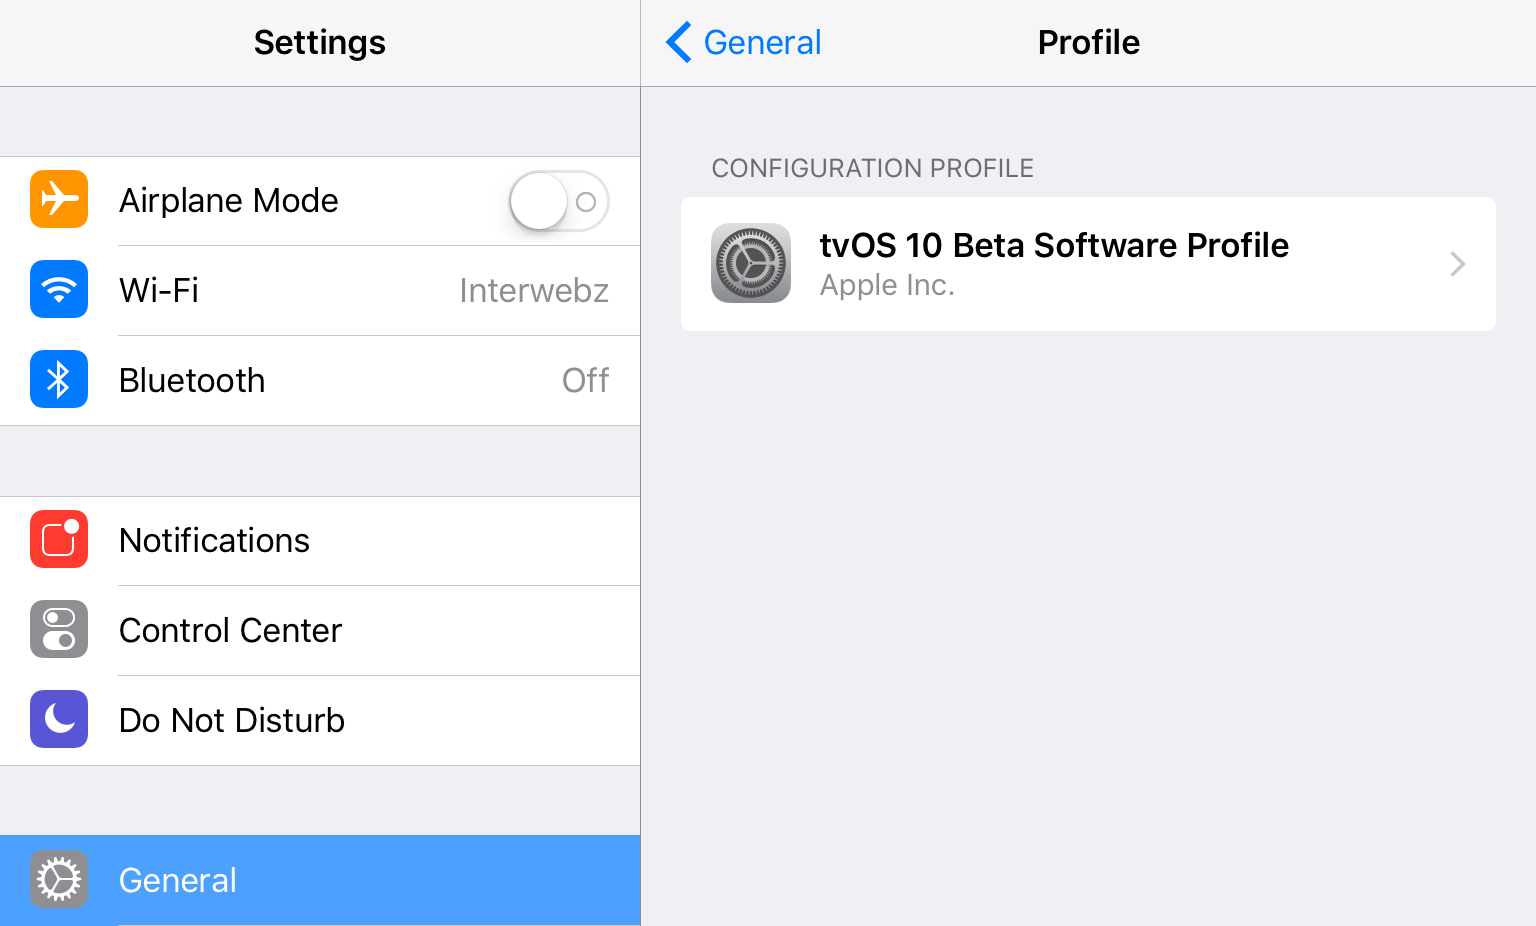
8) Once your device boots back up, you can go to Settings > General > Profile and verify that the configuration profile was installed successfully. If it is, move on to the next step.
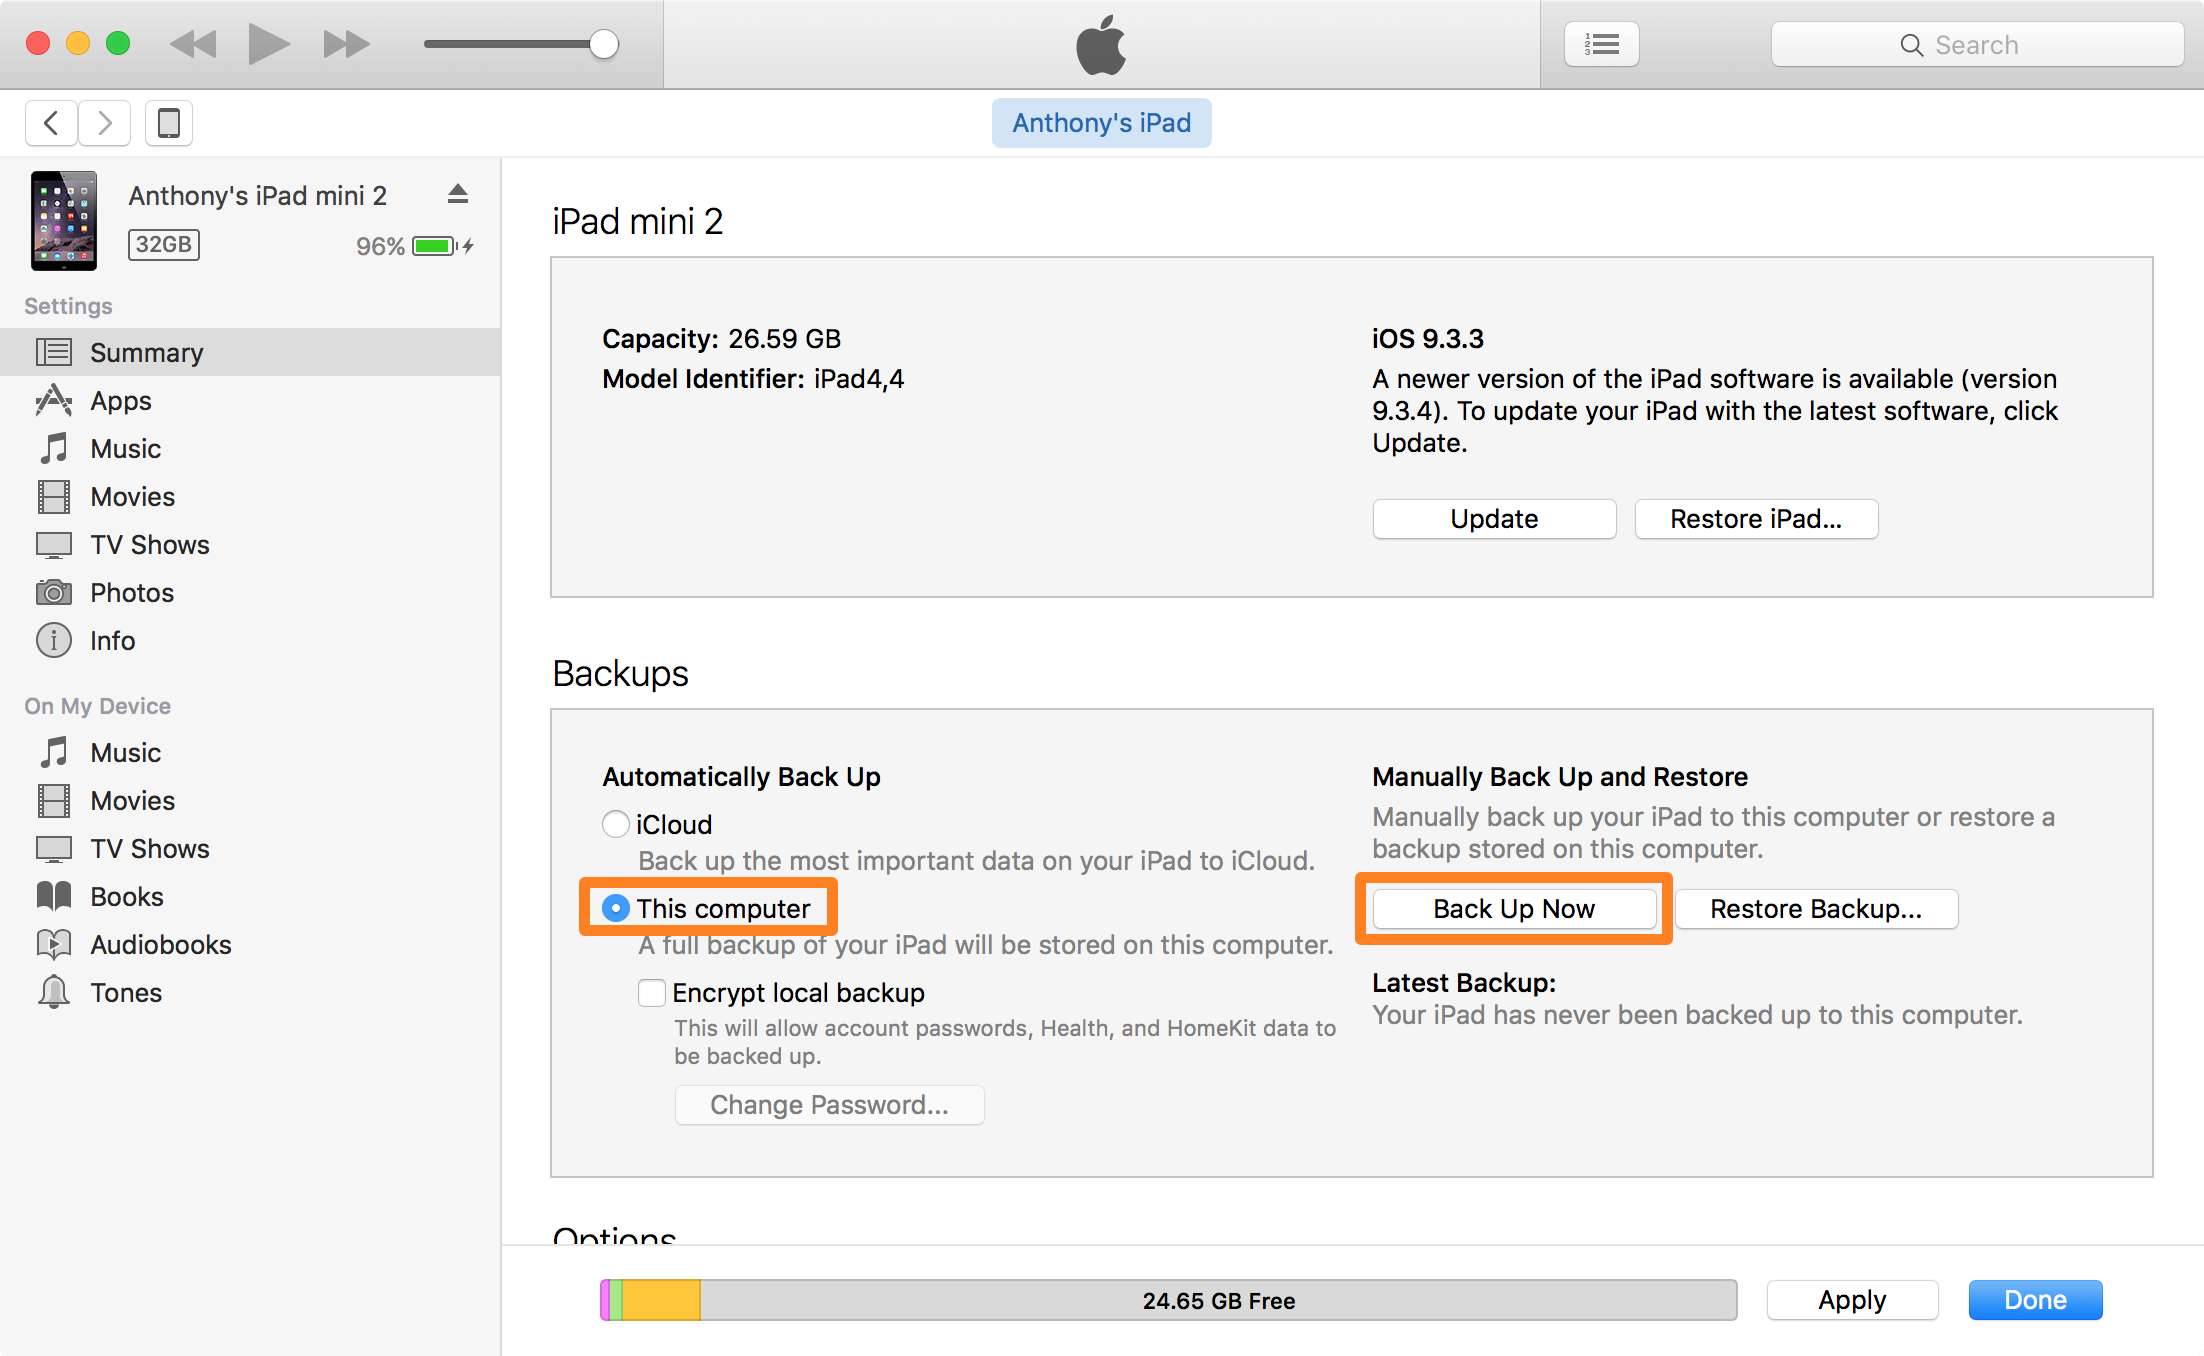
9) Next, you want to plug your iOS device into your Mac or PC and open iTunes.
10) Go to your device’s page in iTunes and back up your iOS device to your computer.
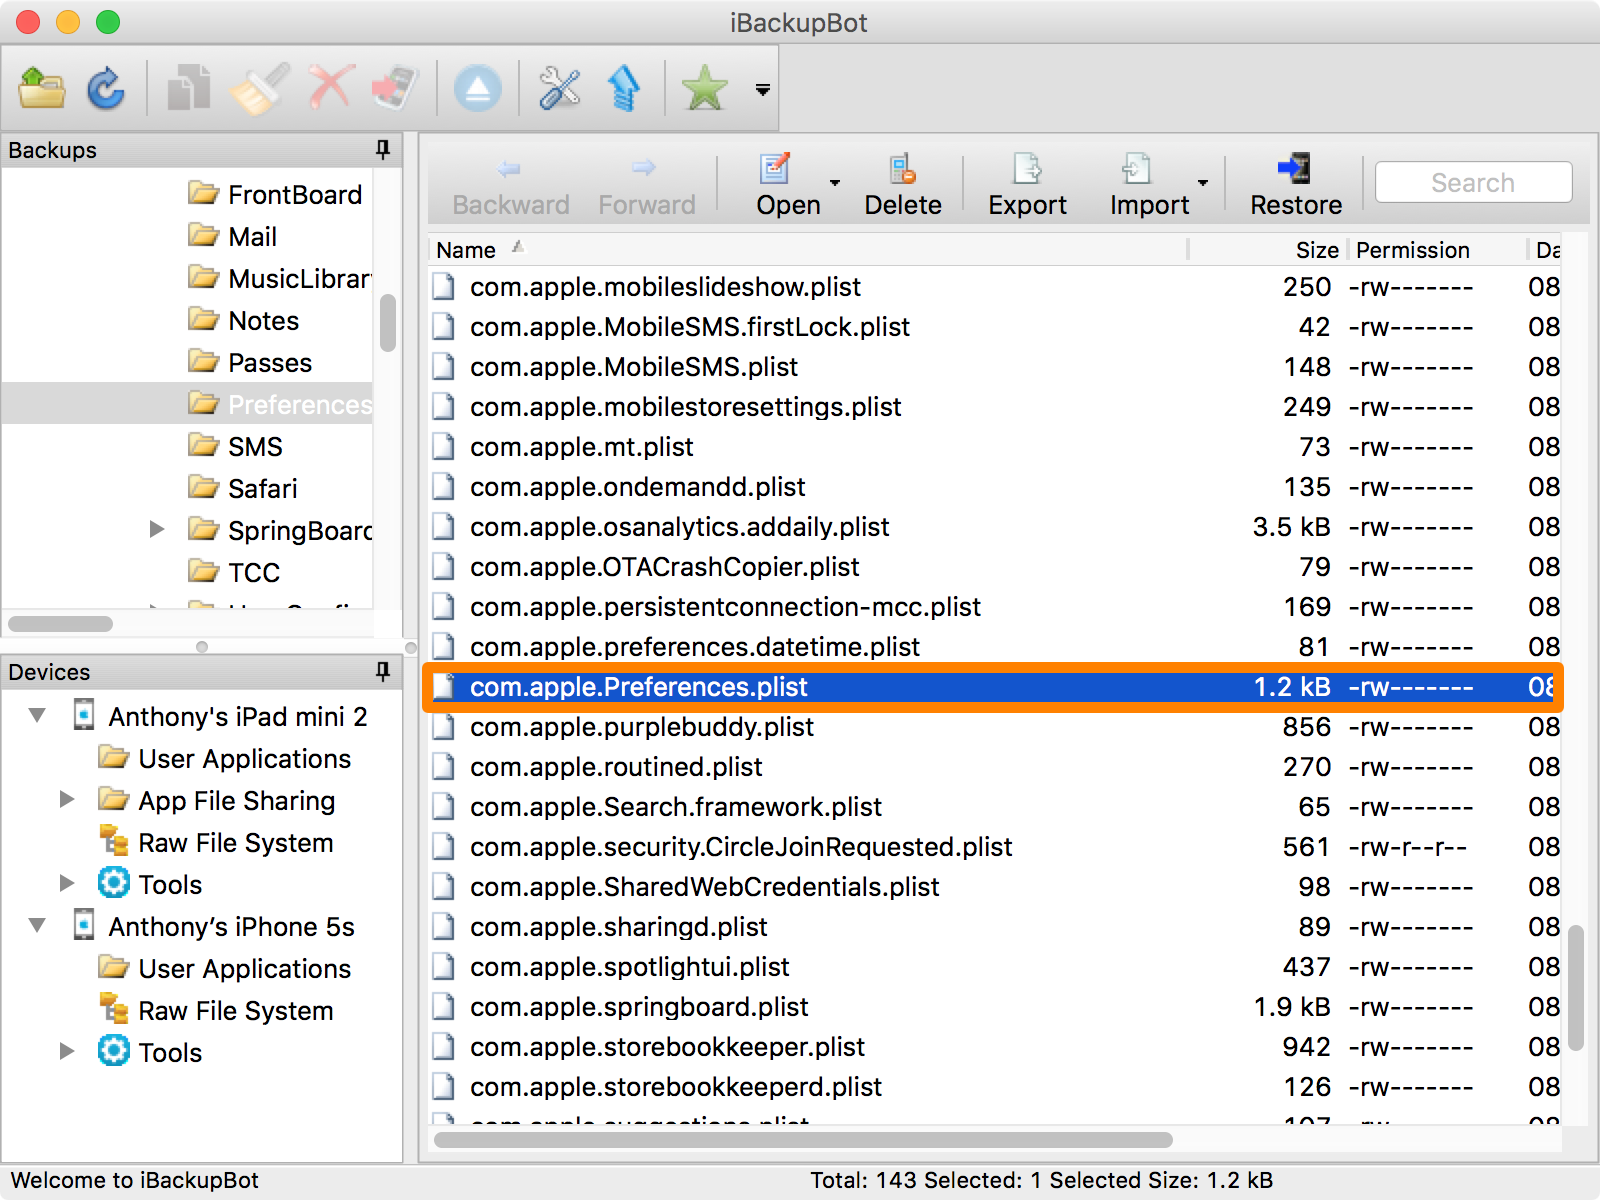
11) Once finished, download and install iBackupBot on your computer, then launch it while your iOS device is still connected.
12) From the sidebar, go to /System Files/Home Domain/Library/Preferences under the device you have connected.

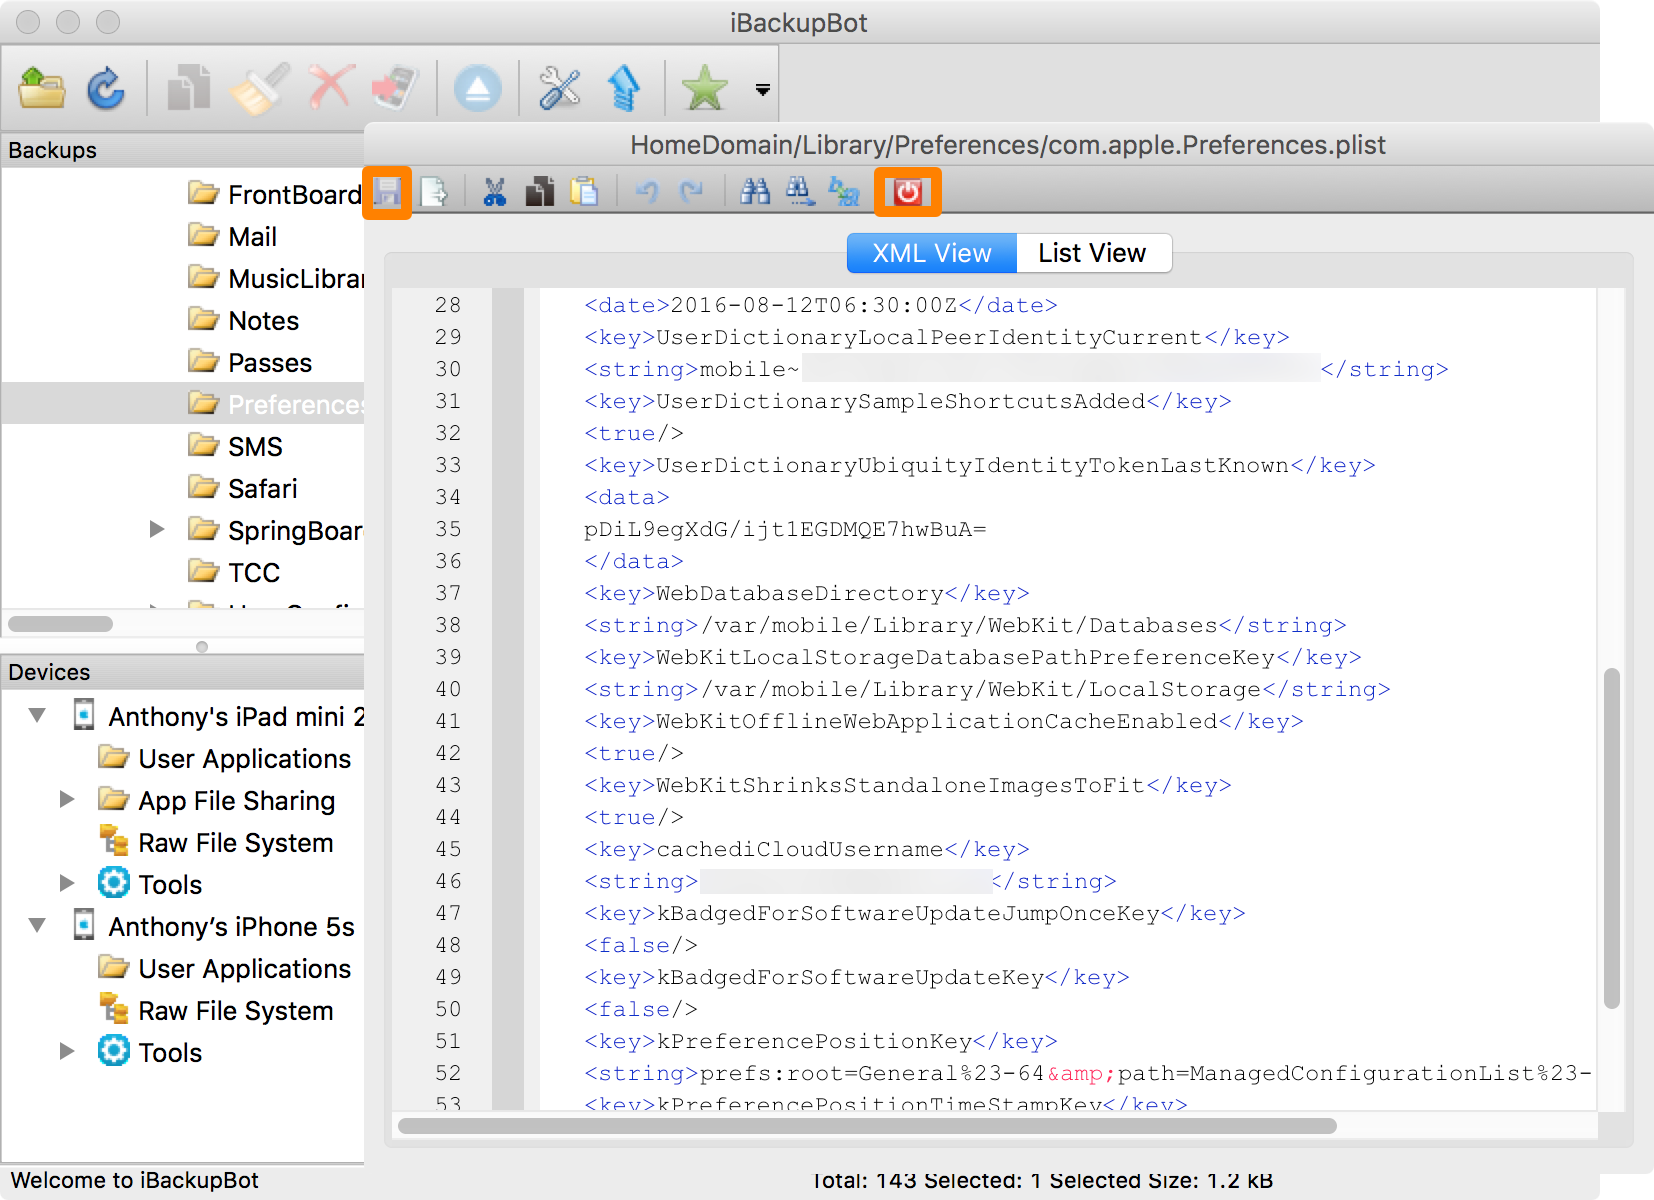
13) Once in the folder you want, open the com.apple.Preferences.plist file by double-clicking on it.
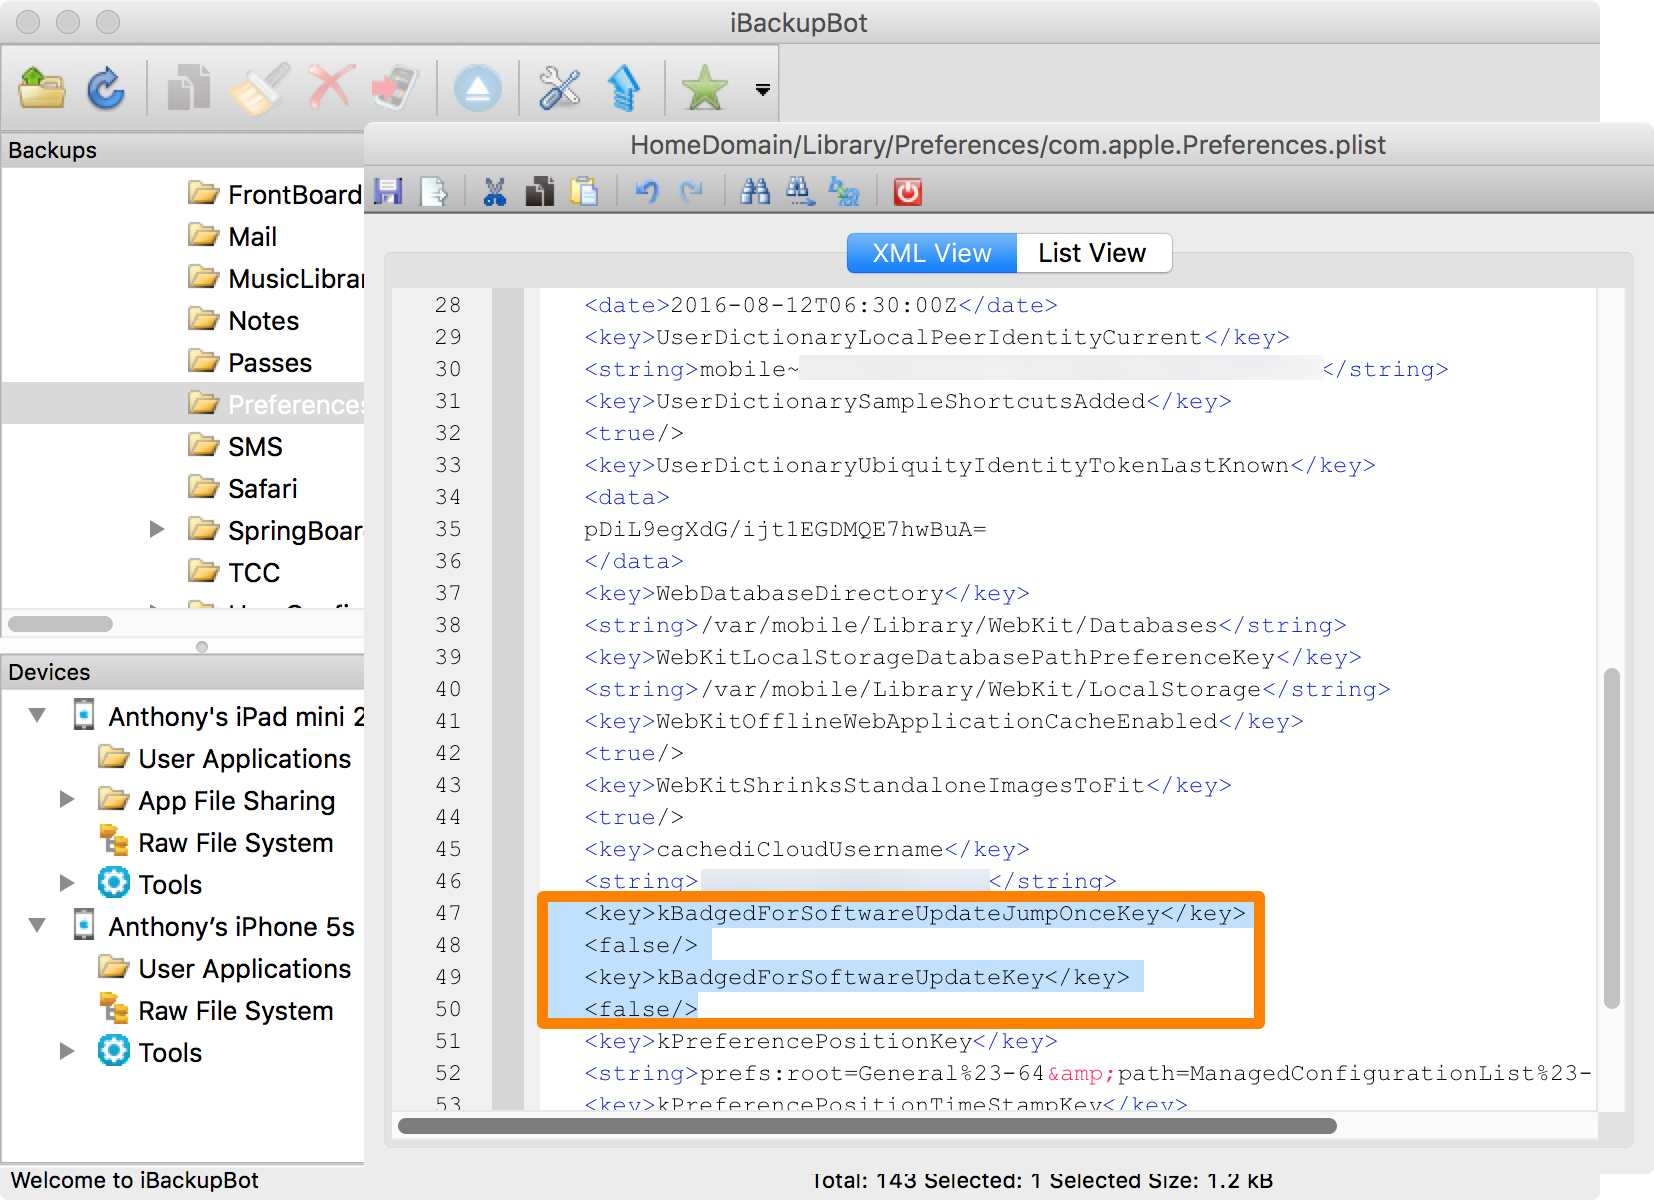
14) When the file opens, you will need to make a couple of edits.
- Change the value of <key>kBadgedForSoftwareUpdateKey</key> from <true/> to <false/>
- Change the value of <key>kBadgedForSoftwareUpdateJumpOnceKey</key> from <true/> to <false/>
15) Next, click on the Save button and then click on the Close button.
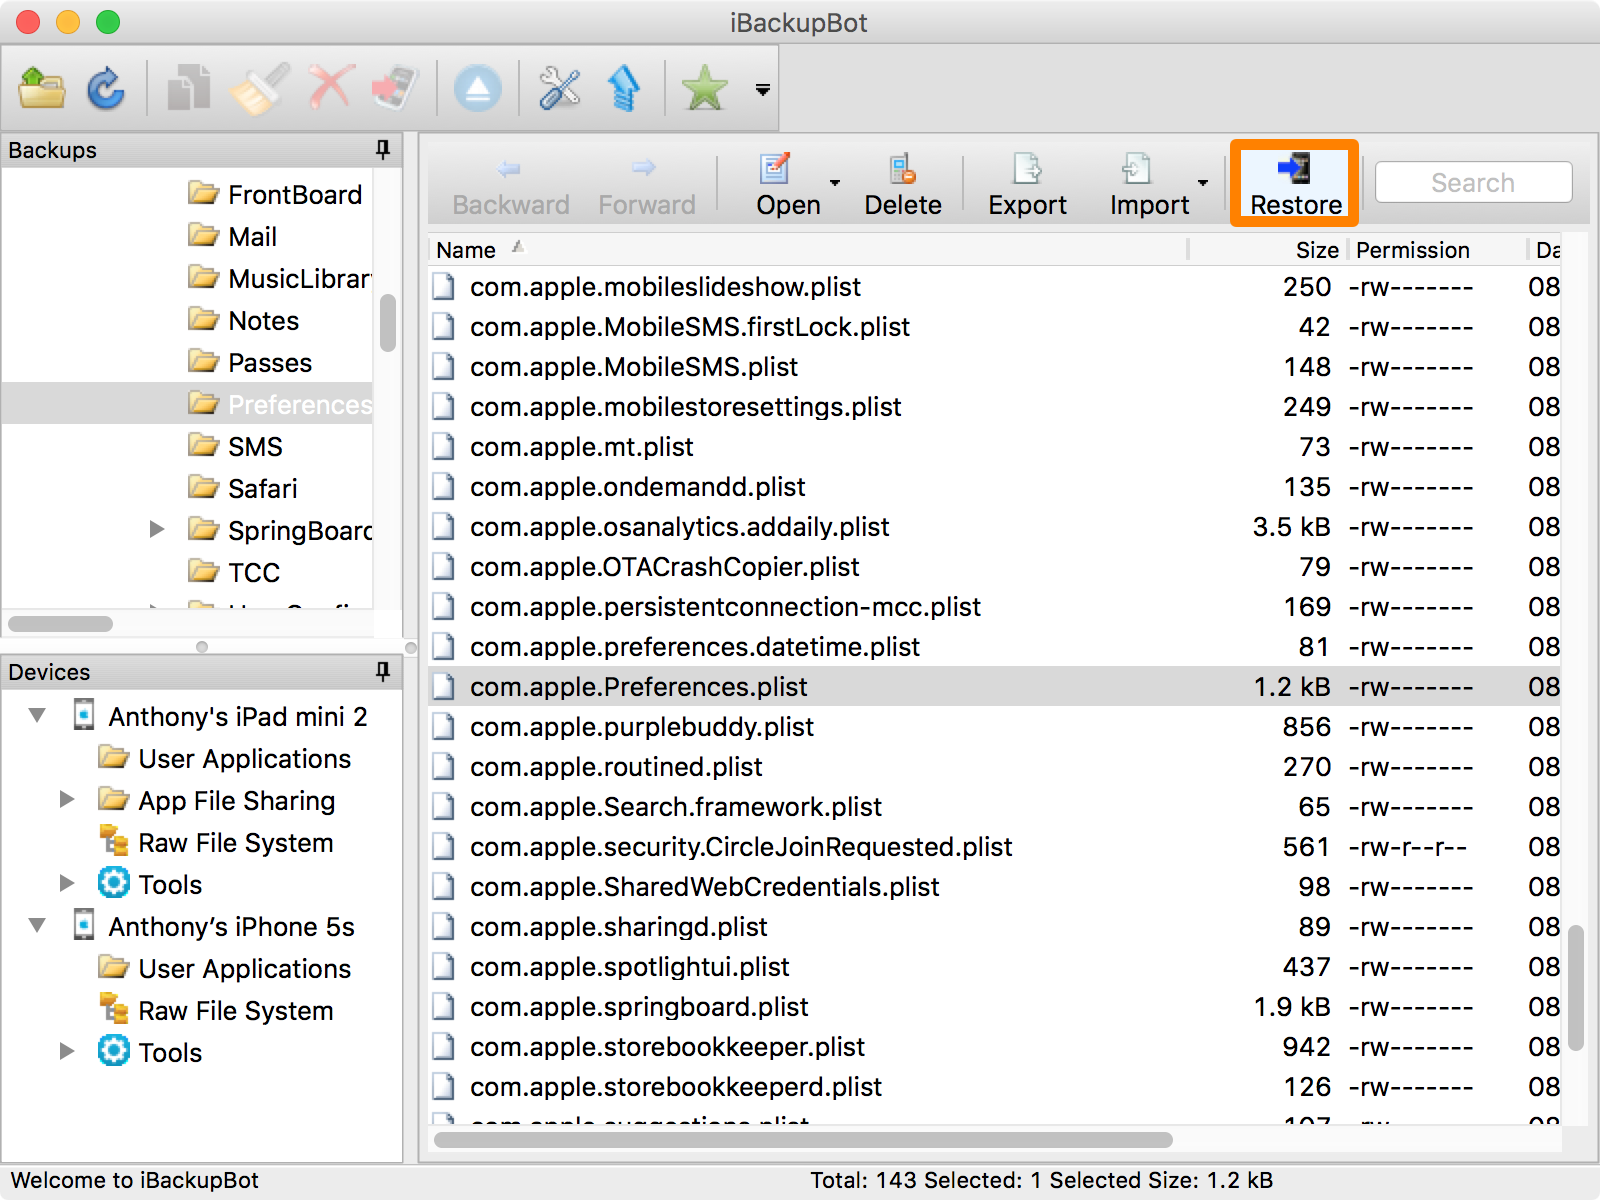
16) Now, click on the Restore button in the toolbar.
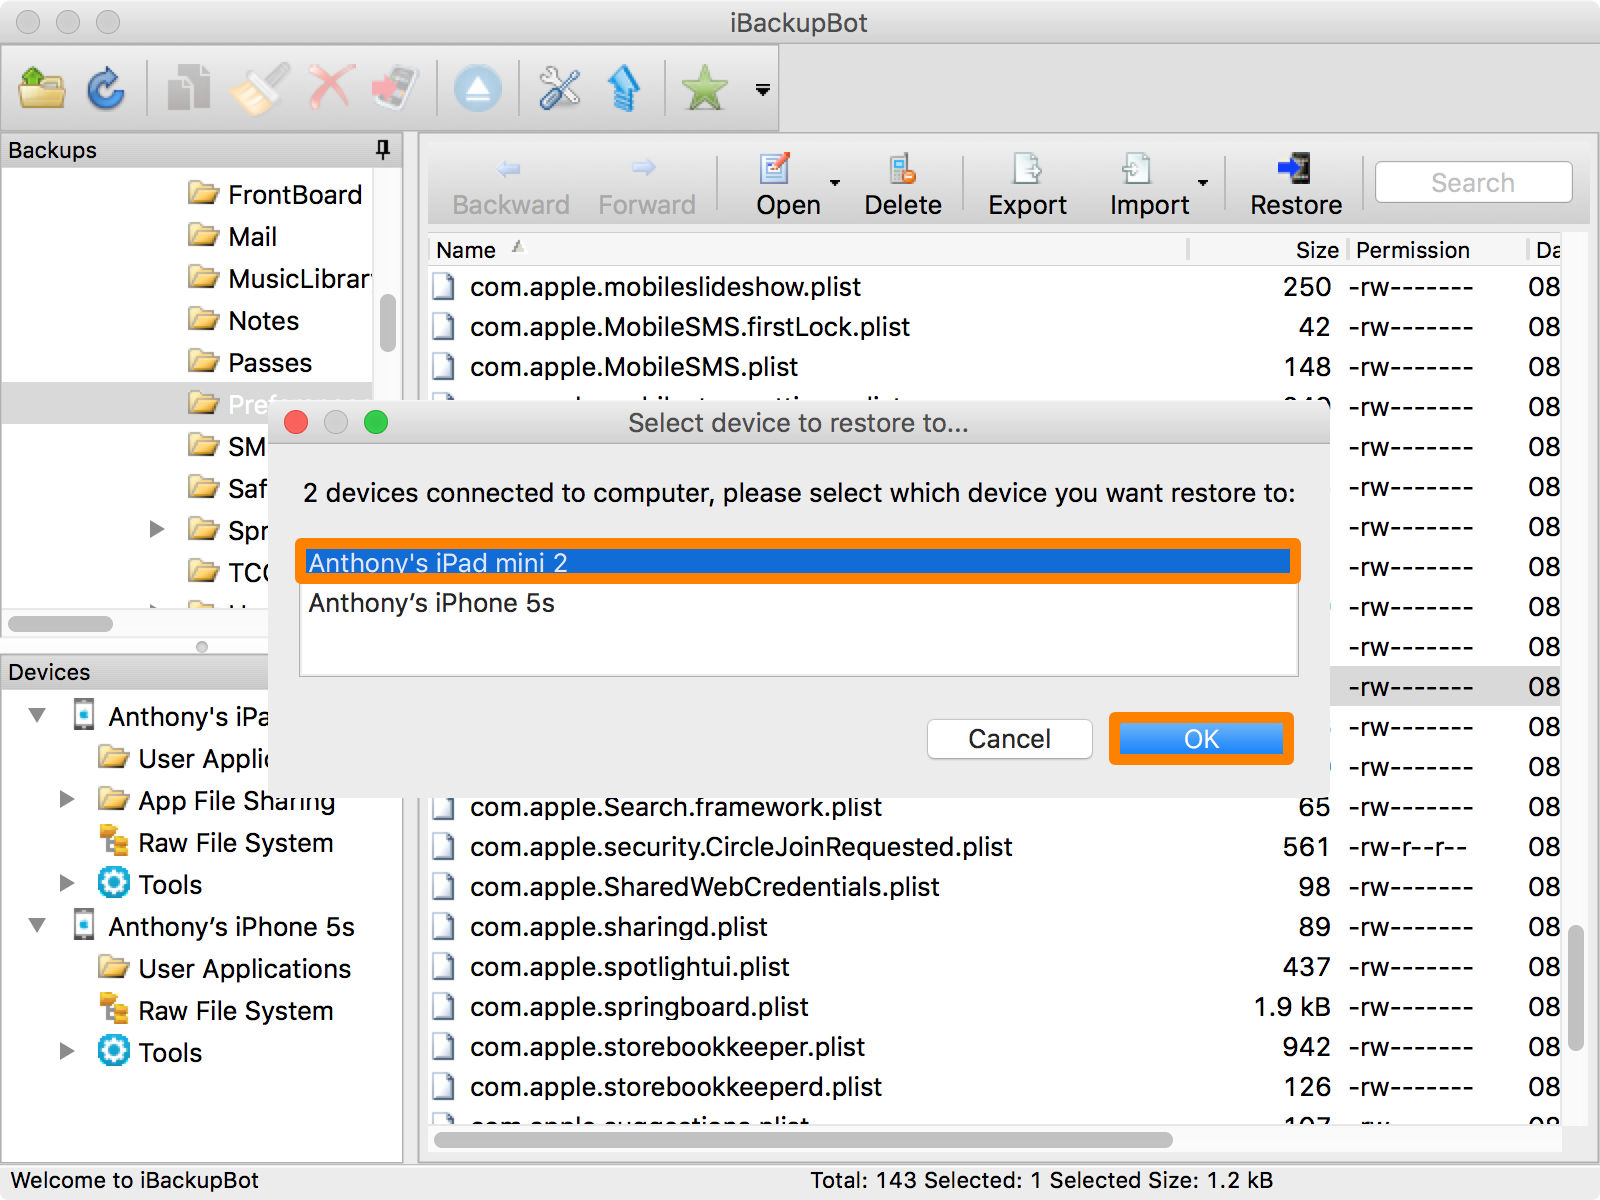
17) You will now need to select the device you have connected, and then click on the blue OK button:
18) Next, make sure both of the first options are checked and that the third is un-checked. Then, click OK.
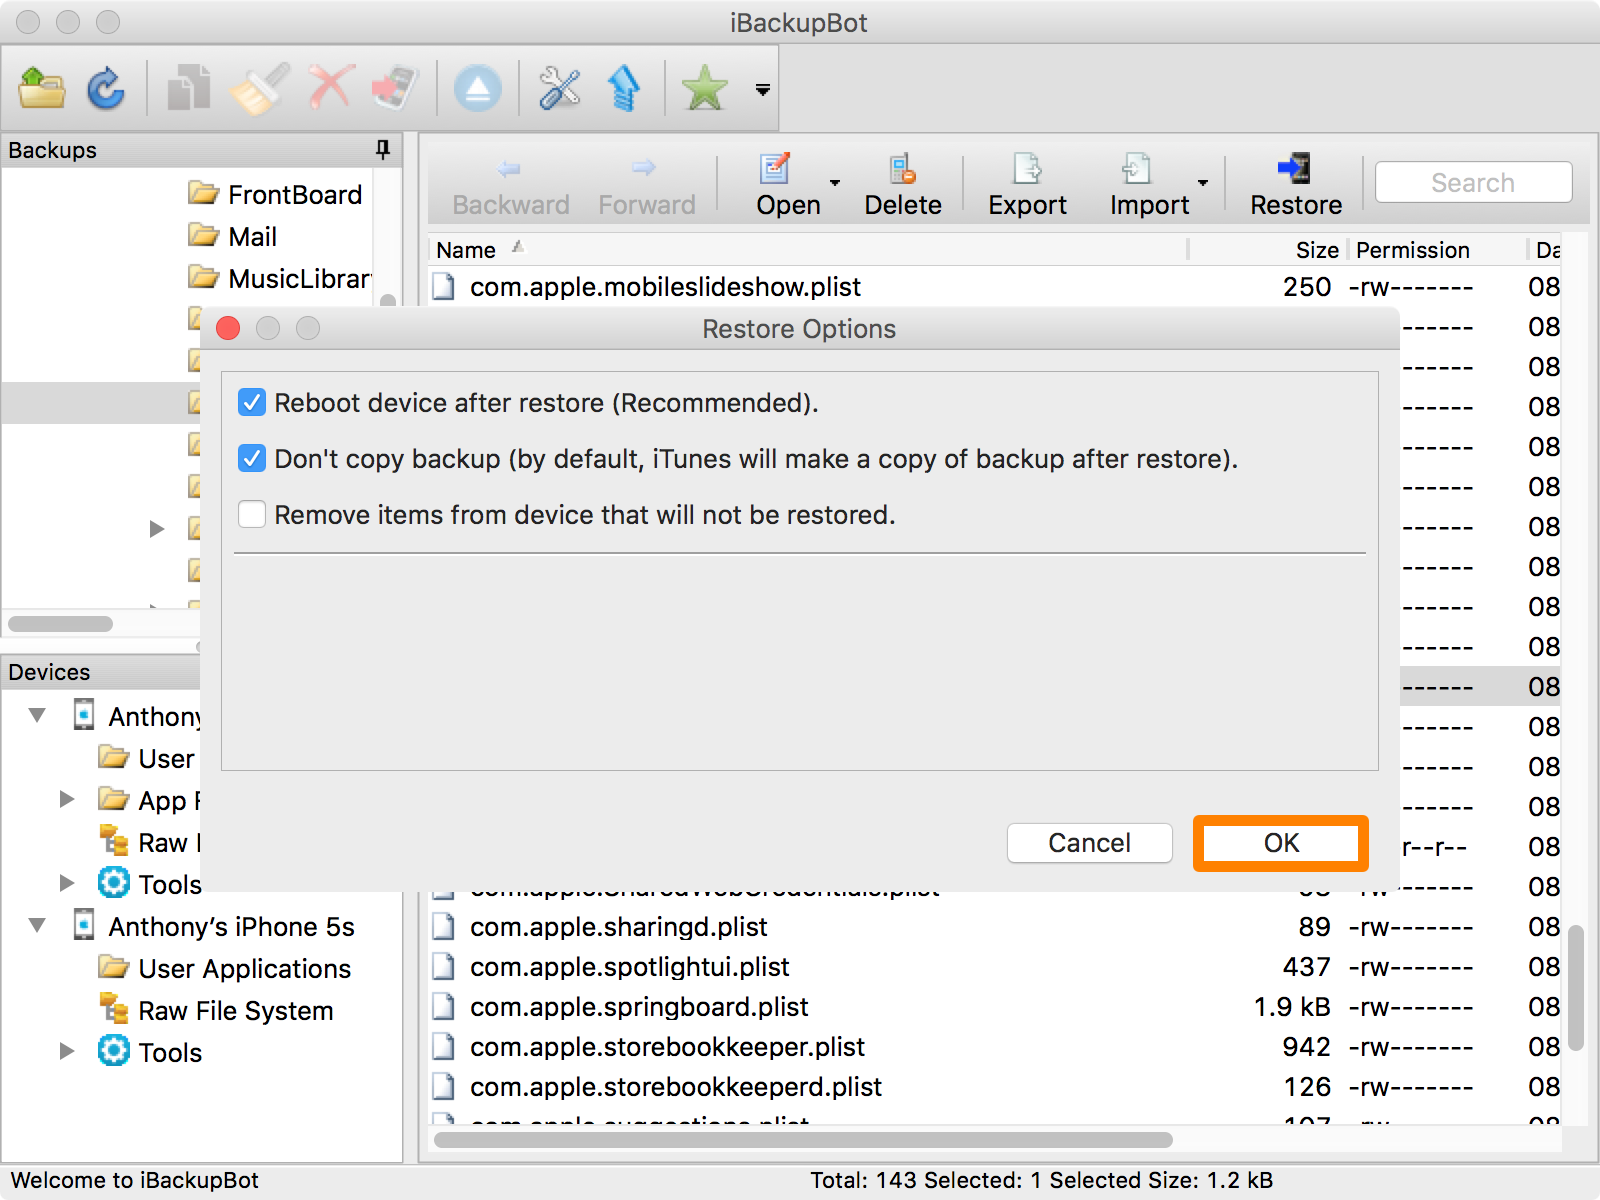
19) The process will now begin.
Note: If you get Error 37 during this process, then you forgot to turn off Find my iPhone, so make sure you do that and try again.
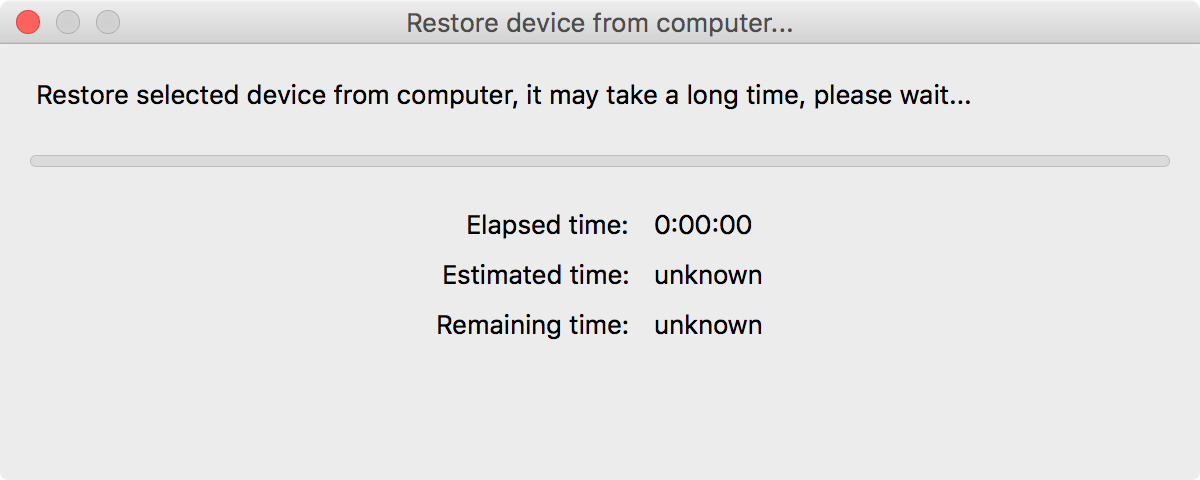
20) When it finishes, your iOS device will say “restoring” and may reboot, just give it a moment. When it completes, you should get this message in iBackupBot. Just click on the blue OK button and move on to the next step.
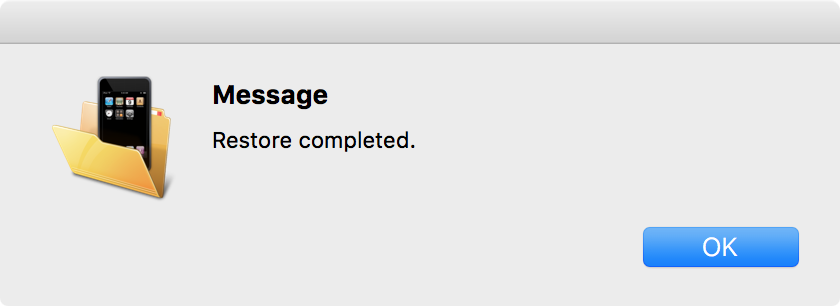
And you’re done!
So now what?
Now that you’ve effectively closed off OTA updating on your iOS device AND deleted the OTA firmware that was already downloaded (if it was), you should be in the clear and iOS should say your firmware is update to date even if it’s not:
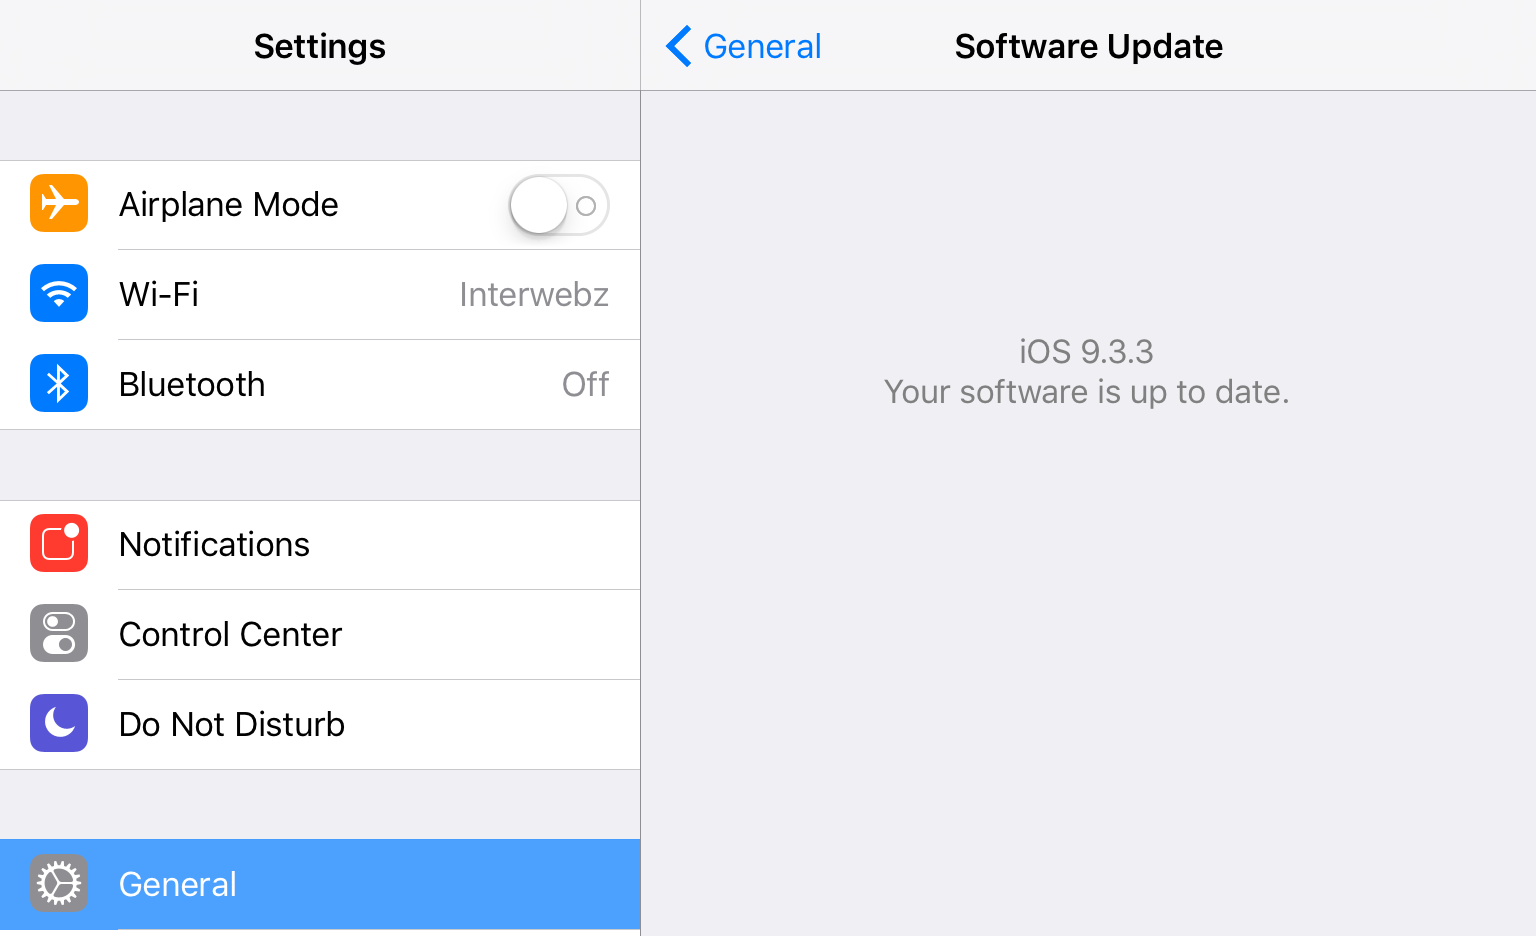
Since my iPad now thinks that iOS 9.3.3 is “up to date,” I will no longer get prompts to download and install iOS 9.3.4 or later unless I connect to my computer and open iTunes, which really isn’t very often. So I can live with that.
Wrapping up
Now that you know how to disable OTA updating on your iOS device(s), you can keep your firmware right where you like it without being badgered to update it all the time.
If you found this tutorial helpful, let us know in the comments below!