
This is the second to last entry into my podcasting basics series. In part I, I talked about some of the preliminary steps needed before starting a podcast. In part II, I discussed the hardware that we use to record shows like Let’s Talk iOS and Let’s Talk Jailbreak. In part III, I broke down the software used. Now that you have a good idea of what hardware and software that we use, along with the basic overall methodology, let’s talk about starting the actual recording.
View other posts in this series
- Podcasting basics part I: finding the right topic and hosts
- Podcasting basics part II: location, voice, microphones and hardware
- Podcasting basics part III: software
- Podcasting basics part V: mixing, editing and finalizing
Finalizing pre-show notes
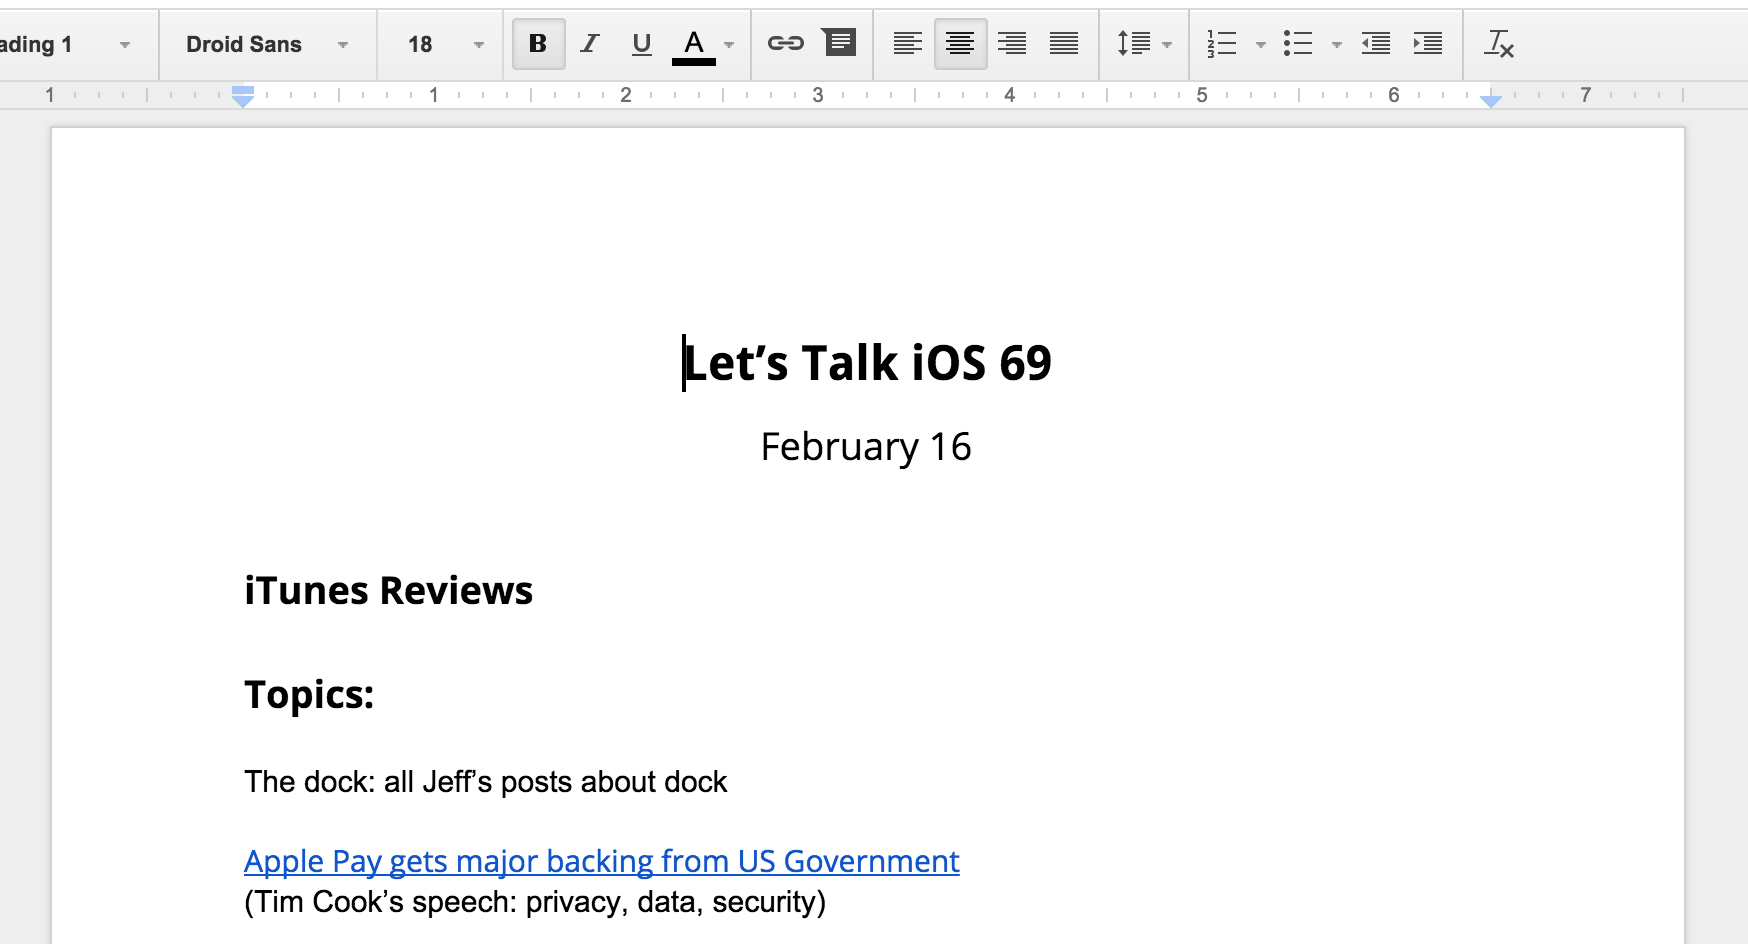
When it gets close to our agreed upon time to record, I usually text message Cody and Sebastien to ask them if they’ll be ready. It’s then that we contribute any last minute items to the pre-show notes (a shareable Google Docs document), which provides us with a basic outline to how the show will flow.
Starting the Skype call
Once the pre-show notes are completed and agreed upon, I initiate a Skype call with Cody and Sebastien. Remember, the Skype call is only for communication, so don’t worry too much about the sound quality of the Skype call. The call may even get static from time to time, but that shouldn’t matter much in the grand scheme of things, because that’s not what listeners will hear once we produce the podcast.
Final microphone test
We always test out or microphones before we start recording the actual show in order to make sure that the Mic is picking up sound. We also check that we can actually record the sound from the microphone to the app that we use to record sound. This is extremely important, as there’s nothing worse than finalizing a recording only to realize that your levels are off, or that no sound was picked up at all.
Starting the recording
Once we’ve tested our microphones and recording ability, it’s time to start the real recording. I do my recordings in Logic Pro X, but Sebastien and Cody use GarageBand and Piezo respectively. At the end of the day, it doesn’t matter what recording tool you use as long as it can record high quality sound directly from your microphone.
One thing that you want to remember is to never stop a recording once you’ve started. This can throw off the syncing process (which is discussed below) and make editing a nightmare. Even if the Skype call suffers from static or disconnects, just keep the recording going on each local machine. You can always cut out the bad stuff, but having an out of sync podcast can get really messy.
Syncing (Clapping)
Since we’re recording three different files that will eventually be combined together to make a single file, it’s imperative that we have some sort of syncing cue to make it easy to combine all of the recordings when mixing everything together. Some people user clapper boards like they do in the movies, but I find that a simple clap of the hands does the job just fine.
https://vine.co/v/OQW0U7IJdTx
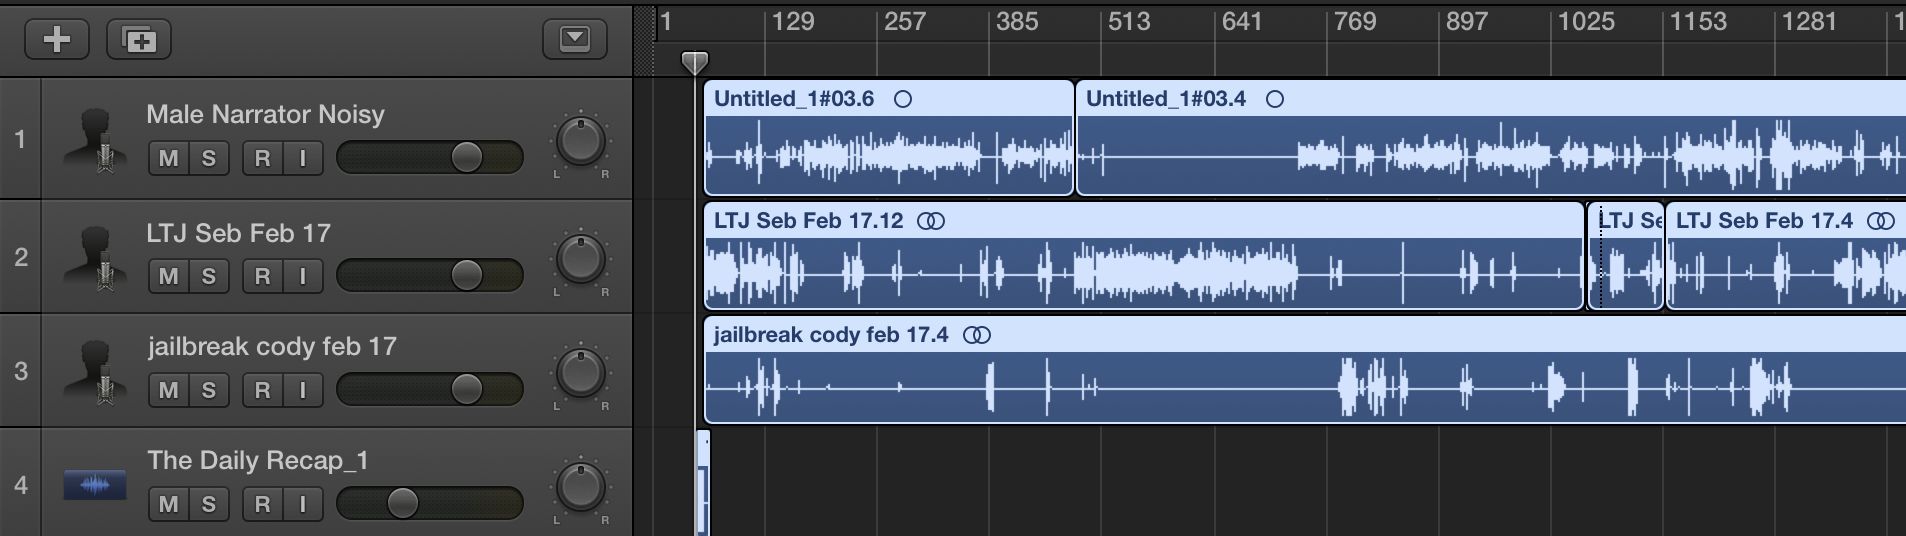
Cody is our resident clapper. Once the recording is started, Sebastien and I will hold our headphones up to our microphone so that it picks up the sound from Cody’s clap. Sebastien and I then make sure that the waveforms on the recording show the clap, indicating that our microphones picked up the clap successfully. Once Sebastien and Cody export their files, I’ll use those claps in order to sync each file together. Its sounds extremely simple, (and it is) but it works.
Just for emphasis: once the clap has occurred it’s imperative that no one stop their local recording. Even if the Skype connection were to fail, remember that you are still synced locally. You can always restart the Skype conversation, but you never want to stop a local recording until the podcast is finished.
Notating
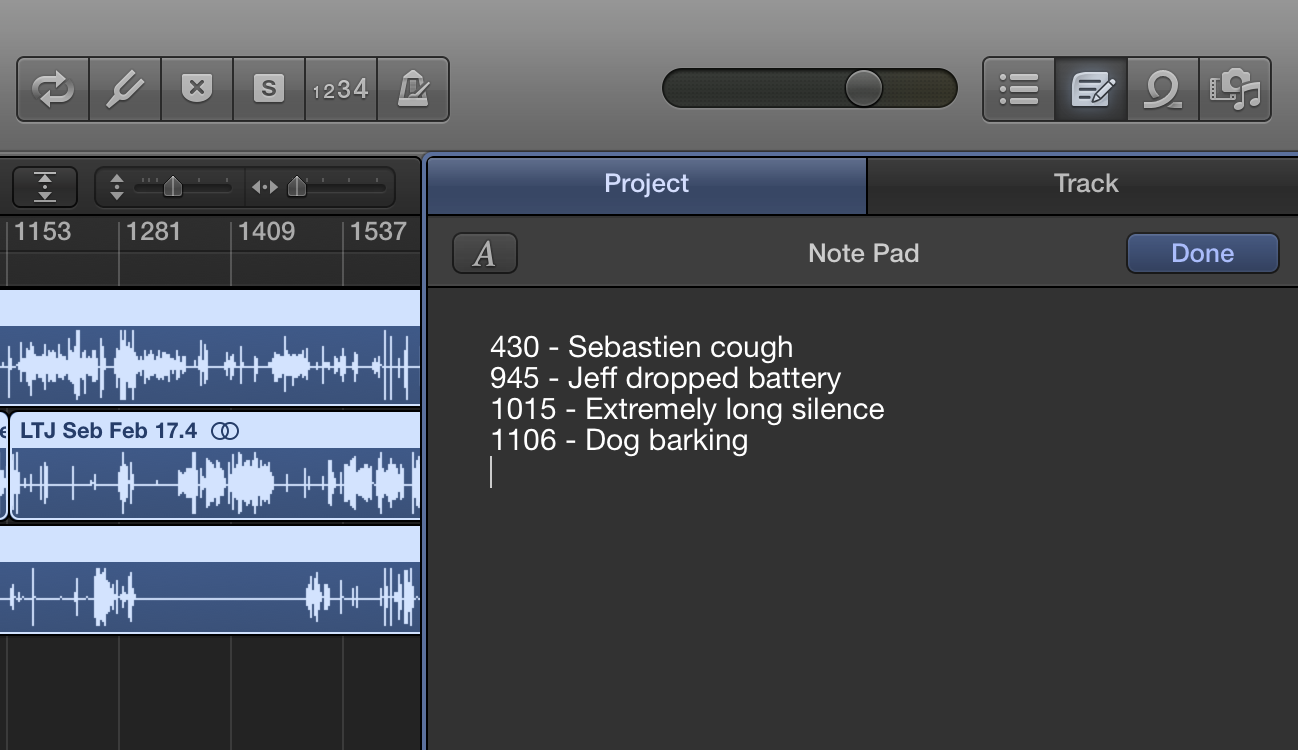
I use the scratchpad in Logic Pro X to notate times during the podcast that I want to remember. Maybe someone said something that they shouldn’t have, or I accidentally hit my microphone, or Sebastien coughs, or someone’s dog barks—notating the times when these occur can make editing much less tedious. After the podcast recording is stopped, I can then go back to the notated times and find the exact sports where I may need to edit or cut something out.
Notating is also great for remembering parts of the show that I may want to highlight in the post on iDownloadBlog. Don’t forget to notate, as it’ll make your job much easier in post.
Concluding, exporting, and uploading
Once you’ve finished an episode, all participants can stop their local recording. Each participant can also disconnect from the Skype call as needed. Once the call is concluded, each participant should export their recording and share it with the person who is mixing the podcast. For Let’s Talk Jailbreak and Let’s Talk iOS, I mix the podcasts. Since I record my file in the app that I use to edit and mix, there’s no need for me to export my recording. All I need to do is add Sebastien and Cody’s recordings to my recording in Logic Pro X, sync them, mix them, edit them, and export the near-final product.
It’s very important that your participants export in a quality that’s as high as possible, without being too big in file size. I usually ask that Sebastien and Cody export their files at 320kbps MP3 files, which generally is good enough to do the job. If sound quality is of utmost concern, you can always instruct your participants to export uncompressed WAV files, but those files can get unwieldy very quickly. I find that sacrificing a wee-bit of sound quality is worth it for the smaller file sizes.
After the files are exported, we use DropBox to share the exported files with the person who is doing the mixing. I find that setting up a shared DropBox folder makes this as painless as possible.
Conclusion
You’ve now learned how to record, conclude, export, and upload the files associated with your podcast. Now, it’s time to learn how to put those files together, and export the final file for your podcast listeners. In the next tutorial, I’ll show you how to do just that.
View other posts in this series