As many of you know, I’m rocking a 13″ Retina MacBook Pro, and I love it. The screen is killer, it’s fairly fast, and it’s portable.
But as I begin to take on more “intense” projects, I’m starting to realize that I simply don’t have enough screen real estate to be the most productive I can be. I need an external monitor.
The problem is, and if you’re a current Retina MacBook owner you’ve no doubt faced a similar conundrum, most of the popular external displays pale in comparison to the Retina display. Even Apple’s mighty Thunderbolt Display, with its 27″ screen and 2560×1440 native resolution, looks downright grainy when placed side-by-side with the Retina screen of a MacBook Pro.
So what to do? You could hold off until Apple finally decides it wants to get with the program and offer a Retina capable Thunderbolt Display, or…or…or! You could get a ultra-HD 4K capable monitor right now and enjoy a “Retina” experience.
That’s exactly what I decided to do. Inside, I’ll break down some of the pluses and minuses of my latest pickup, Dell’s ($799 on Amazon) 24″ ultra-HD display, the UP2414Q.
To enjoy a Retina quality experience on an external display, an ultra-HD 4K monitor with a 3840×2160 native resolution is the very least that you’ll want to opt for, because it means that you’ll get 1080p resolution while running in pixel-doubled HiDPI “Retina” mode. All you need to do is divide the native resolution of the monitor by two on each axis, that is 3840/2 = 1920 and 2160/2 = 1080. So a 4K display will give you the working space of a 1080p monitor, while enjoying extremely sharp Retina assets for fonts and for graphics. It works out pretty well.
One could argue that 1920×1080 is not enough working real estate, but at this stage in the game, it’s the only viable solution if you want a true Retina quality experience. To enjoy the same sort of resolution that the Thunderbolt Display provides and have Retina mode enabled at the same time, you’d need a 5120 (2560×2) x 2880 (1440×2) native display. To my knowledge, no such thing exists as of yet, but if anyone was going to break that barrier, it would probably be Apple. In fact, Apple has already released assets with that exact resolution, hinting at least the thought of a 27″ Retina display, which would, admittedly, be amazing!
But until Apple decides to bless us with something incredible like a Retina Thunderbolt Display, the best option we have is an ultra-HD 4K monitor running in Retina mode with 1920×1080 resolution. When you think about it, that’s still not too shabby.
Consider Apple’s largest Retina display, the 15″ MacBook Pro. That display features a 2880×1800 native resolution panel. That means that in Retina mode, the available resolution is 1440×900. That pales in comparison to the available resolution of an ultra-HD 4K monitor’s 1920×1080, even though the MacBook’s screen features a higher DPI (220.53 versus 183.58) rating. This means that even though an ultra-HD monitor is probably not what Apple has in mind when it comes to a full sized Retina screen, it still looks amazing, and will be a significant compliment to any 13″ or 15″ Retina display found in Apple’s MacBook line.
The UP2414Q
So that takes us to the actual monitor that I decided to go with, Dell’s 24″ 4K ultra-HD display, the UP2414Q. Despite the fact that its a company best-known for making PC’s, Dell has a really good track record for making high quality displays. Many professional graphic designers rely on its UltraSharp line of displays for work, as they feature the color accuracy, contrast, and other particulars that professionals need to do their jobs well.
I’m far from a professional when it comes to doing things like color grading, or anything that requires a high amount of display integrity and accuracy. But regardless of that, it’s satisfying to know that I’m getting top-flight product. Dell even pre-calibrates its high-end monitors, including the UP2414Q, before they leave the warehouse. This ensures that you receive a display that’s largely ready to go, even if you’re a professional.
Unboxing and interfaces
I didn’t do an unboxing video, but the UP2414Q was packed in a thoughtful way so as to prevent it from being damaged. Dell uses a combination of foam and cardboard pieces to keep the monitor and stand from shifting around in the box during the shipment process. It also includes enough protective layers of thin styrofoam to prevent scratches on the screen.
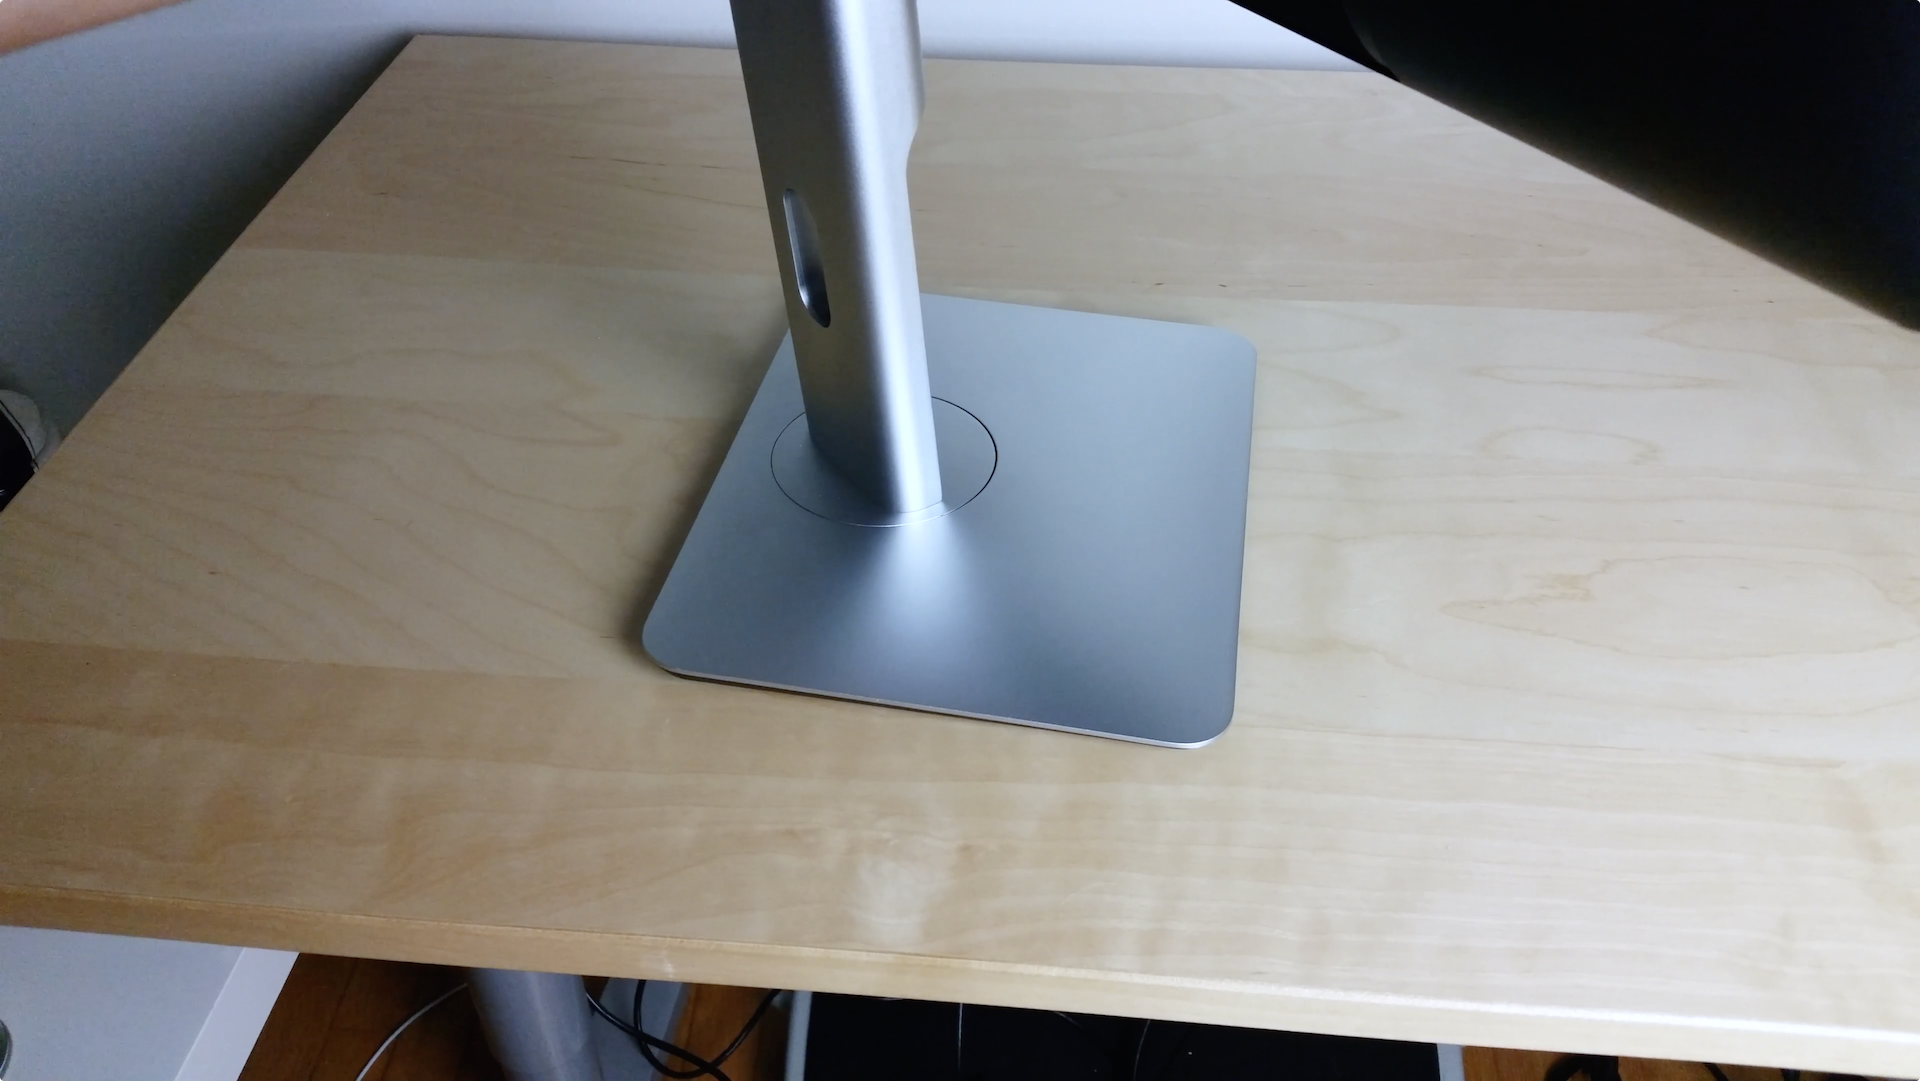
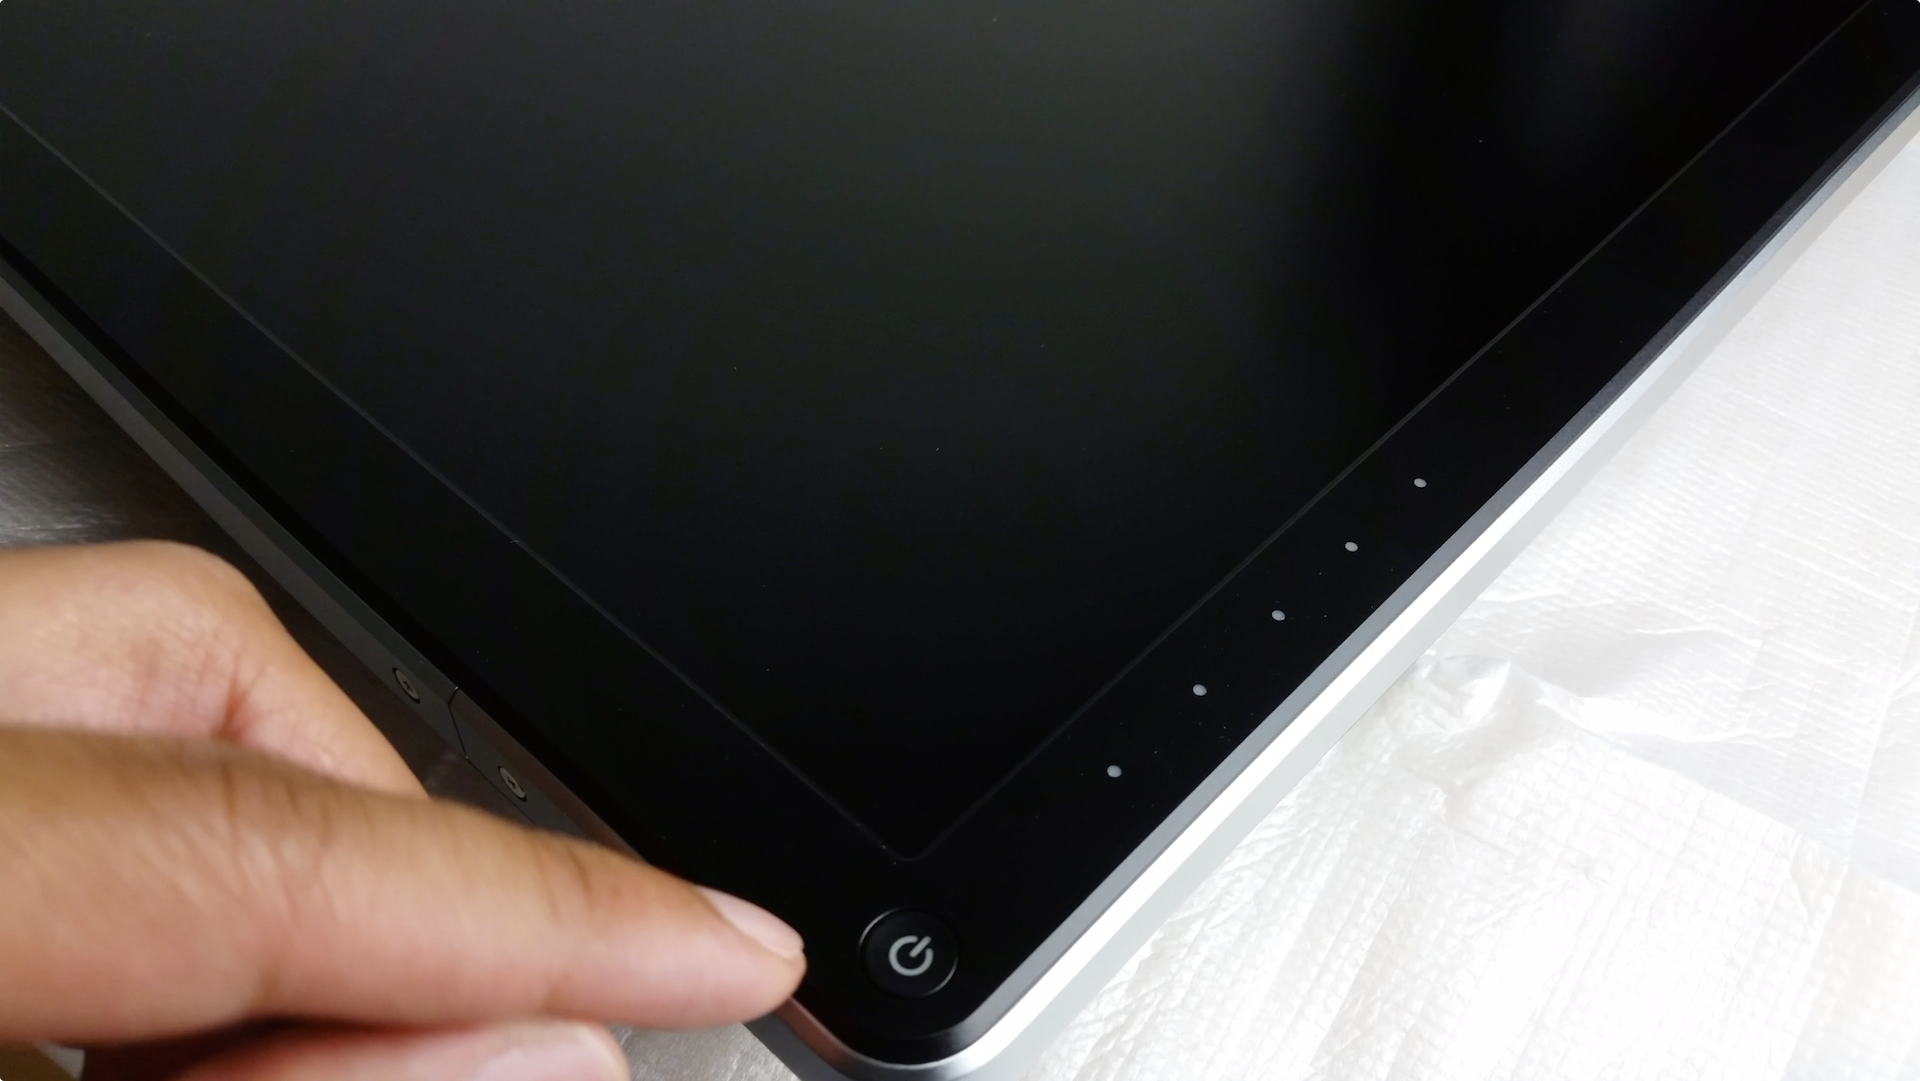
The display comes with two main components—the stand and the display itself. The stand is a heavy-duty piece of aluminum that instills confidence in its ability to securely hold the 24″ display. It’s not at the obsessive level of Apple polish, but it’s close. Save for a few seams and a plastic piece that’s largely hidden on the stem of the stand, the build quality is outstanding.
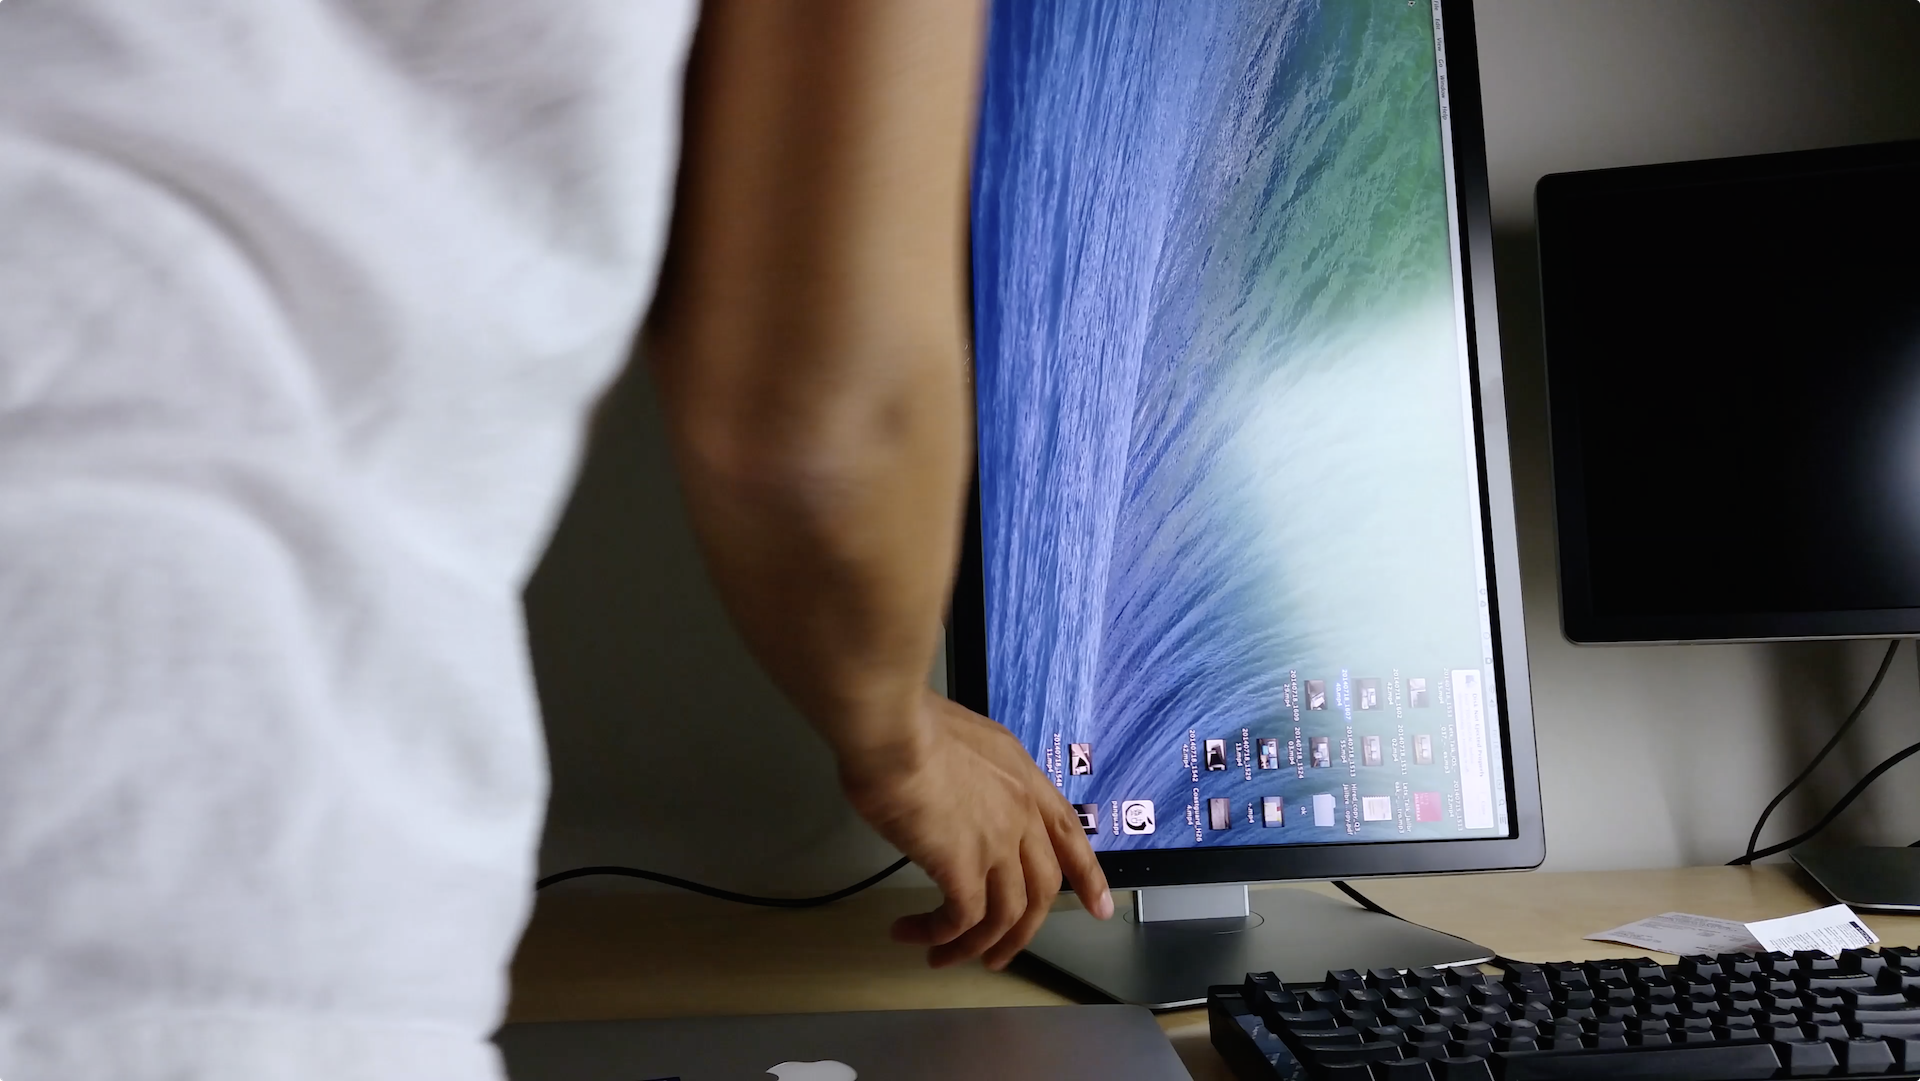
The display attaches to the stand without the need for any tools. It locks into place and can be easily removed using a quick-release button on the rear of the display. For those of you interested in mounting the monitor on a third-party stand or wall mount, you’ll be happy to know that standard VESA holes are included for easy mounting.
One of my favorite things about Apple’s Thunderbolt Display is that it’s actually two devices in one: it’s a high quality display, and it’s also a thunderbolt hub for your Mac. In other words, you can connect it to a single Thunderbolt cable running from your Mac, which will allow you to interface with other devices connected to the other ports on the display itself. This means that you can connect keyboards, external sound cards, and even Gigabit ethernet directly to the display, and your Mac will interface with those devices via Thunderbolt. It also means that you can easily daisy chain additional Thunderbolt devices from the display itself i.e. RAID arrays or an additional Thunderbolt display.
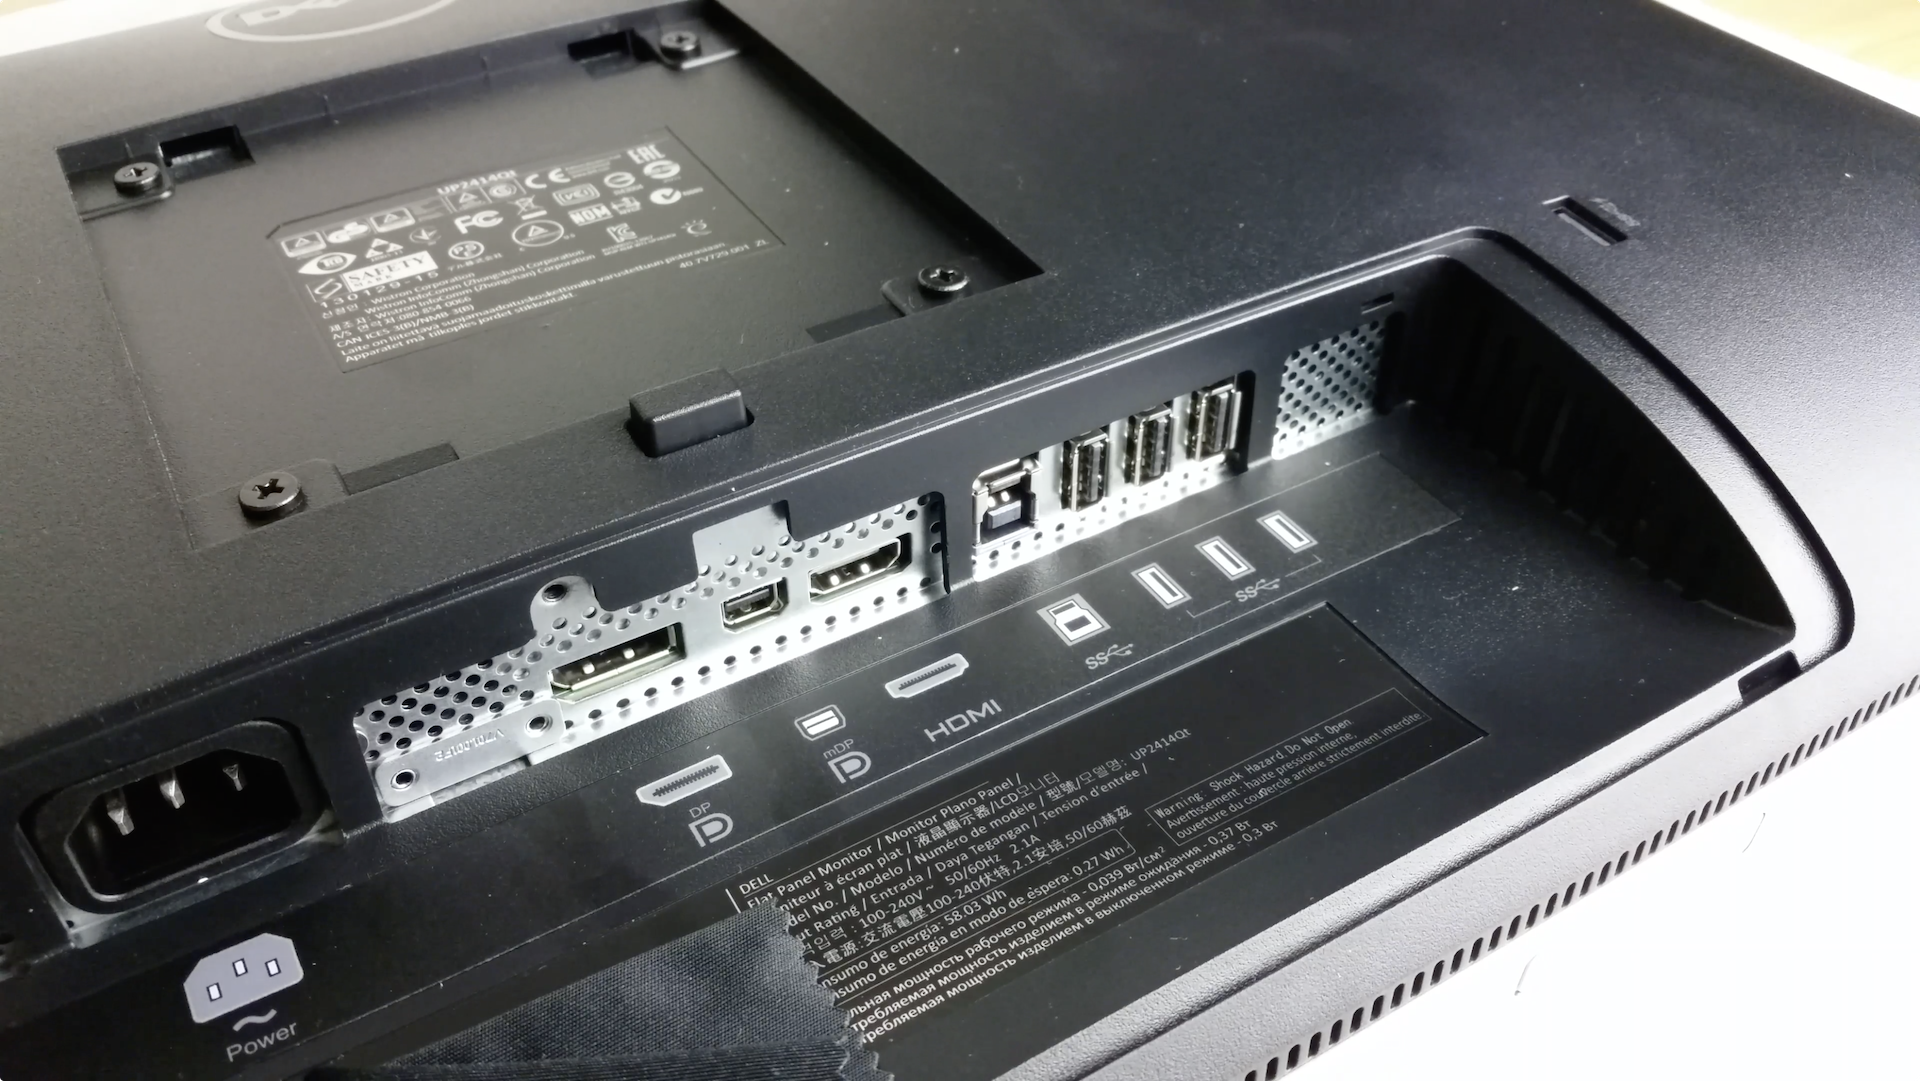
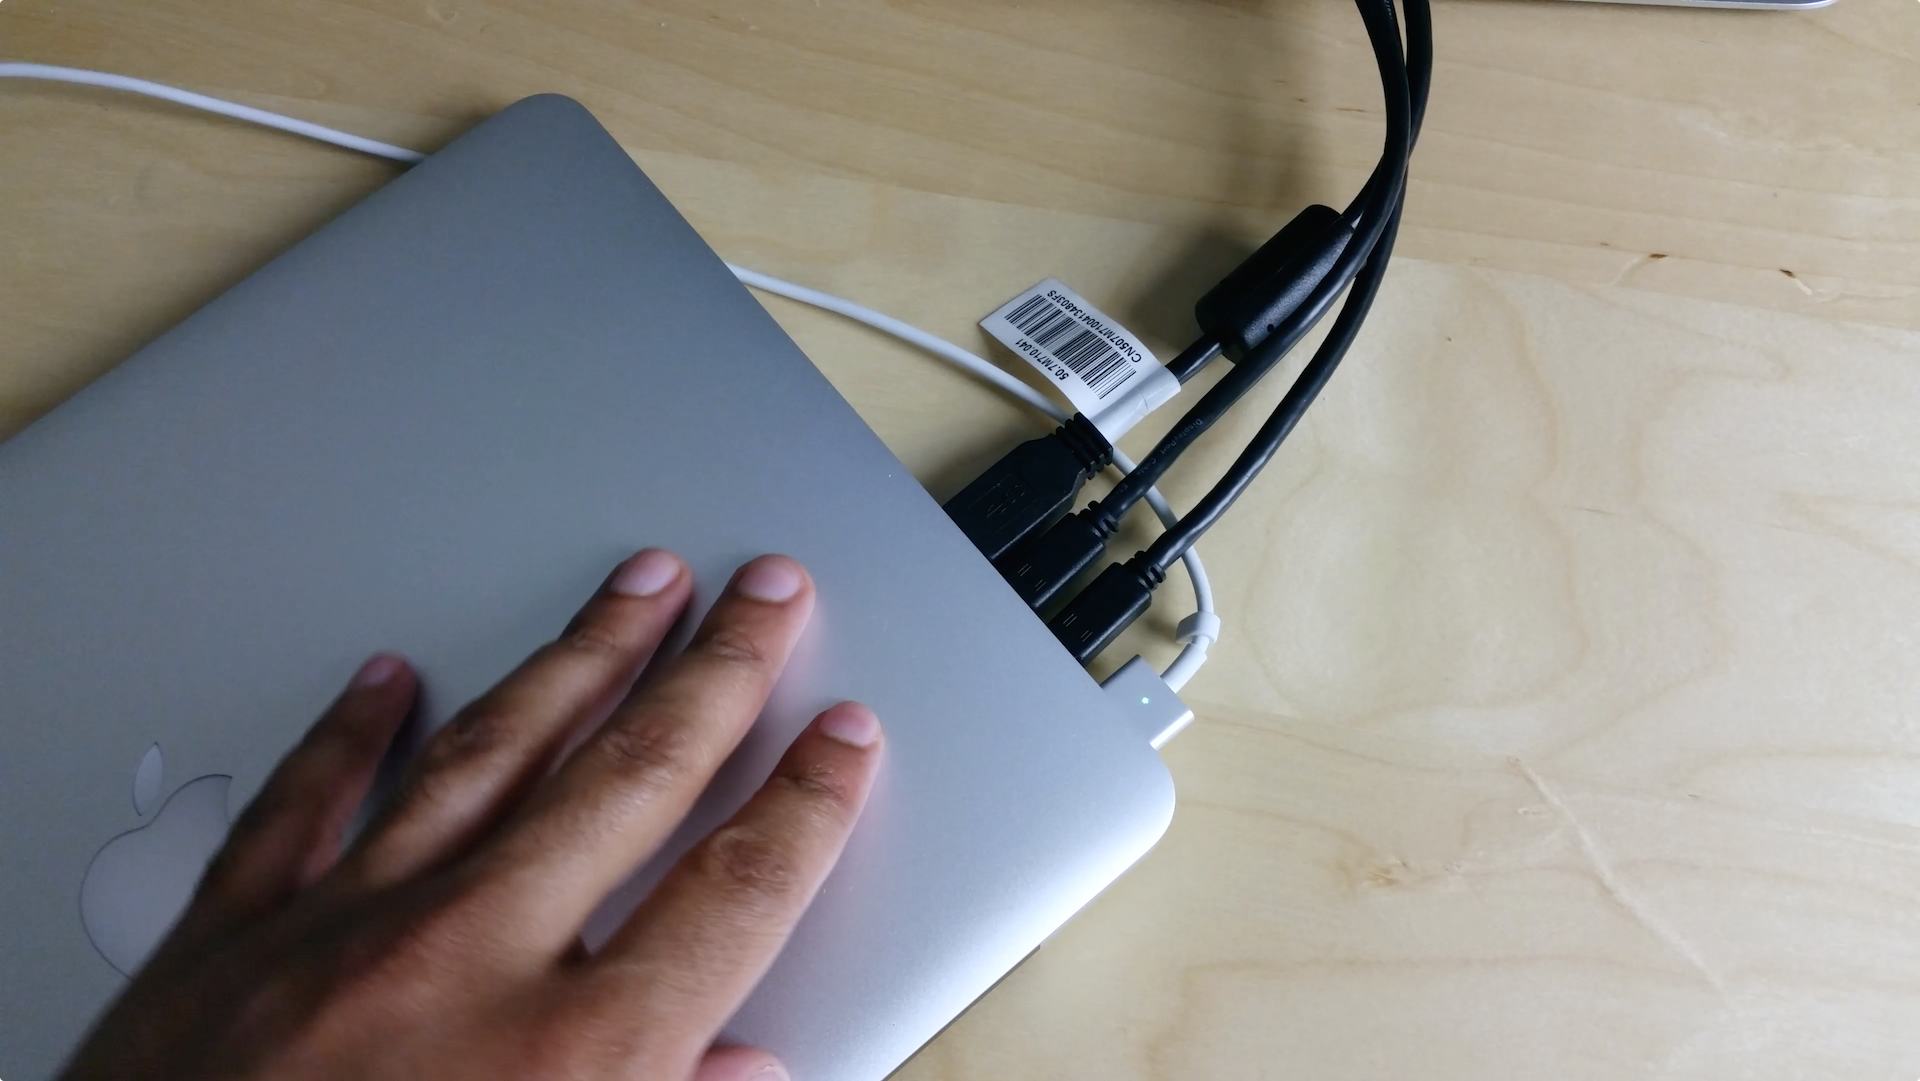
The UP2414Q doesn’t feature a Thunderbolt dock, which is kind of a bummer, but it has the next best thing. On the back of the display is a USB 3.0 uplink port that can be used to connect to your Mac. This uplink cable functions similarly to the Thunderbolt cable connected to a Thunderbolt Display. It means that you can connect additional devices directly to the Dell display, and interface with them from your Mac. Now you can leave your keyboard, external Hard Drive, and other devices connected to the display and instantly connect to them all via a single USB cable connected to your Mac.
Of course, USB 3.0 doesn’t provide the same throughput as Thunderbolt 2.0. The majority of USB interfaces also lack the daisy chain ability present with Thunderbolt. But I think that most will find that USB 3.0 is good enough, and it’s much more flexible and ubiquitous than Thunderbolt.
Along with the USB 3.0 uplink connection, you’ll find four USB 3.0 ports for connecting your favorite peripherals. You’ll also find a DisplayPort 2.1 connector, a Mini DisplayPort 2.1 connector, and an HDMI 1.4 connector. To process 4K video at 60Hz, you’ll need to use one of the DisplayPort inputs, as HDMI 1.4 is capped at 30Hz. The display also features an SD Card slot on the left side of the panel that uploads via the USB uplink adapter.
One of the ports that you won’t find on the Dell display is an audio output port of any kind. I don’t expect a monitor like this to feature built-in speakers, in fact, I’m glad it doesn’t. What I would like to see, however, is the ability to draw audio out of the HDMI connection and forward that to an external source. As it stands now, there’s no way to get the audio sent through HDMI back out of the display once it has been routed there. For gamers, this can be a real bummer, especially if you own a console like the WiiU with no native method for routing high definition audio from its source.
The 30Hz conundrum
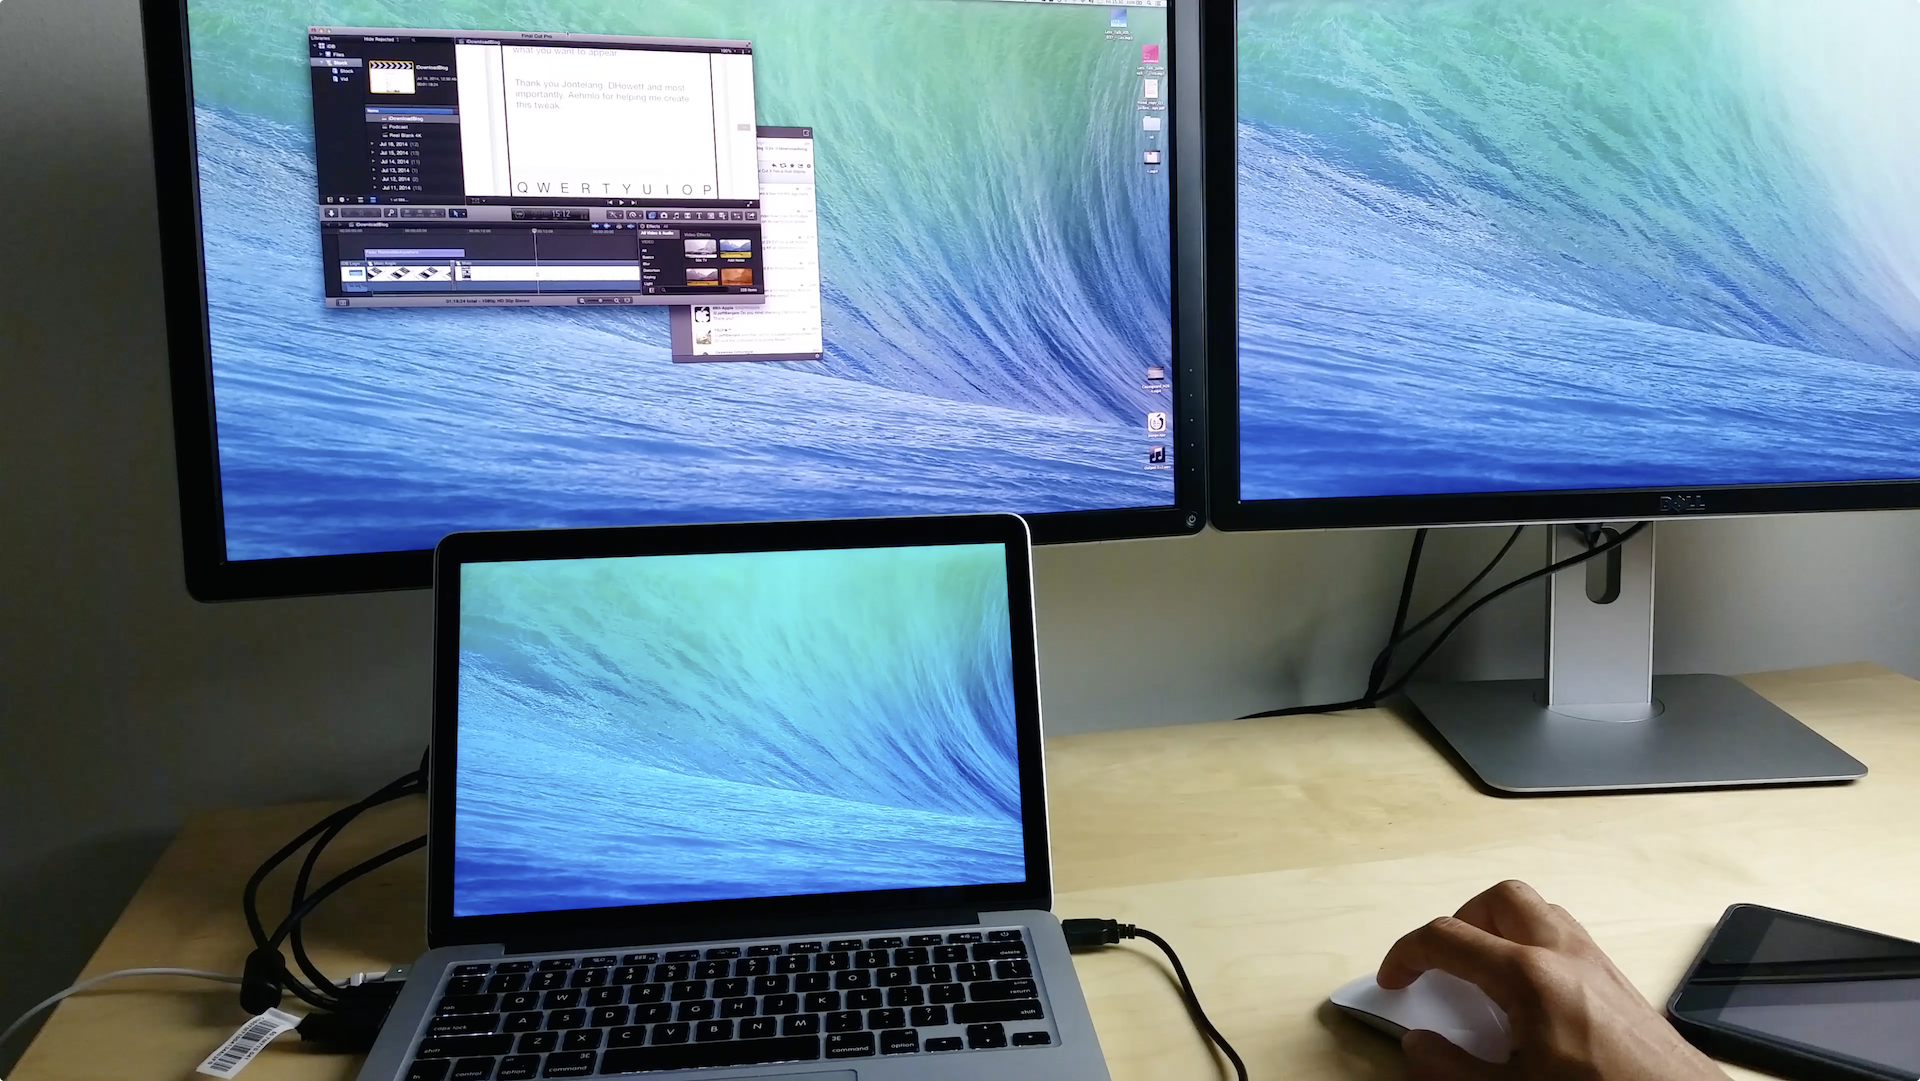
I connected my 13″ Retina MacBook Pro to the UP2414Q using the included DisplayPort to Mini DisplayPort cable. The display immediately detected my connection, and configured the output to 1920×1080 in HiDPI mode. This means that I was able to get Retina quality graphics on screen at a 1920×1080 resolution.
Unfortunately, as mentioned, the Late 2013 13″ Retina MacBook Pro lacks the bandwidth necessary to output 4K video at 60Hz. While 30Hz is passable for some tasks, I’d be lying if I said that I didn’t miss the buttery smoothness of 60Hz, which basically equals 60 FPS. For that reason, if you’re a gamer, playing games on a the 13″ Retina MacBook over 4K is pretty much unplayable. Even if you aren’t a gamer, you will notice that the display refresh rate is below what you’re used to on a computer monitor. I found that my eyes started to dry out after prolonged use, and it even resulted in headaches. The screen looks amazing—this is truly a Retina capable external display—but the hardware pushing the pixels has a limitation that is bothersome.
With all of this in mind, I went ahead and traded in my 13″ Retina for the 15″ version. The Late 2013 15″ MacBook Pro can handle 4K video at 60Hz courtesy of its Iris Pro on board graphics. If you’re interested in running a 4K monitor, make sure that your hardware can support 60Hz. It’s just not worth the trouble otherwise.
Display Quality
This is where the UP2414Q really shines. For starters, the screen is an IPS display, the same type of display tech that Apple employs in all of its products, including the Thunderbolt Display. IPS ensure that you can view the screen with accuracy from wide viewing angles. You can find some cheaper 4K monitors out there, but the cheap monitors will almost always have major tradeoffs. A cheaper price will usually yield a non-IPS TN panel, which is good for reducing input lag for gaming, but has serious faults with viewing angles and color accuracy. You may even find some cheap monitors that max out at 30Hz, which is a definite no-no. TN panels may be a personal preference, but no one in their right mind would buy a monitor that maxes out at 30Hz. Please do you research before pulling the trigger.

There’s also the matte anti glare finish that the display sports. Don’t get me wrong, I love the look of shiny reflective displays, but my eyes are thanking me that I no longer have to contend with reflections all day as I work.
Most importantly, I just want to emphasize how good it feels to have a Retina quality display that’s this big. Enjoying a screen with clarity similar to the Retina MacBook Pro is a real treat.
Conclusion
If you have the means and you have the hardware that can push a 4k display at 60Hz, then I recommend the UP2414Q. It’s a high quality display that’s factory calibrated for color accuracy, and it gives you the Retina experience that’s so hard to deviate from once you’ve experienced it.
If you’re looking for a good 4K monitor, then you will not be disappointed with the UP2414Q. It’s a monitor that I plan on using for years to come. Unless, of course, Apple drops the aforementioned 5120×2880 Thunderbolt Display they’ve been rumored to be working on.
Good
- Tons of real estate in native ultra-HD mode
- Awesome clarity in HiDPI full-HD mode
- High quality aluminum stand that tilts, rotates, and rises
- Screen rotates 90 degrees
- USB 3.0 Hub with 3 USB ports
- SD Card slot
- Easy to use OSD
- IPS monitor with wide viewing angles
- 4K @60Hz
- Anti-glare screen
- Factory calibrated out of the box
Bad
- Pricey
- A bit on the thick side
- Small size may not satisfy some
- No audio output
- HDMI 1.4 only
You can purchase the UP2414Q on Amazon for $799. It’s pricey, but the picture quality is second to none in its price range, and it’s the closest thing to an external Retina display that I’ve found. If you’re a current Late 2013 15″ MacBook Pro with Retina display owner, it’s by far one of the best investments you can make. What do you think? Sound off down below in the comments section.