A few days ago we showed you how to add a custom carrier logo to a non-jailbroken cellular iOS device. The app to enable the hack — CarrierEditor — is a Mac only app, so only Mac users were able to take advantage of the feature.
Now it’s your turn, Microsoft faithful, as developer Dany Lisiansky steps up to the plate to provide a custom carrier logo solution for Windows users
If you read our original post on CarrierEditor, then you’ll be happy to note that the process for adding a custom carrier logo using a Windows machine is virtually the same as it is on the Mac. Take a look inside as we break down the entire process in our full video walkthrough…
Step 1: Download CustomCarrierLogo, and if you’d like some Zeppelin Logos to play around with you can download CarrierEditor just for the logos only.
Step 2: Run CustomCarrierLogo and click Let’s Get Started.
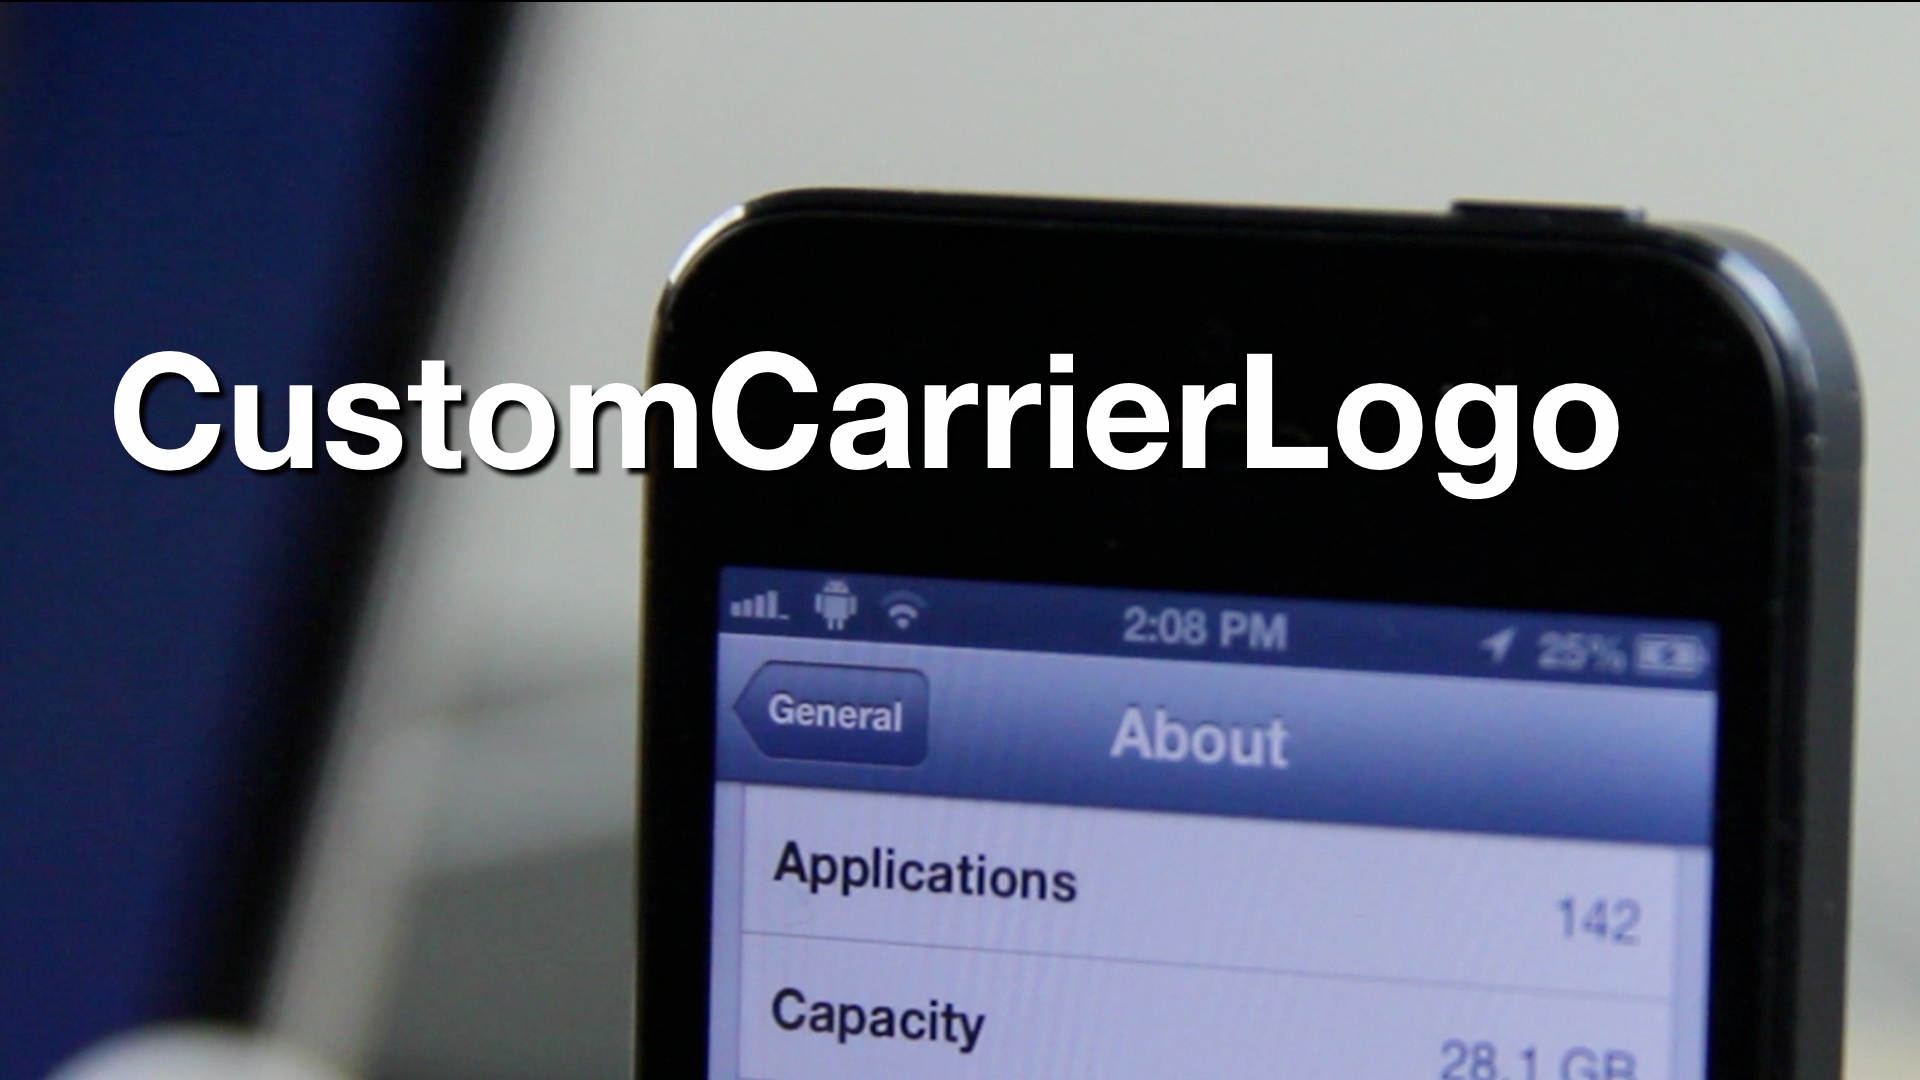
Step 3: Identify your iPhone or cellular iPad’s Carrier version via Settings > General > About. Type in the carrier version number in the Current Carrier Version field at the top of the CustomCarrierLogo app.
Step 4: Select the device you are using and the carrier name from the two drop down boxes below the Current Carrier Version field.
Step 5: Now it’s time to select the actual logos below. The nice thing about CustomCarrierLogo is that not only can you select an actual picture based logo, but you can also create your own custom logo on the fly using text. Personally I prefer the picture based logos, as they look cleaner, but it’s entirely possible to create a decent looking logo on the fly if you select the proper font style and font preferences.
Step 6: Since CustomCarrierLogo isn’t bundled with Zeppelin Logos, you can either make your own, or download the CarrierEditor file above and extract the bundled Zeppelin logos that come along with it. I suggest that you follow this method for quick and easy access to a handful of good logos.
Step 7: Once you’ve selected the logos that you want to use, click the Create IPCC Carrier Bundle button. This will place two .ipcc files on your desktop — one labeled Original, which is a backup of the original carrier logo, and the other being your newly created custom logo.
Step 8: Open iTunes and ensure that your device is connected to your computer. Select your device and navigate to the device summary page. Hold Shift on your keyboard and click the Restore button. In the drop down menu in the bottom right-hand corner, select iPhone/iPad Carrier Configuration. Next, select the .ipcc file not labeled Original on your desktop. Your carrier settings will be updated, and you should see the Carrier logo change to the logo that you selected.
Step 9: To change back to the original carrier settings, simply perform step 8 again, and select the .ipcc file labeled Original instead, and then reboot your device.
Note: again, this only works for cellular enabled device like the iPhone or the iPad 3G/LTE.
What do you think? Have you used CarrierEditor or CustomCarrierLogo to add custom logos to your non-jailbroken iPhone or iPad? If not, what are you waiting for?