Several iPhone and iPad games support the use of gaming controllers; using one is an excellent way to snag an advantage over other players who might otherwise rely solely on touch-based controls, especially when it comes to online multiplayer games.
iOS & iPadOS 16 expanded the list of Bluetooth controllers that can be used with iPhones and iPads, two of which are near and dear to my heart: the Nintendo Joy Con, and the Nintendo Switch Pro Controller. I’m fond of these controllers because one is small and portable and the other feels so great in my hands. But more than that, I enjoy playing games on the Nintendo Switch.
In today’s tutorial, we will show you the specific steps to pair a Nintendo Joy Con or Nintendo Switch Pro Controller with an iPhone or iPad so you can use them to play supported games on the platform.
Pairing a Nintendo Joy Con with iPhone
To pair a Nintendo Joy Con controller with your iPhone or iPad, simply follow the steps outlined below:
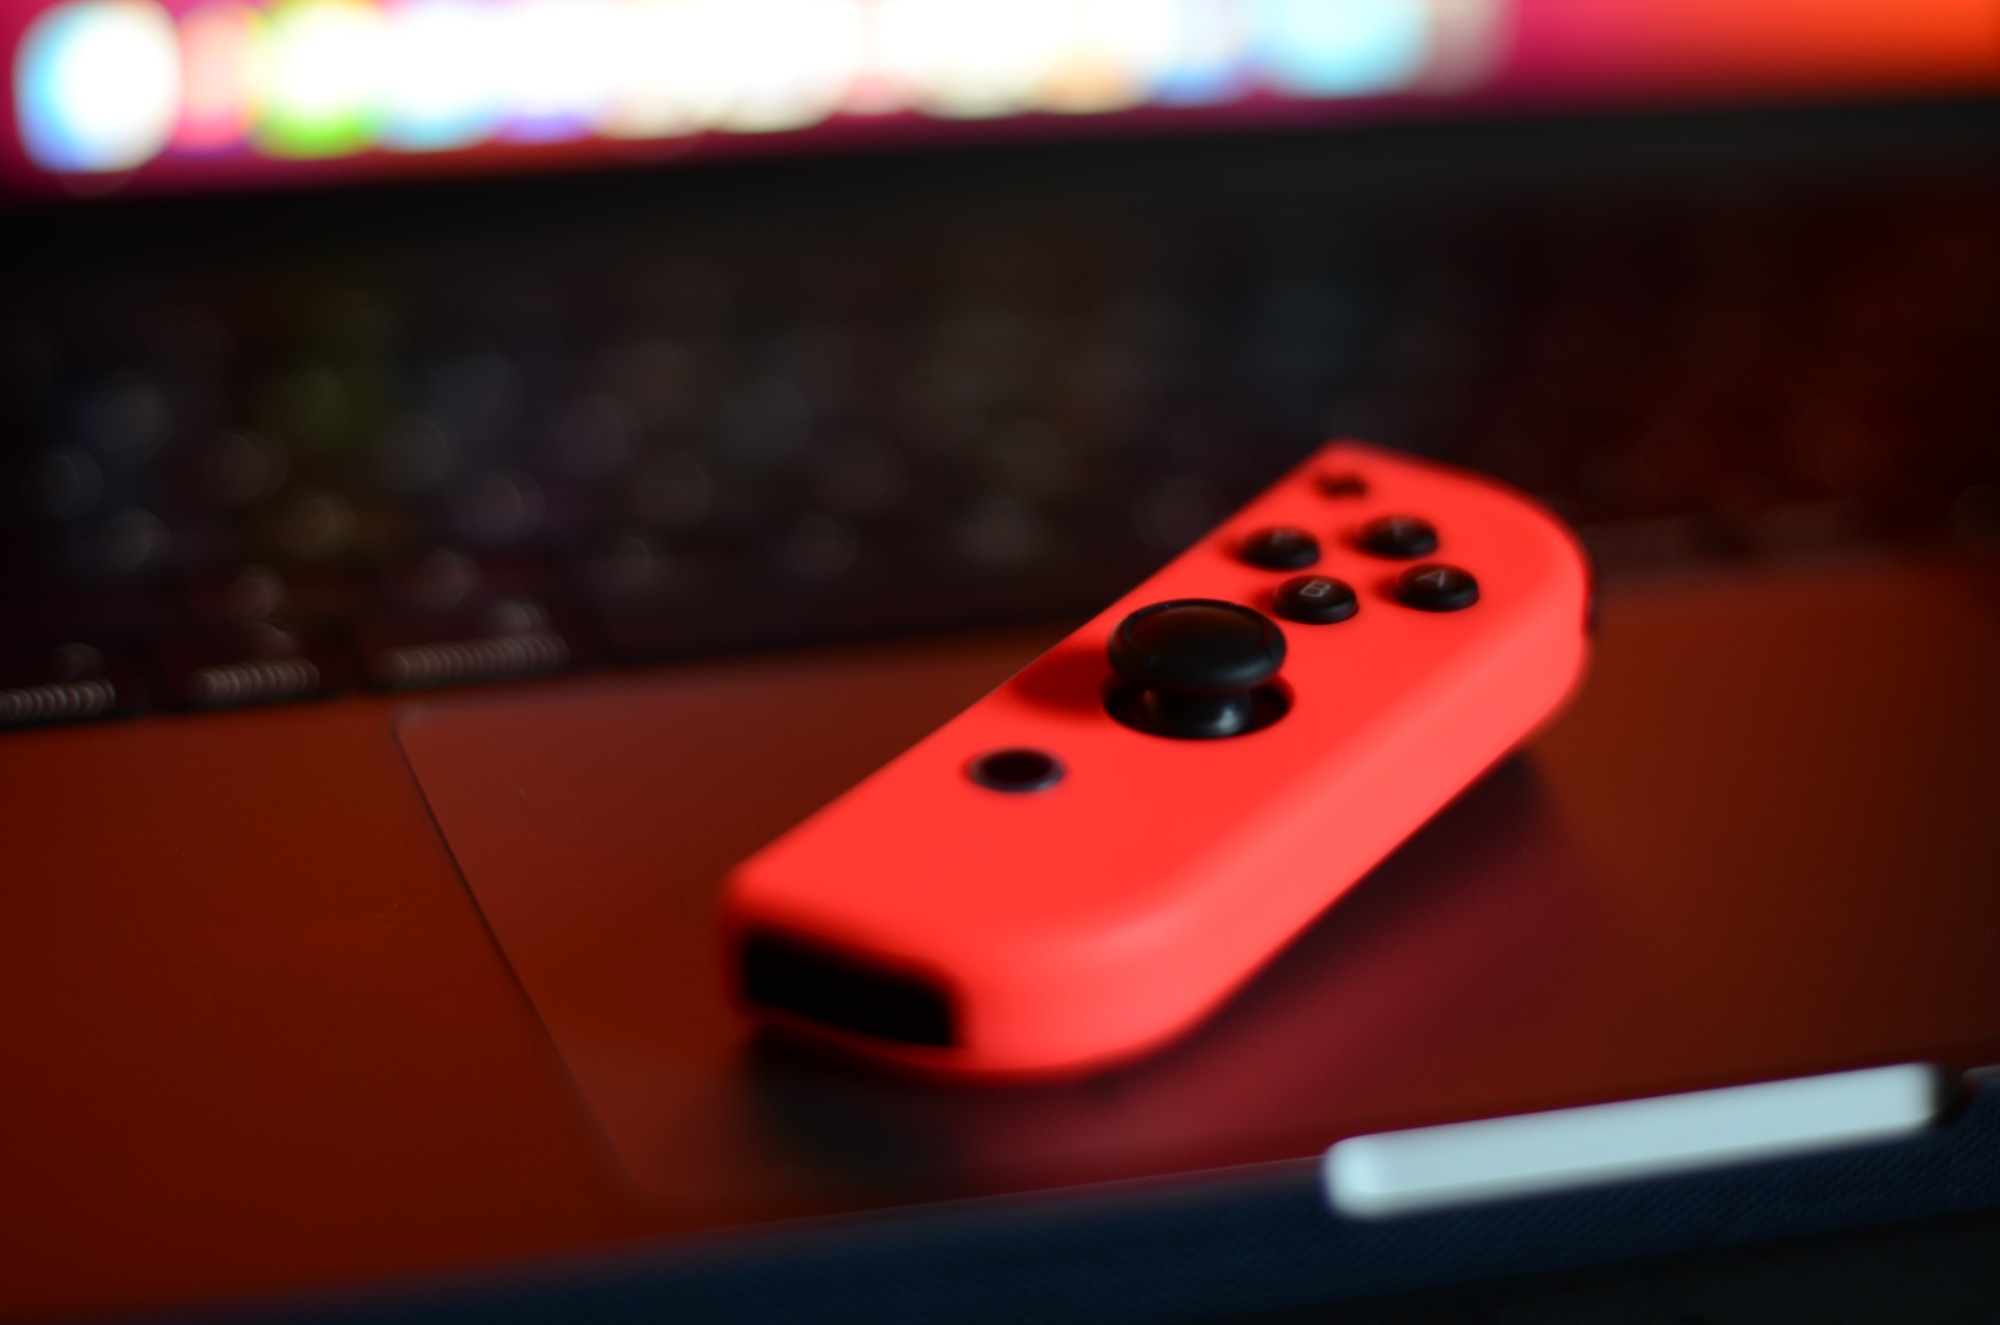
1) Disconnect one of your Nintendo Joy Con controllers from your Nintendo Switch or Comfort Grip so that you can pair it with your iPhone.
Note: You will only pair one Nintendo Joy Con with your iPhone, so you don’t need to remove both.
2) Press and hold the round pairing button on the top of the Nintendo Joy con:
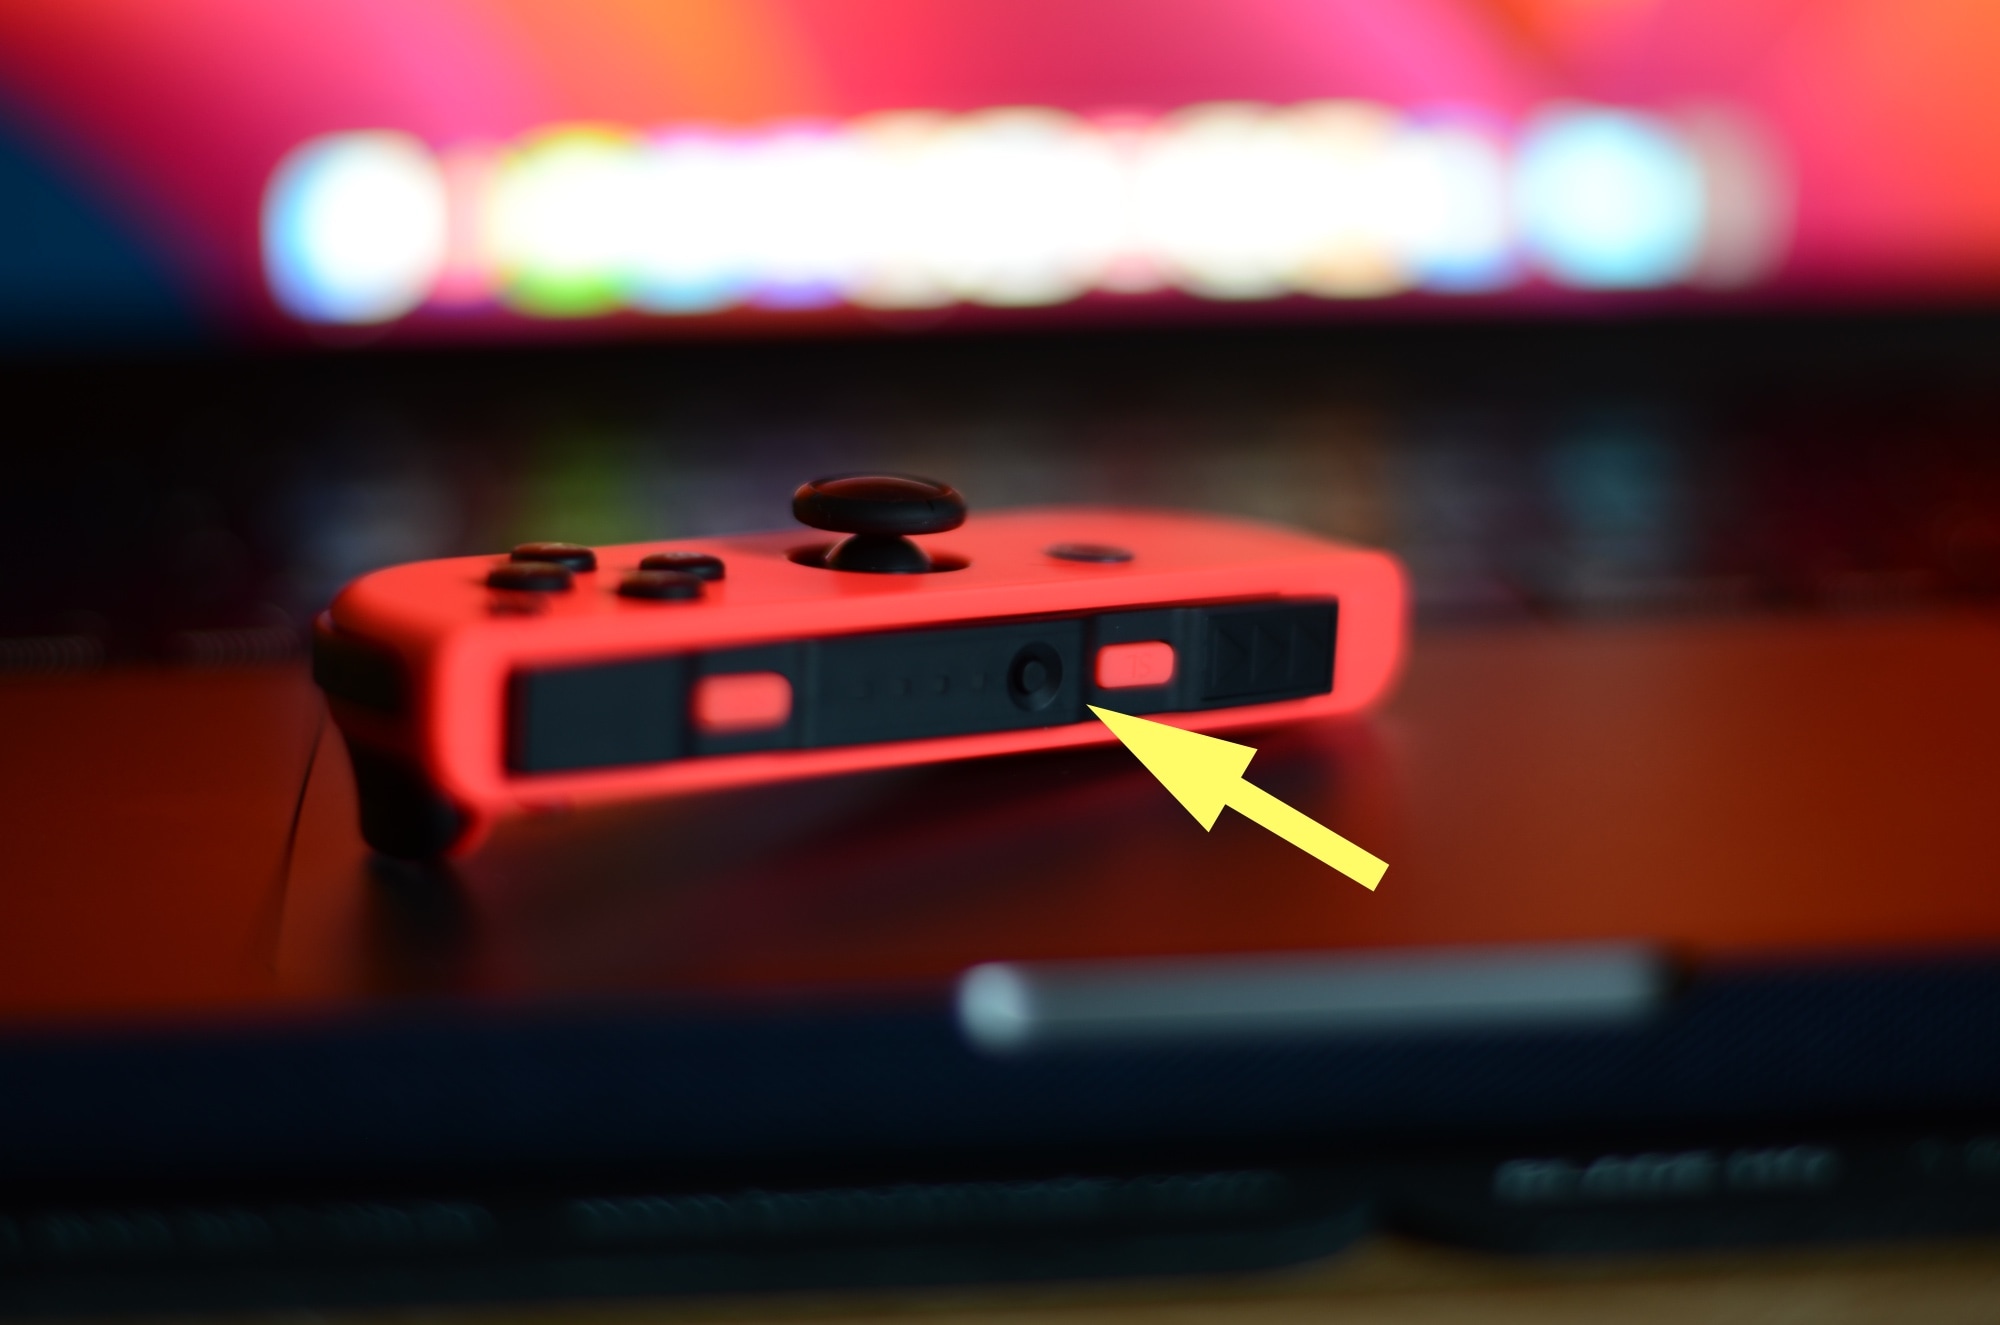
Note: The four green pairing LEDs will begin shifting left to right and right to left to let you know that the Nintendo Joy Con is in pairing mode:
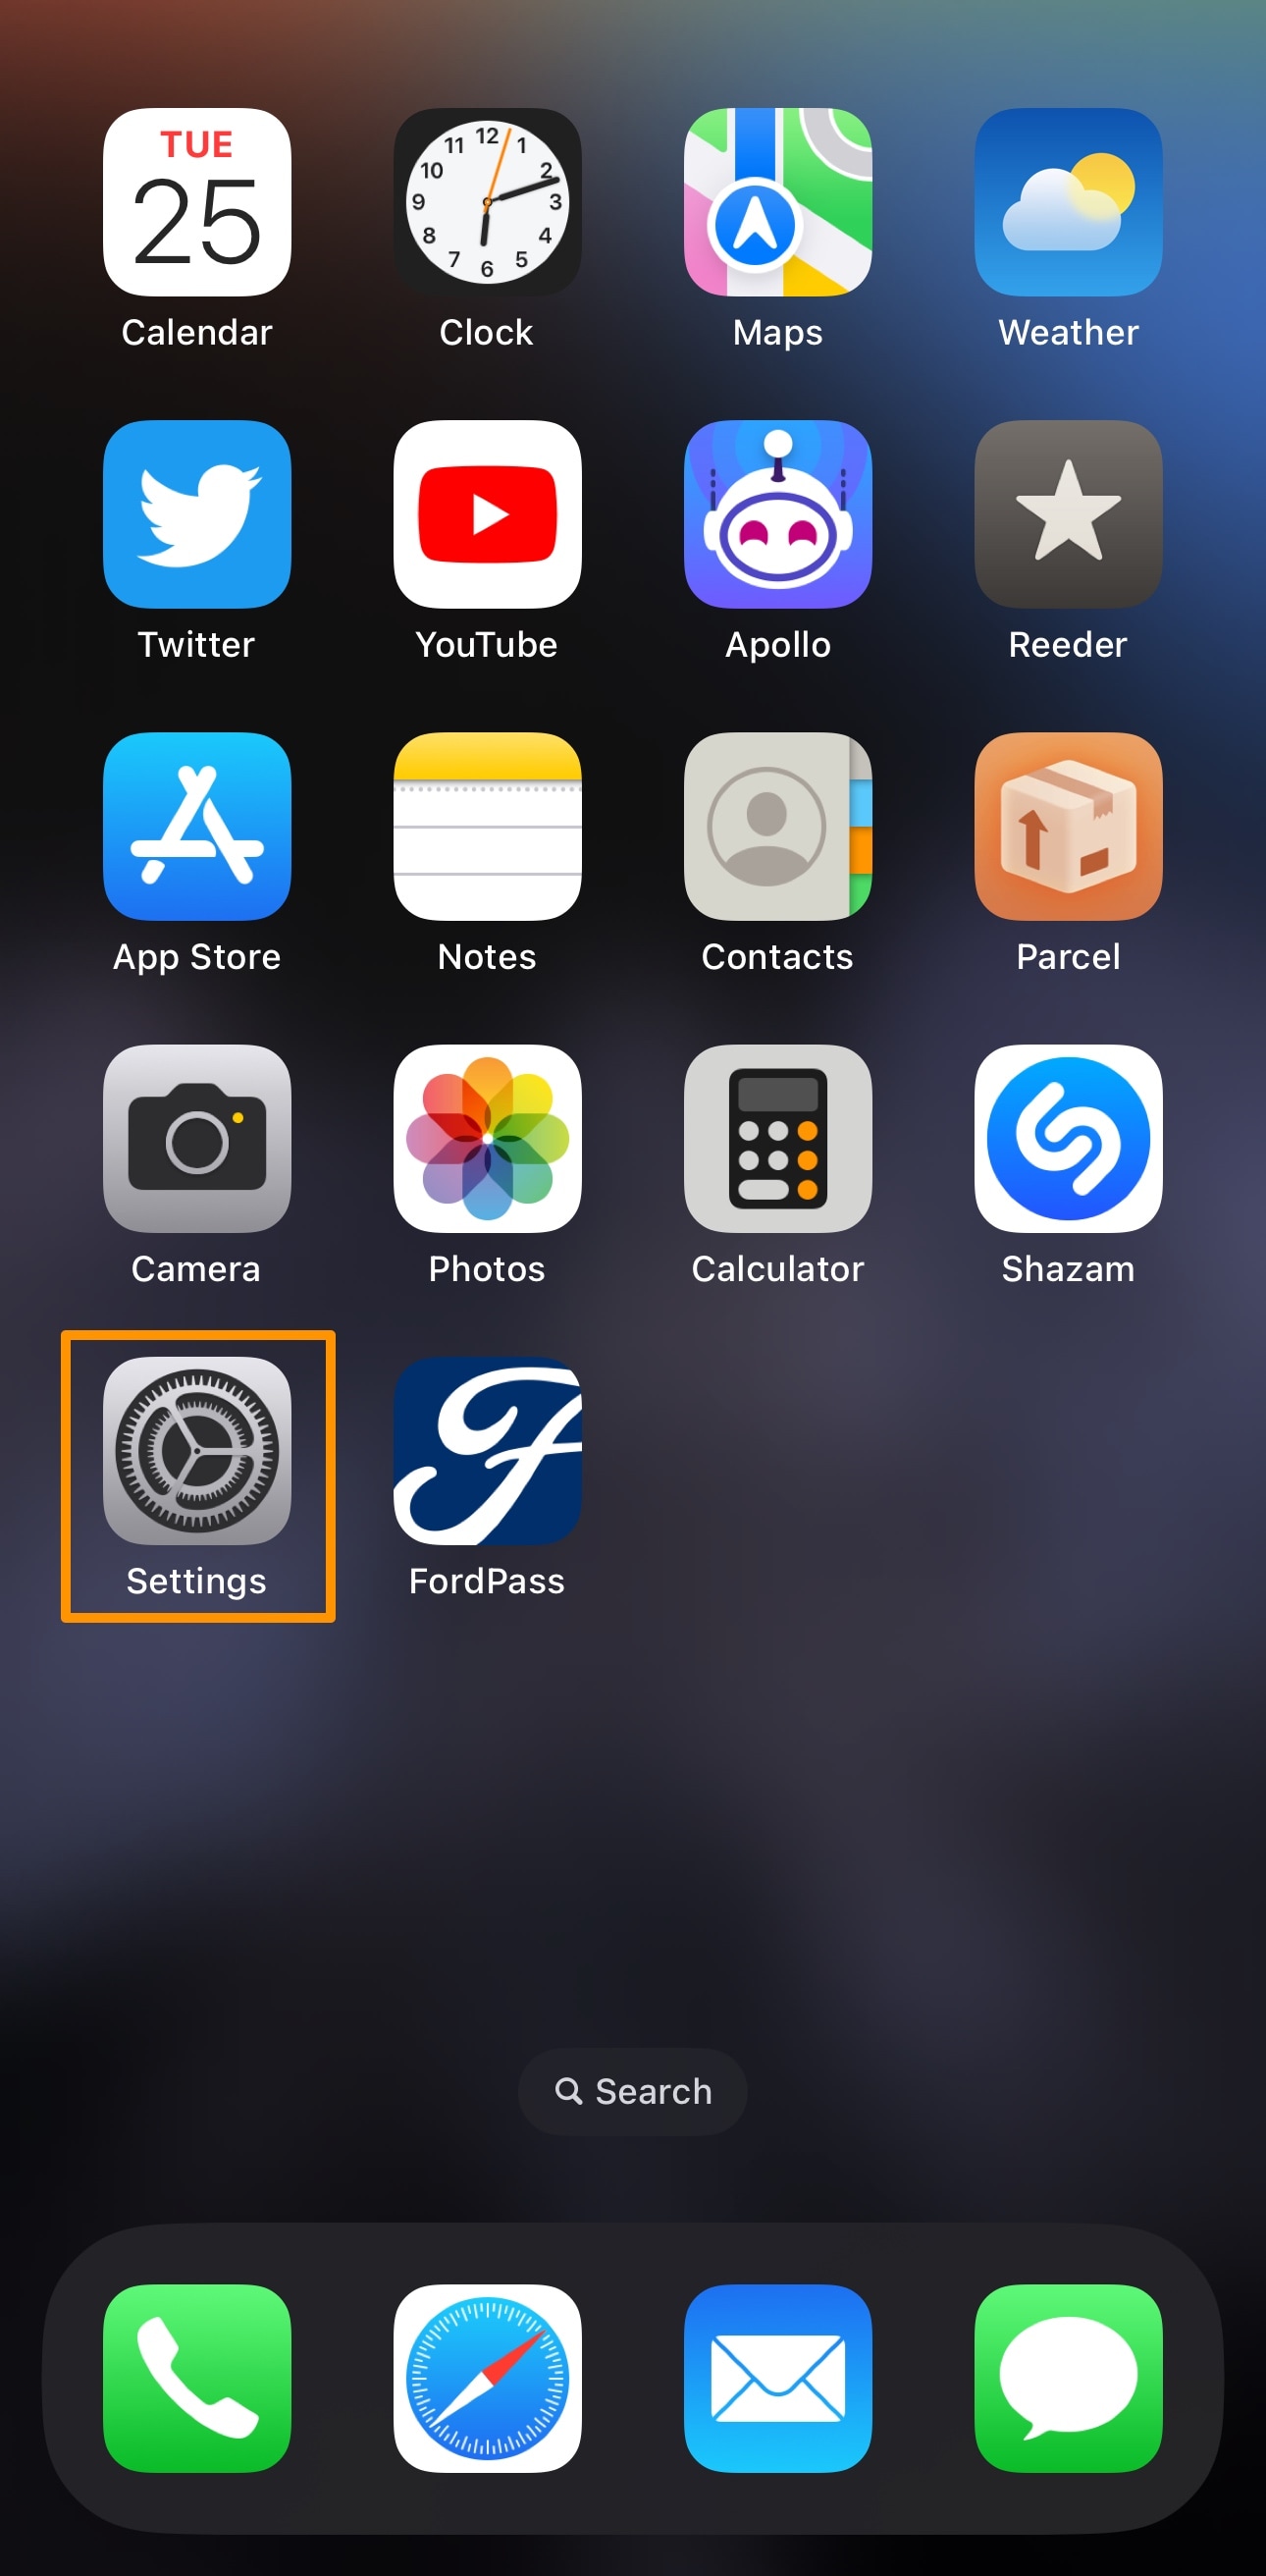
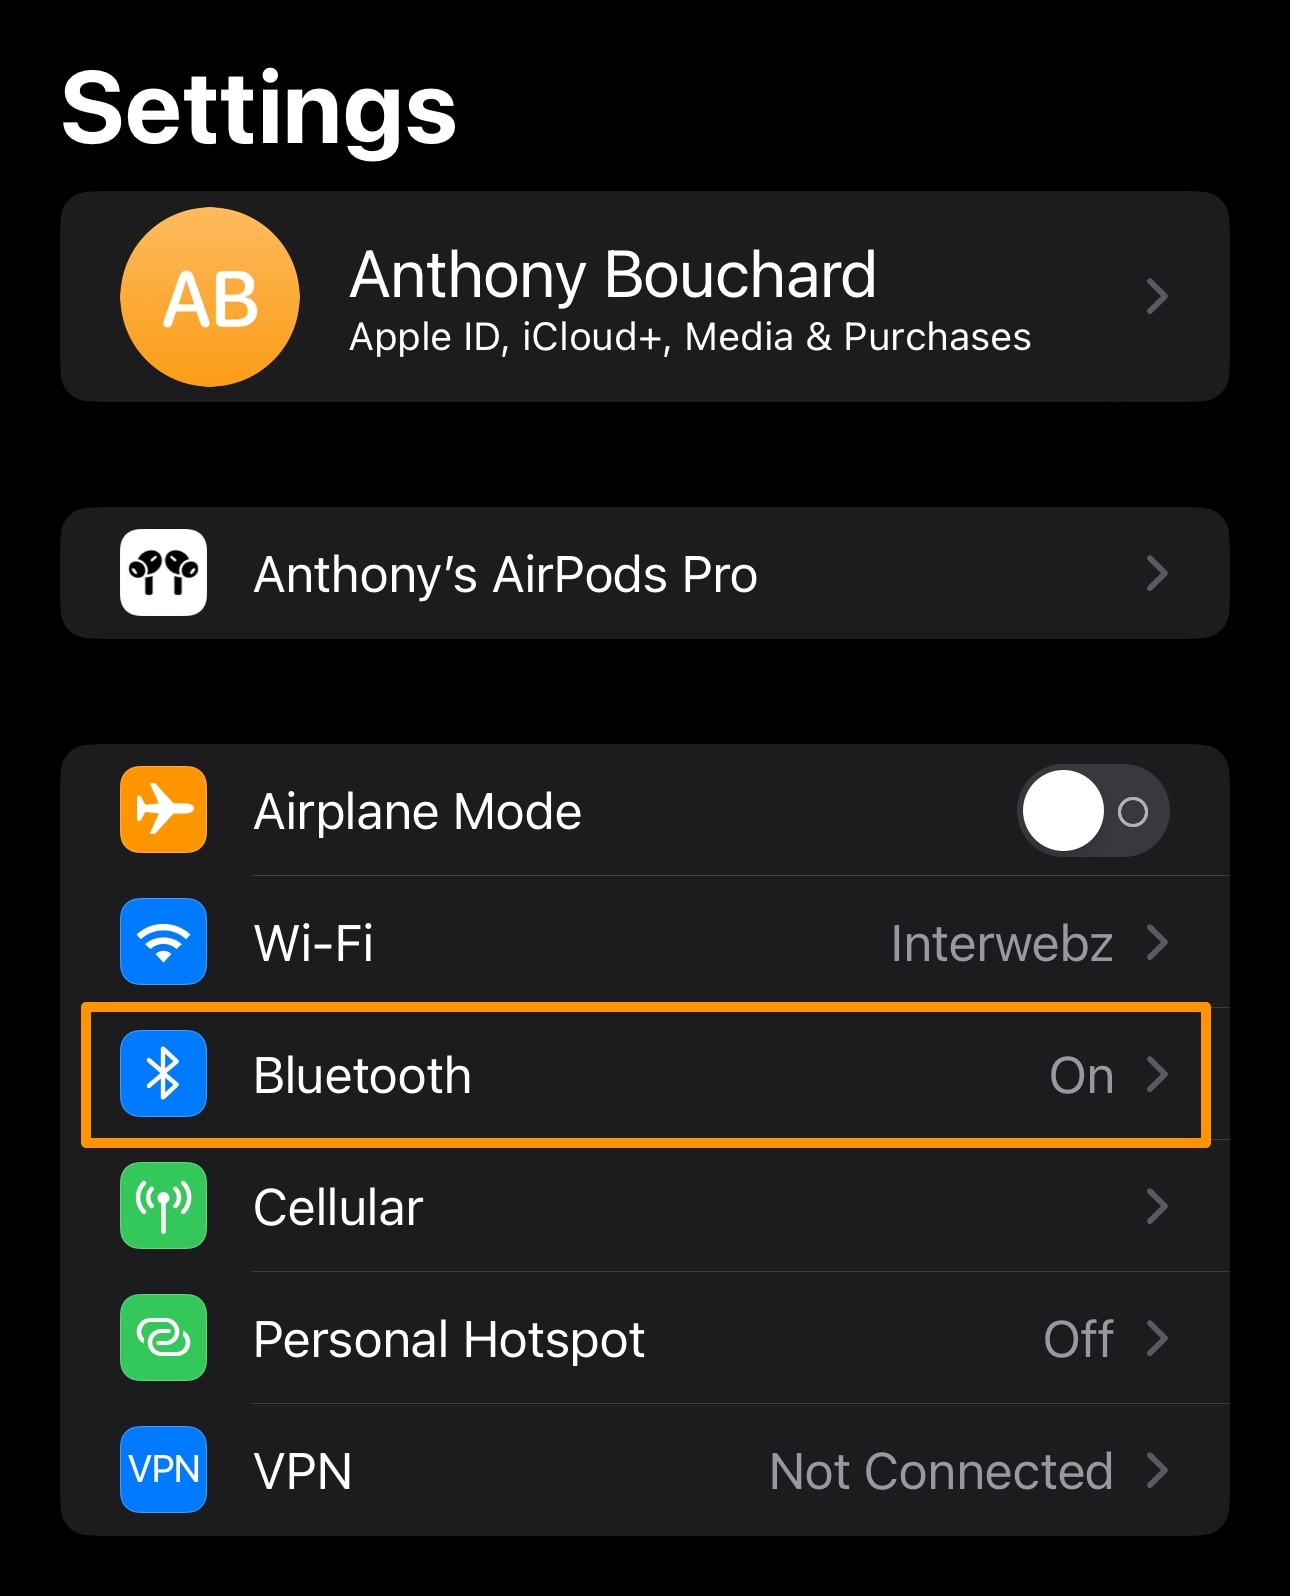
3) Next, grab your iPhone or iPad and launch the Settings app:
4) Open the Bluetooth preference pane:
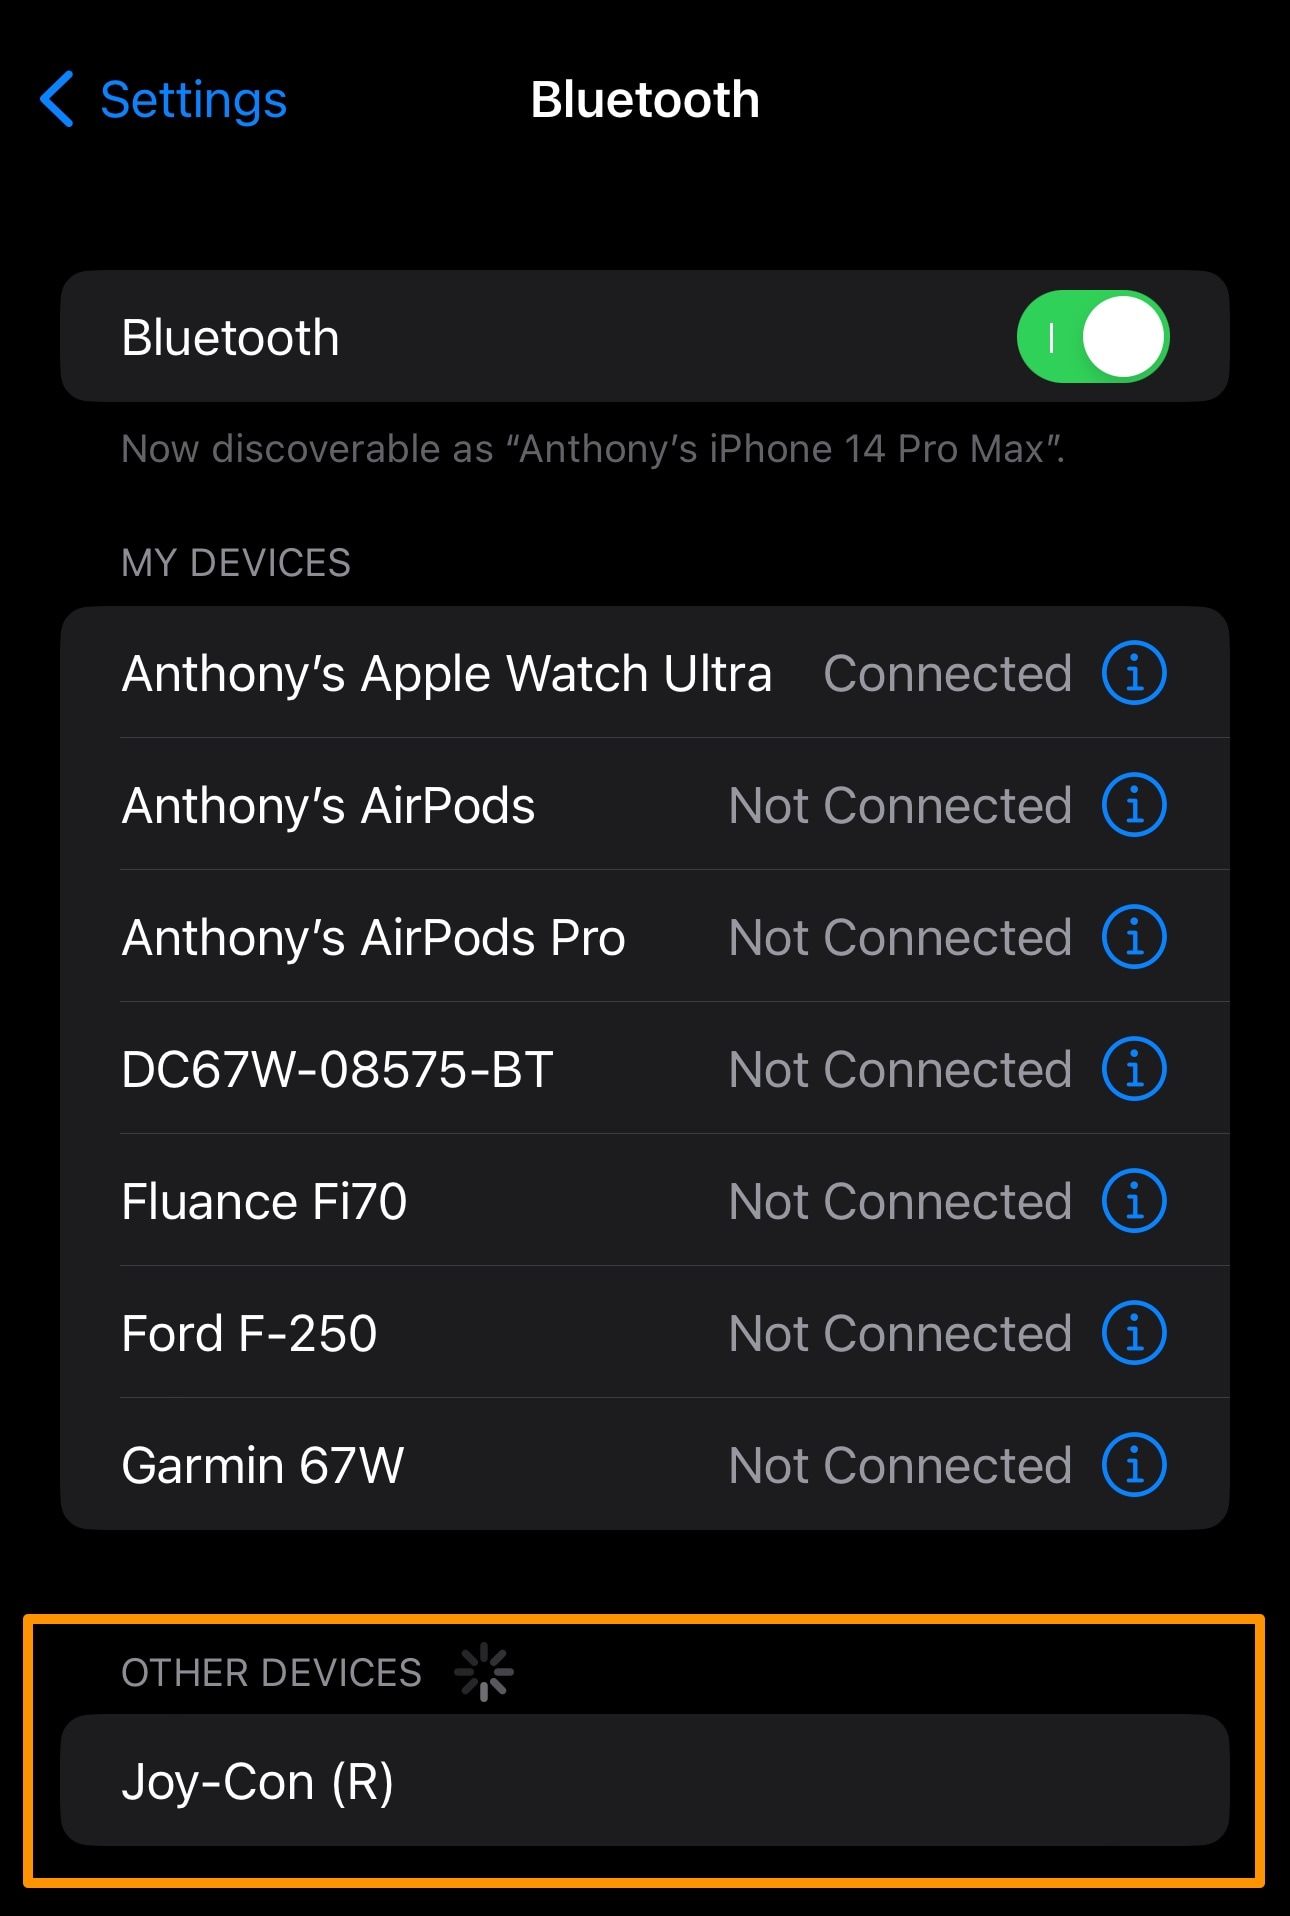
5) Locate your Nintendo Joy Con in the available Bluetooth devices list and tap on it:
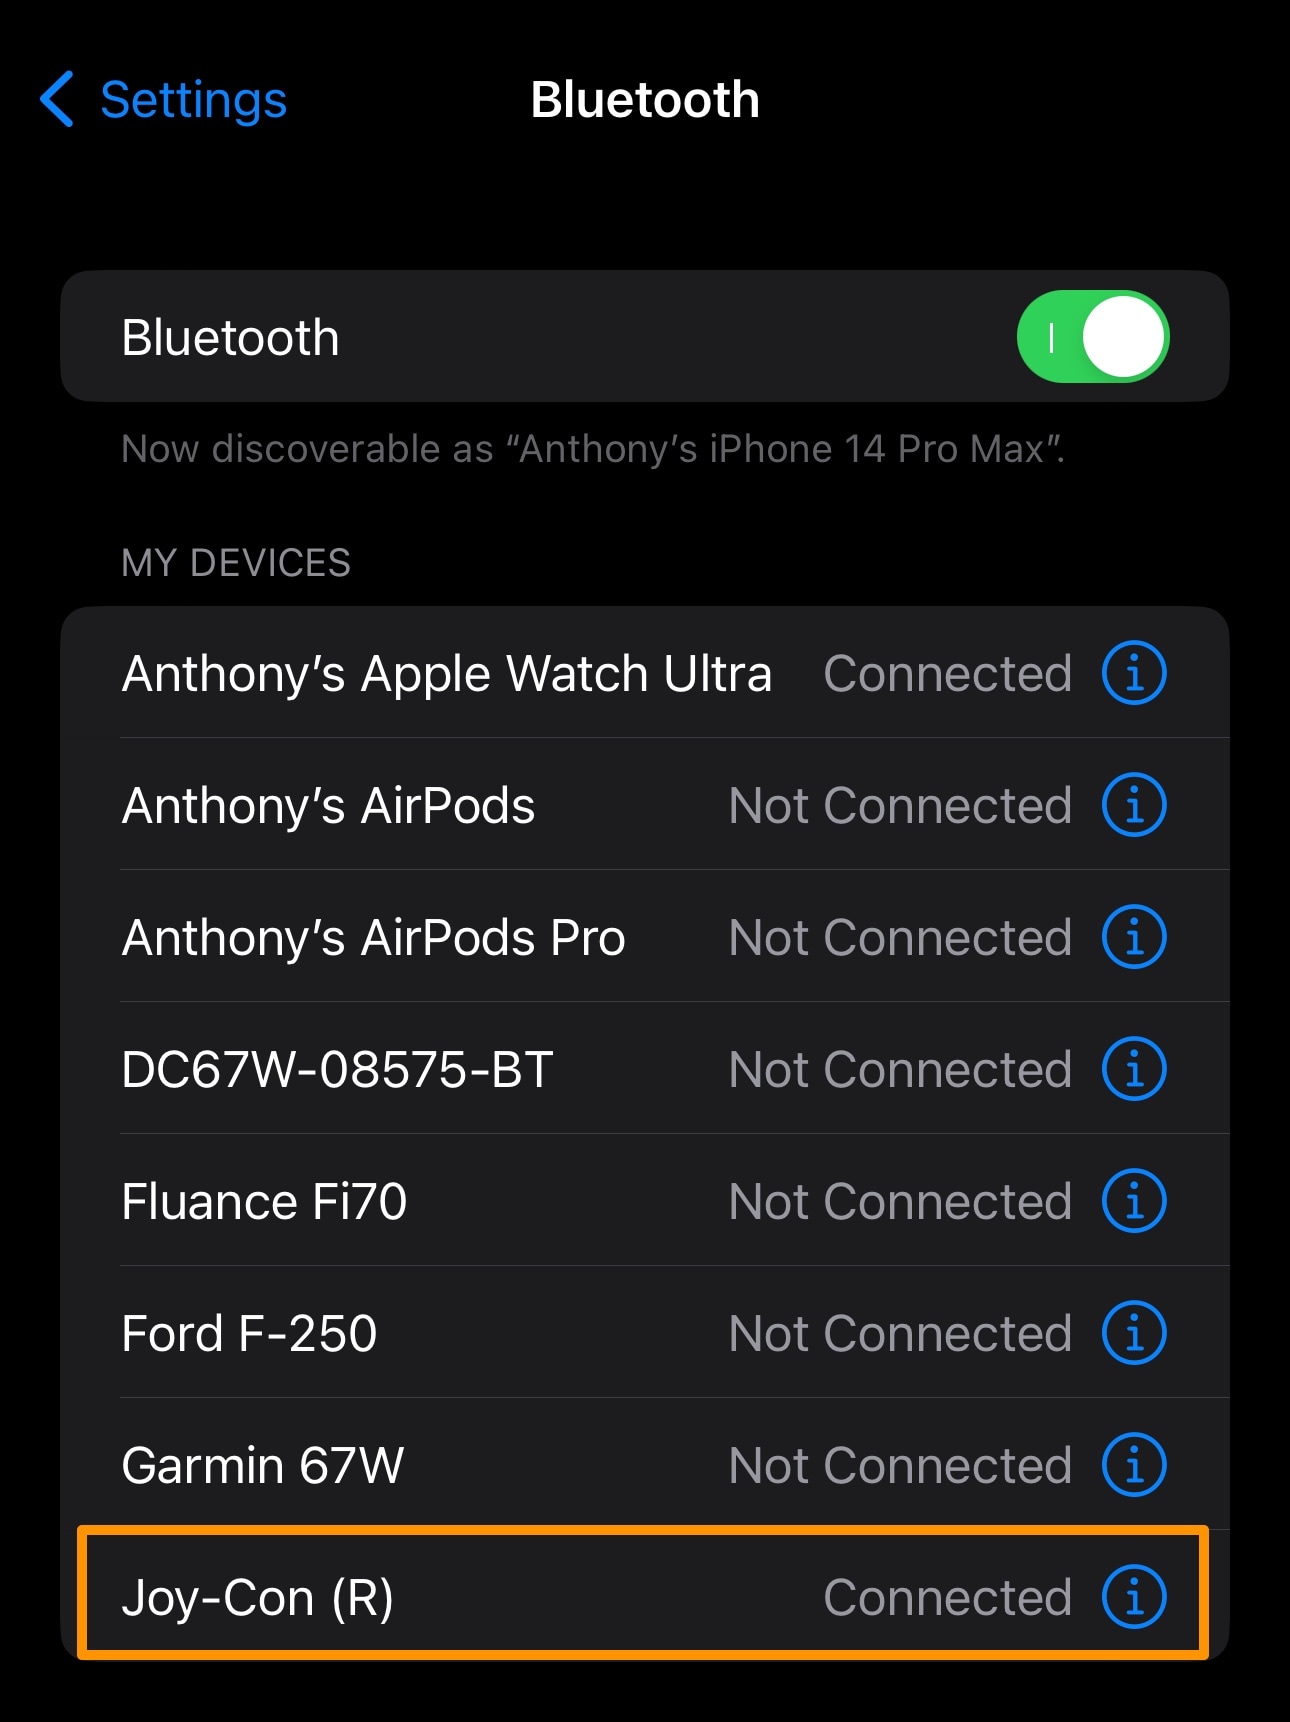
6) Your iPhone or iPad will now connect with and pair to the Nintendo Joy Con:
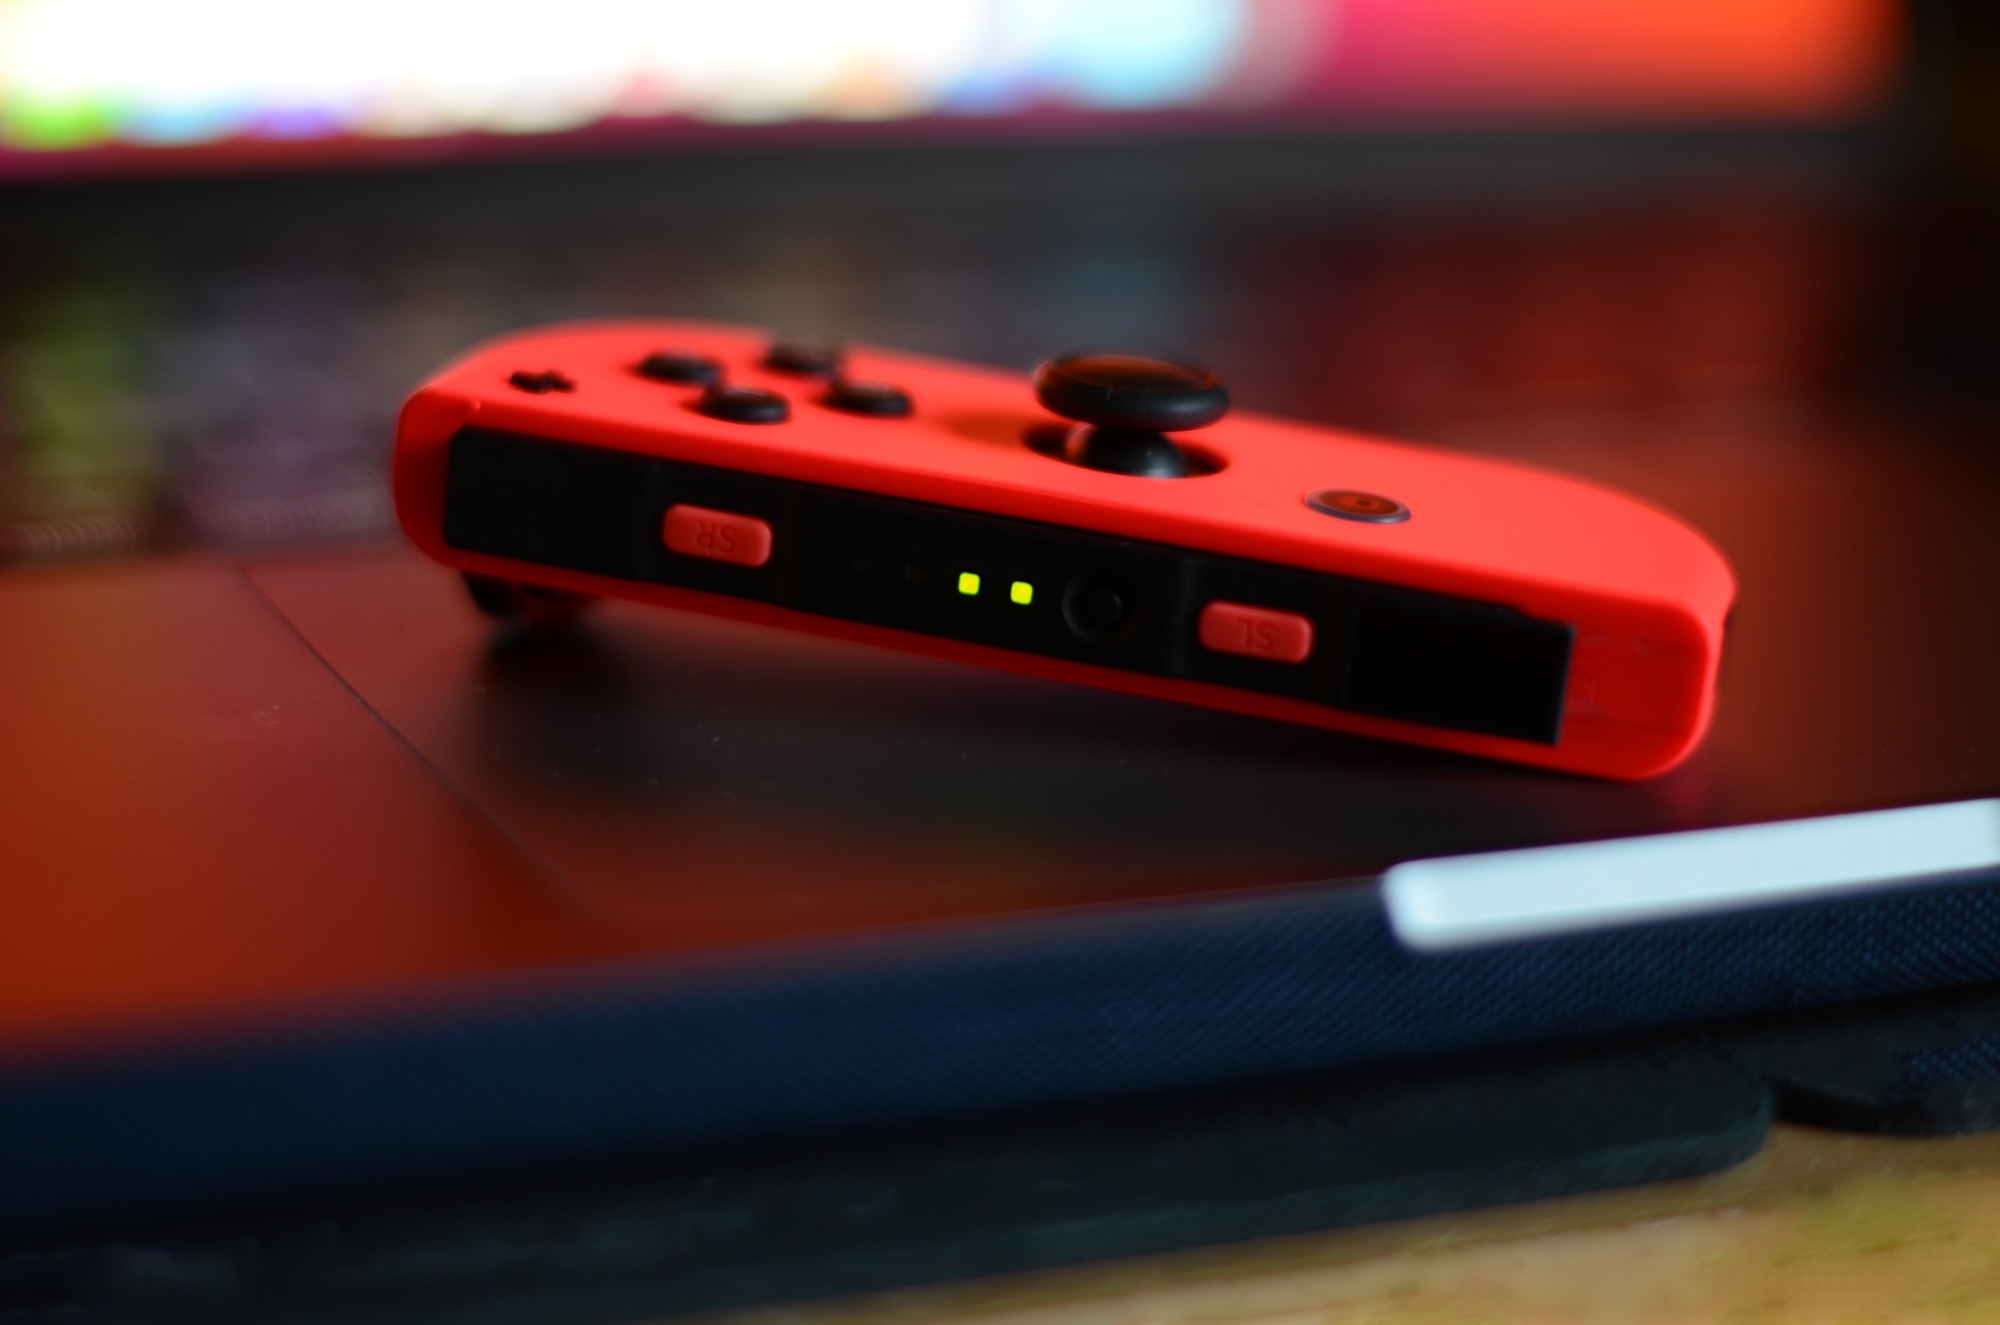
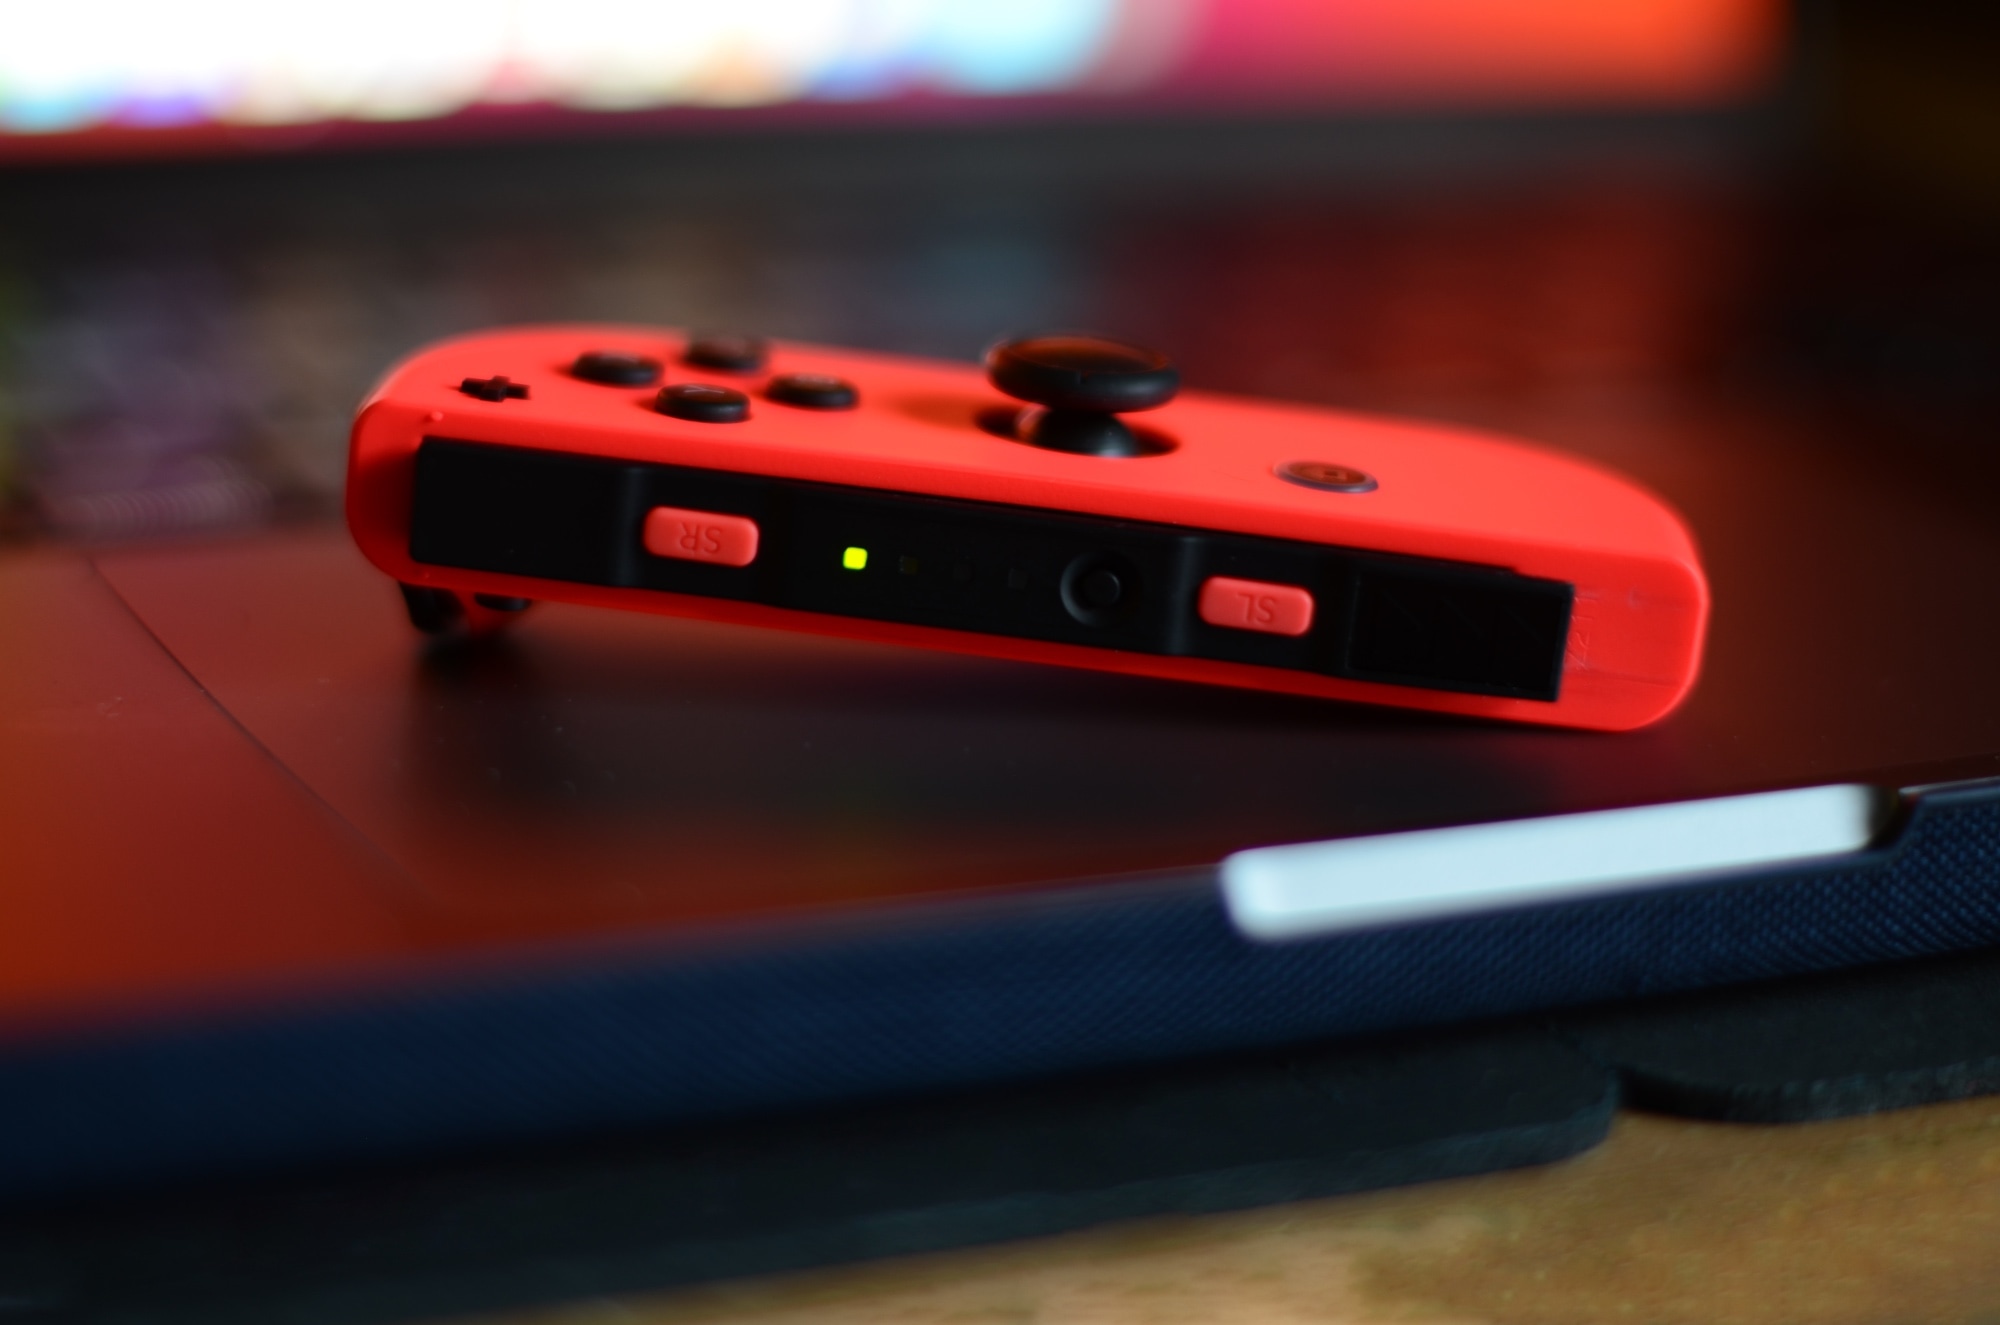
7) The four green pairing LEDs will stop shifting from one direction to the other. Only one illuminates, signifying a successful pairing:
Congratulations, you’re now ready to game on your iPhone or iPad with your Nintendo Joy Con controller!
As we shared in the Nintendo Joy Con tutorial, iOS & iPadOS 16 expanded the list of supported controllers you can use with the iPhone and iPad, and the Nintendo Switch Pro Controller just so happens to be one of the newly supported controllers.
Using a Bluetooth controller with your iPhone is handy when a game supports it, since it can give you the advantage you need to win in certain games. This is because a tactile controller offers improved ergonomics and feedback to your input compared to a touch screen that may miss feedback because of finger oils or software lag.
The Nintendo Switch Pro Controller is a popular controller, so it would come as no surprise that people may want to pair it with their iPhone or iPad to control their games. After all, it’s comfortable to hold and extremely responsive to user input, so it can give you the edge you need to school some noobs.
Please note that not all games support Bluetooth controllers, so you will need to consult with the game developer of the game you hope you play with one.
Pairing a Nintendo Switch Pro Controller with iPhone
To pair a Nintendo Switch Pro Controller with your iPhone or iPad, you will need to follow the steps outlined below:
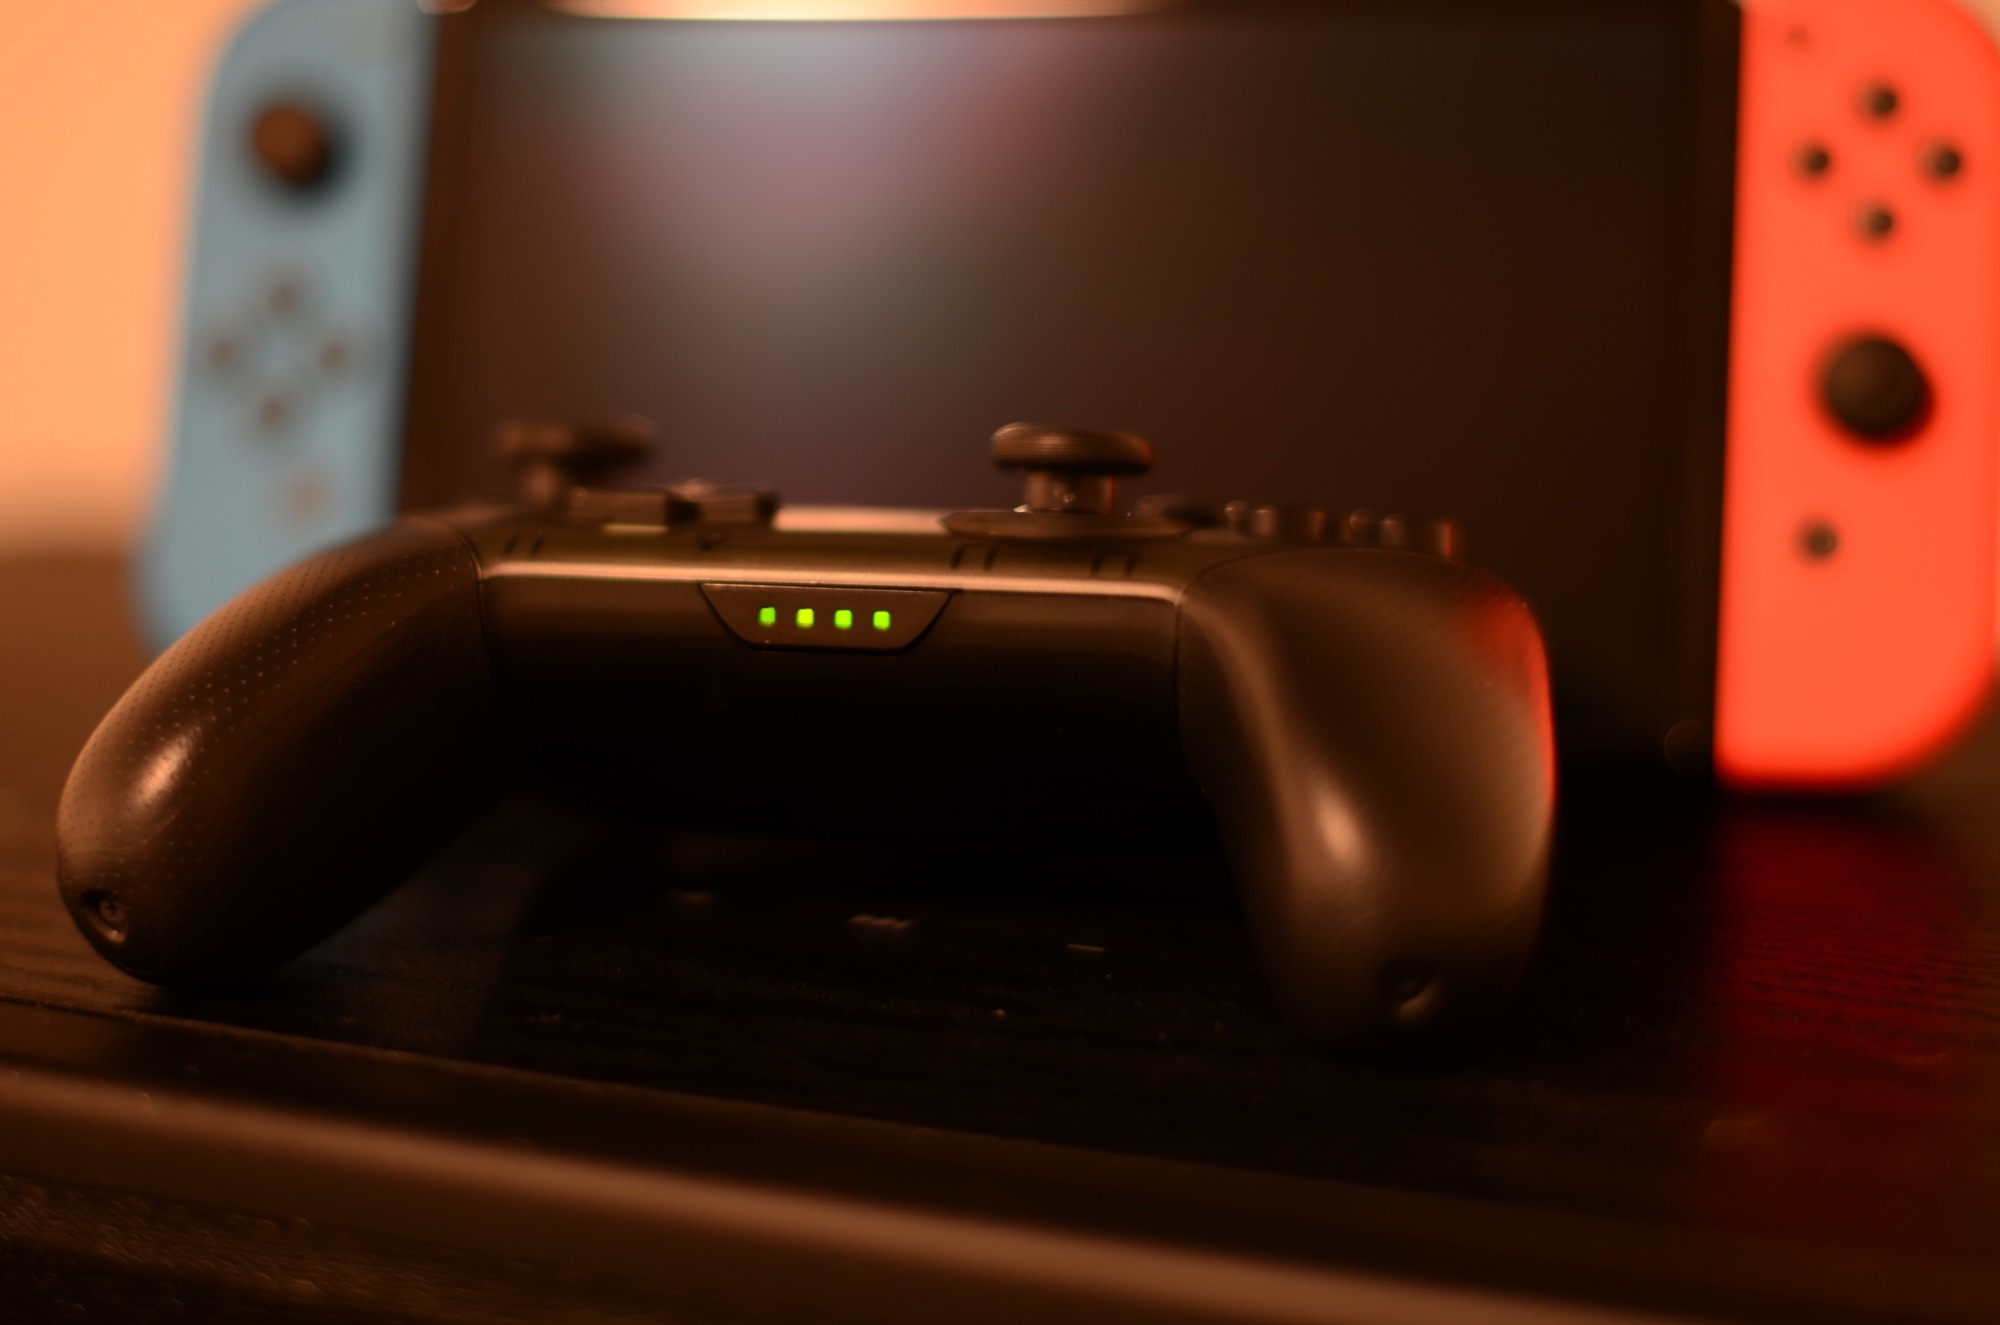
1) Press and hold the round pairing button on the top of the Nintendo Switch Pro Controller:

Note: The four green pairing LEDs will begin shifting left to right and right to left to let you know that the Nintendo Switch Pro Controller is in pairing mode.
2) Next, grab your iPhone or iPad and launch the Settings app:
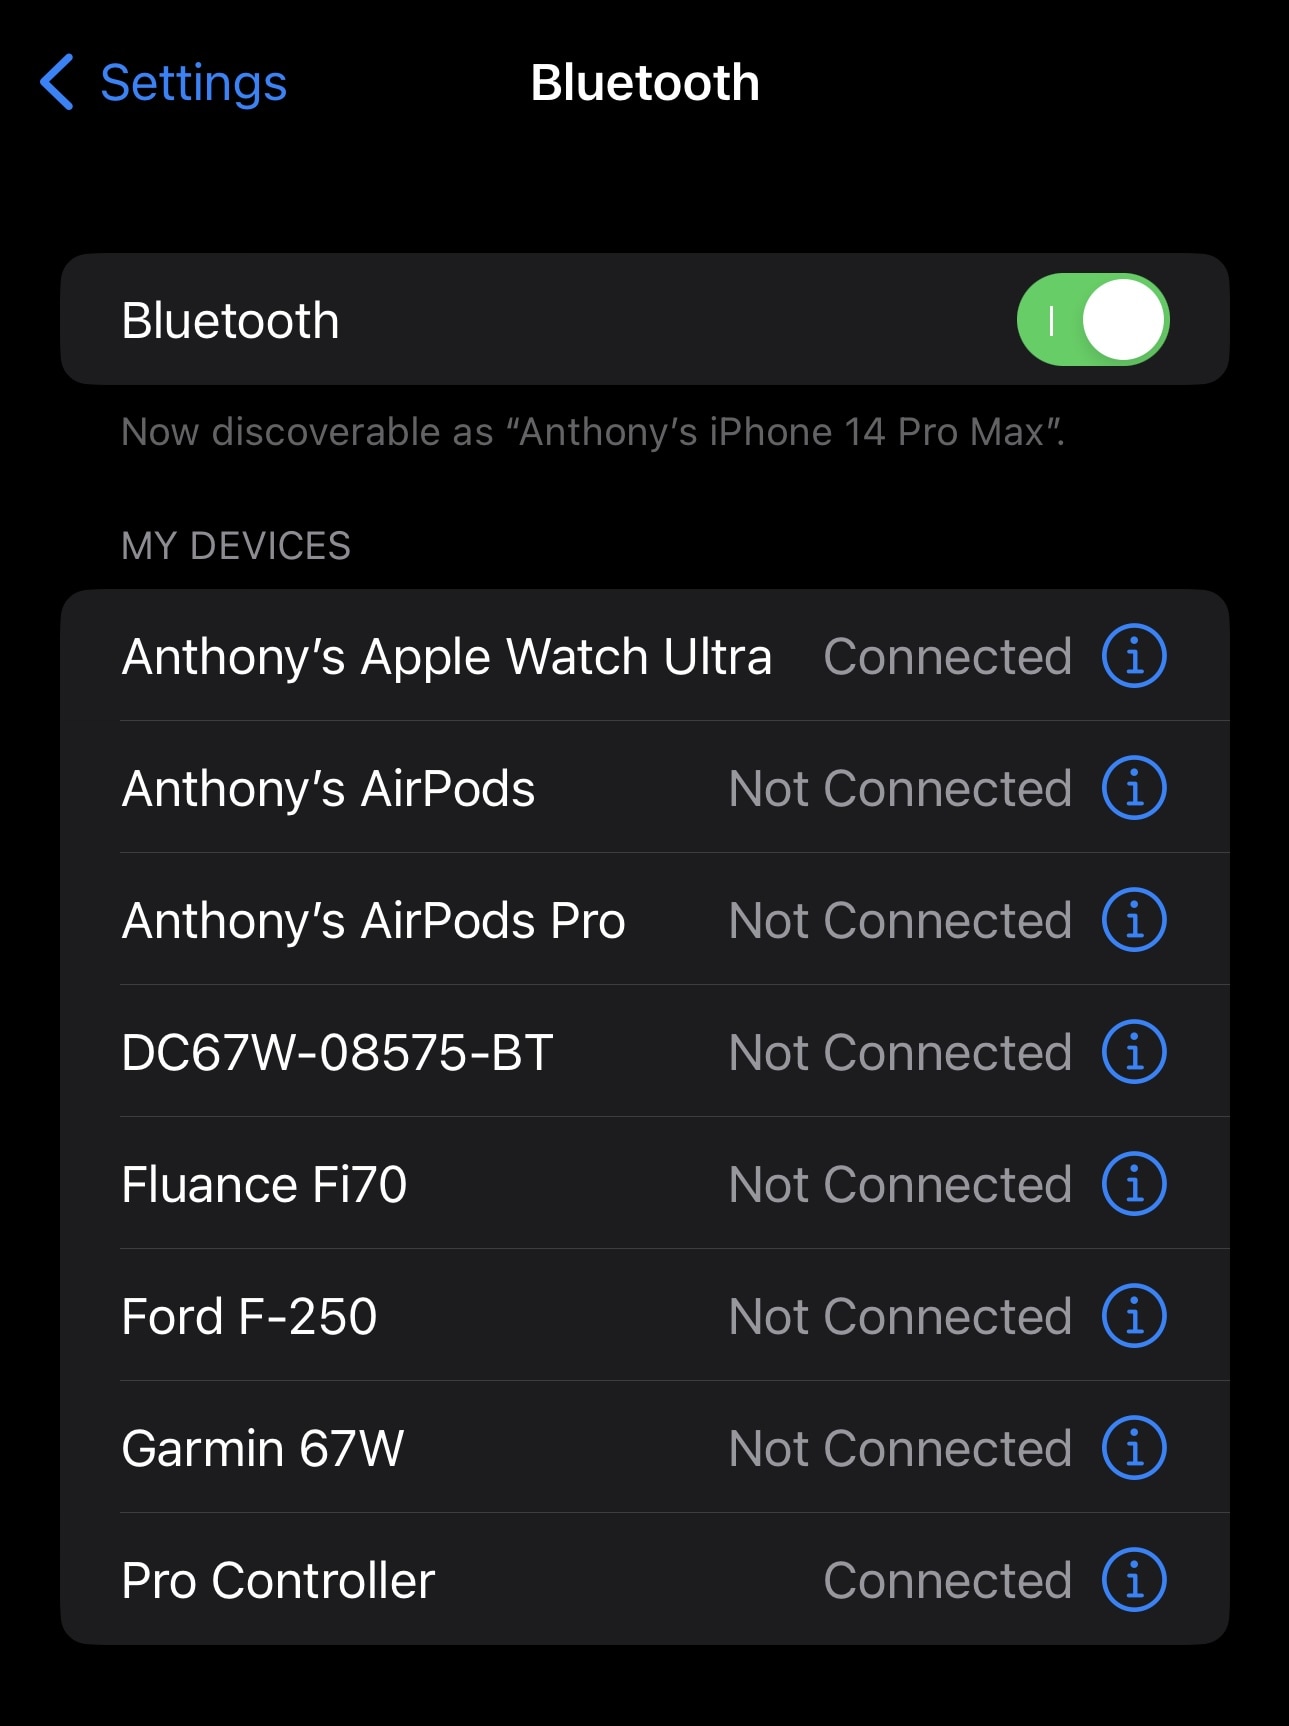
3) Open the Bluetooth preference pane:
4) Locate your Nintendo Switch Pro Controller in the available Bluetooth devices list and tap on it:

5) Your iPhone or iPad will now connect with and pair to the Nintendo Switch Pro Controller:
6) The four green pairing LEDs will stop shifting from one direction to the other. Only one illuminates, signifying successful pairing:
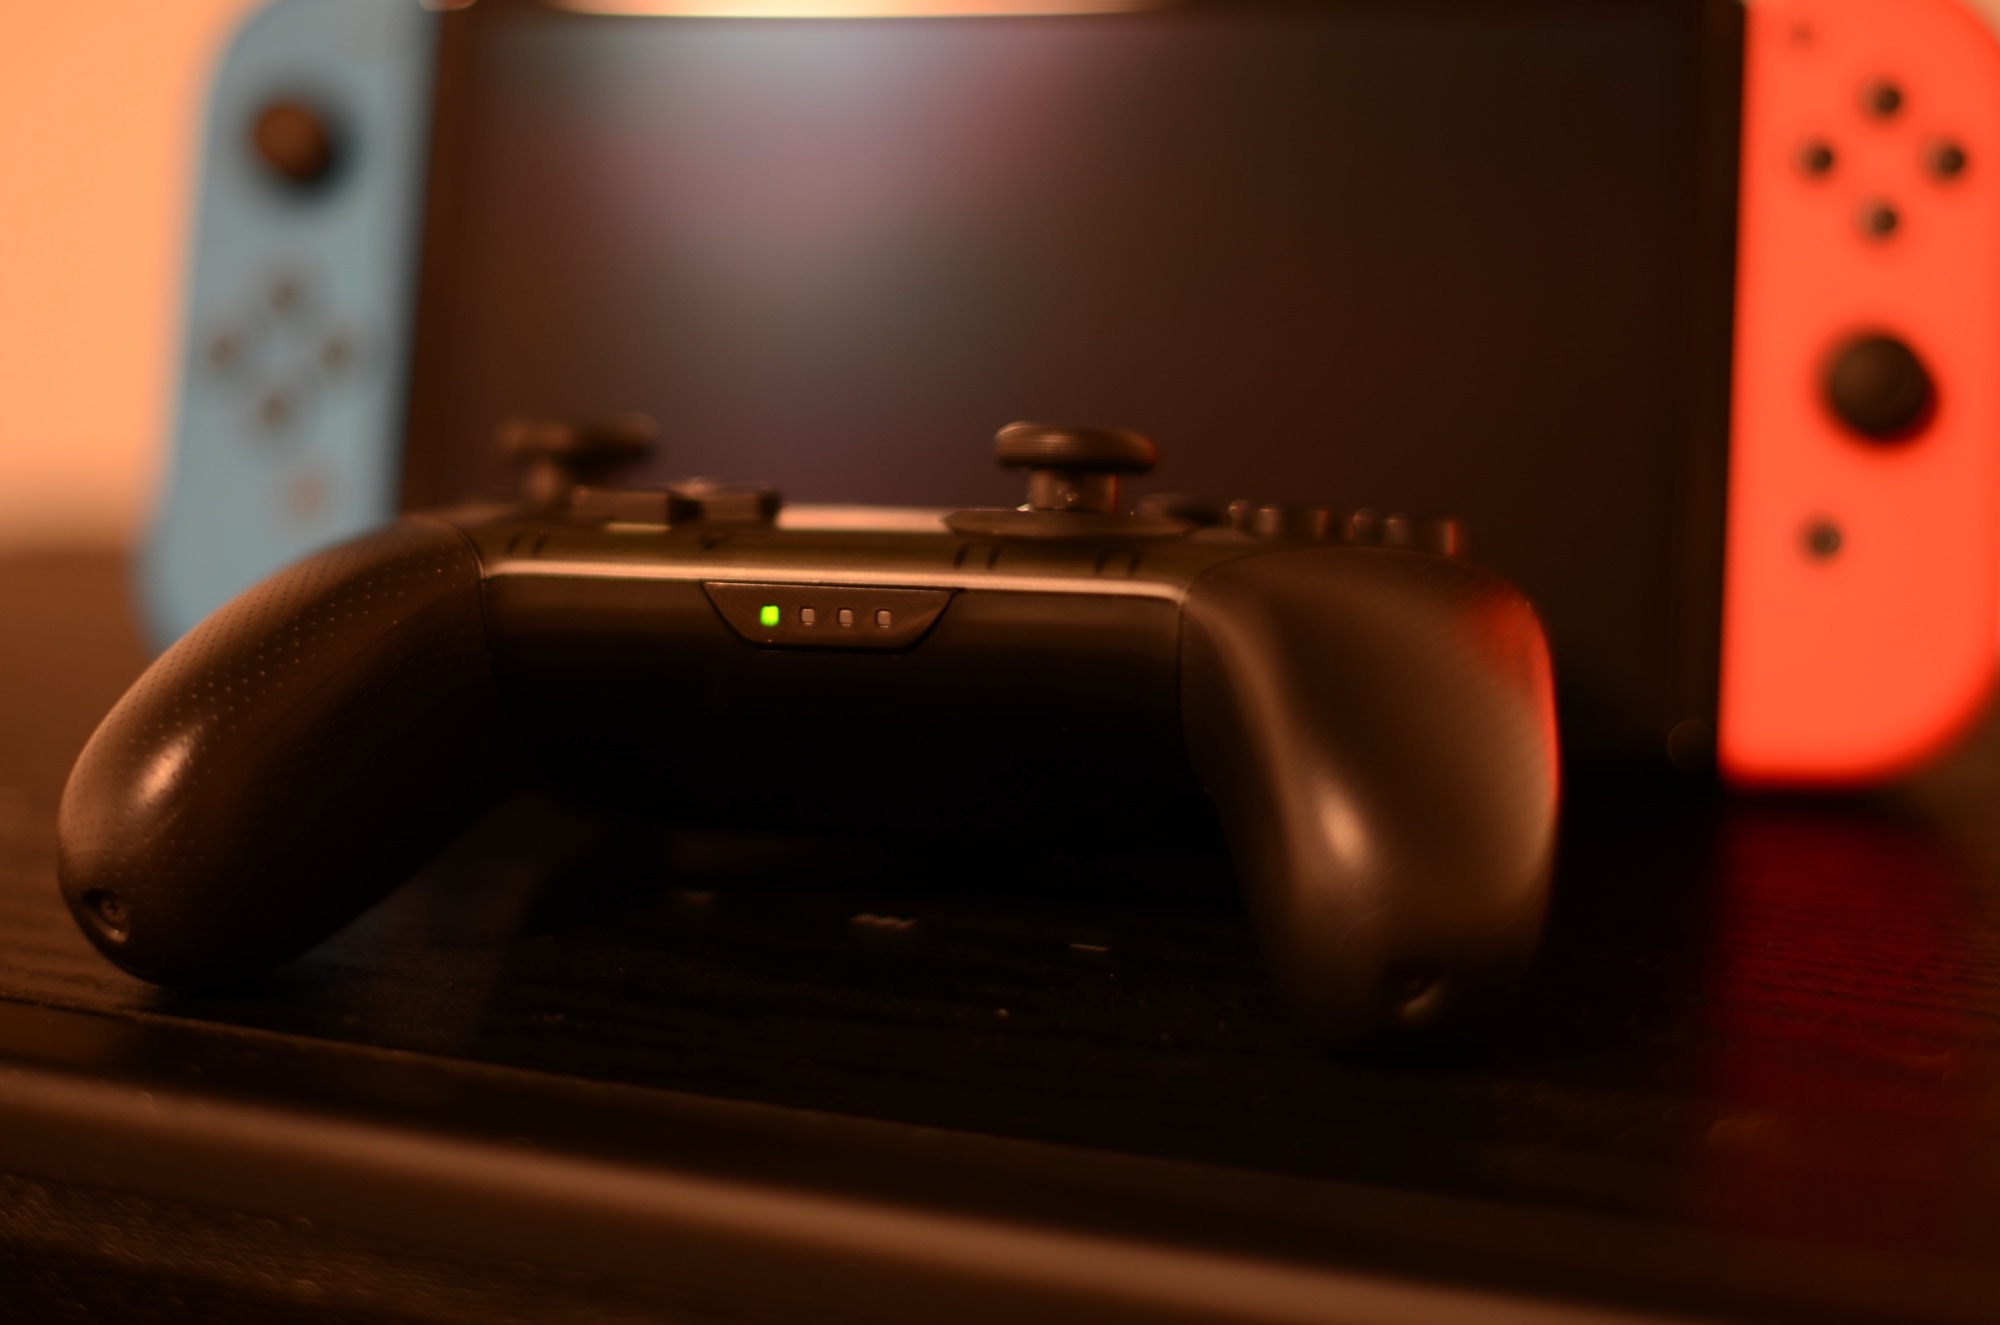
Now that you’re all paired up, you can begin gaming on your iPhone or iPad with the Nintendo Switch Pro Controller!
Conclusion
Pairing a controller with your iPhone or iPad can give you the advantage you need in certain games. While this tutorial showed you how to pair a Nintendo Joy Con and a Nintendo Switch Pro Controller with an iPhone or iPad, it’s worth noting that the process will be quite similar with other brands of Bluetooth gaming controllers.
If you don’t already have a pair of Nintendo Joy Con controllers, you can purchase a set on Amazon for around $80. They’re available in different colorways and you don’t need Nintendo Switch to use one with your iPhone.
Likewise, the Nintendo Switch Pro Controller can be purchased from Amazon for approximately $70.
Please note that not all games support Bluetooth controllers, so you will need to consult with the game developer of the game you hope you play with one.
Now that you know how to pair a Nintendo Joy Con and Nintendo Switch Pro Controller with an iPhone or iPad, will you take advantage of this handy feature? Let us know in the comments section down below.