Shortcuts are handy and powerful automations that can get things done on your iOS, iPadOS, or macOS devices, but lets say you’re using your Mac and you want to trip off a shortcut like a pro — how would you do it? With Terminal of course.

In today’s tutorial, we’ll be showing you how you can trigger a Shortcut on your Mac with the command line-based Terminal application instead of via the graphical-based Shortcuts menu in the Menu Bar.
How to run Shortcuts on macOS with Terminal
To run an existing shortcut on your Mac using a Terminal window, you can follow the steps we’ve outlined below:
1) On your Mac, launch a Terminal window.
2) Find a Shortcut that you want to launch, and note the name of that Shortcut.
3) In the Terminal window you opened earlier, enter the following command:
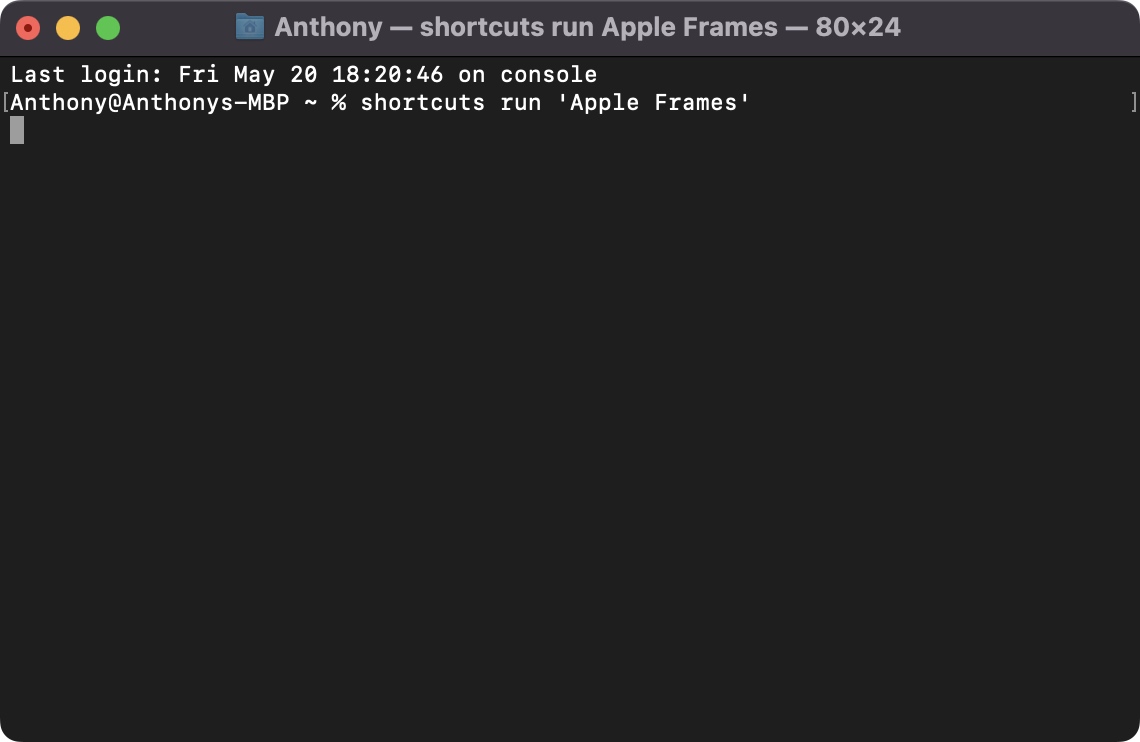
$ shortcuts run ‘[enter shortcut name here]’

Note: You will use % instead of $ if you use zsh in Terminal. In our case, we use zsh, and the Shortcut we’re running is called Apple Frames.
4) Press the Return key on your keyboard to launch the Shortcut.
Note: The Terminal now deploys your Shortcut, and it should produce the desired output just as using the graphical user interface would.
Please note that every Shortcut is different, and so what happens next depends entirely on the Shortcut you decided to launch. In the case of our Apple Frames shortcut, a small Photos window appears so that we can pick a screenshot to add a Mac frame around.
That’s all there is to it!
Conclusion
While running Shortcuts via Terminal isn’t as time friendly as using the graphical user interface that most Mac users already take advantage of, it’s a great way to show off and make everyone around think you’re a pro.
Do you use Terminal to run your favorite macOS shortcuts? Be sure to let us know in the comments section down below.