If you’re a budding programmer with a new Mac, and want to start coding, then you may be wondering how to install Git on macOS. Git is an open-source version control system that’s used by coders, developers, and programmers all over. You will be able to use Git to maintain a code log, collaborate with other coders, track errors, and more.
Here’s how you can install Git on macOS and get started with coding. Of course, before we begin, make sure you have a Mac machine and know how to use the Terminal.
What is Git?
Git is a version control system, an open-source one, that can be used by developers and coders worldwide. It helps you collaborate with other codes on a project and track the development. You can also keep an eye on errors, and avoid interfering in other’s work.
Github is where most of the projects are maintained, and installing Git on your computer will allow you to submit code to Github, communicate with members, and more. Now, there are a couple of ways to install Git on macOS, and we’re going to take a look at three of the easiest methods.
How to install Git on Mac
If you’ve already got Xcode installed on your Mac, then the program will automatically install a version of Git. However, this is usually not the latest version, which is why it’s always better to install Git manually. After you’ve installed Git on your system, you can confirm it by launching Terminal and typing ‘git –version‘.
Check out: How to customize the look of Terminal on Mac
1) Use standalone Git installer for macOS
This is the easiest way to install Git on your Mac. There’s a standalone Git installer available for macOS that’s been developed by Tim Harper. Follow the steps below to download and install the package.
- Launch your preferred browser and download the installer.
- Install the package like you’d install any other third-party app.
- Follow the steps in the installation wizard. Choose your options and set up Git according to your preferences.
- Click on the Install button
- After installation is complete, verify that Git is installed.
Git has now been successfully installed on your Mac. If you’re facing issues with this method, then follow the next one.
2) Install Git using Homebrew
Most developers prefer installing Homebrew on their Mac. This is a well known software management system that allows you to install command-line utilities and apps, such as Git. This method also lets you install git on a newer M1 Apple computer. However, some packages and utilities haven’t been optimized for Apple Silicon yet.
To install Homebrew, follow this guide on the official website. It’s fairly simple and you just need to type this command in Terminal.
/bin/bash -c “$(curl -fsSL https://raw.githubusercontent.com/Homebrew/install/HEAD/install.sh)“
One you’ve installed it, follow the steps below to install Git.
- Launch Terminal again.
- Type in ‘ -brew install git‘ in the Terminal and hit enter.
- The installation should now begin. Once it’s finished, verify the same.
3) Install Git with GitHub desktop
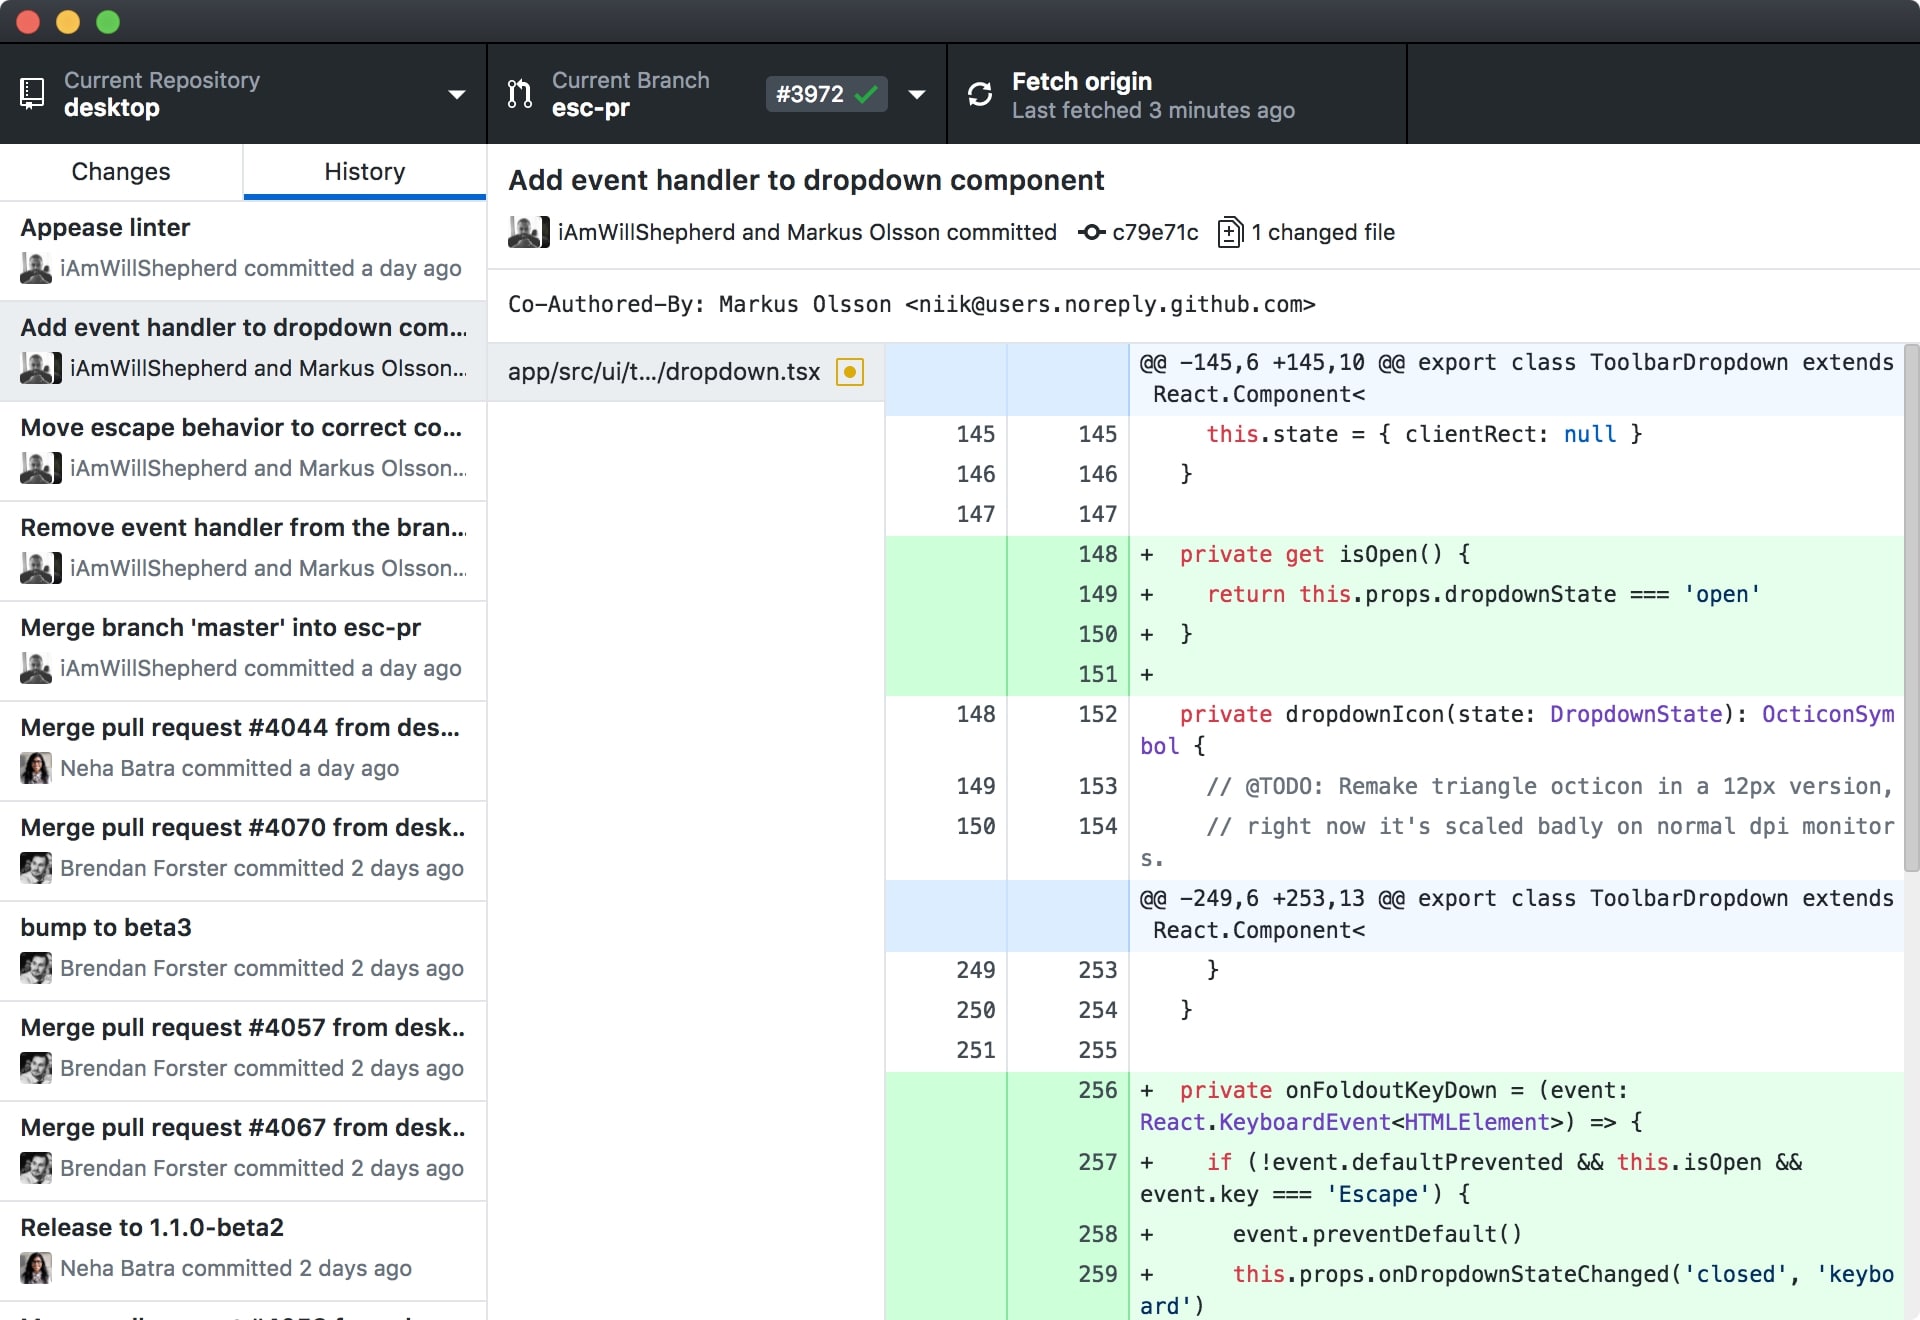
This method will let you install Git on your Mac without having to first install Homebrew or Xcode. You can do so by downloading and installing GitHub Desktop on your Mac. This package will let you code with ease, connect to your Git account, and comment on projects. You can download the package from the GitHub Desktop website.
Once again, after the installation is complete, verify that Git has been isntalled by using the command ‘git –version‘.
Wrapping Up
There you have it! Some easy methods on how you can install Git on macOS. The easiest one would be to download the standalone installer. You can now start coding, creating branches, manage projects via Github, etc.