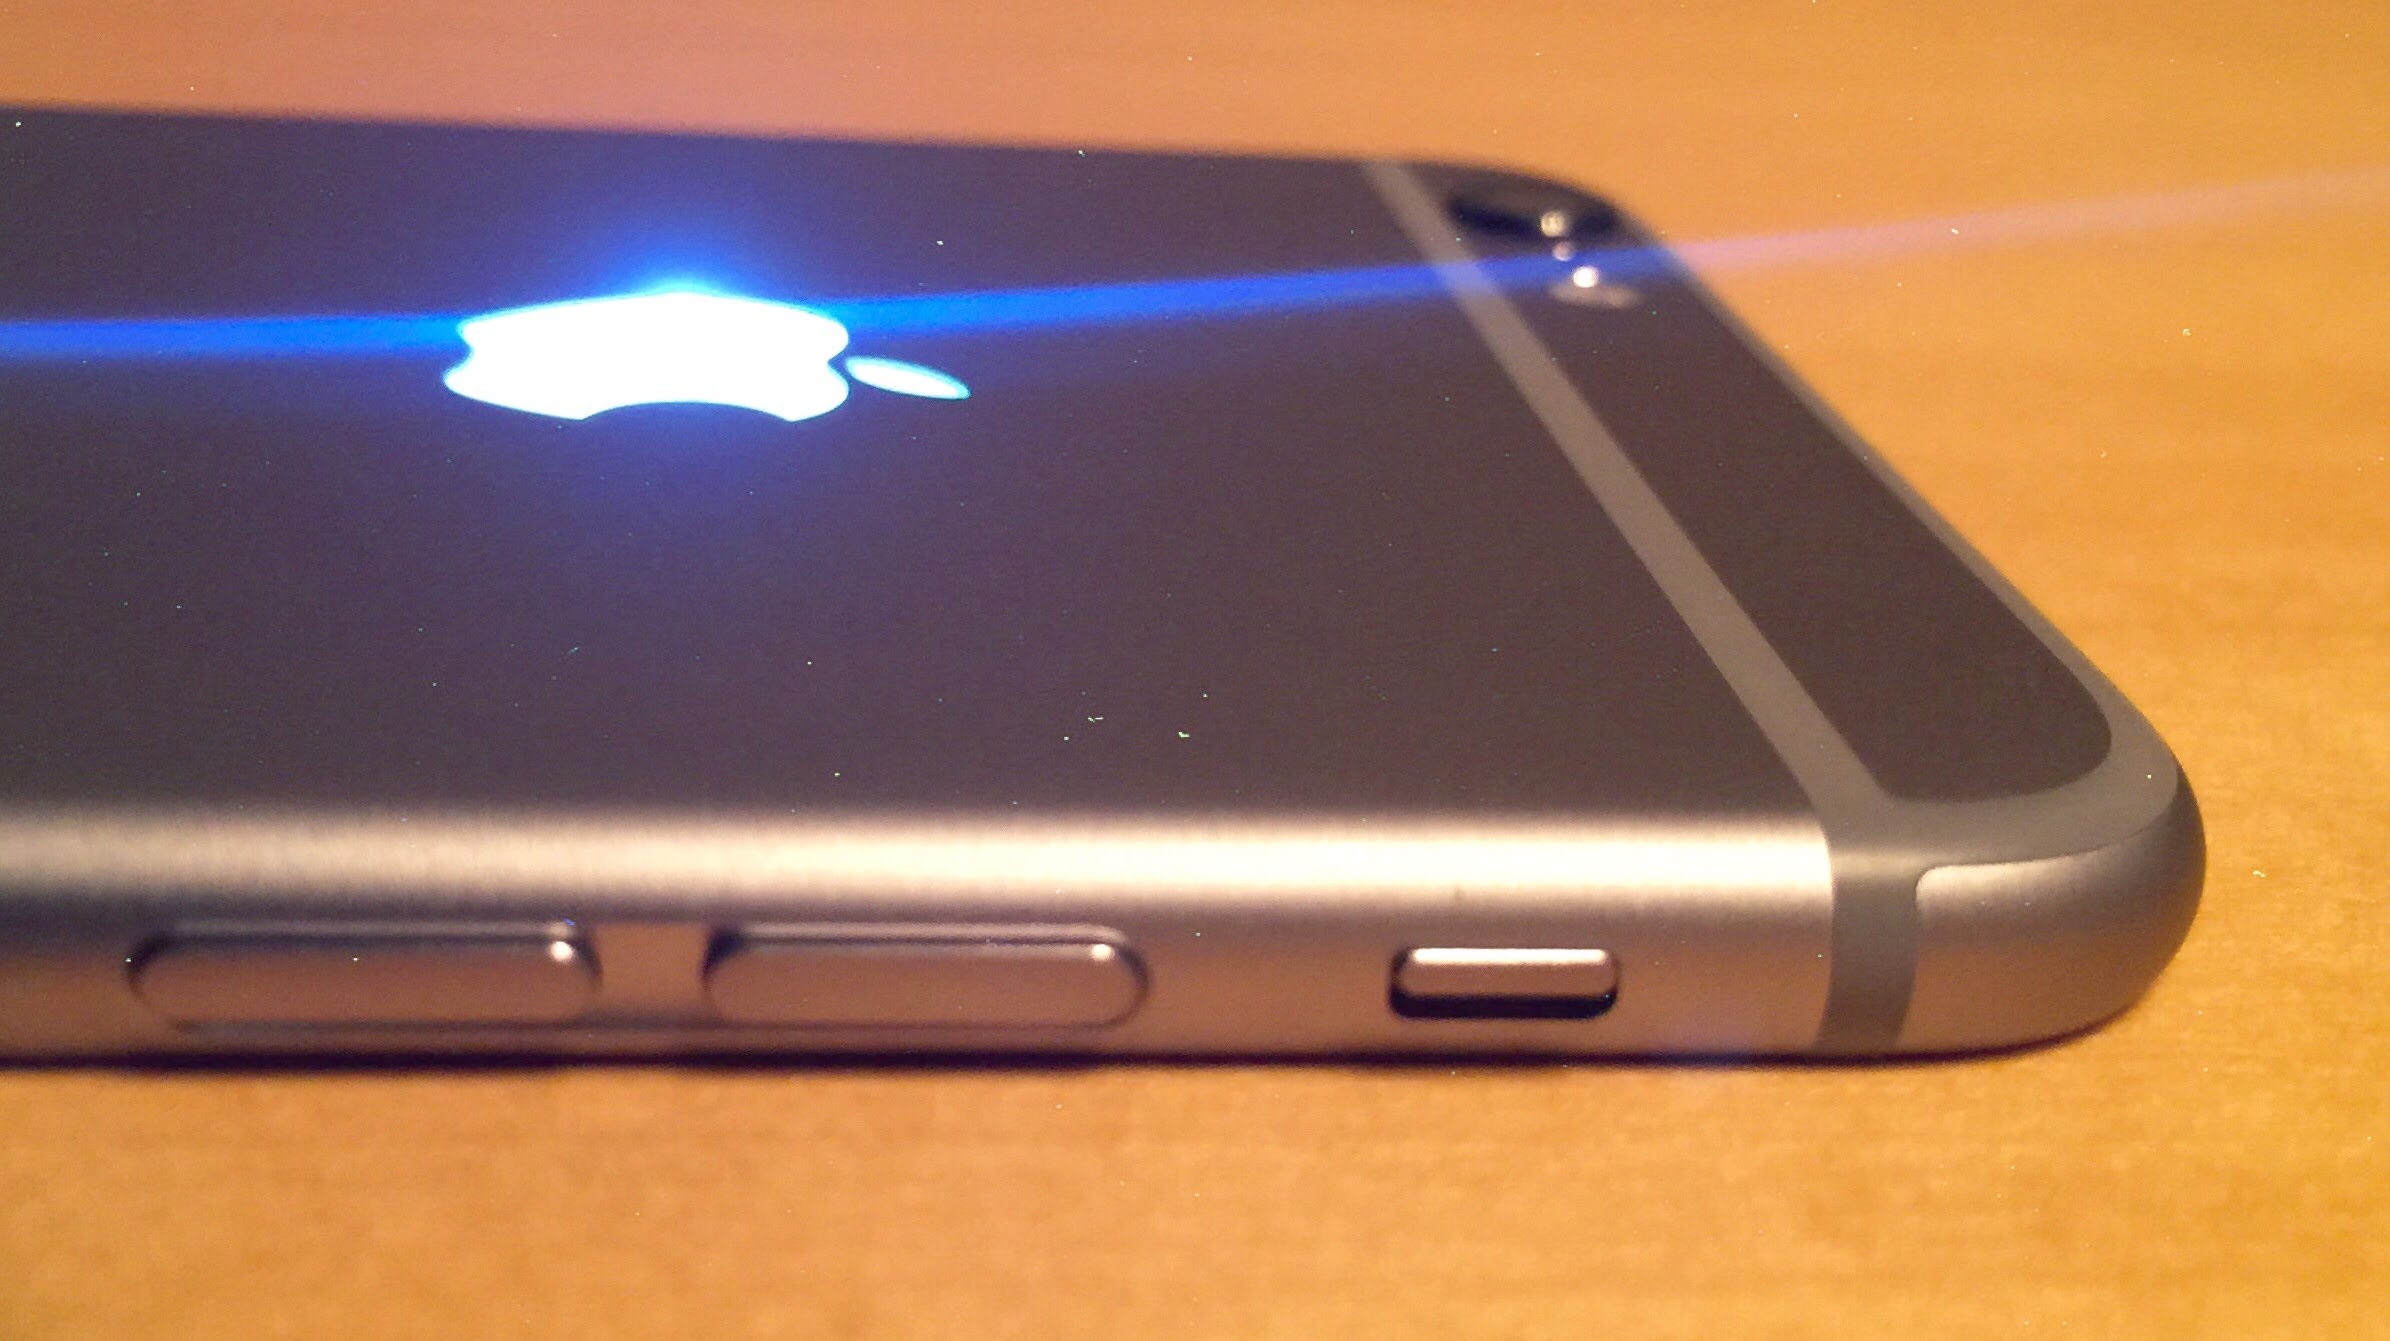
An iconic image, the glowing Apple logo adorns store locations and flagship MacBook devices. It is the quickest way to spot an Apple device in the wild. However, Apple refuses to provide the same iconic design on iPhones and iPads. To resolve this conundrum, that meant taking matters into my own hands.
For years, I wanted an iPhone with a glowing logo. All the way back to iPhone 4, it has been possible to mod your device with a small LED. However, with iPhone 6, @theunlockr is offering a simple all-in-one DIY kit, helping transform your device in about 30-60 minutes. Take a step inside to see my personal handy work and a great tutorial video to ease your nerves.
The not-so-fine print
While the end result is fantastic and receives lots of compliments on my iPhone’s glowing logo, this will absolutely void your warranty and Apple Care plan. Perhaps you are upgrading to the iPhone 7 in a few weeks and you don’t mind blowing off your warranty or you have an older iPhone 6, which is already out of warranty–go for it! iDownloadBlog is not responsible for your actions, should you choose to order the mod kit and replace the logo on your personal device. Moreover, taking your device into an Apple location is also no longer an option, even if you are out of warranty. I do not anticipate Apple assisting you with this device any longer, even for software related issues.
But, we are all jailbreakers here, right? We are modders at heart. And, who doesn’t want a sweet glowing Apple logo on their iPhone? This mod kit even changes brightness based on the screen brightness, which works in harmony with the ambient light sensor. It slowly lights up and dimly turns off! If you have been waiting to change your logo, this is the kit I recommend.
The mod kit
A completely self contained kit can be ordered from TheUnlockr website for iPhone 6(s) $29.99 or iPhone 6(s) Plus $32.99. It is important to order the one that corresponds to your exact device. I did receive the kit at no charge for this article, but I am very shocked at the low cost, given the final product and complete toolset. In the kit you will receive all necessary tools to complete the job, including: custom cut Apple logo; tweezers; two spudgers; several screw drivers; two pry tools; a suction cup; and tape with foam bumpers.
How to replace your iPhone Apple logo
For the written how-to section, I will gloss over some steps and leave the details to @theunlockr’s YouTube video. I watched the video twice all the way through before starting my mod. You will also want the video on hand while completing the process. Watch the segment, pause, complete the task, and move step by step. This is not a process you want to hastily complete.
Having finished the mod myself, it took me about one hour. I am quite untrained on mobile devices, but do know my way around a CPU tower, thanks to dear ol’ dad. The two skills are somewhat compatible, but once my iPhone was open on the operation table, you would have thought I was defusing a bomb. There was quite a lot of nervous tension. Keep a sweat rag nearby, or wear a headband. This is serious business. As @theunlockr says, “it is not for the faint of heart.” Agreed.
The step by step instructions below, and my tips in between, are not a substitute for the instructional video, found at the article bottom. Go through the written steps and video carefully before trying this at home.
Step 1: After you watch the video a couple of times, clear off a table top or desk. Give yourself a good amount of room and ensure the surface is clean of debris and dust. You don’t want to trap any extra crud in your device. Set out your kit and device on a microfibre cloth to prevent scratching your screen. Turn off the iPhone.
Pro tip: Grab a blank sheet of paper and some double sided tape. Place the tape on your paper and place the small screws on the tape, as you take them off your iPhone. To be extra careful, draw a circle around each screw with a fat marker, to make sure you keep inventory and do not accidentally bump these screws off your working surface. There are no extra screws in the kit. Pay close attention. Better yet, place the screws in one of the little baggies from the kit. Whatever you do, don’t lose the screws!
Step 2: Void your warranty. I cannot over emphasize: this process will void your warranty. Open up the case housing, using the pentalobe screw driver and carefully separate the screen from the bottom/back housing with a pry tool and suction cup. Set the screws aside on your paper worksheet, dropping them on the tape, so they don’t run away.
Pro tip: You will really need to wedge the pry tool between the top and bottom seal. There is a sealed, water tight gasket (remember those iPhone 6s waterproof videos?) just between the two layers. It can be difficult to pry apart, but be slow and patient. Finally, do not fully open the case if you can prevent it. As you see in the image above, there is a ribbon cable connected to the screen that could break if you fold the screen half flat onto the table.
Step 3: Remove the battery ribbon housing (circled above), place the screws on your worksheet, and pop off the cable. The cable connection is fairly sturdy, but still be gentle.
Step 4: Remove the small taped edges (arrows above) on the battery using the plastic tweezers. Then, slowly pull the tape tabs. The process is very much like removing a 3M strip.
Pro tip: Do not use your own metal tweezers. The supplied plastic ones ensure you do not overly damage the tape ribbon, or the battery housing. I cannot overly stress, be careful pulling off the tape ribbon and pull in a straight, level (with the table surface) fashion. Make sure it does not get caught on the Taptic Engine housing. If you rip the tape, very carefully lift the battery and grab the remaining tape with your tweezers. The battery is slightly flexible, but try to bend it as little as possible. I ripped both of my strips, but carefully pulled them out from under the battery with the tweezers. If necessary, try using the blue spudger with the flat, hooked tip to pry up the battery and simultaneously grab the strip.
Step 5: Pop the battery out of place. If you got all the tape, it should be very simple to pry out.
Step 6: Take off the black electrical tape holding the Apple logo in place, then carefully pry out the stainless steel logo.
Pro tip: I used the small flat head screw driver to pry out the logo, as shown in the video. Unless you want to keep the logo for later, you do not need to be particularly gentle with the metal. The logo is glued in place as well, so it will take some working. I really cannot see a way to preserve this piece, so just dive in. Importantly, don’t ruin the actual iPhone back plate.
Step 7: Place the LED logo into the housing, leaving the thin protective coating on the logo in place, to prevent scratches. These pieces are precision cut. At first it might seem like it does not fit, but be gentle. Next, line up the LED connection ribbon “Part B” to the screen diode/conductor. Add the bumper pieces and tape everything down (circled above). I used all of the bumper pieces to make sure the connection was strong when the iPhone is closed. Pressure is holding it in place.
Pro tip: Slide “Part A” on the LED ribbon cable into place first, if you are having trouble lining up the glowing logo into the recessed hole. Also, the glowing logo has a thin plastic film, mentioned above. Leave it in place until you close up the entire phone. During this step, do not place undue stress on the screen ribbon cable, as it is the only piece holding the screen to the iPhone base.
Step 8: Replace the battery, reattach the battery cable, and screw the battery cable plate in place. To test the glowing logo, carefully place everything back together, lining up the top screen and iPhone bottom. It will click into place.
Step 9: Test the glowing logo by powering on your iPhone.
Step 10: Replace the pentalobe screws on either side of the Lightning port. Make your friends jealous.
The video
To ensure the steps are carefully completed, please reference TheUnlockr video before and during your process.
Conclusion
This mod is amazing and a big thanks to David for sending a unit my way for testing. I was very hesitant to make the modification on my own, but with the instructional video and a fully featured kit, the process was as easy as can be expected. I have been using the mod kit for about three months and have seen no adverse effects on my device or battery life.
I have, however, been getting a lot of compliments on my fashionable device! Of course, this has ruined my ability to get the device serviced by an Apple technician, but with an iPhone 7 looming, I figured it was now or never.
Make sure to order your kit below:
Have any of you tried a similar modification? Let us know in the comments below!