Learn how to compress and reduce your photos file size on iPhone. Using the Compress Photos app, you can lower the size of PNG, JPEG, and HEIF images and reclaim storage space on your iPhone.
Although storage space gets cheaper and cheaper, it seems we always need and want more and more. It’s particularly true if you have a 16GB iPhone. If that’s the case, storage is even more precious to you, and you should try to make every MB count.
Along with music and videos, photos are probably one of the most notorious storage eaters on your iPhone. I know mine is filled with over 20 GB of pictures alone. If you’re in the same situation and want to save some storage space on your iPhone, one of your options is to decrease the file size of your iPhone pictures.
As always, there is an app for that. As a matter of fact, we developed our own! Called Compress Photos, the app’s only purpose is to lower the file size of PNG, JPEG, and HEIF images while maintaining the original dimension, unless you choose otherwise.
In this post, I will show you how to reduce pictures file size on iPhone using Compress Photos in order to regain some storage space on your device.
How to reduce photo file size on your iPhone
Before we get started, it must be noted that while Compress Photos will make the photos file size smaller and can reduce the actual dimensions of the pictures, this is not the app’s primary purpose. If that is what you are trying to do, check out our guide on how to resize an image on your iPhone.
1) Download Compress Photos for free from the App Store.
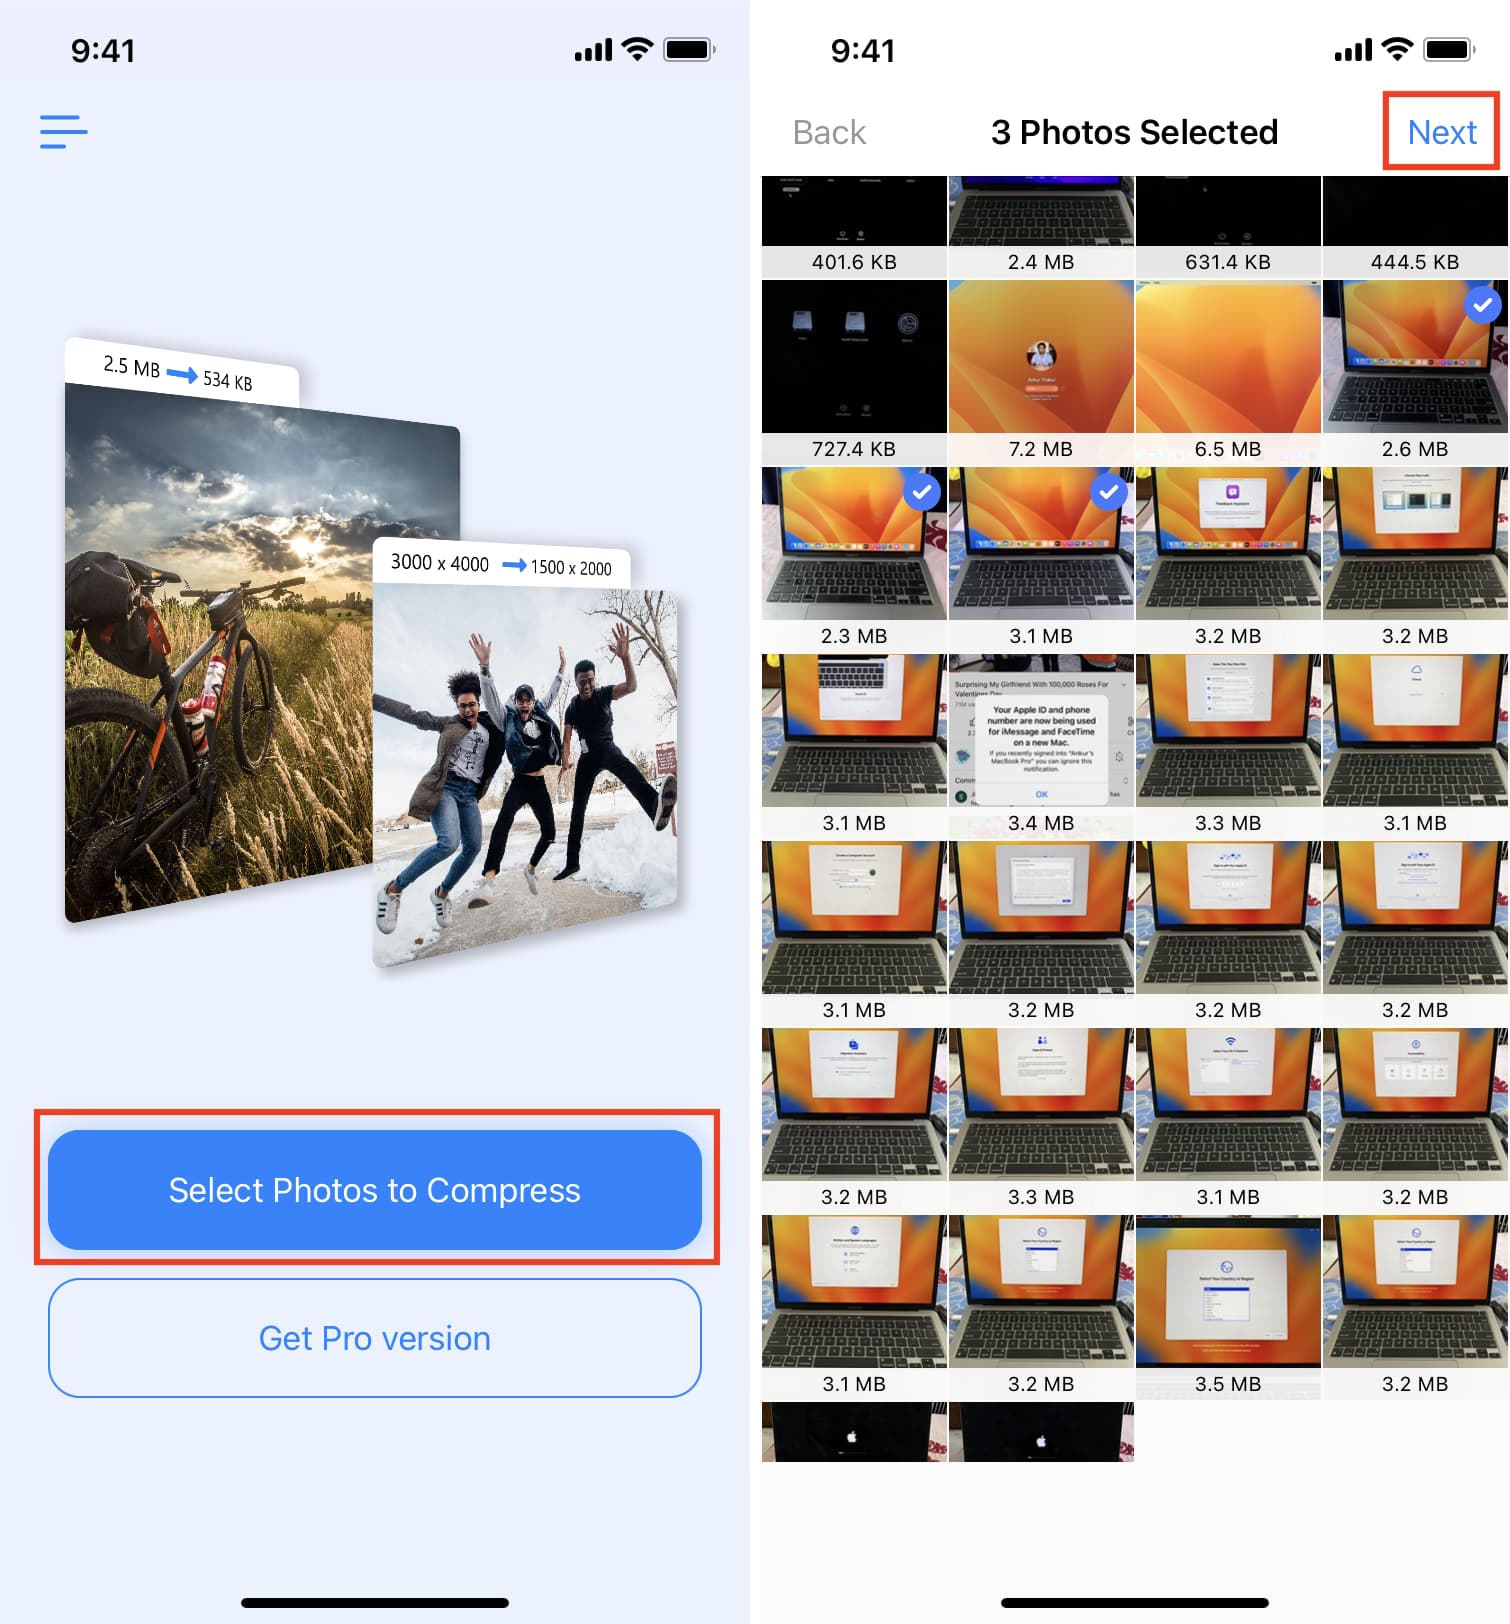
2) Launch the application and tap Select Photos to Compress. It will show all the photo albums available on your device. Open an album and select one or more photos that you want to compress, then tap Next.
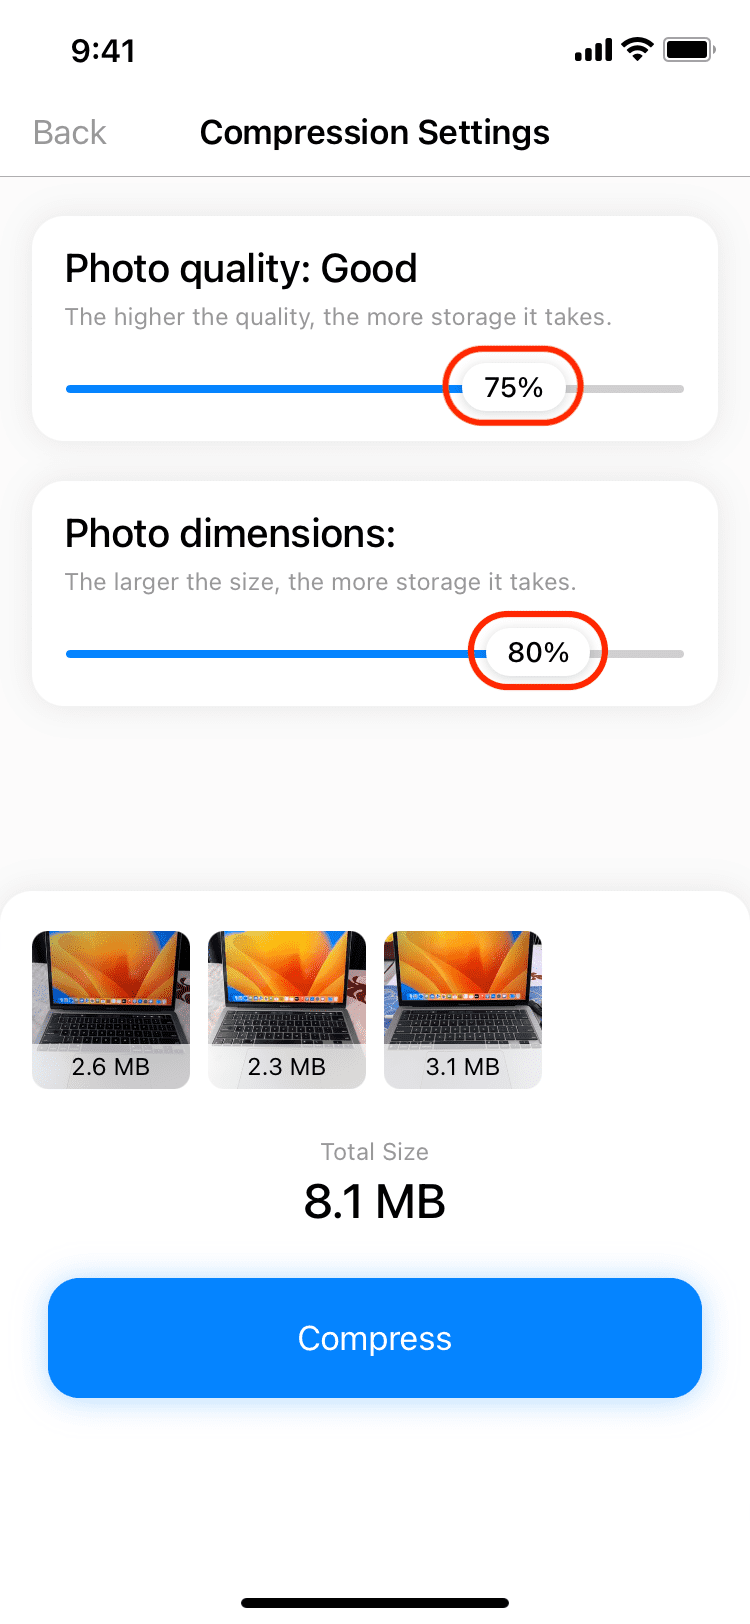
3) This is now where you can tweak the level of compression. You have two compression levels available to you: image quality and image dimensions. The more you want to compress a photo file size, the lower the quality level should be. Likewise, you can choose to reduce the size of images to make their file size smaller.
For the purposes of this post, I set image quality at 75% and I also chose to reduce the file size to 80% of its actual dimension.
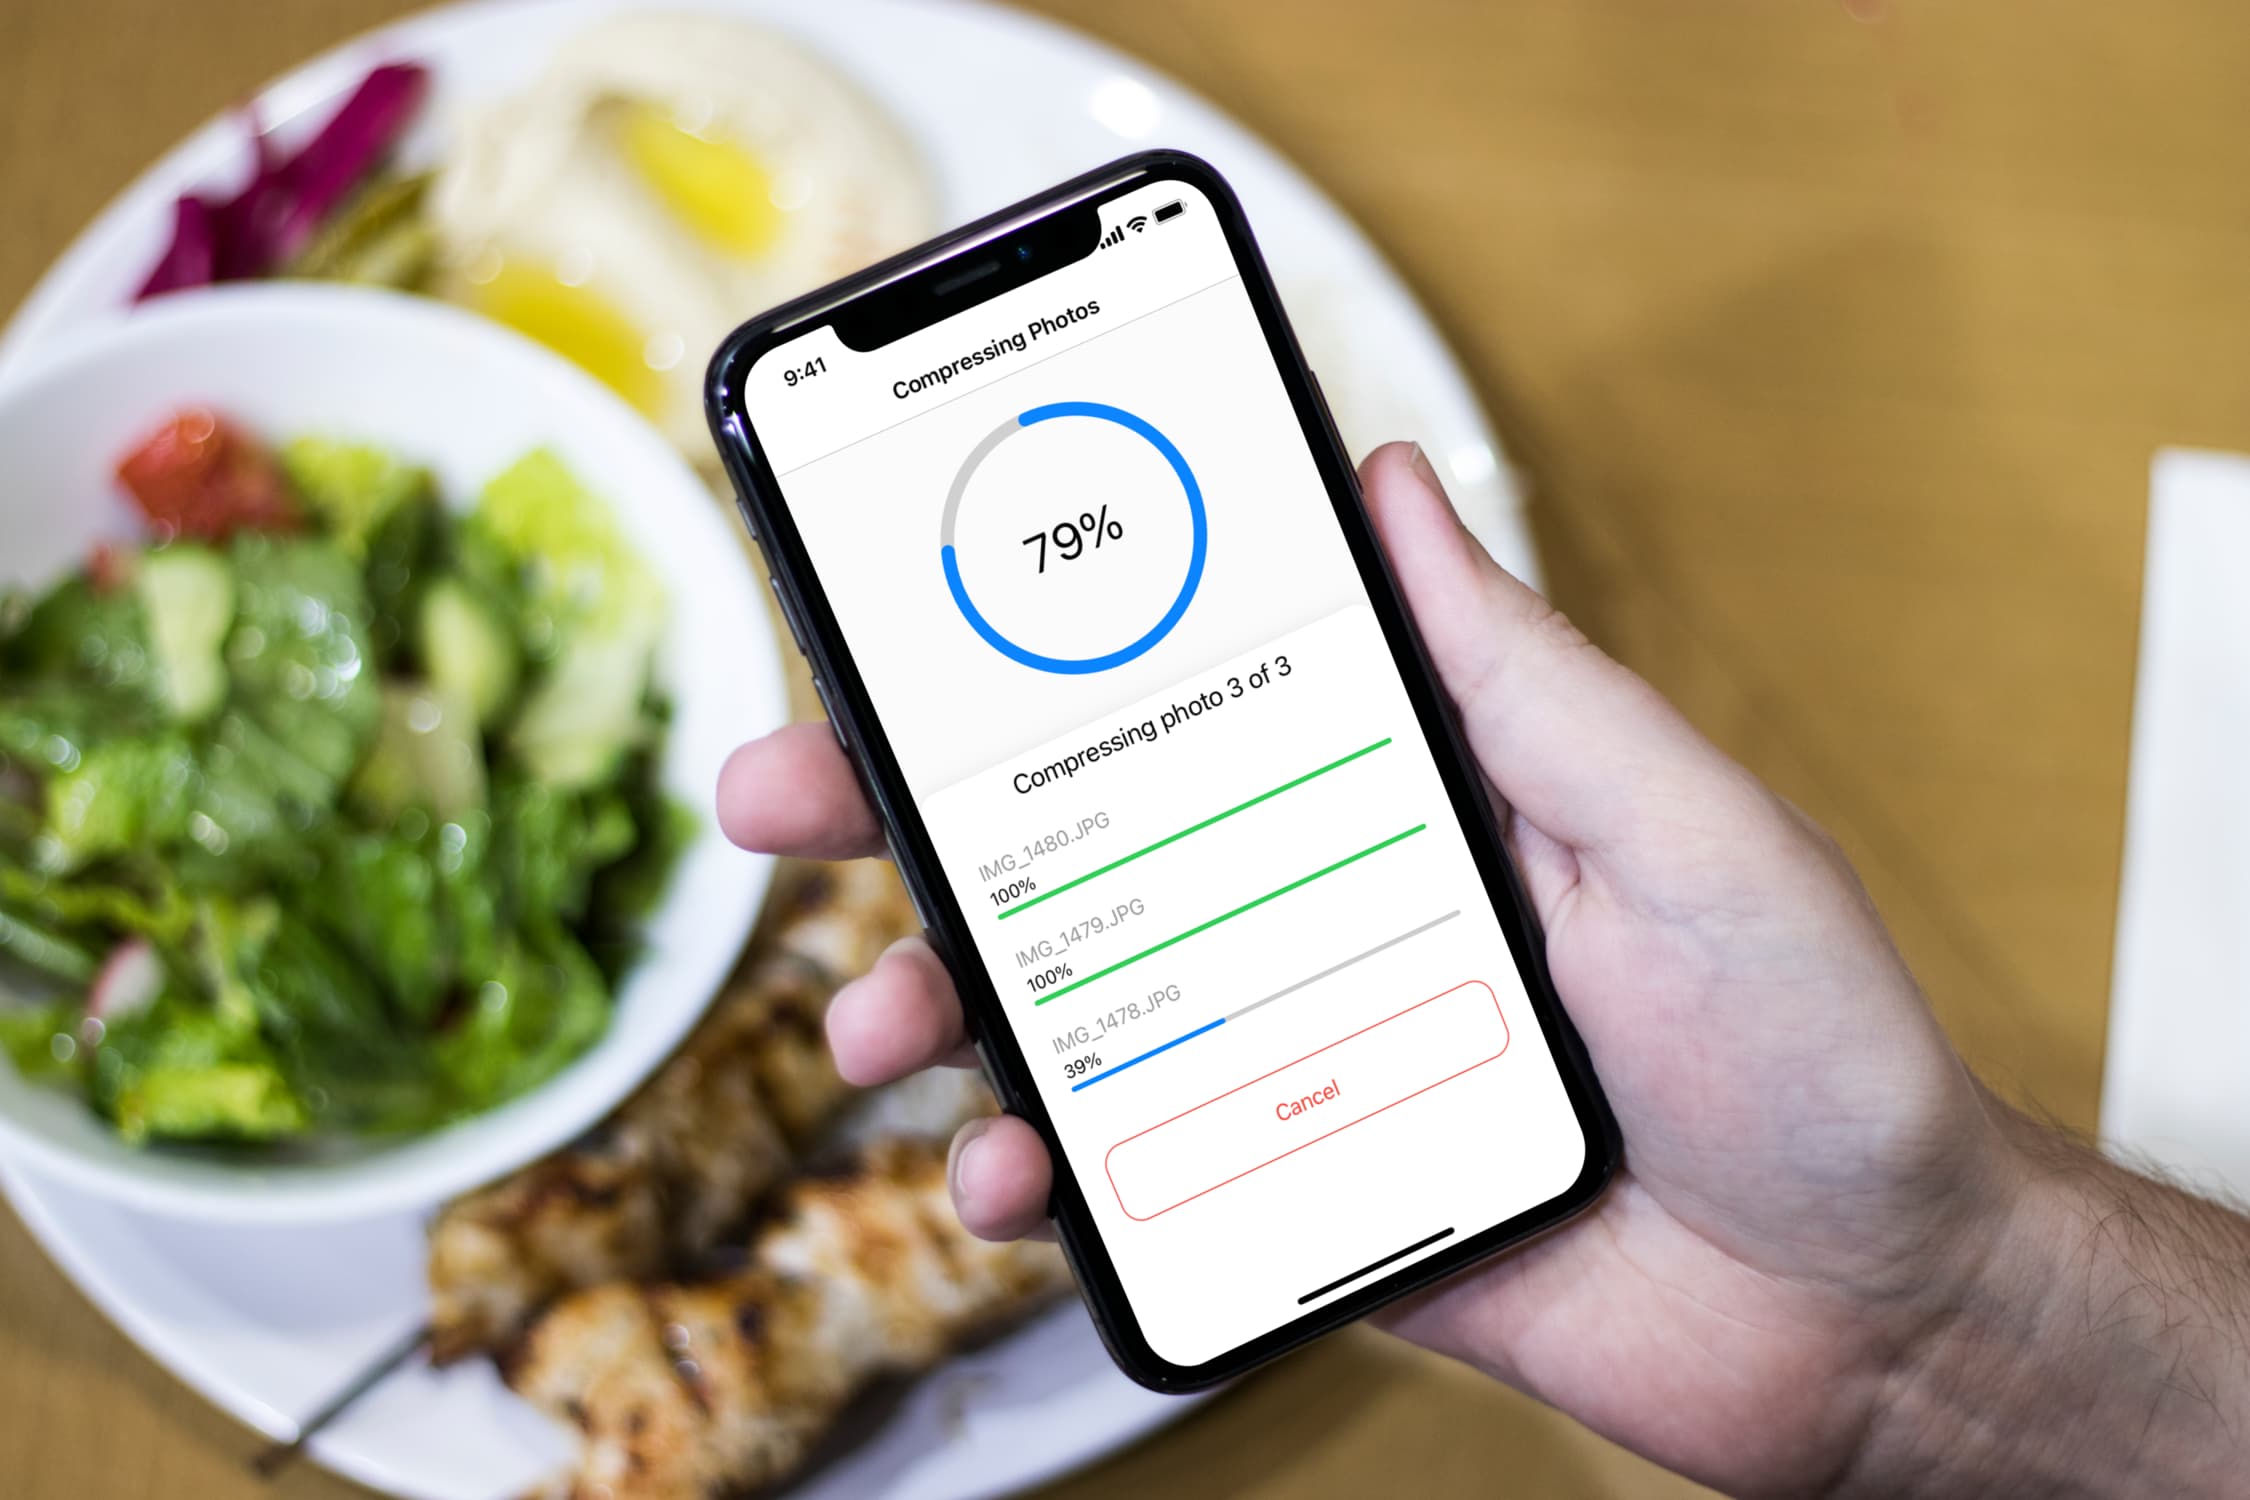
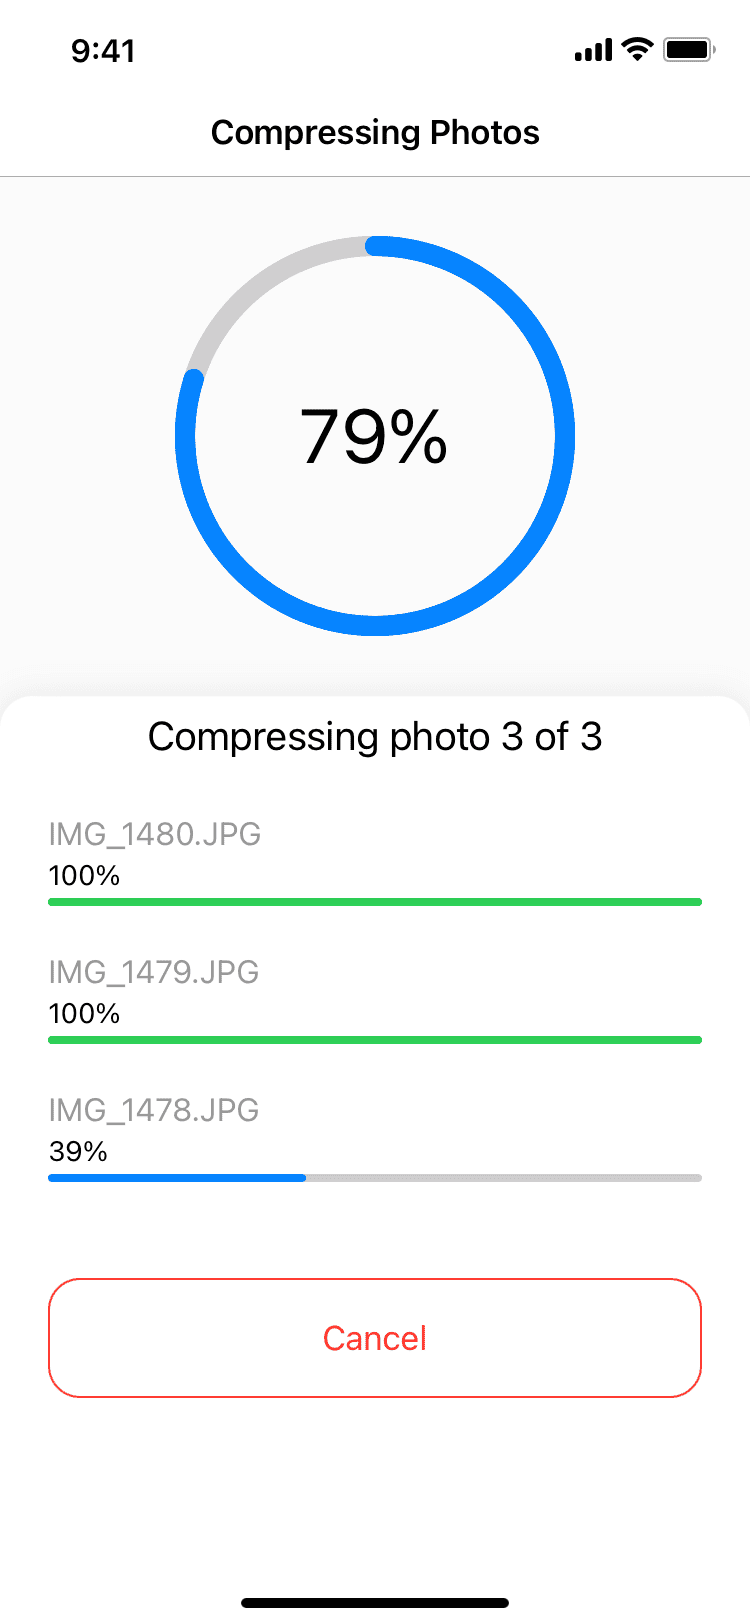
4) Tap the Compress button at the bottom. The app will work its magic to downsize the file size of your photos. The more pictures you have to process, the more time it will take. In my experience, the app was very fast at compressing each image, but of course, your mileage may vary.
5) Once the app has finished processing the pictures, they will be automatically saved to your Camera Roll. Conveniently, they will also be added to an automatically created album called Compressed Photos so you can find them easily.
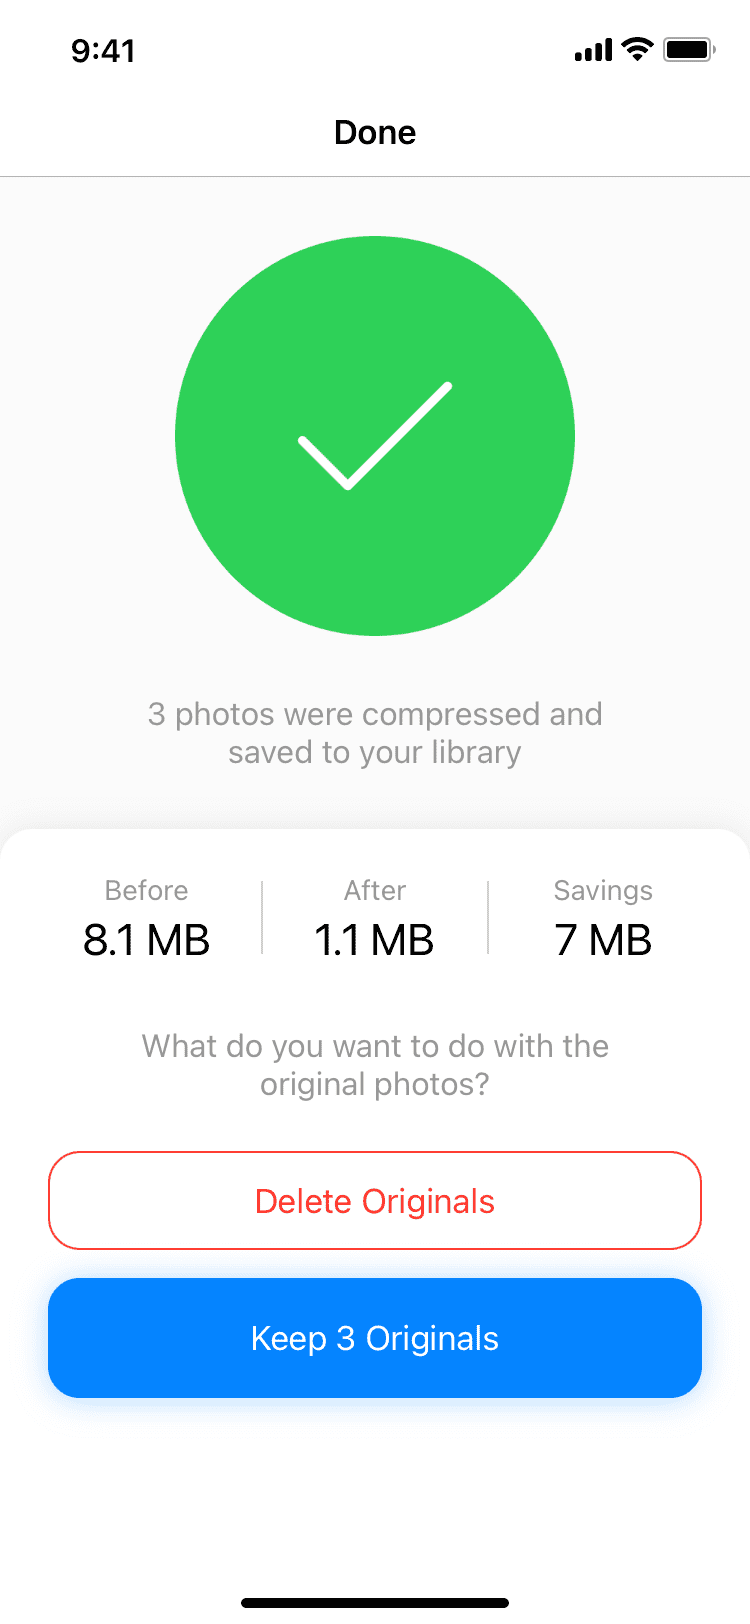
6) You now have the option to delete original photos to save space on your device. Depending on your needs, you may select this option or tap Keep N Originals.
The benefit of compressing your photos
Shrinking the file size of your photos can save you tons of space on your device. Of course, to save that space, you will have to delete the original photos and empty the folder that contains deleted photos. And also, remember that the more you lower a picture file size, the worse the quality of this image will be.
In one instance, here is the size of these three photos, before and after shrinking them:
- Photo 1 was 2.3 MB, now 155 KB
- Photo 2 was 2.2 MB, now 293 KB
- Photo 3 was 1.7 MB, now 207 KB
In my experience with Compress Photos, I haven’t really noticed an obvious loss of quality, but if you have a good eye for these kinds of things, it might make a difference to you, especially as you lower the compression quality.
While we’re on the topic, here are a few articles that might be of interest to you: