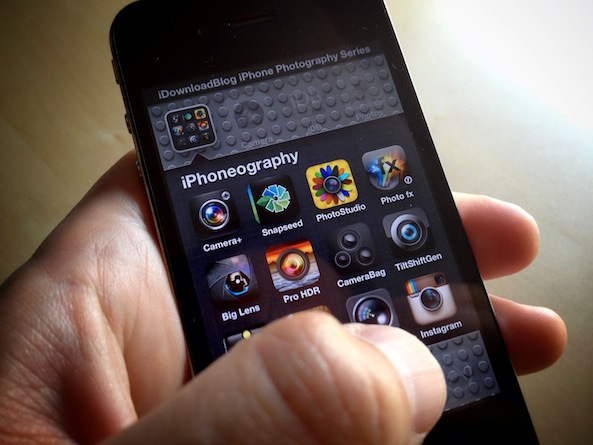
Welcome back to our lessons in iPhone Photography. I hope you enjoyed injecting a little motion into your iPhoneography over the last couple of weeks. This week, I want to continue on the theme of motion and pushing the limits of your iPhone. As a photographer, especially an iPhone photographer, your creativity often comes to an end when the sun goes down. Even with the iPhone 5’s improved low light capabilities, making images at night isn’t where your iPhone excels. In today’s lesson, I hope to change that.
At night, there’s nothing more fun than photographing light trails. Here’s a quick example of light trails that I shot this week. The idea is simple: stabilize your iPhone and photograph cars as they drive by. If you’d like to know about using a tripod and cable release with your iPhone, check out chapter 6 of my book, ‘Big World Little Lens – The Complete Guide to iPhone Photography‘ in the iTunes Bookstore…
How to
To make images like this, you’re going to need to pick up ‘Slow Shutter Cam‘ from the App Store. Slow Shutter Cams offers some pretty cool features, and we are going to explore many of them later this year. For now, you might want to check out their instructions to familiarize yourself with the app.
Today we are focused on light trails, so here’s what you need to do:
1) Stabilize your iPhone because Slow Shutter Cam is going to take a series of photos and stitch them together into a single image which produces the effect of a continuous trail of light. You don’t want your iPhone moving while Slow Shutter Cam is working its magic. You can use a tripod or any other MacGyvered method to keep it still.
2) You will want to turn your iPhone’s Flash off.
3) Optional: in Slow Shutter Cam, you can choose to delay the photograph using the self timer. By delaying it, you reduce the risk of bumping your iPhone and introducing extra movement into the image. However, with the delay, timing gets to be a little more difficult. Up to you…
4) Set Slow Shutter Cam to ‘Light Trail’ Mode. Obviously there are other modes, and we will cover those modes and how to creatively apply them in the future. For now, ‘Light Trail’ it is.
5) Set the shutter speed. The shutter speed control determines the duration of capture. For example, if you set it to 1, you will capture 1 sec of light trails. If you set it to 2, you will capture 2 seconds of light trails….and so on. For today’s sample image, I set the shutter speed to 15 so that I could capture longer trails.
6) Set the sensitivity. The sensitivity setting only functions in Light Trail mode. It controls how rapidly your iPhone will capture light. 1 is the most sensitive (strongest trails) and 1/64 is the least sensitive. I was shooting at 1/8 to achieve today’s image.
7) Make some magic! Timing is everything. Once you are ready to take the photo, you will want to activate Slow Shutter so that its ready when the cars pass by.
Once the cars begin to pass, you’ll activate Slow Shutter and watch it work!
Assignment
It’s going to take a little experimentation to get it dialed in, but you’ll have a good time doing it. Please share your light trail photos on Instagram using the hashtag #iDBtrails so we can all follow along. I will be choosing a few of my favorites to feature next week!
Justin Balog is an award winning photographer and filmmaker. You can follow is daily creative adventures at HOSSedia.com or learn more about iPhone Photography in his iBook “Big World Little Lens”. Click Here for the iPad Version. To find out more about Justin, follow him on Twitter and Facebook.
