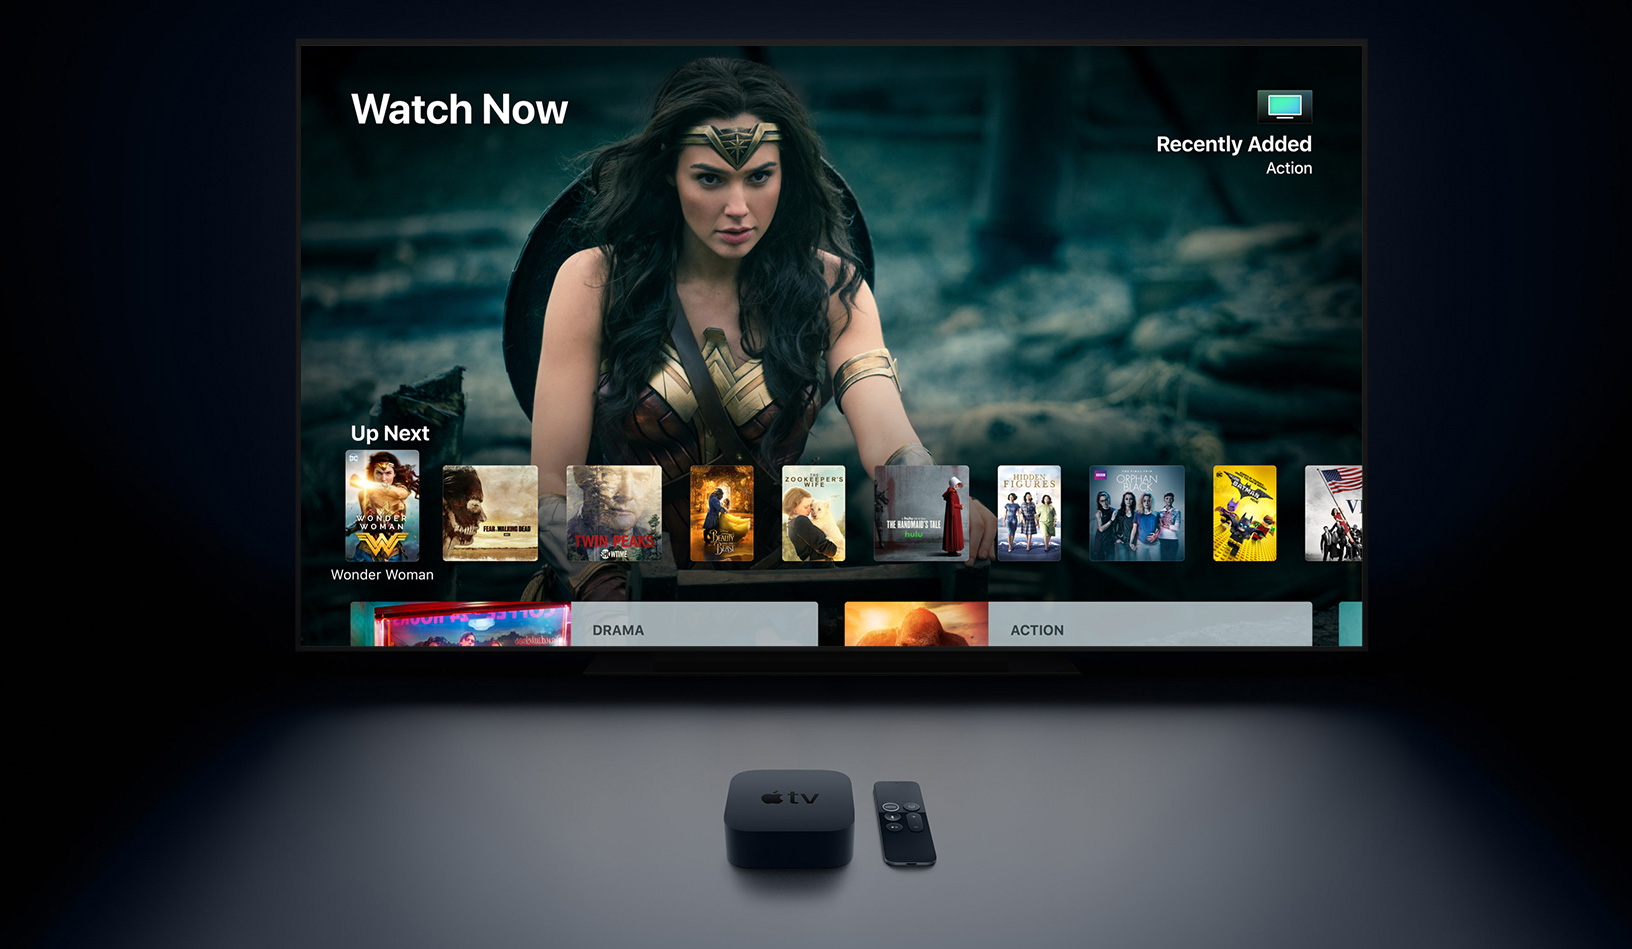
Learn how to synchronize your Home Screen layout and installed apps on the Apple TV across multiple boxes for a unified media experience.
How to sync Home Screen layout, apps across multiple Apple TVs
Learn how to master your Apple devices with our comprehensive tutorials. From iPhone and iPad to Mac, Apple Watch, AirPods, and more, our expert guides will help you unlock the full potential of your Apple products. Discover new features, tips, and tricks each day to enhance your user experience.
Learn how to synchronize your Home Screen layout and installed apps on the Apple TV across multiple boxes for a unified media experience.

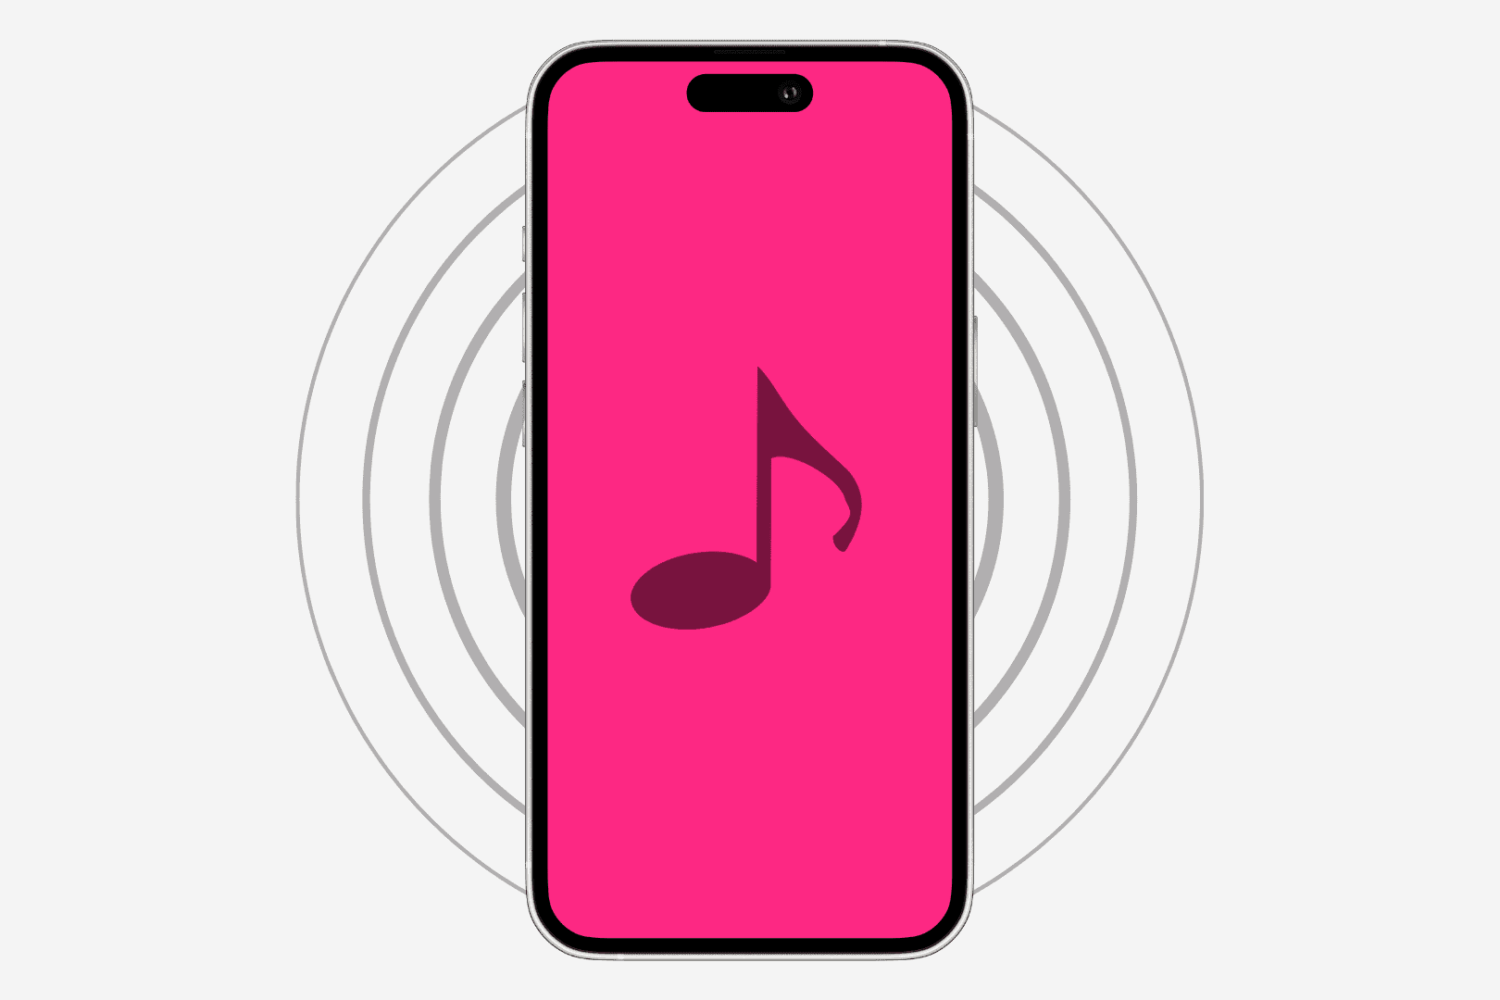
Apple Watch has a cool feature that lets it show a corresponding watchOS app on your wrist when you initiate audio playback on your iPhone. It’s called Auto-Launch Media Apps Live Activities (formerly called Auto-Launch Audio Apps), and we’ll show you how to turn it on or off.
Have you purchased ringtones in the past, but they aren’t showing up on your iPhone or iPad? In this tutorial, we’ll help you re-download your purchased ringtones without paying for them again.

Learn how to turn on bold text on your Apple TV to switch to a much heavier font that makes it easier to read things throughout the user interface.
If you've been experiencing the curious case of disappearing apps on your iPhone or iPad, let me reassure you right now by telling you this is not a software bug, but rather human error.
In this post, we will see possible reasons why apps might be missing from your Home screen, and of course, I will also show you how to recover apps that have disappeared from your iPhone or iPad.

Learn how to use the built-in document scanner feature of your iPhone or iPad Notes app to scan and save receipts, invoices, business cards, photographs, documents, etc.
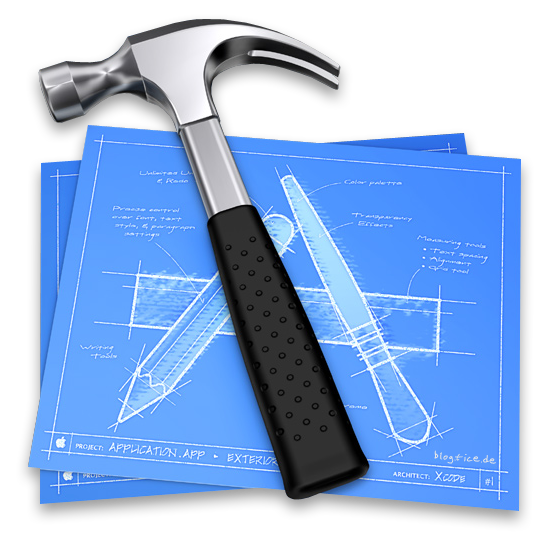
Developers are always connecting their devices to their machines. It has been a necessary evil to install apps, perform diagnostics, screen recordings, and more. In Apple's purge of wires, Xcode 9 has unlocked the ability to connect tvOS, or iOS devices to your Mac wirelessly.

Learn how to make the speaker on your iPhone sound a bit louder than usual, even with the volume cranked all the way up to the maximum.

Learn how to remove the depth-of-field and background blur effects from portrait mode photos or adjust their intensity on iPhone or iPad.
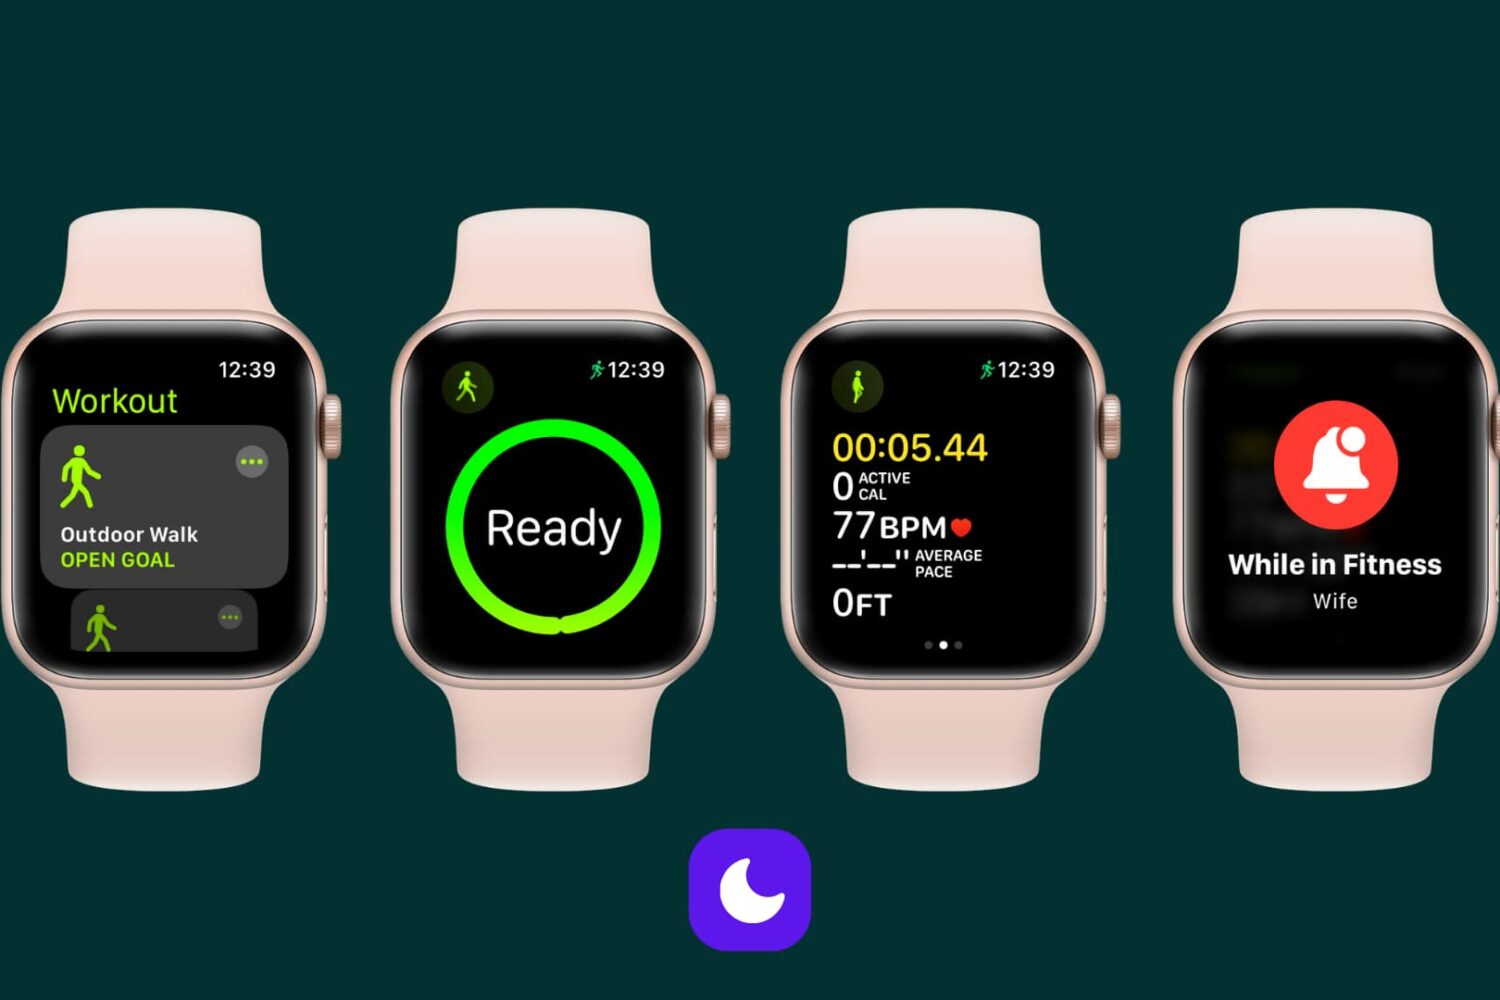
Learn how to automatically silence notifications for incoming calls, texts, and more on your Apple Watch and iPhone during workout sessions.

You can turn off Background App Refresh on your iPhone or iPad to save cellular data and extend the battery life.
In this tutorial, we'll tell you what Background App Refresh is and how to disable it for all apps or only selected apps. Plus, we'll show you how to turn it off only for cellular data or for both cellular data and Wi-Fi.
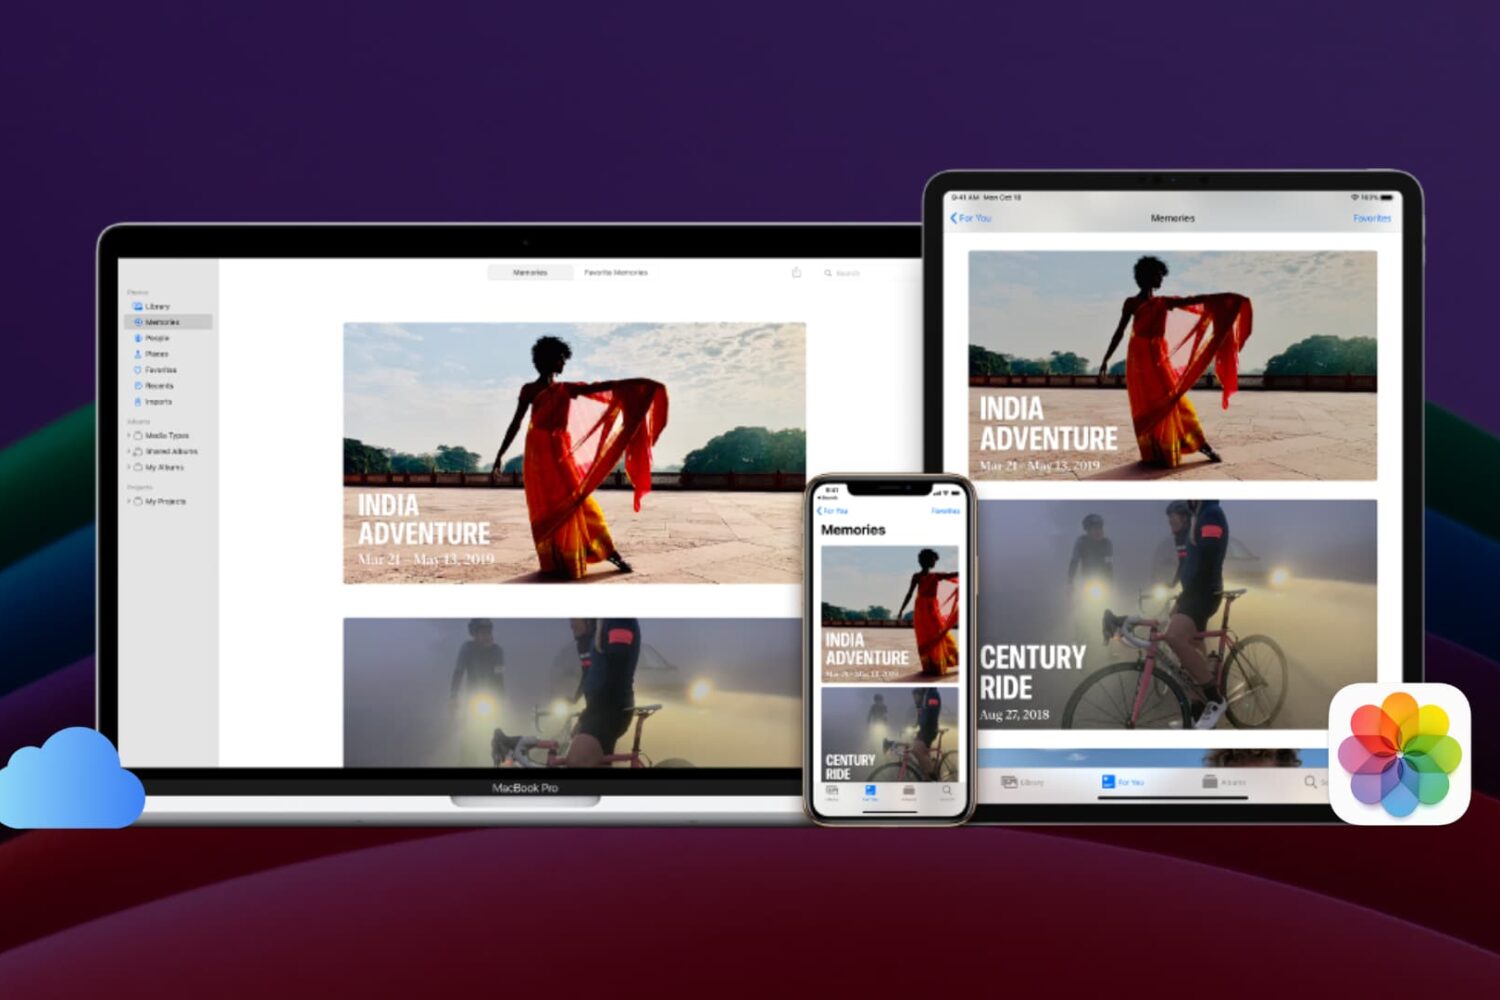
Learn how to pause iCloud Photos updates to save battery and bandwidth on your iPhone, iPad, or MacBook and stop your images, videos and other media from synchronizing across devices.