Welcome back to iDB’s lessons in iPhone photography. If you remember the last lesson, I hinted that we could be taking a deeper dive into some post processing techniques. Specifically, that deeper dive will be looking at RGB color moves using Photoshop Touch.
I’m sure you are asking, what is an RGB color move and why would you want to do it? All the color information your iPhone records is composed of Red, Green and Blue (RGB) data. The idea of a color move is to brighten or darken the various RGB values in your images to expand your creative post processing. Maybe you want to make an image more red or blue. Maybe you want to create your own Instagram-like filter that is uniquely yours. In this quick lesson, you will learn how to do just that…
Before we get into it, you’ll need to know the basics of a histogram. If you’re not familiar with a histogram, you can Google ‘what is a histogram’ or watch this video I put together.
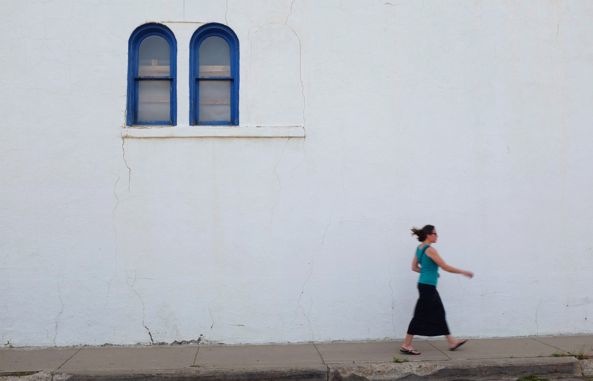
Now that we know what a histogram is, let’s see how we can use it to create some unique looks using Photoshop Touch. Start by firing up Photoshop Touch.
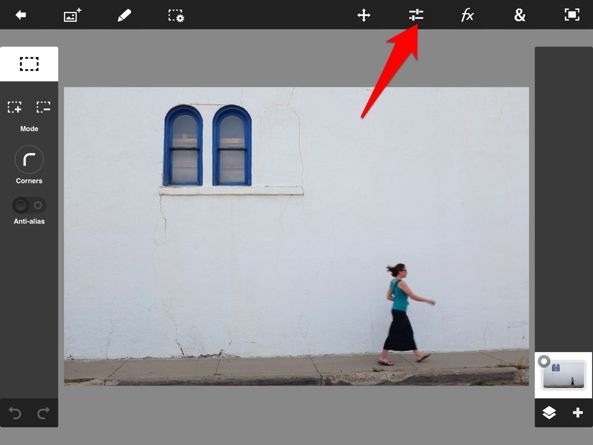
Step 1: Load the image you want to edit and select the sliders adjustment.
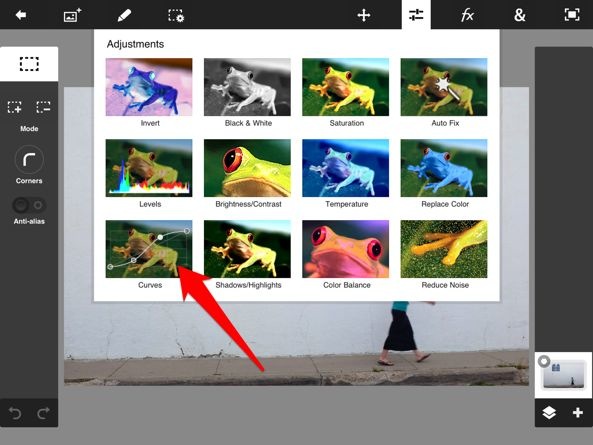
Step 2: Next select the curves adjustment.
Step 3: Select the RGB curve.
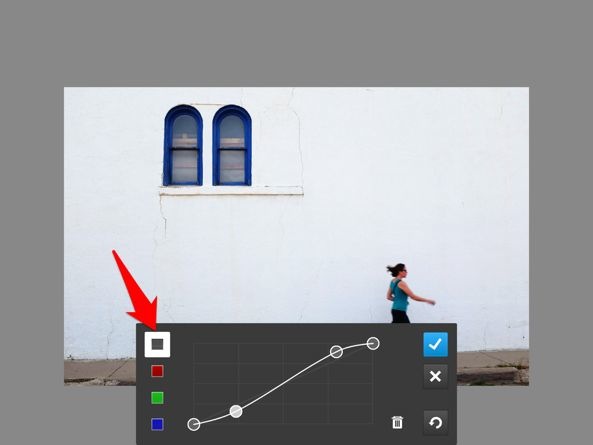
Now we are all set to perform our creative color moves. As you can see, we have a histogram representing the color information in our image and a flat line indicating you current RGB curve. As we adjust the shape of the line, or curve we will be making certain pixels darker or lighter based on the nature of the movement. To change the shape of the curve, simply touch the line to add a control point then move it up and down to your liking. To delete a point, just touch it twice. You can add as many points as you like. If you move the line up, you are making those pixels intersected by the line brighter. If you move it down you are making them darker.
You can adjust all the RGB values together in a single move, as I did in this example, which is great way to add some pop to your image with a simple ‘S’ curve. But in this lesson we are more interested in moving Red, Green, and Blue values independently.
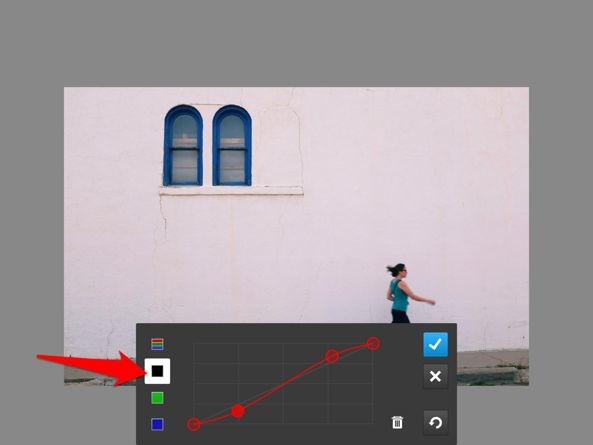
Red Moves – Click the Red Circle and adjust your curve accordingly.
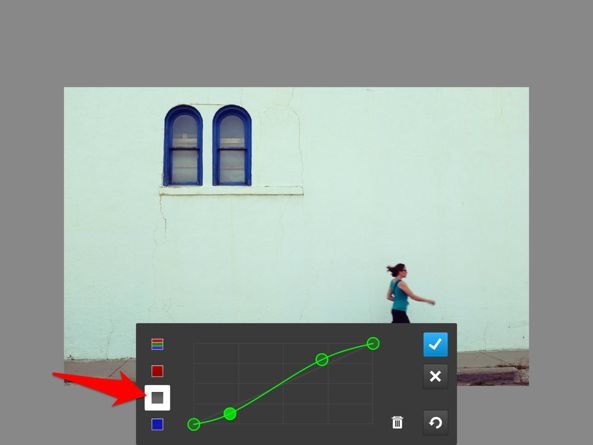
Green Moves – Click the Green Circle and adjust your curve accordingly.
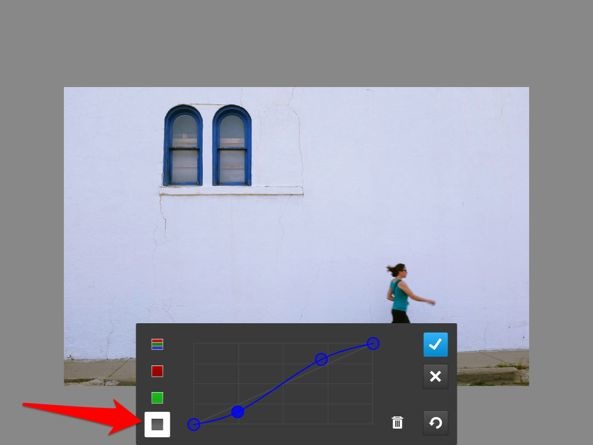
Blue Moves – Click the Blue Circle and adjust your curve accordingly.
Feel free to mix and match these various adjustments until your creative muse is content.
Assignment
Now that we have a new way to creatively control the feel of our images, let’s get out there and apply it. Make sure you tag your photos with #iDBcolormoves. If you need to see a few more examples, you can follow my color moves on Instagram at @JustinBalog.
Justin Balog is an award winning photographer and filmmaker. You can follow is daily creative adventures at HOSSedia.com or learn more about iPhone Photography in his iBook ‘Big World Little Lens‘. Click Here for the iPad Version. To find out more about Justin, follow him on Twitter and Facebook.