With VoiceOver on your Mac, you can perform tasks, take actions, and do everything you need to do while experiencing a visual impairment. We’ve walked you through the basics like turning VoiceOver on and off, setting up your modifier keys, and working with app windows.
Here, we’re going to explore customizing VoiceOver on your Mac with a tool called VoiceOver Utility. In this one handy spot, you can change the voice, magnify your cursor, and adjust the announcements you hear. And since many of our upcoming VoiceOver how-tos will direct you to this location, it’s good to become familiar with it. Ready? Here’s how to use VoiceOver Utility to customize VoiceOver on Mac.
VoiceOver Utility on Mac
Access the VoiceOver Utility
Like many other things on your Mac, there’s more than one way to access it. Use one of these methods to open VoiceOver Utility.
- If VoiceOver is turned on, press VO + F8. (VO represents your VoiceOver modifier keys.)
- Go to System Preferences > Accessibility > VoiceOver and hit the Open VoiceOver Utility.
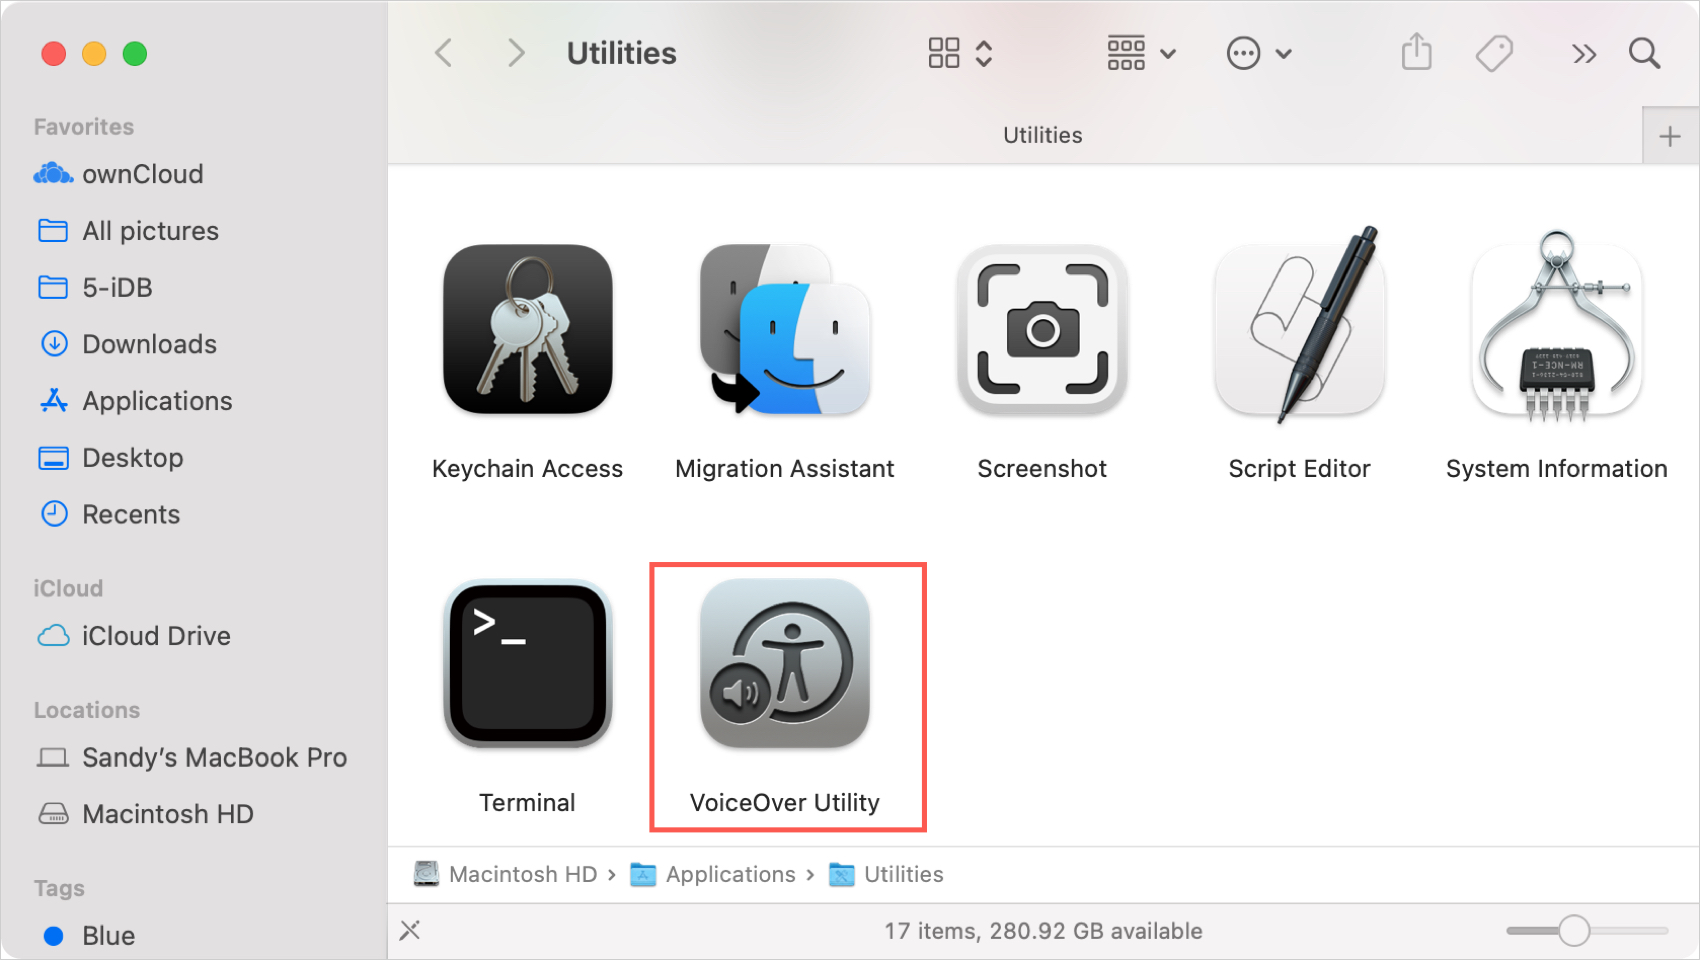
- With Finder open, click Go > Utilities from your menu bar and select VoiceOver Utility.
Related: What are all the tools in the Mac Utilities folder?
VoiceOver Utility options
The VoiceOver Utility looks similar to other Preferences on your Mac with a list of choices on the left and each one’s settings on the right. Here are all of the options in the VoiceOver Utility tool and their basic functions.
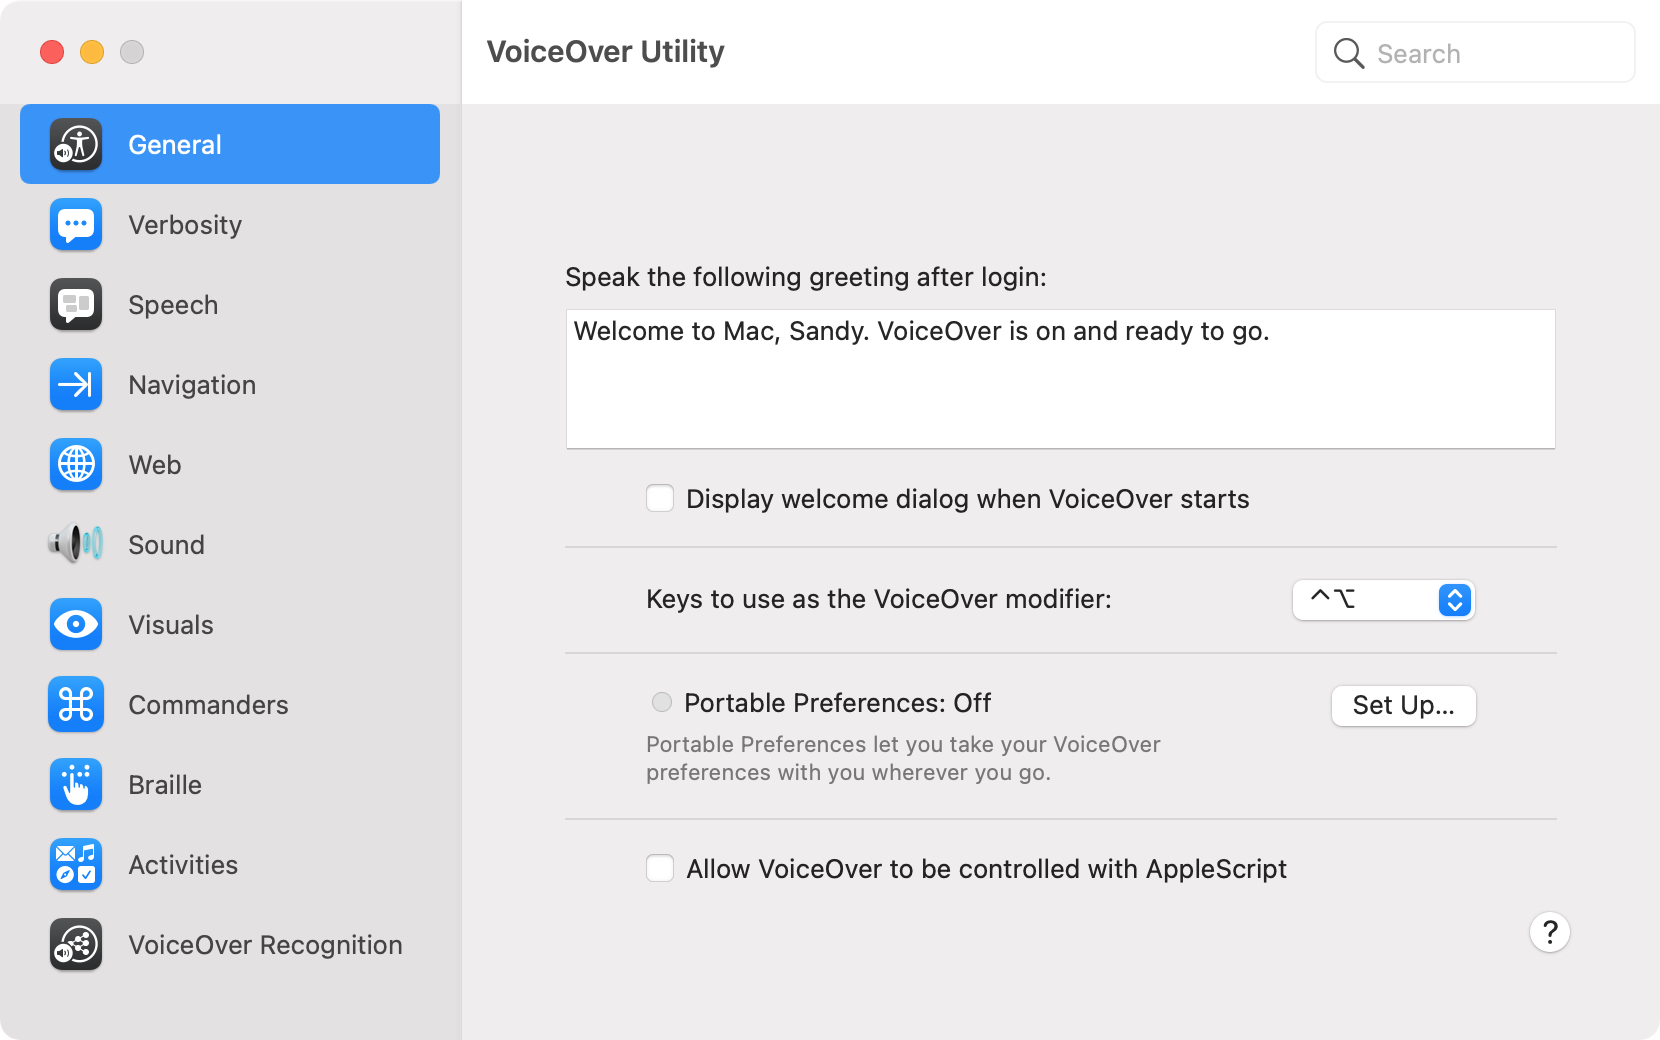
General: Add a greeting to hear and display when you login, change your VoiceOver modifier keys, turn on Portable Preferences, and allow VoiceOver to be controlled with AppleScript.
Verbosity: Five tabs for Speech, Braille, Text, Announcements, and Hints. Adjust the verbosity for speech and braille, change how text is spoken, choose which announcements to hear, decide if you want to hear hints and set the delay for them.
Speech: Two tabs for Voices and Pronunciation. Mute the speech or change the voice, adjust the speaking rate, add special pronunciations for words, and enter substitutions for text.
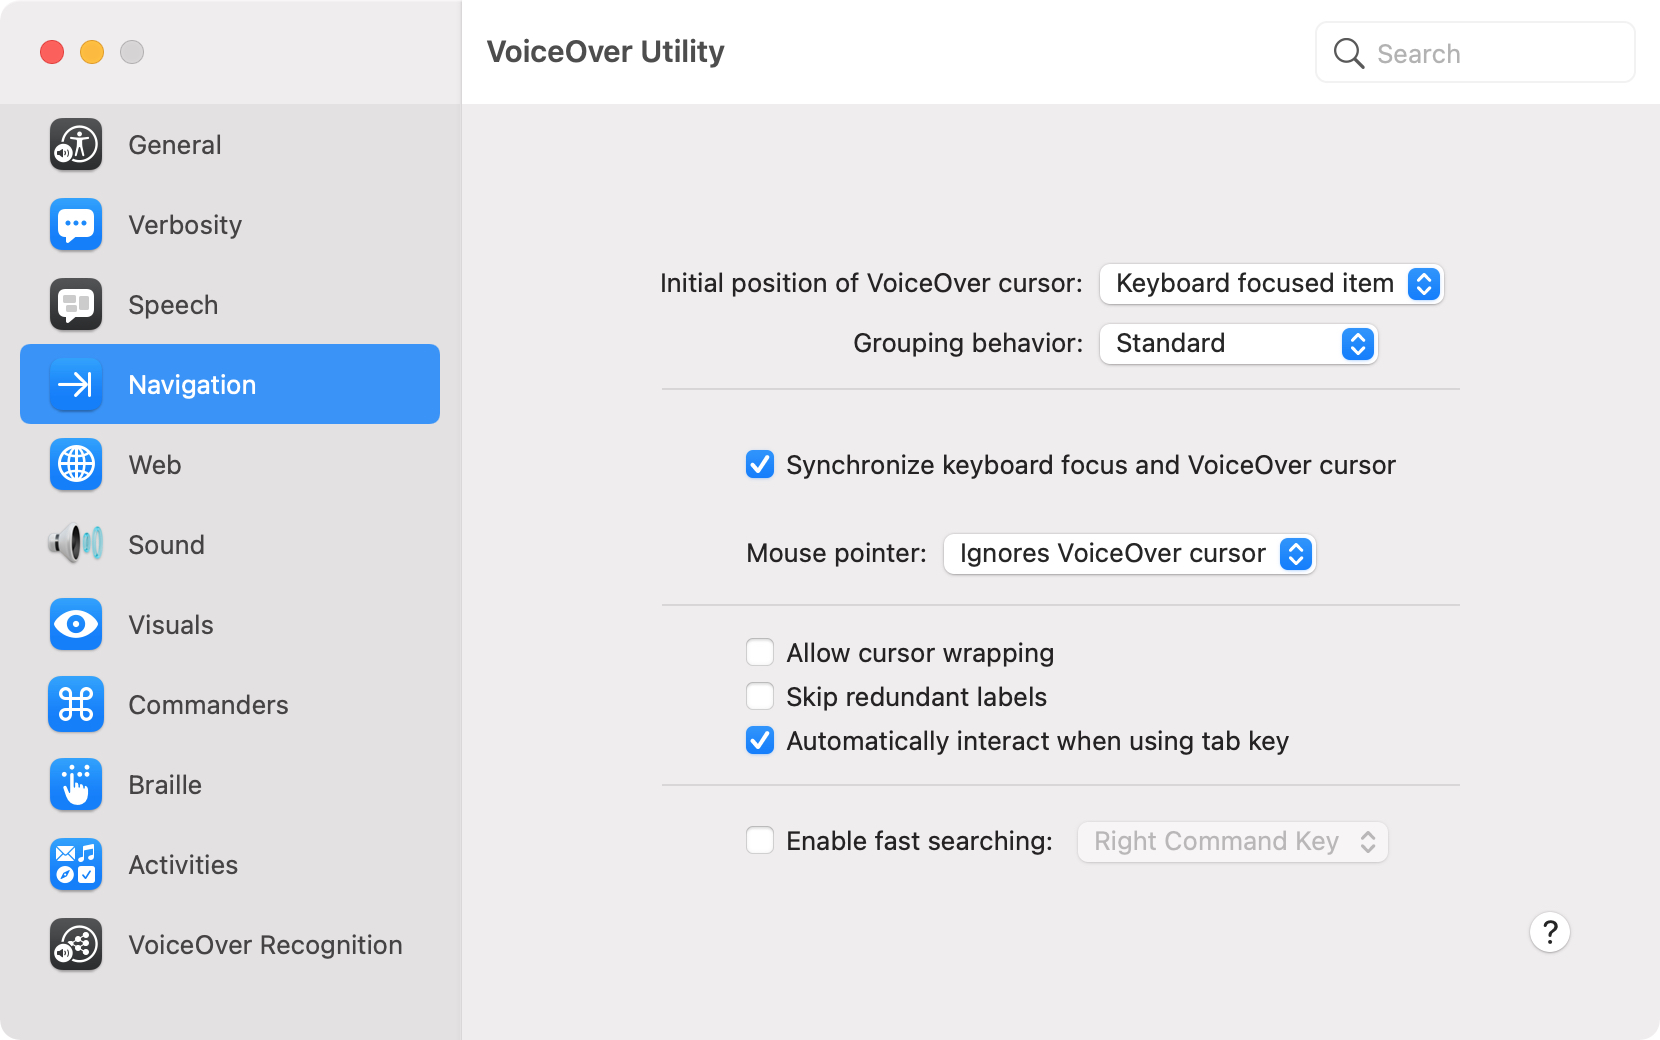
Navigation: Position the VoiceOver cursor, sync the keyboard focus and VoiceOver cursor, skip redundant labels, and enable fast searching.
Web: Three tabs for Navigation, General, and Web Rotor. Choose how to navigate webpages and their images, group items, enable Live Regions, hear a page summary, and check the items you want to use for the Web Rotor.
Sound: Mute sound effects, enable audio ducking and positional audio, and change your output device.
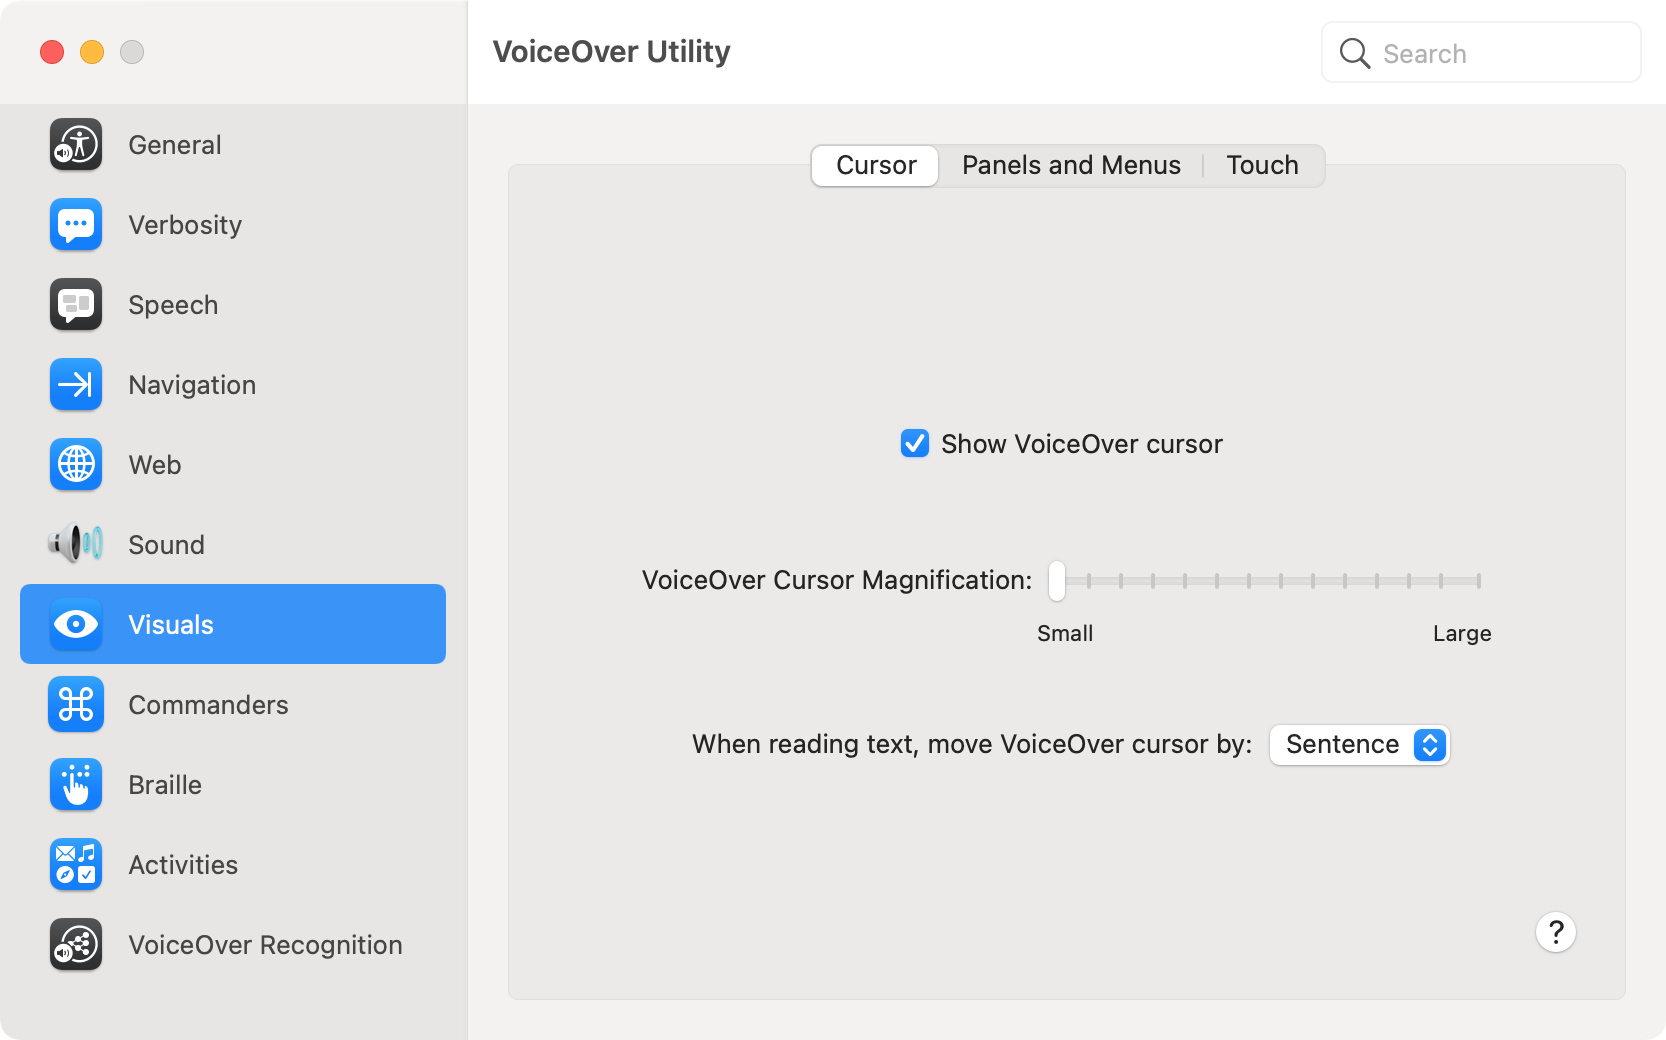
Visuals: Three tabs for Cursor, Panels and Menus, and Touch. Show the VoiceOver cursor and adjust its magnification, show the braille caption panel and adjust its size, and change the background transparency.
Commanders: Four tabs for Trackpad, NumPad, Keyboard, and Quick Nav. Enable the Trackpad Commander and/or Quick Nav and choose each one’s options, and enable the NumPad and/or Keyboard Commanders and view their commands.
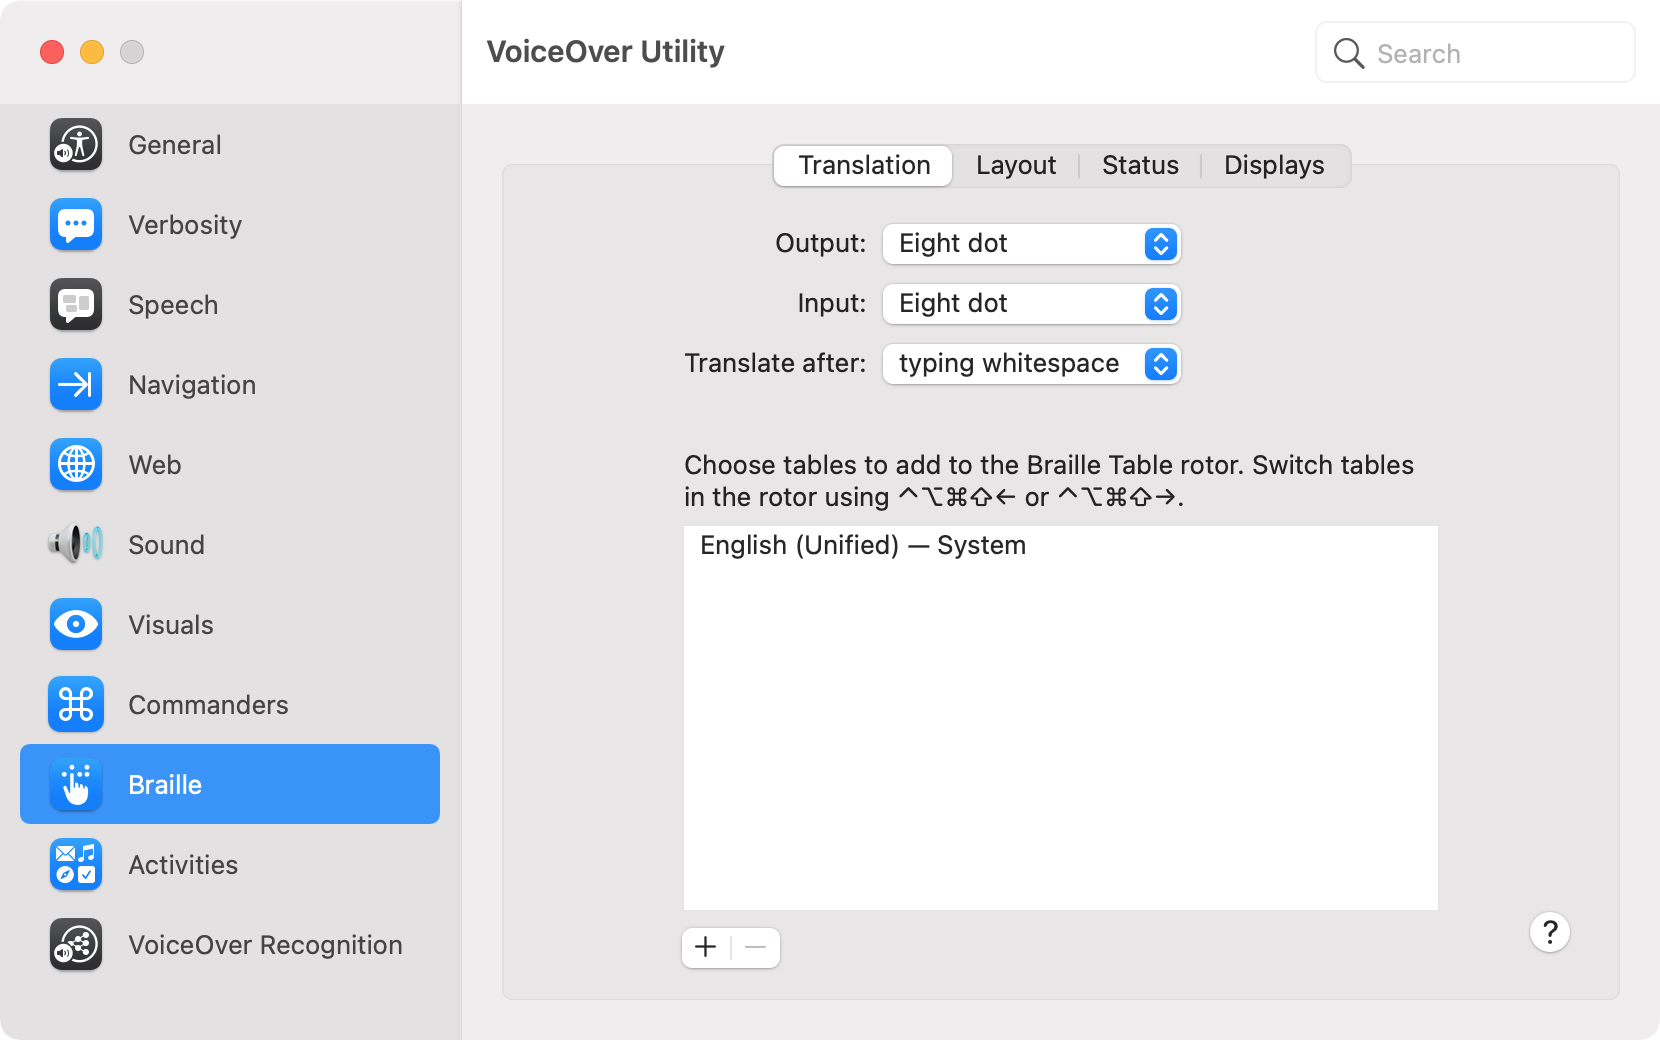
Braille: Four tabs for Translation, Layout, Status, and Displays. Select input and output for translations, choose the layout options like word wrap and dots for the cursor, show the display status, text style, and braille display, and add or remove braille displays.
Activities: Set up and customize VoiceOver for specific uses and adjust the activity’s settings for verbosity, web, and hot spots.
VoiceOver Recognition: Enable Image Descriptions for apps and the web.
More VoiceOver tutorials
Have a look at our other Mac VoiceOver tutorials for more help and check back often for new ones!
- How to turn VoiceOver on and off on your Mac
- How to use, change, and lock VoiceOver modifier keys on Mac
- How to use the VoiceOver Help and Commands menus on Mac
- How to work with app windows using VoiceOver on Mac
- How to navigate the desktop, Dock, and Mission Control using VoiceOver
Wrapping it up
Whether you want to carefully go through each option or have something specific in mind that you’d like to change, the VoiceOver Utility is the place to go for customizing VoiceOver on Mac.
If you use VoiceOver or are just getting started, share your thoughts on the feature with us in the comments or hit us up on Twitter! Do you like the feature or think it could be better? Do you find it useful or lacking?