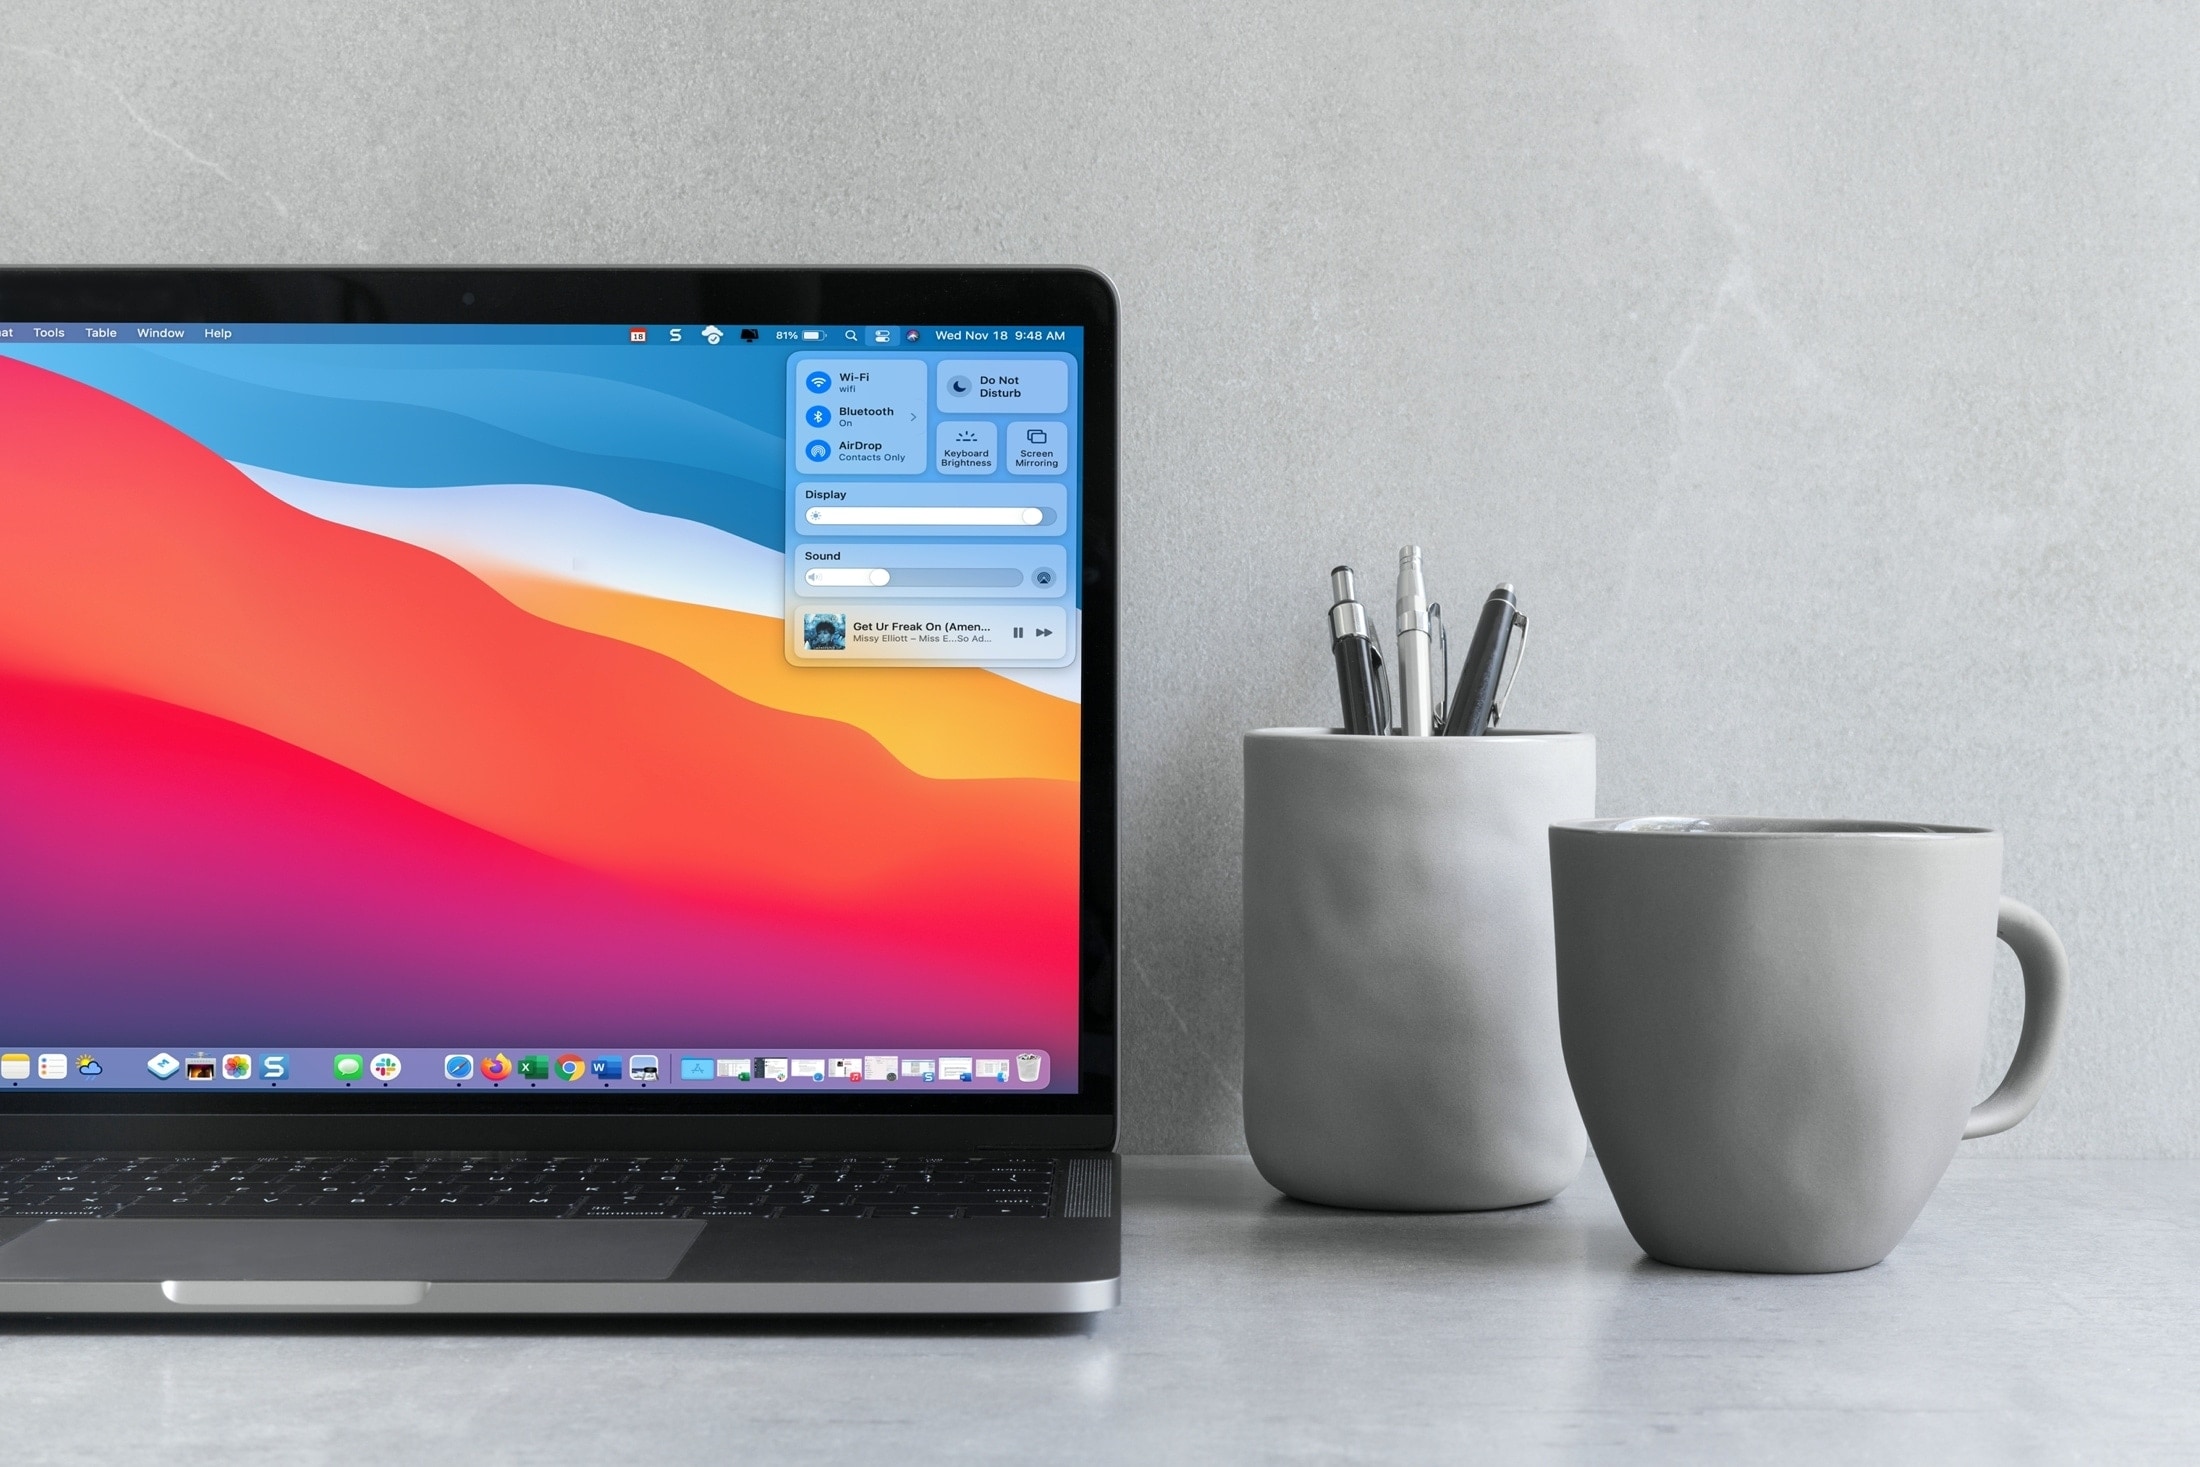
Your Mac comes with the Control Center feature that’s similar to the iPhone and iPad’s Control Center you already know and love. Follow along with this tutorial to learn how to use macOS Control Center, including how to customize it to your liking by adding or removing items.
Control Center, on your Mac
Apple first implemented Control Center functionality on the iPhone and iPad with the September 2013 release of the iOS 7 software. The Mac wouldn’t get a Control Center of its own until macOS 11.0 Big Sur, which was released publicly on November 12, 2020.
→ How to control smart home accessories from your Control Center
Similar to its iOS counterpart, the Mac Control Center groups all your menu bar extras into a single place. This gives you instant access to the controls you use most, like Wi-Fi, Do Not Disturb, Brightness, Volume and so forth, right from the macOS menu bar.
In this tutorial, you’re going to learn how to use and customize the macOS Control Center to your liking by adding or removing items, such as accessibility shortcuts or Fast User Switching.
How to use Control Center on your Mac
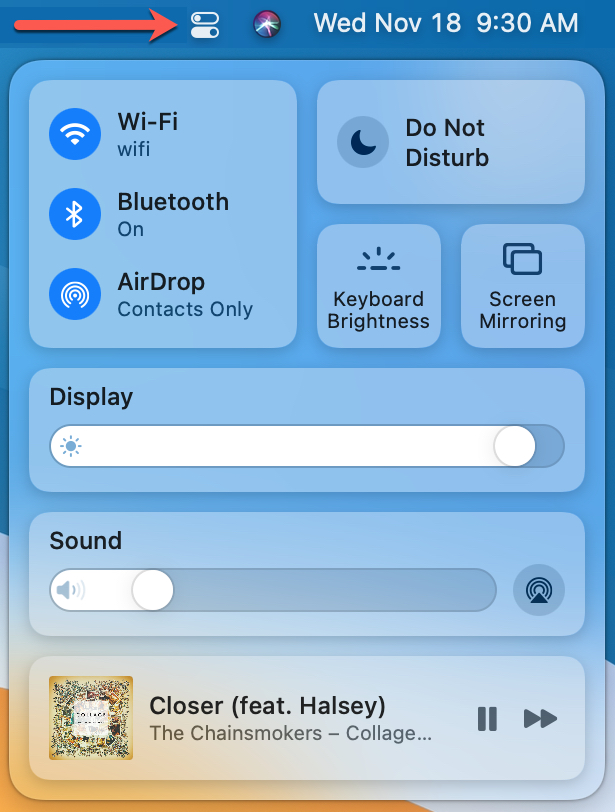
You can access the Control Center interface on your Mac computer through the menu bar in macOS, which runs along the top of the screen of your Mac.
- Click the Control Center icon in the top-right corner, resembling a pair of toggles.
- Interact with the slider you want or click an icon.
Some macOS system features are represented with simple sliders, such as the volume and brightness controls. This lets you drag a slider to do things like adjust display brightness. By default, your Control Center includes nine items: Wi-Fi, Bluetooth, AirDrop, Do Not Disturb, Keyboard Brightness, Screen Mirroring, Display, Sound and Now Playing.
→ How to customize Control Center on Apple TV
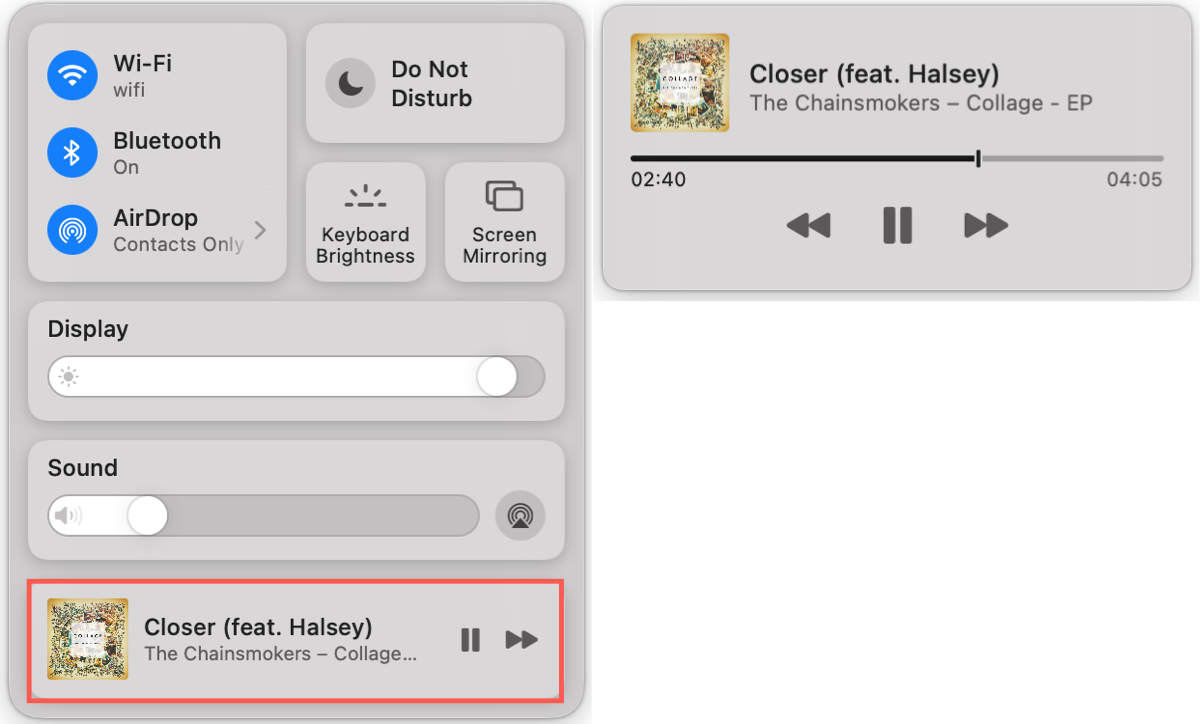
For the Now Playing control, click the icon to open the Music app and select an item to play. Then use the pause or forward button for quick control. To use rewind or a scrub tool, click the icon itself and a mini control window will appear.
To return to the main Control Center menu, click its icon in the menu bar again.
Other controls may use a single icon that you can click to toggle the feature on/off. This includes Keyboard Brightness and Screen Mirroring. If you see an arrow, click it to access additional options. For example, clicking the arrow next to Bluetooth turns the feature on or off.
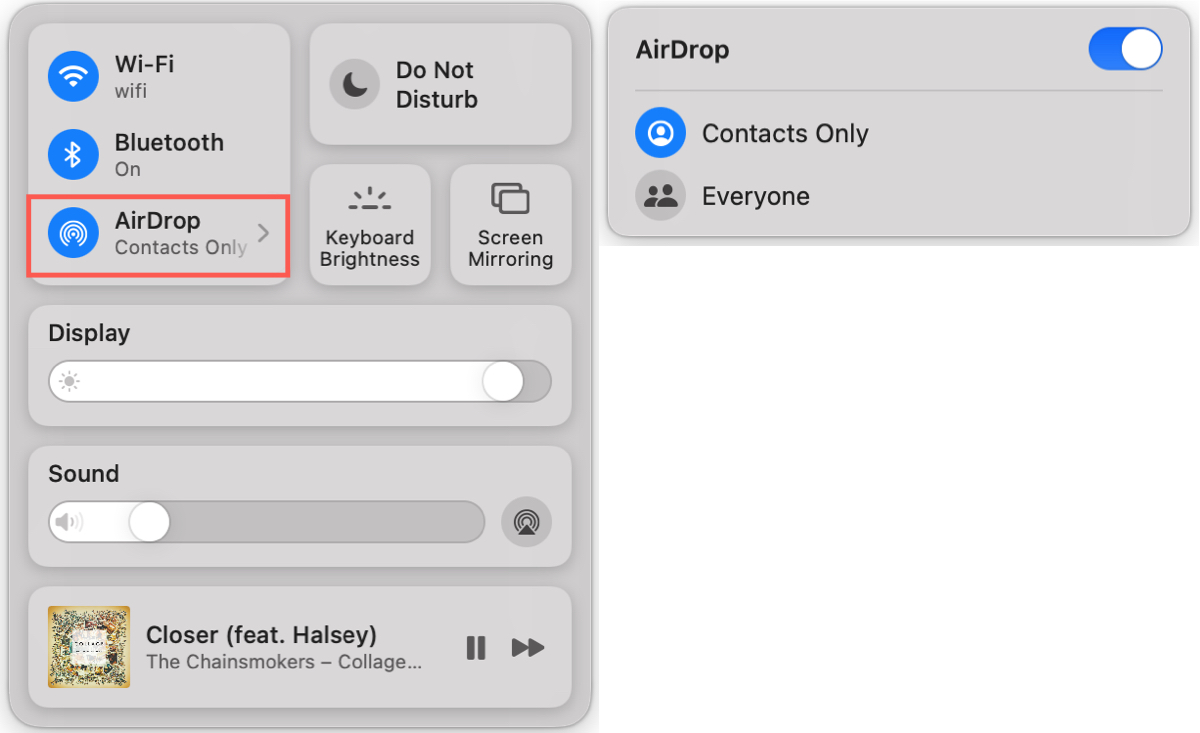
Similarly, clicking the Wi-Fi icon toggles Wi-Fi on or off, but clicking an arrow next to the Wi-Fi icon reveals the list of nearby wireless networks; clicking the AirDrop arrow lets you adjust the feature’s visibility; clicking the Do Not Disturb arrow lets you choose a time limit; clicking the Display arrow displays hidden toggles for Dark Mode and Night Shift; and so forth.
The Control Center is always available in the menu bar.
Pinning your Control Center favorites
If you use a specific Control Center item more or less frequently, you may want to pin it to the menu bar so you can access it with a single click.
- Click the Control Center icon in the macOS menu bar.
- Drag an item from the Control Center to the menu bar.
I like to keep my Control Center items I use often handy in the menu bar: Wi-Fi, Do Not Disturb and Bluetooth. So instead of clicking the Control Center icon in the menu bar to do simple things like change my brightness, I can add that item to the menu bar for direct access.
By the way, you can remove an item from your Mac’s menu bar by dragging it out of the menu bar whilst holding the Command key on the keyboard. Keep in mind that some system features cannot be added to or removed from the Control Center or the menu bar.
How to customize macOS Control Center
You can add items to or remove them from the Control Center, as well as change their order, by using the Dock & Menu Bar preference pane on your Mac.
- Click the Apple menu on your Mac and choose the System Preferences option.
- In the System Preferences window, click the icon labeled with the text “Dock & Menu Bar.”
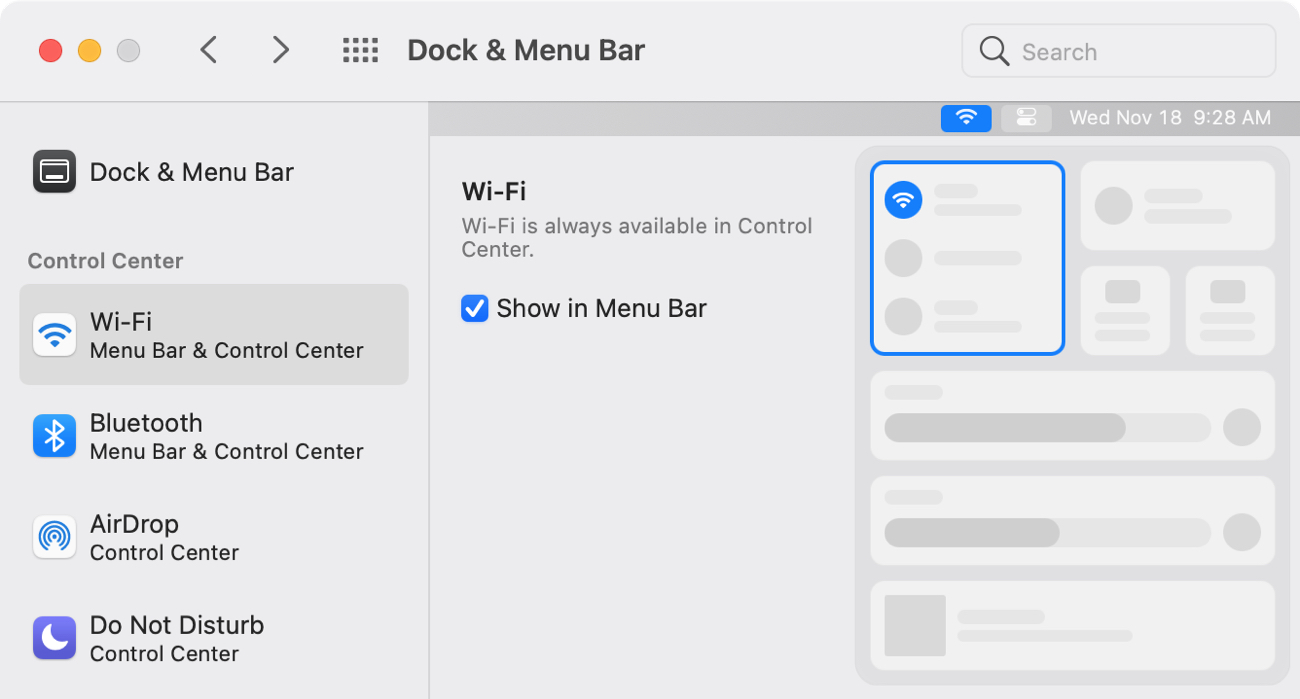
- Click an item in the sidebar to see its preview in the Control Center section on the right.
- Tick the box next to “Show in Control Center” to do just that.
Conversely, unticking the box removes the item from your Control Center.
It’s great that you can use this interface to add items to the macOS menu bar for even faster access: just choose an item in the sidebar and tick the box next to “Show in Menu Bar.”
Here are quick descriptions of the sub-sections in the lefthand section:
- Control Center: These are your nine non-removable items that are always available through the Control Center. Selecting something here displays a preview in the Control Center section on the right. Even though you can’t remove these from your Control Center, you can add them to the menu bar (check the box for “Show in Menu Bar.”)
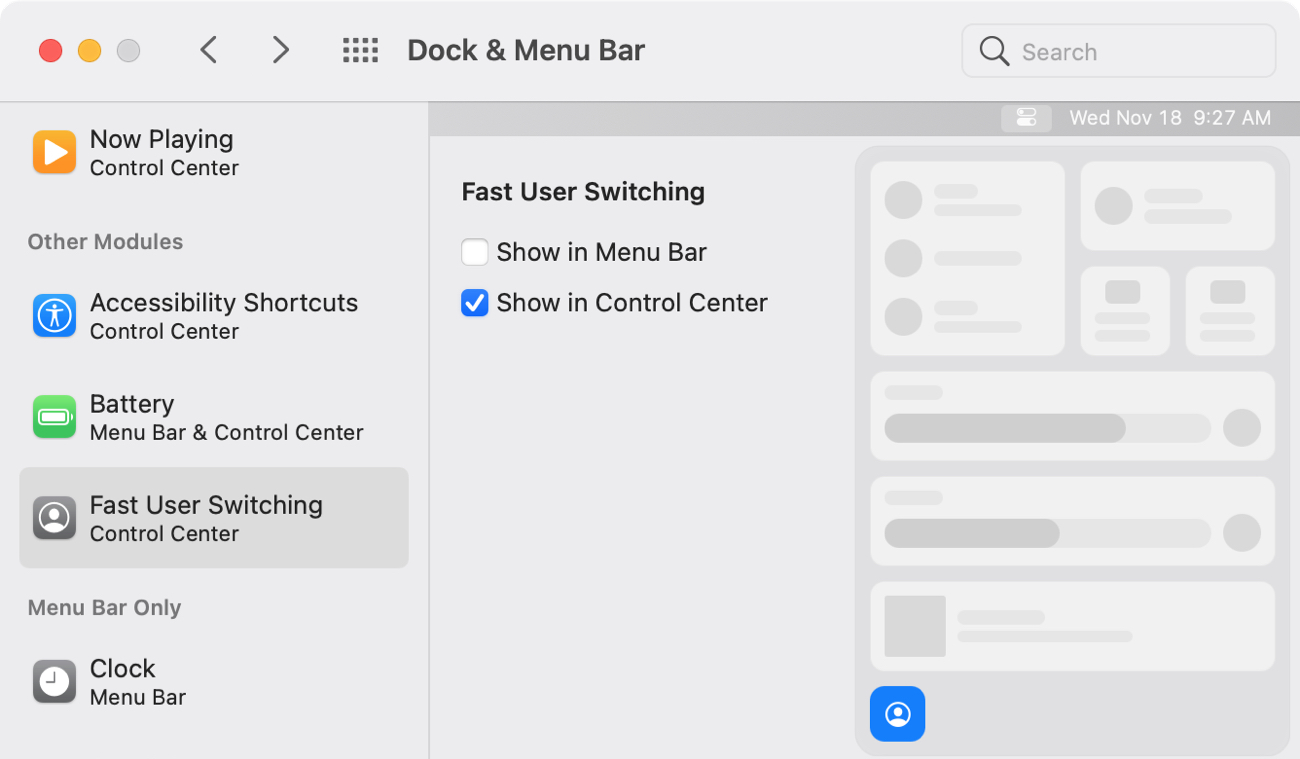
- Other Modules: These are the three other items mentioned above that you can add to your Control Center (check the box for “Show in Control Center”). Any added controls will appear at the bottom of the Control Center in smaller rounded squares.
- Menu Bar Only: These are your common macOS system features that can be accessed through the macOS menu bar, but not the Control Center.
Some caveats apply.
Although you cannot remove any of the nine default tools in the Control Center, you can add three more: Accessibility Shortcut, Battery and Fast User Switching. Again, none of the controls listed in the “Menu Bar Only” section can be added to the Control Center. Also, items in the Control Center section are permanent fixtures that cannot be removed at will.
Sandy Writtenhouse contributed to this tutorial