Gone are the days of having the same quality for all shows and movies you watch. With wonderful technological advances, you can choose the quality you want. So if you’re comfy on the couch with your Mac, you likely want the best quality available. But if you’re on an iPhone using cellular data instead of Wi-Fi, you might prefer a faster download over high quality.
Here, we’ll show you how to change the quality of streaming and downloading shows in the TV app on iPhone, iPad, and Mac.
Change streaming and download quality in the TV app
On iPhone and iPad
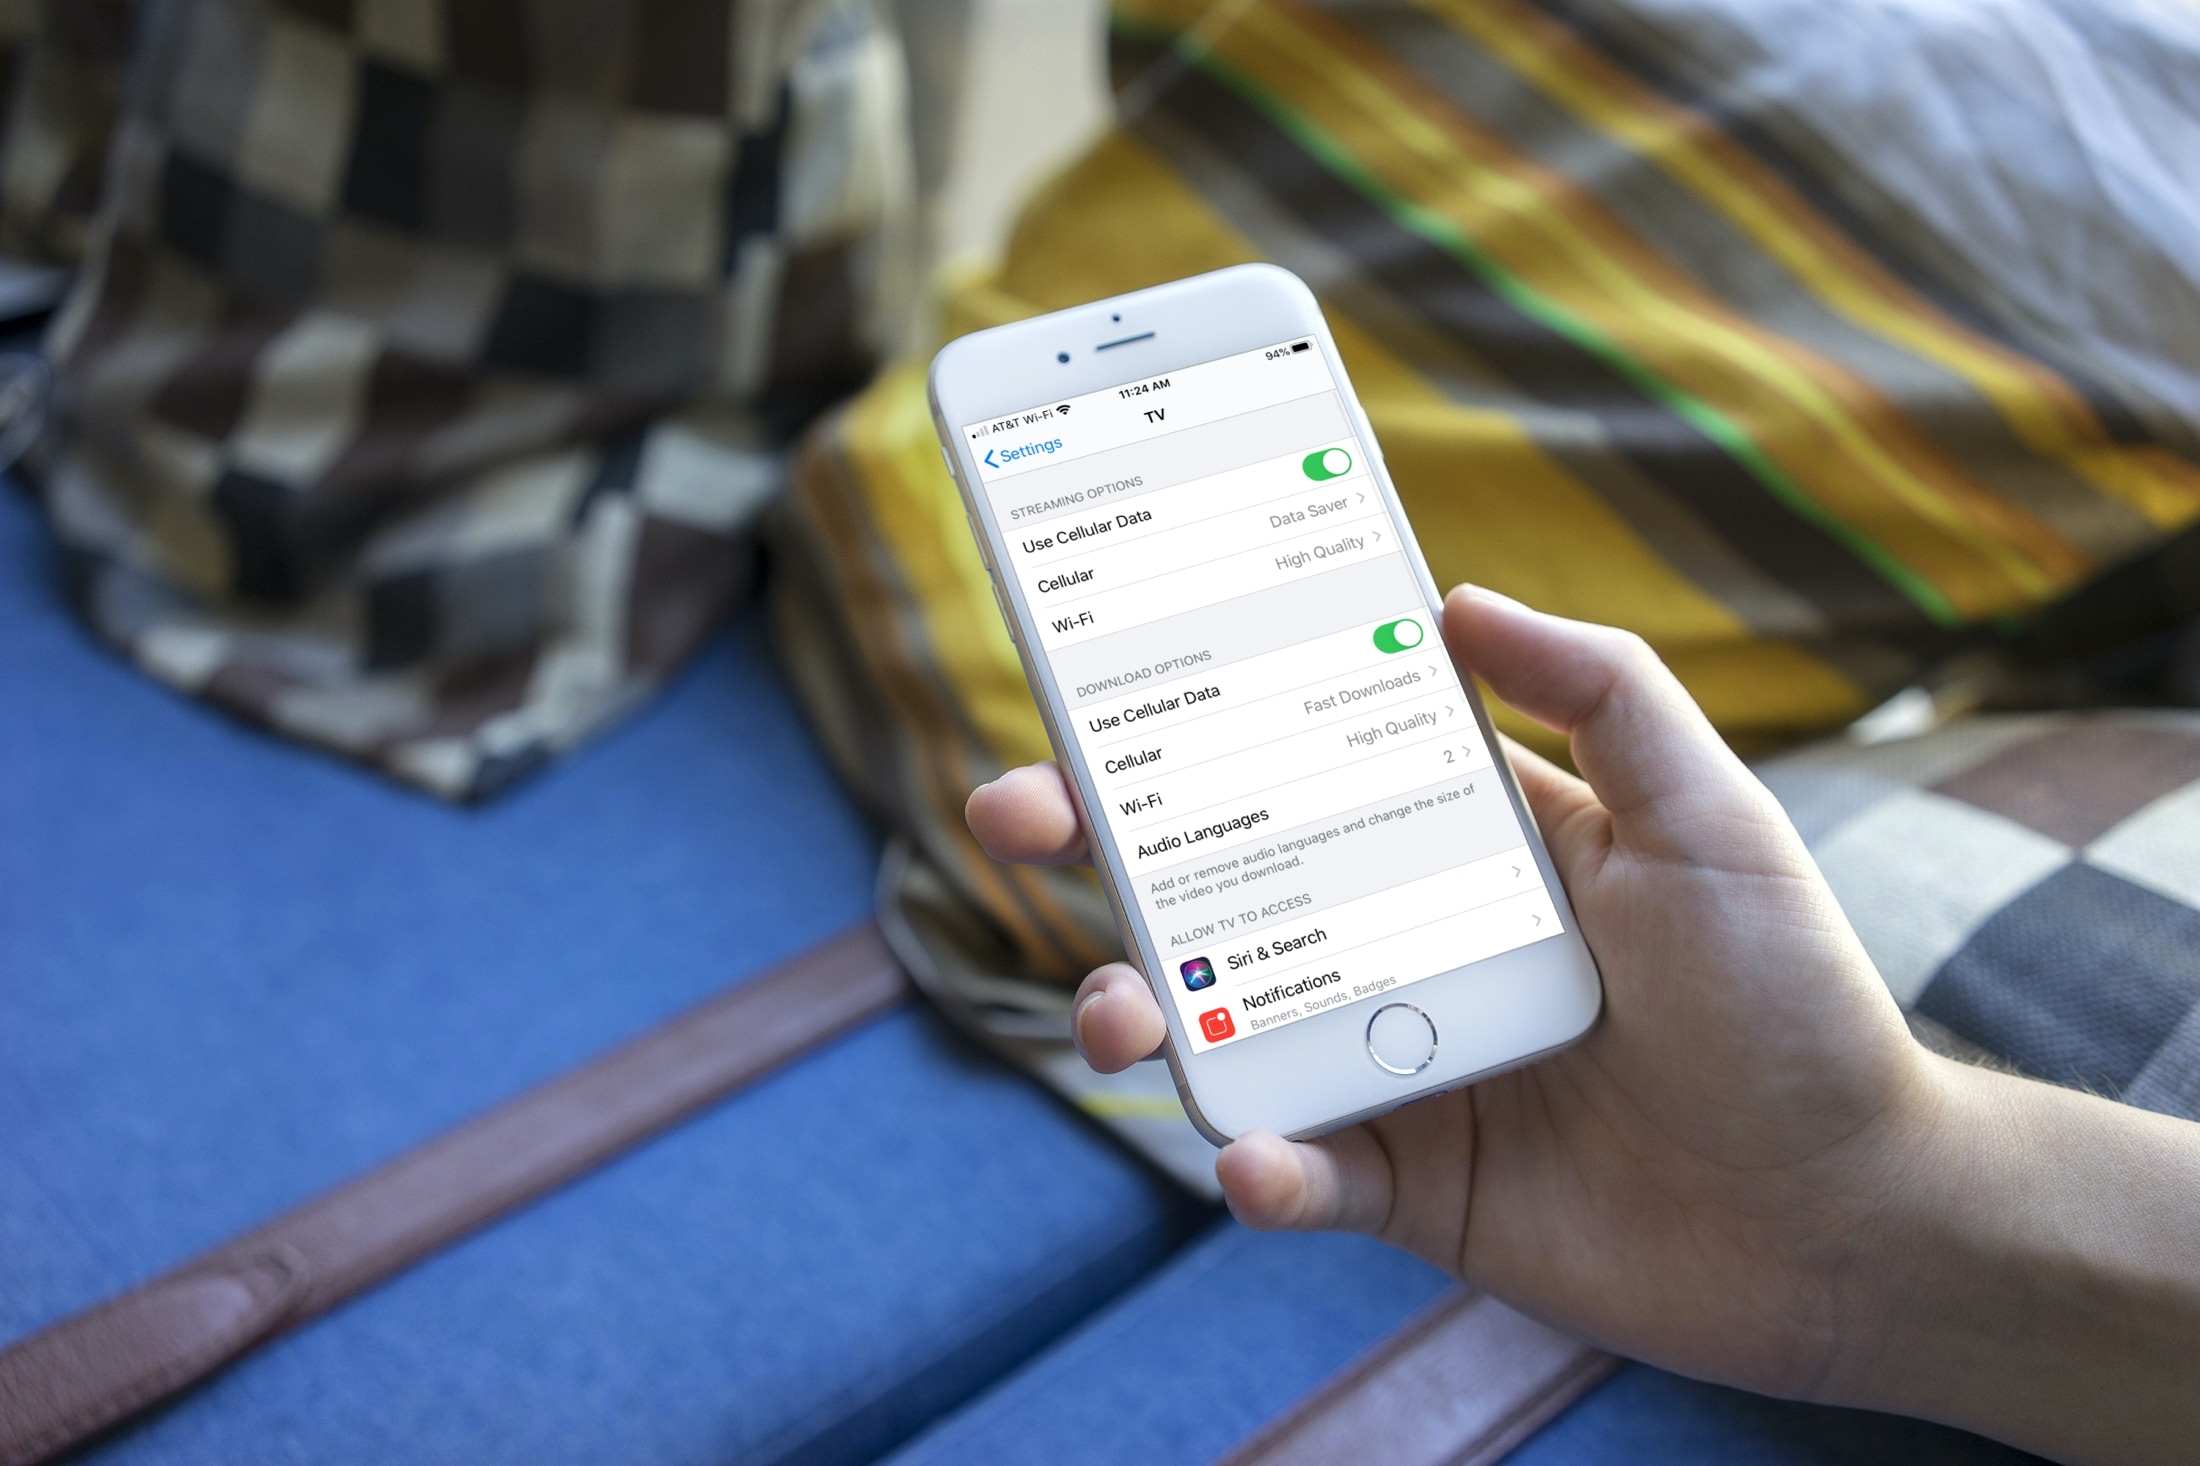
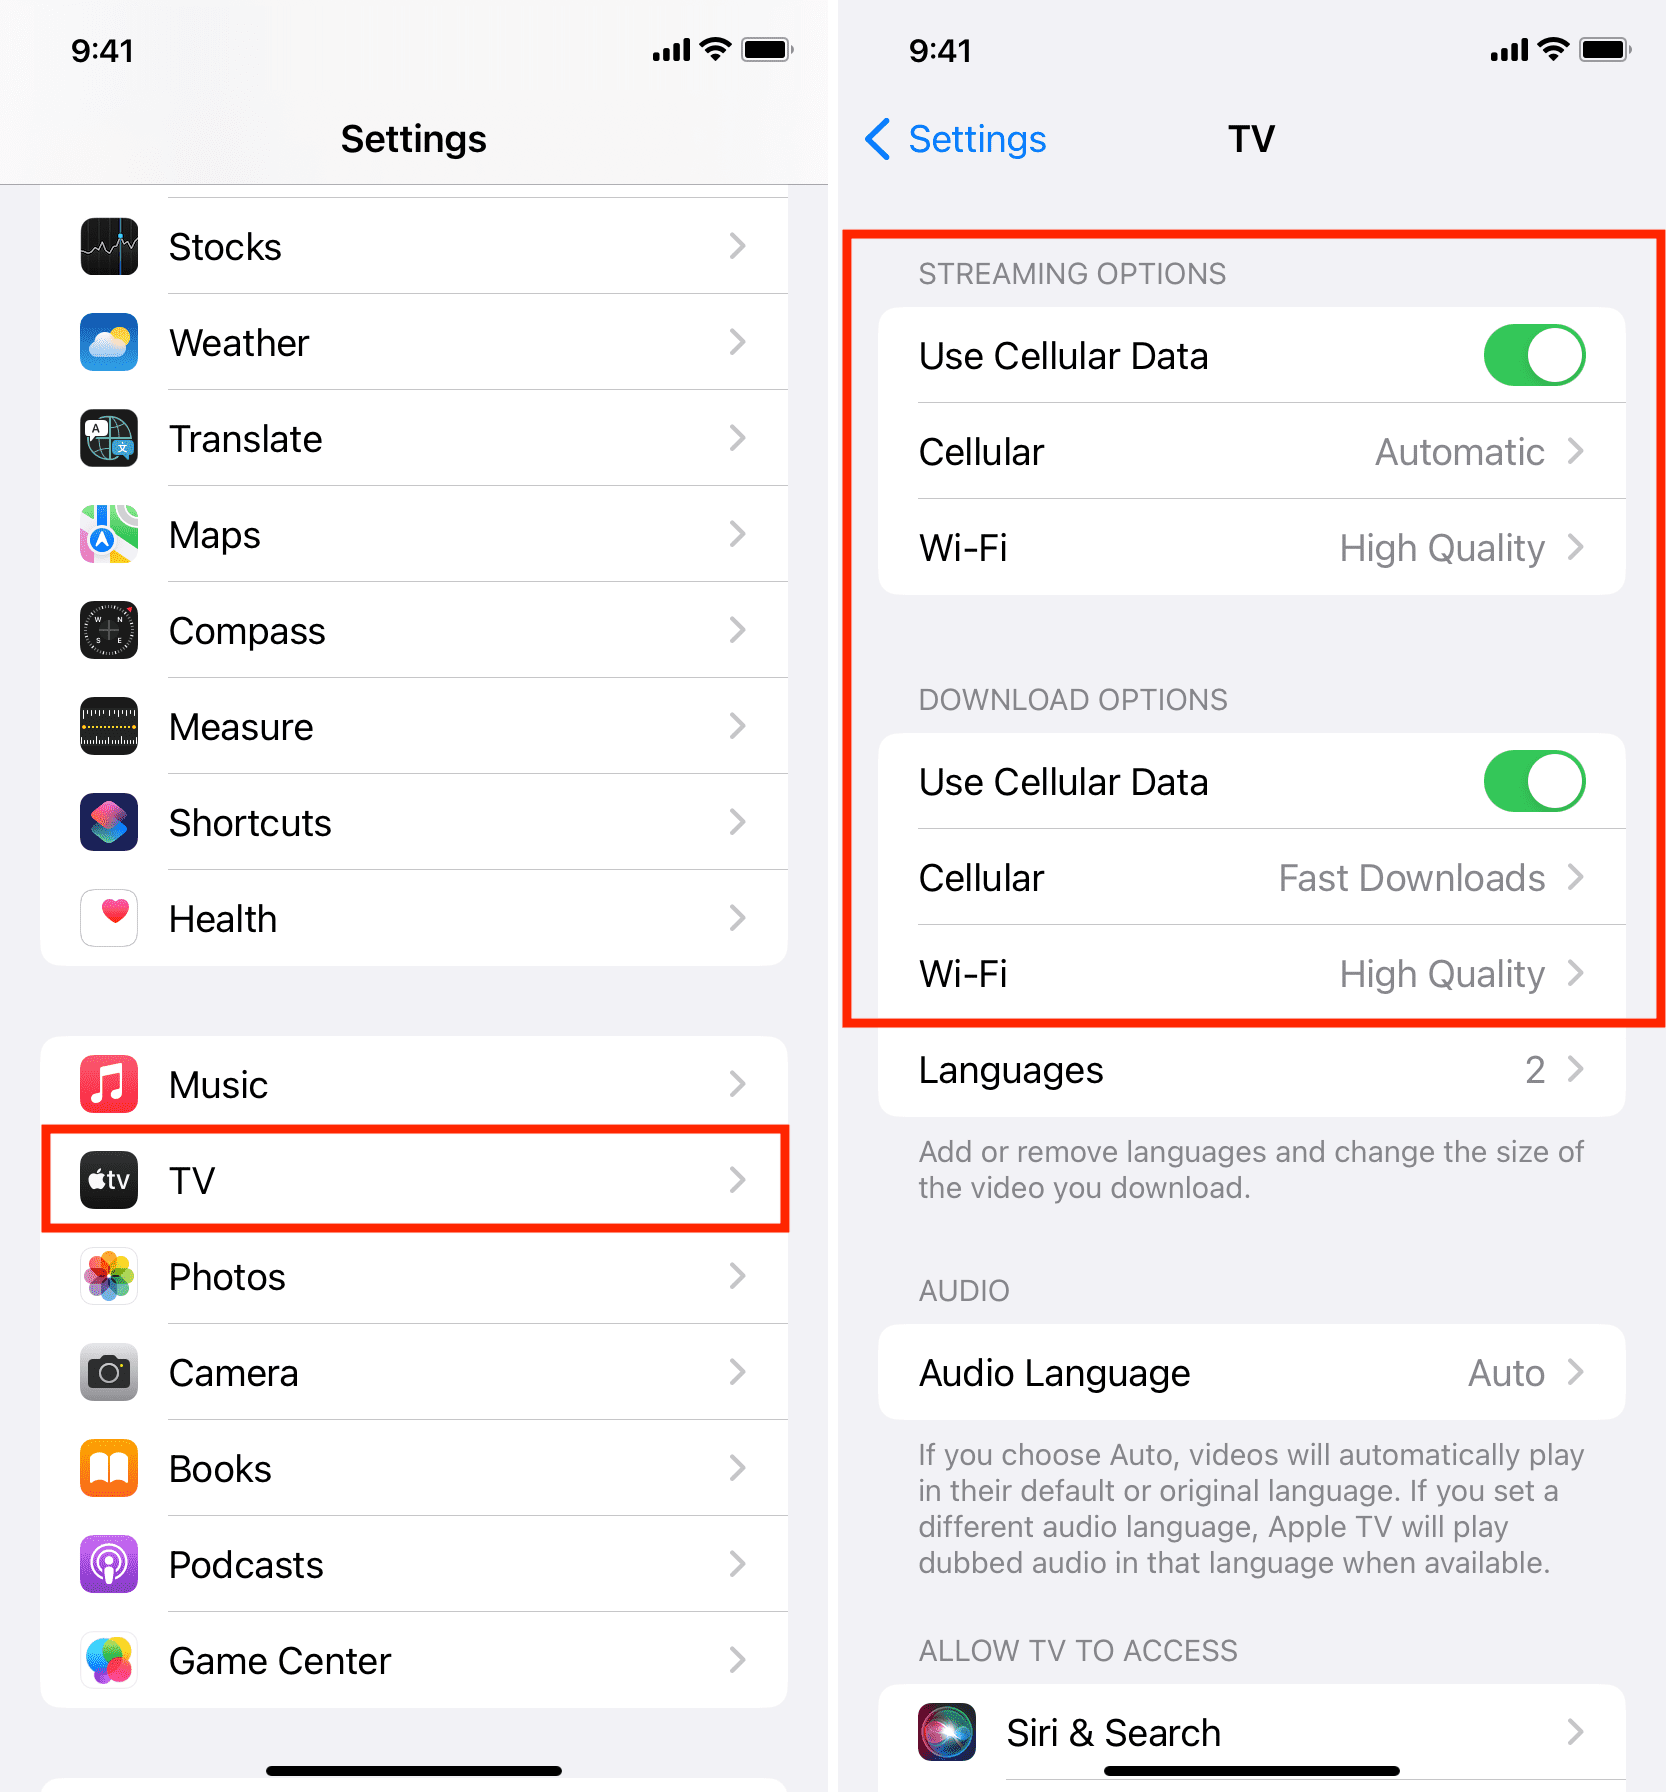
- Open the Settings app on your iPhone or iPad and pick the TV app.
- At the top, set your Streaming Options for Cellular Data and Wi-Fi. Choose from High Quality, where the stream uses more data, or Data Saver, where it takes 1 GB to stream one hour of content. The Cellular option has Automatic instead of Data Saver, which decides the quality as per your cellular plan.
- Next, set your Download Options. Again, you can set that for Cellular Data separate from Wi-Fi. Pick from High Quality for a slower download that uses more storage or Fast Downloads, which is just the opposite.
Related: Tips to save cellular data on iPhone
On Mac
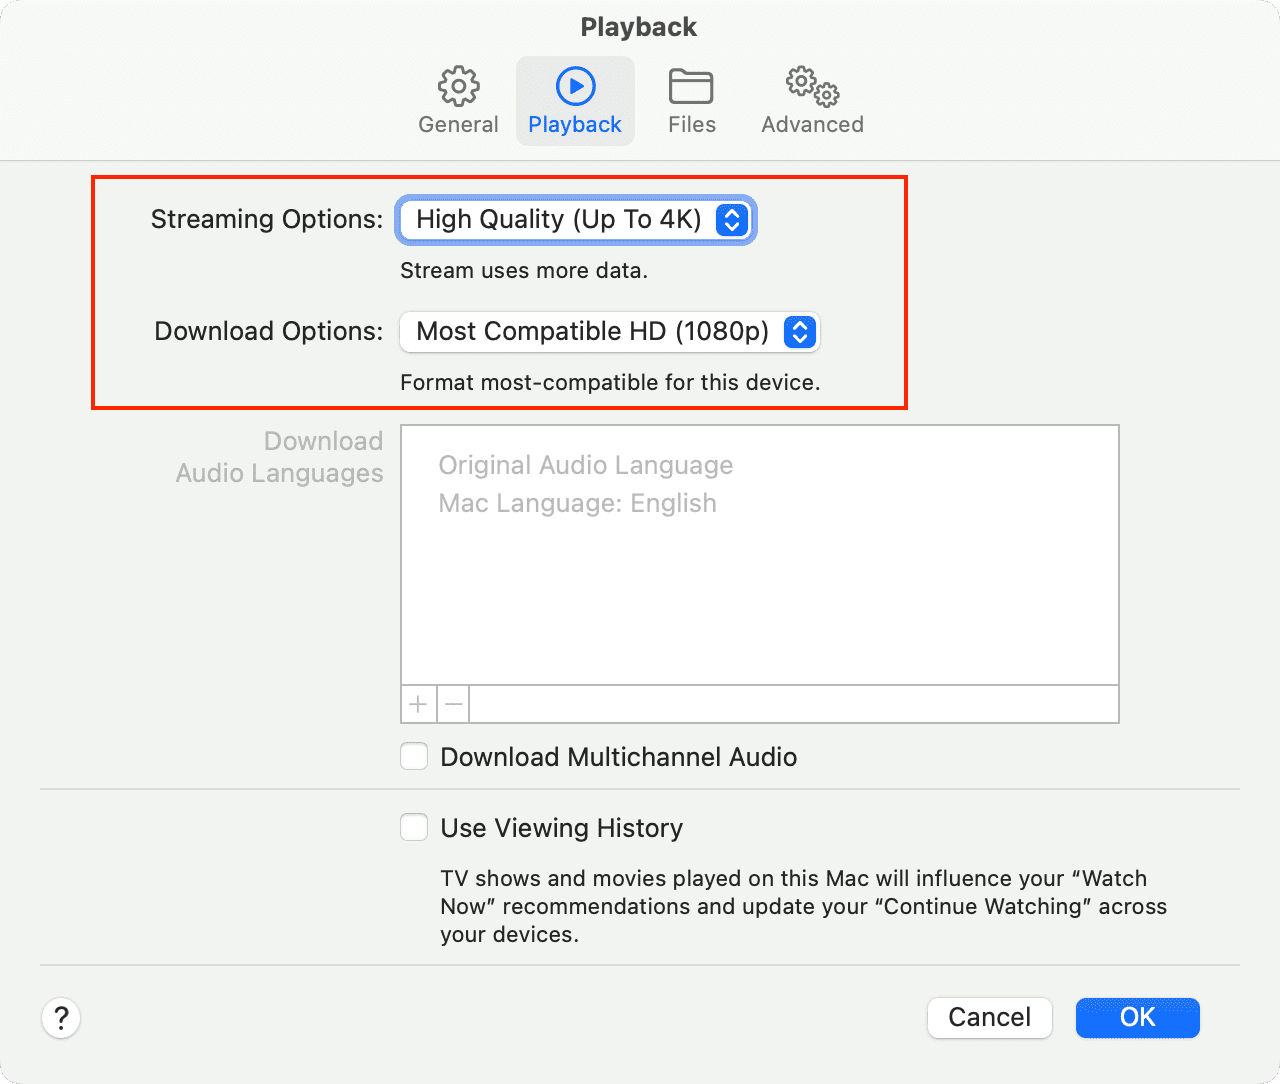
- Open the TV app and click TV > Preferences from the menu bar.
- Select the Playback tab.
- Use the drop-down to select your Streaming Options from High Quality (Up To 4K) or Data Saver. Choose the one that works best with your Mac.
- Then use the drop-down to select your Download Options from High Quality (Up To 1080p), Fast Downloads, Most Compatible HD (1080p), or Most Compatible SD (480p). Choose the one that works best with your Mac’s storage space.
- Finally, click OK to save your new changes.
Check out next: