Removing the background from an image can take your visual content to the next level, but it can also be a daunting task if you don’t have access to professional software.
In this article, we will explore three free and easy-to-use methods to remove the background of a photo on Mac using built-in tools and online platforms.
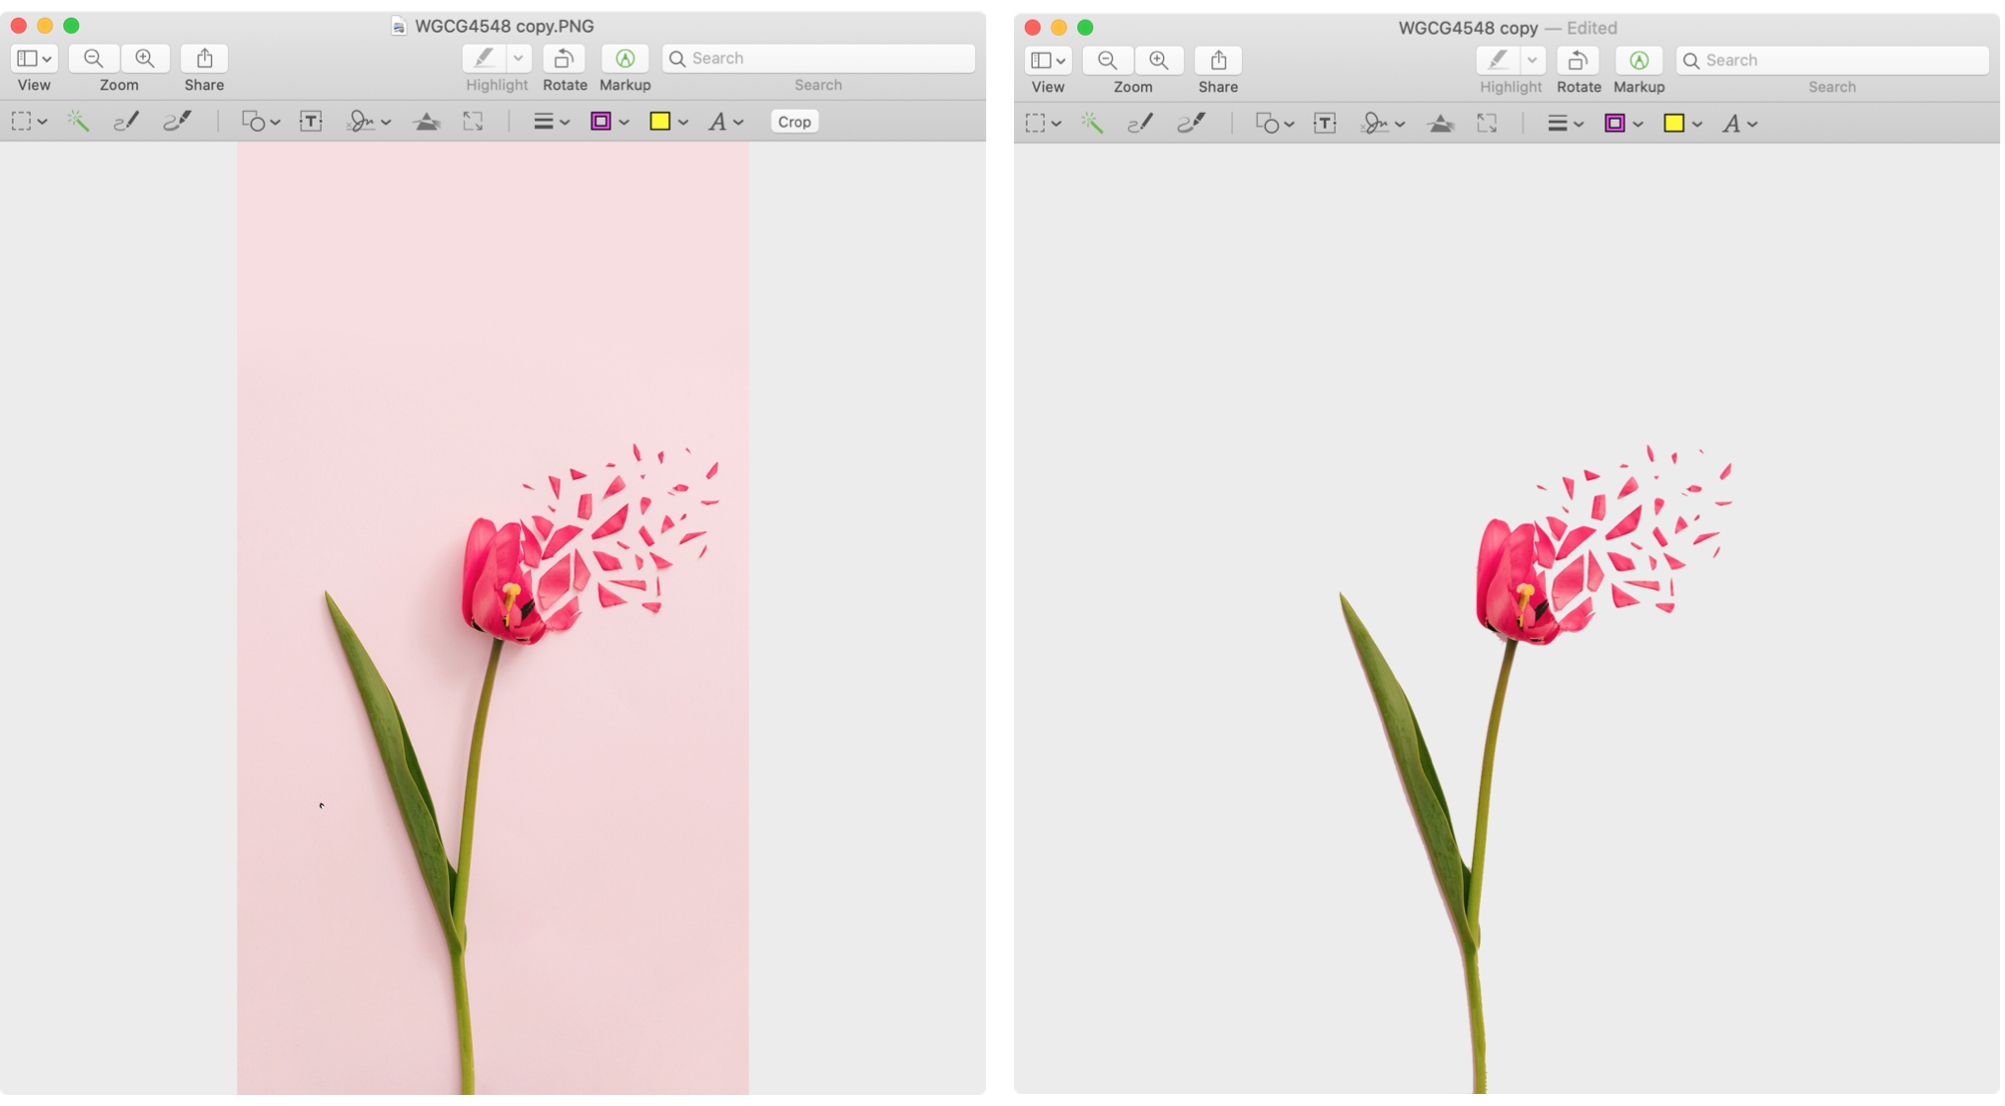
Remove the background and only have the main photo subject on Mac
Try out all the methods and see which one provides the best result for the photo you’re using.
1. Use Finder Quick Actions
- Make sure you have updated your Mac to the latest version of macOS.
- Open Finder and go to the folder where the image is saved.
- Right-click on the image (or hold the Control key and click on the image). From here, select Quick Actions > Remove Background.
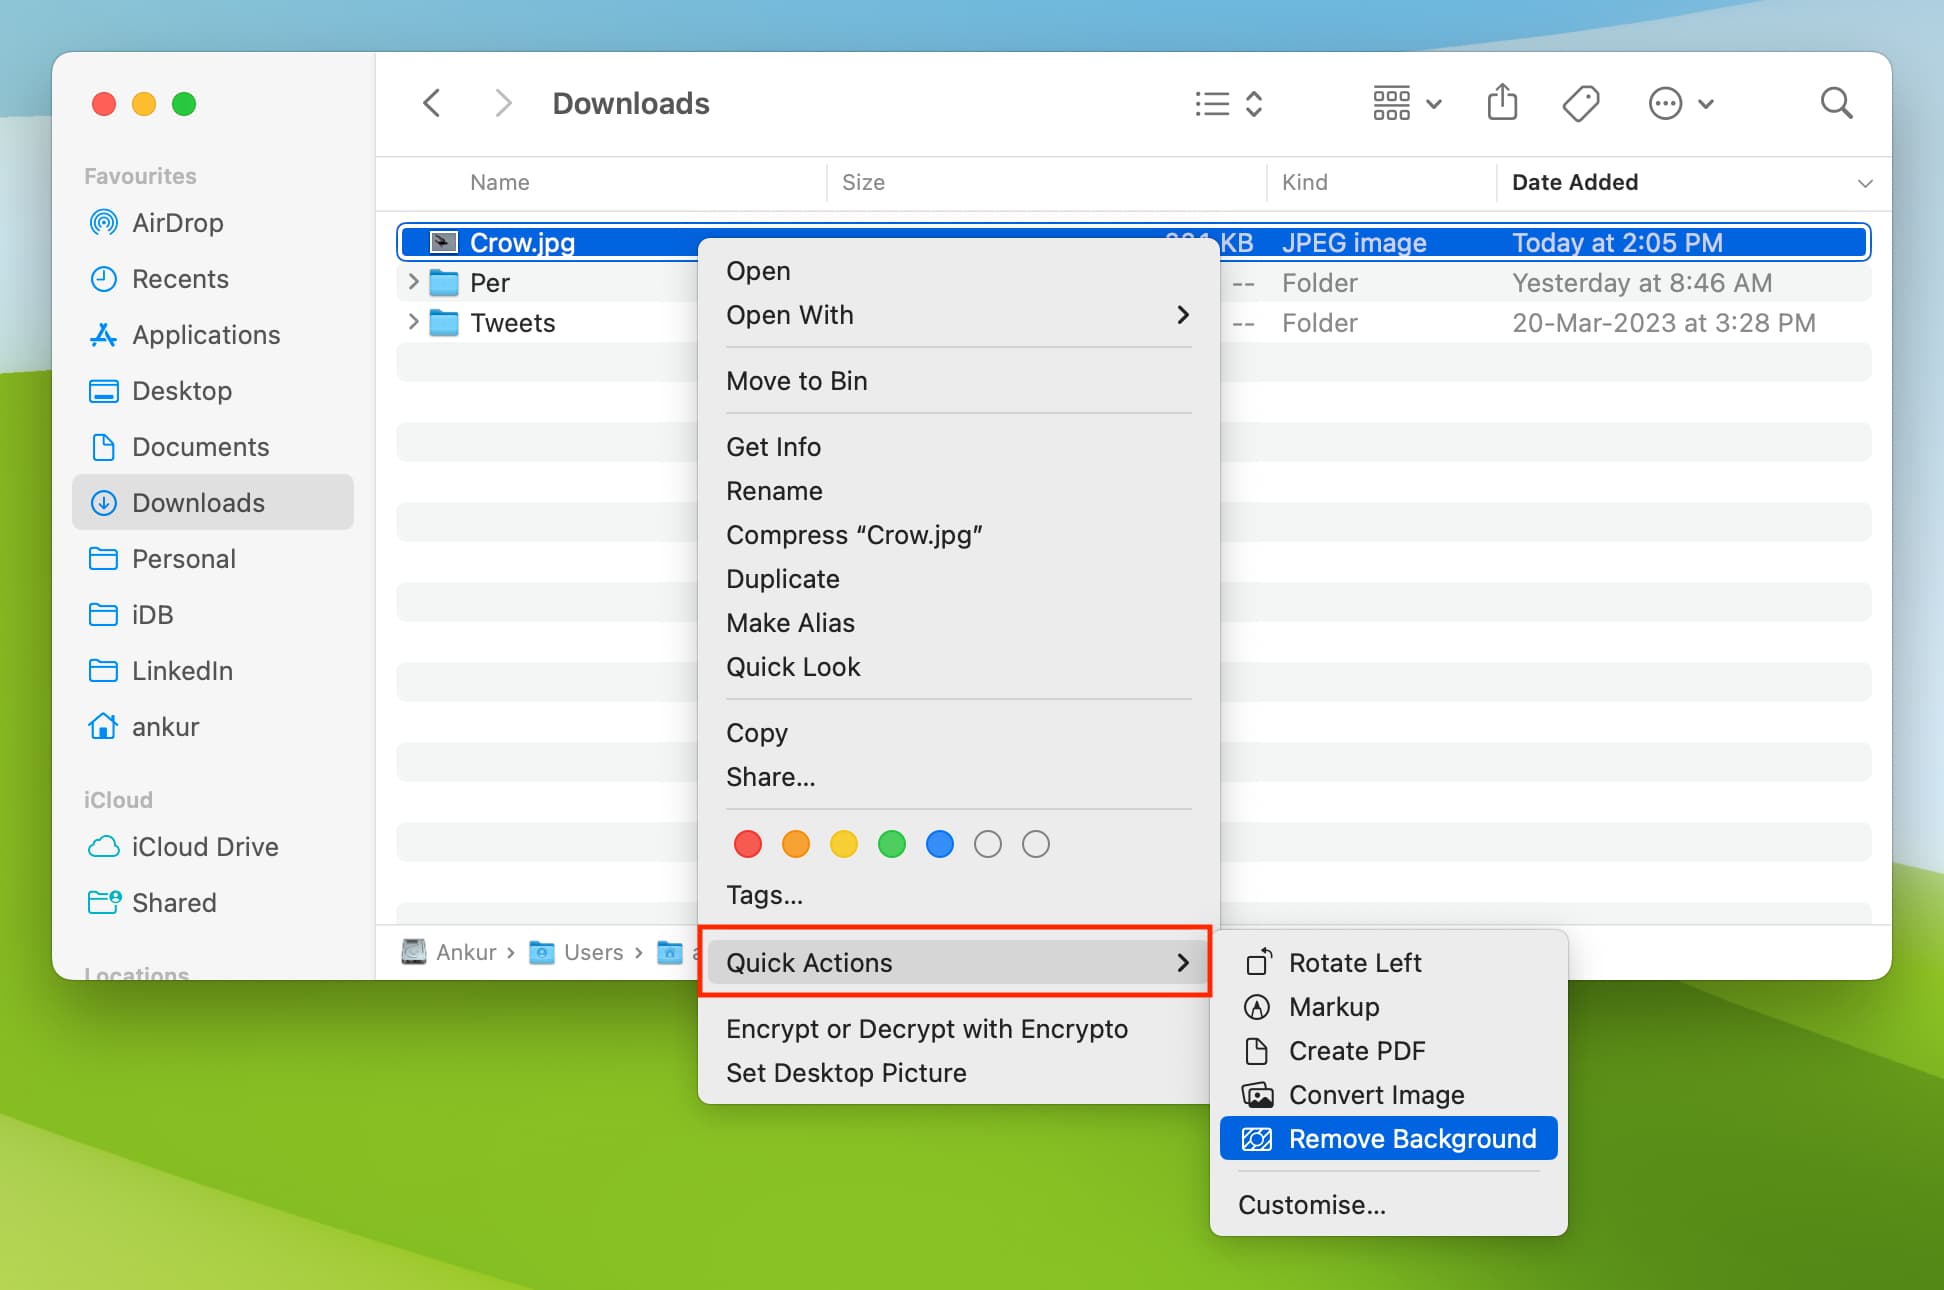
macOS will remove the background and save the new PNG file at the same location. You can rename it or hit the return key to keep the same name.
2. Use the Preview app
Unless you have specifically changed the default app, Preview is the Apple app that opens automatically when you double-click an image or PDF.
This Preview method works best if the background in your photo doesn’t blend in with or has different colors than the part of the photo you want to keep.
Select the image file and press Command + D to duplicate it (so that you have an original backup). After that, open one copy of the picture in Preview, and then follow these steps to remove the background:
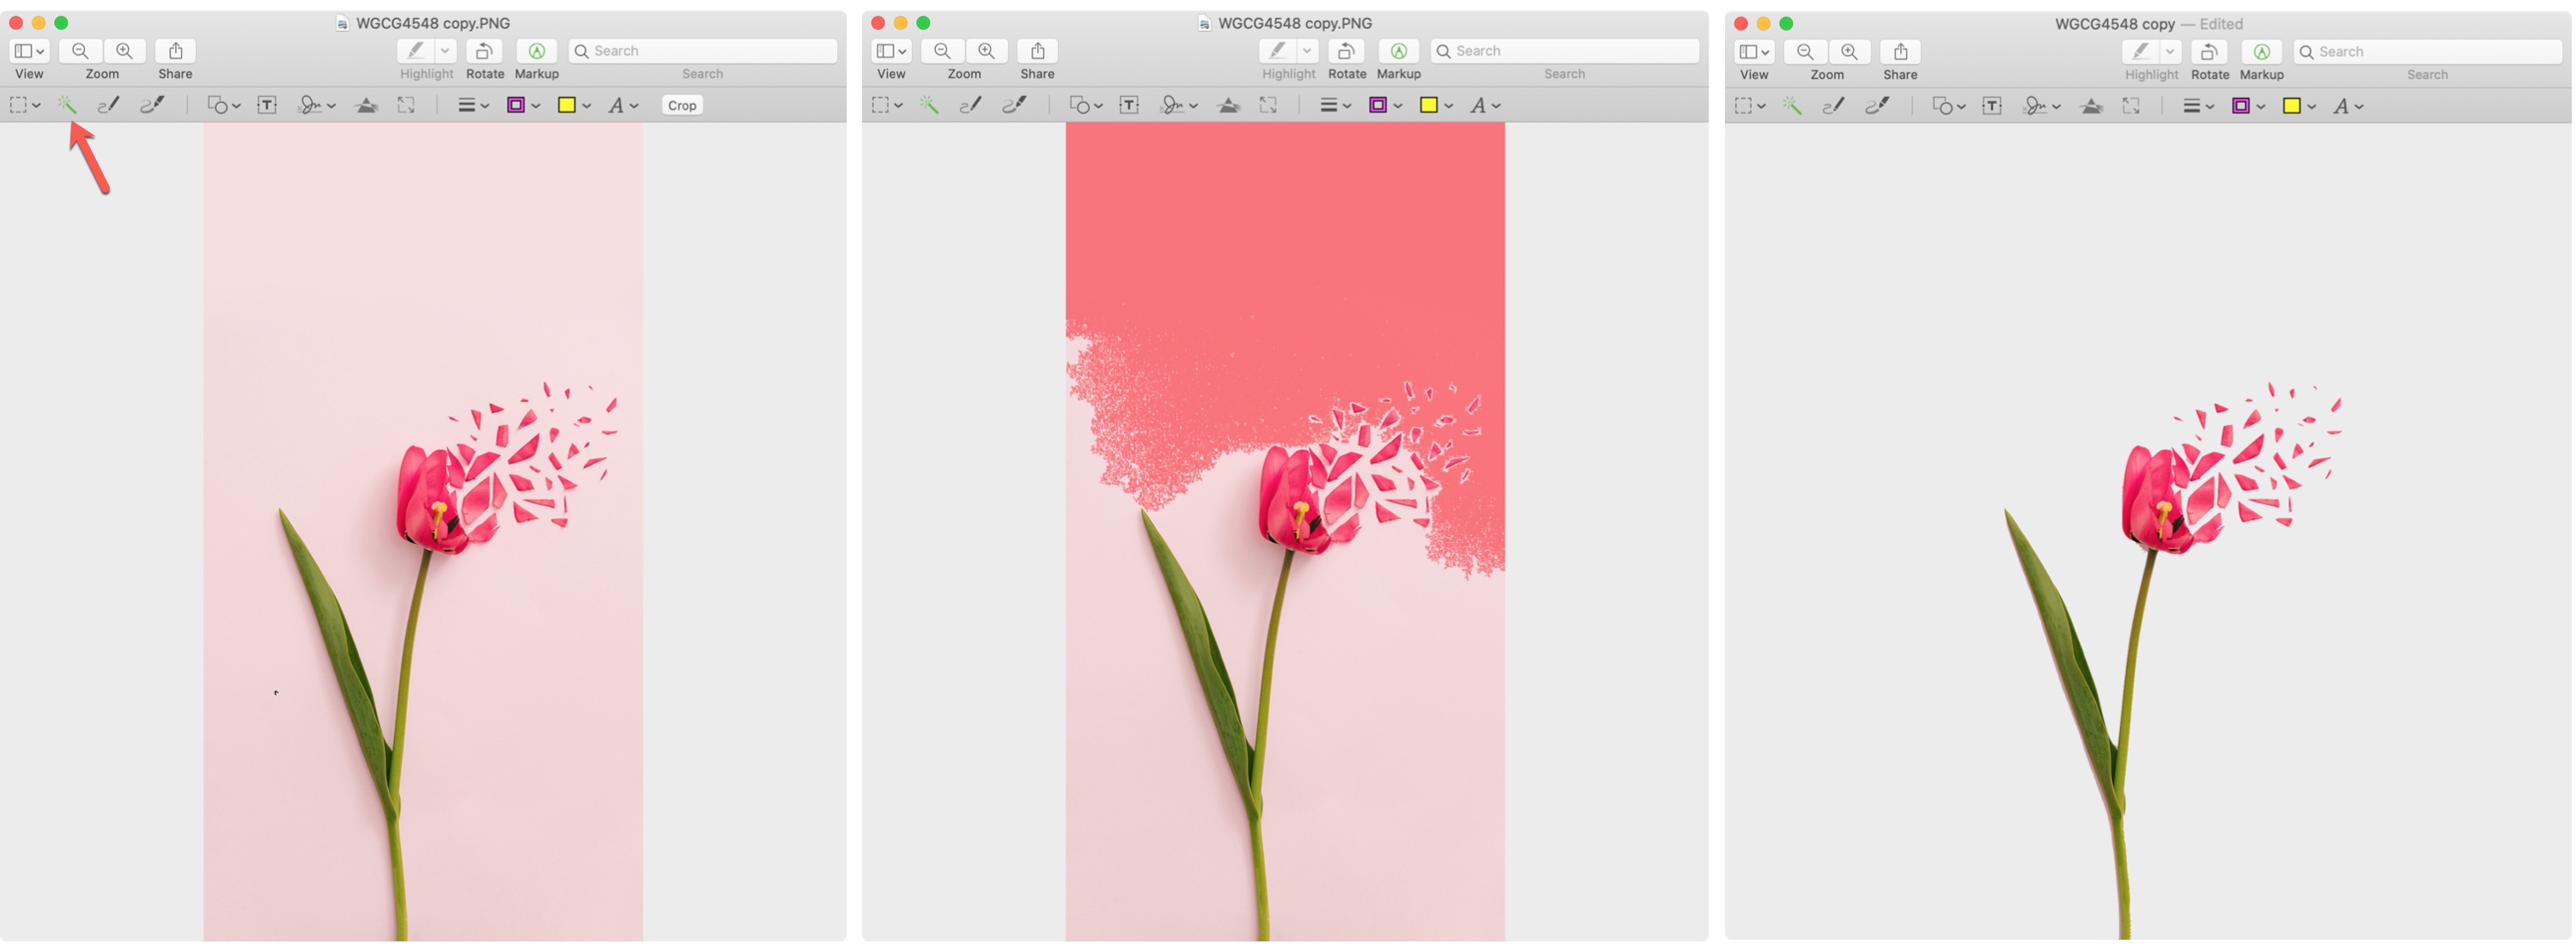
- Click the Markup button in the Preview toolbar.
- Toward the left side, click the Instant Alpha tool, which looks like a wand.
- Begin dragging through the background of your image. The tool will automatically select pixels of adjacent matching colors as you drag. This is why using this method works better if your background is colored differently than the section you want to keep.
- You may be able to select the entire background in one fell swoop. But since this is unlikely, you can simply select it in sections. Stop dragging when you capture a section you’d like to remove, and click the Delete key.
- Follow the same steps 3 and 4 above to select additional sections of the background and delete them. You can continue doing this until the entire background is removed.
Once you remove the largest parts of the background, you can delete smaller sections that are closer to the part you want to keep by following the same steps.
Extract the image in Preview
You may have a photograph that has many of the same colors in the background as in the section you want to keep. This can make the above method more difficult. In this case, it may be easier for you to take out the part of the photo you want to keep. Open your image in Preview and do the following to extract an image:
- Click the Markup button in the Preview toolbar.
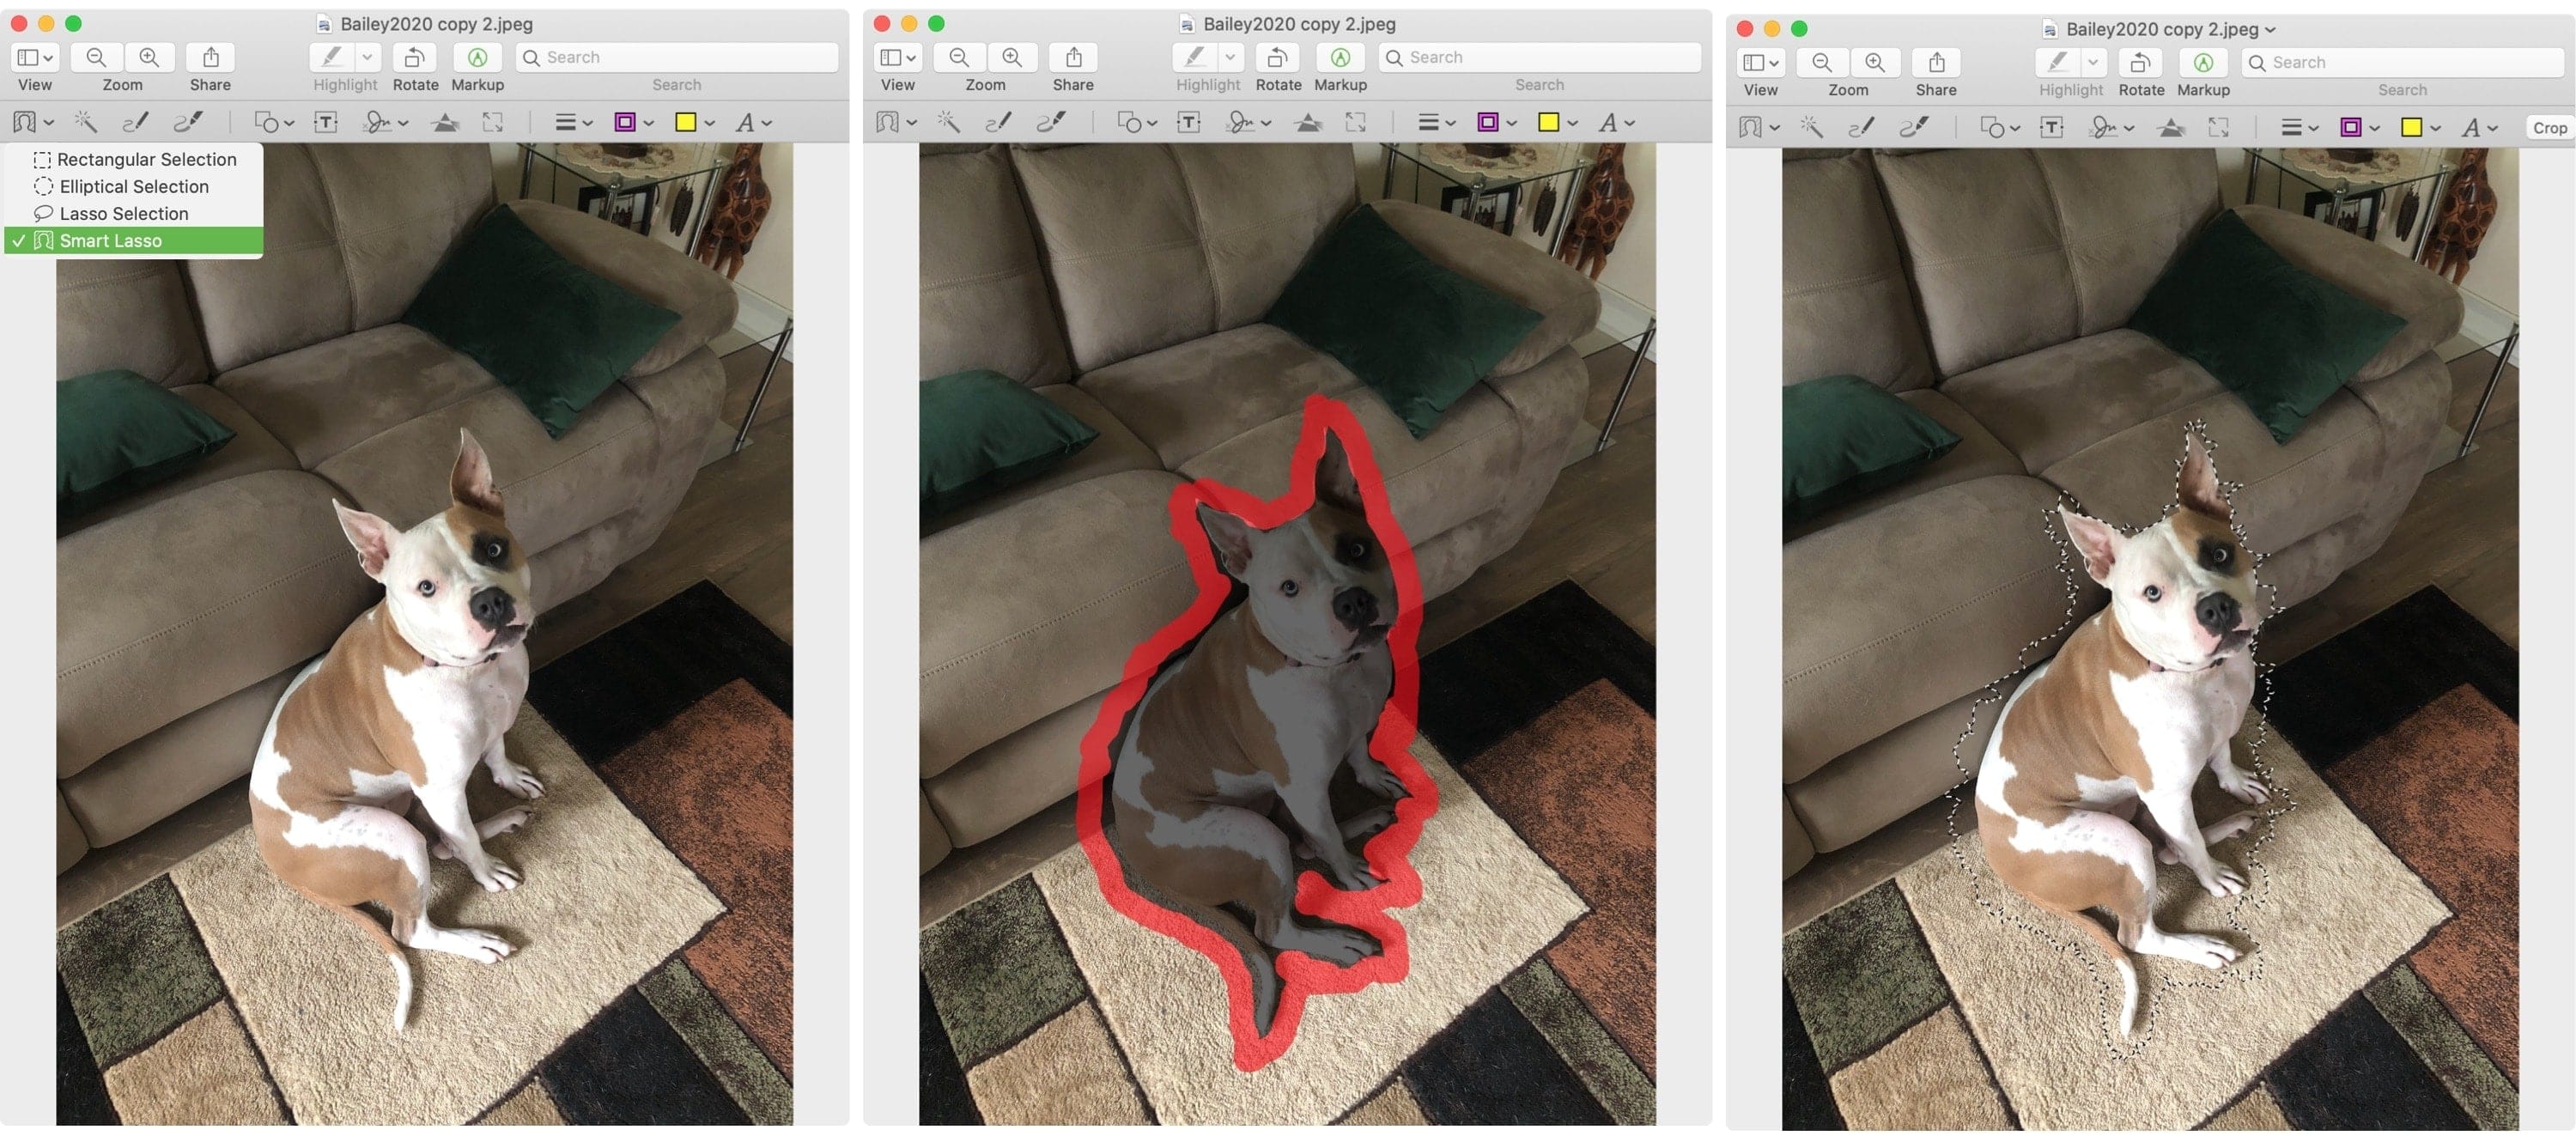
- On the far-left side, click the Selection Tools drop-down and pick Smart Lasso.
- Begin tracing the part of the photo you want to keep and finish by connecting your start and end points.
- When you see your selection, you can click Edit > Invert Selection and then the Delete key to remove the background or Edit > Copy to copy that selection and paste it elsewhere.
Whether you use this method to take the background out of the image or to copy what you want to keep and paste it elsewhere, it works.
Tips for removing backgrounds in Preview:
Using either of the methods above, here are a few tips that may help you to remove a background in Preview:
- If you are not happy with what the tool is selecting, you can drag in the opposite direction or click another spot to stop the selection.
- When you have tiny areas to get in between, use the Zoom tool for more accuracy. Click Window > Zoom or use a trackpad gesture to zoom in.
- To keep your original photo intact, you can make a copy before you begin editing it. Simply right-click the photo in its folder and select Duplicate. This will duplicate the photo with the word “copy” at the end.
And keep in mind you can click Edit > Undo to revert changes you make in Preview.
Preview may not be the most robust tool for editing images, but for quick background removal, give one of these methods a try.
3. Use third-party websites
There are many websites that can remove a photo background. Just remember that you will be using a third-party app and uploading your photo to their servers. That said, here are two of the best free sites I regularly use:
1) remove.bg: You can remove the background and save the ‘good quality’ final file for free. But you need to pay to download the background-less image in full quality. If you don’t like how the site has removed the background, you can hit Edit and restore or erase the background. It also offers a computer app that you can try.
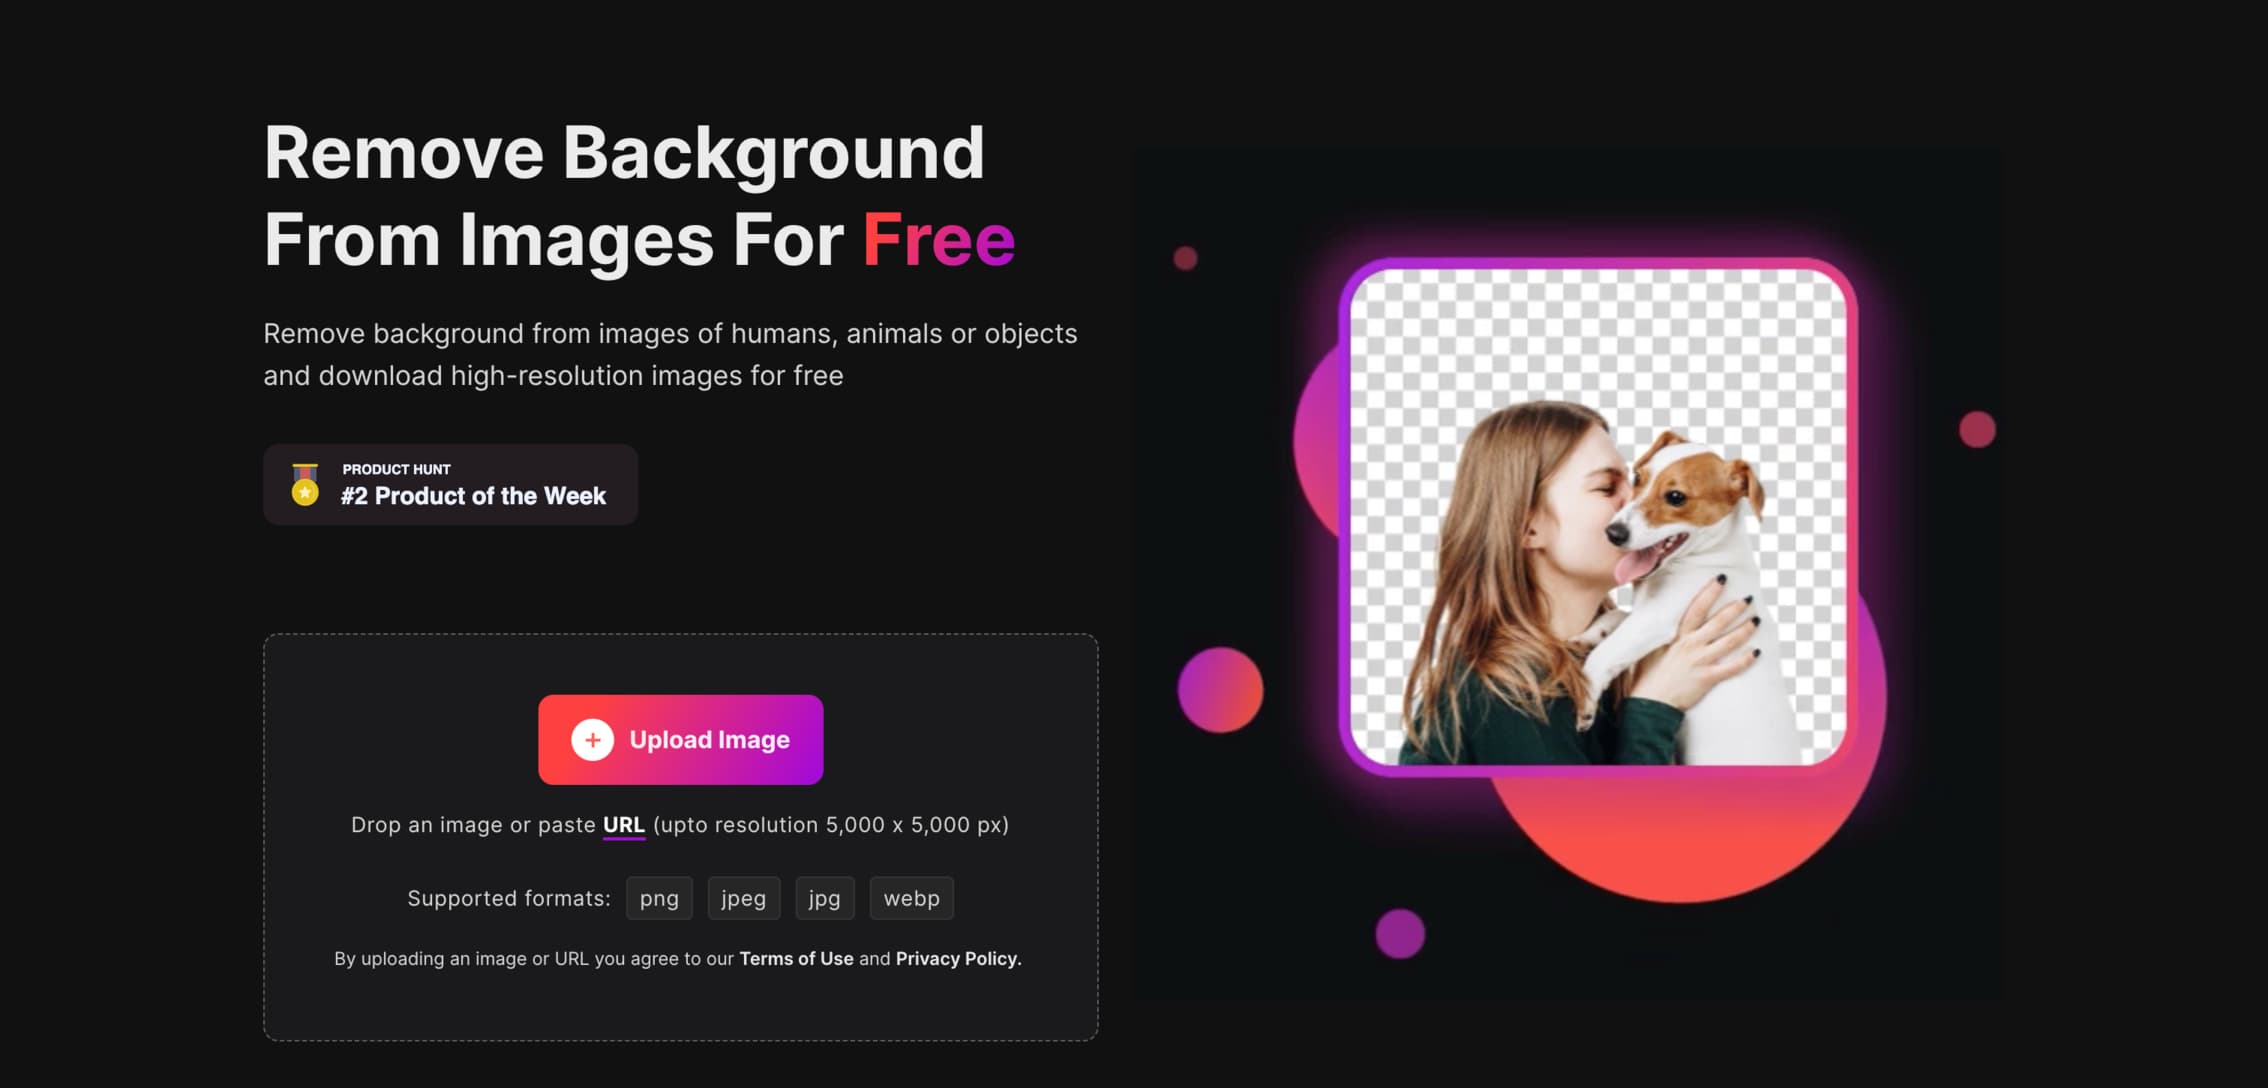
2) erase.bg: This site also lets you remove the background of an image. However, there are no erase or restore tools. Furthermore, in my opinion, remove.bg does a better job. But erase.bg can be equally good for most images, and the best part is it lets you download the background-less file in full quality for free!
Check out next: