Learn how to use groups in Finder to effortlessly sort and manage your files for a more streamlined and efficient experience.
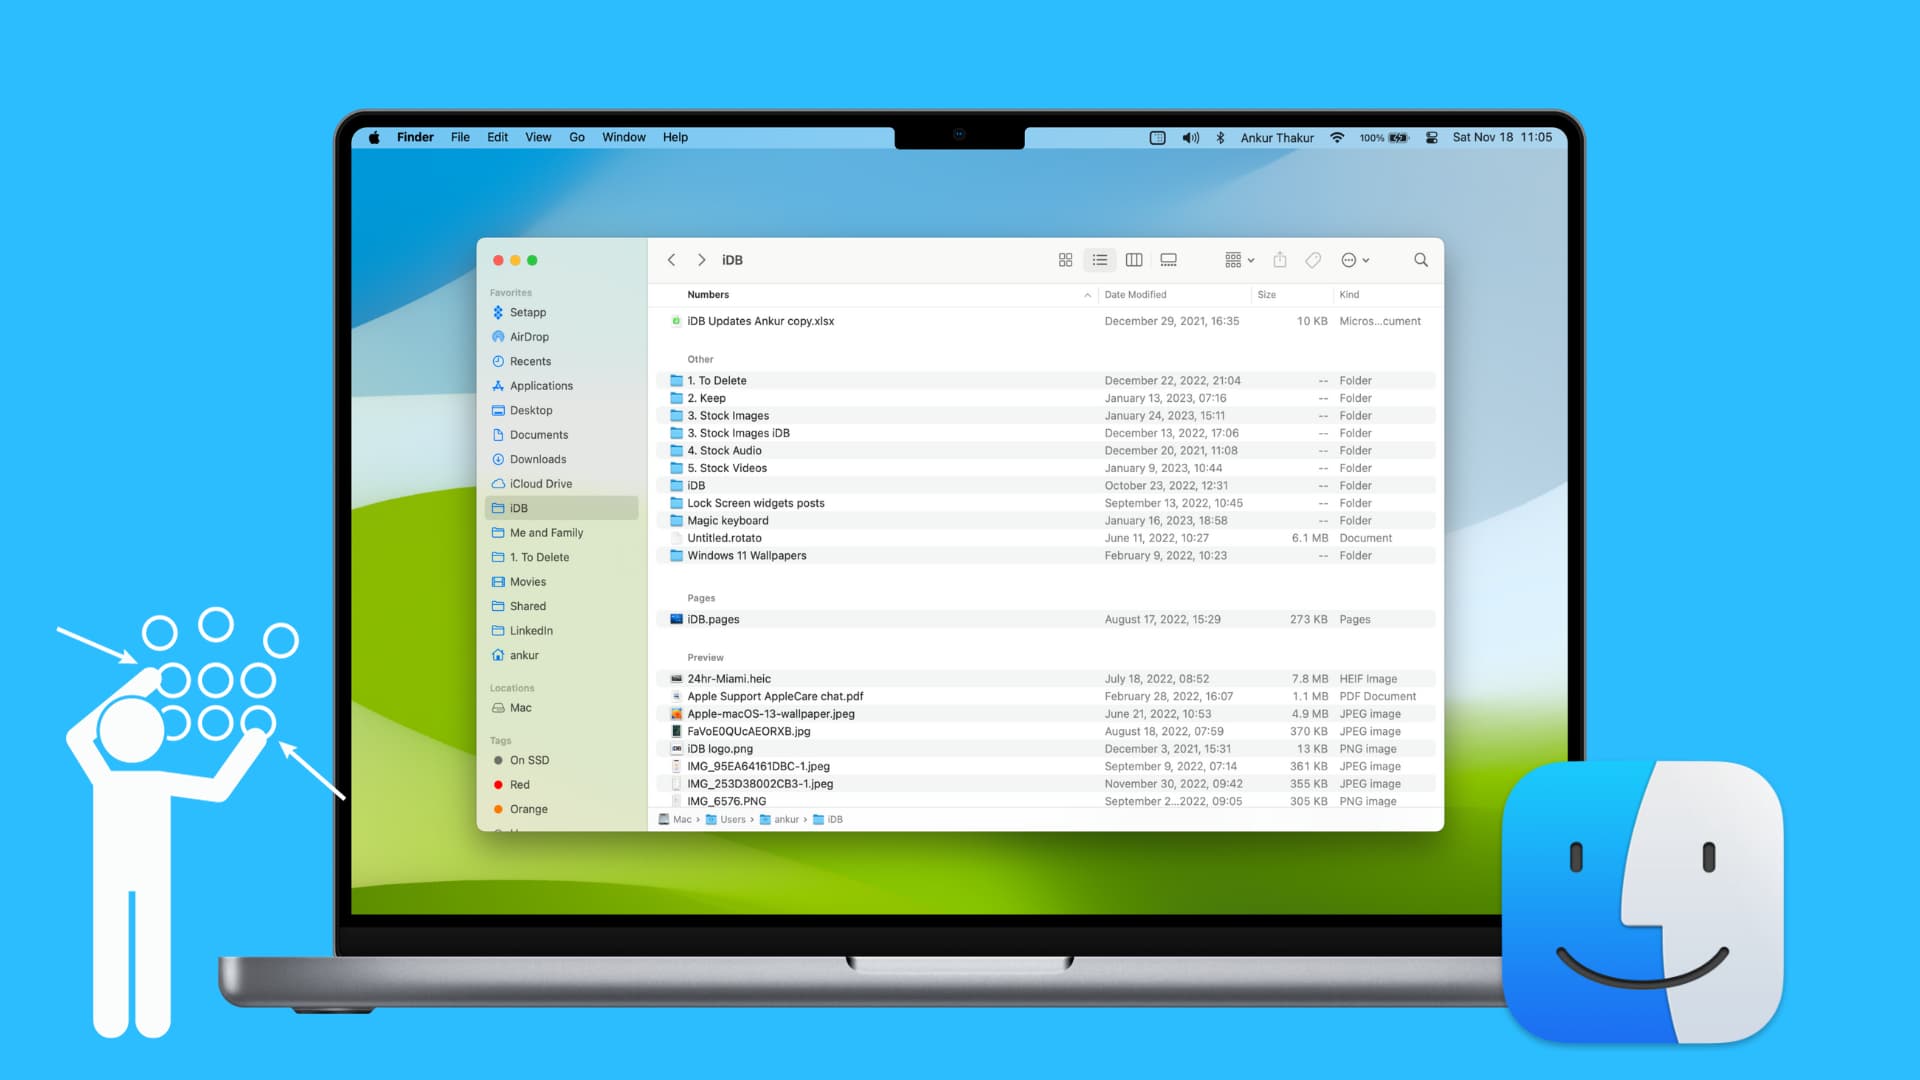
Finder on Mac is your go-to tool for documents, applications, folders, and anything else you want to find on your Mac. You can connect an iPhone to it, view iCloud Drive, and view locations on your computer.
Being able to sort quickly and easily is key to effectively using Finder. You have terrific options in the Finder toolbar to see items as icons, in a list, as columns, or in a gallery view. But there is another way to sort in Finder that can make it even easier – Groups.
Here’s how to use Groups in Finder for simpler sorting and searching.
About Groups in Finder
Before we get started, it’s important to note that the use of Groups is not available in the Gallery view for Finder. This may seem odd at first, but once you see how the grouping works, it’ll make perfect sense.
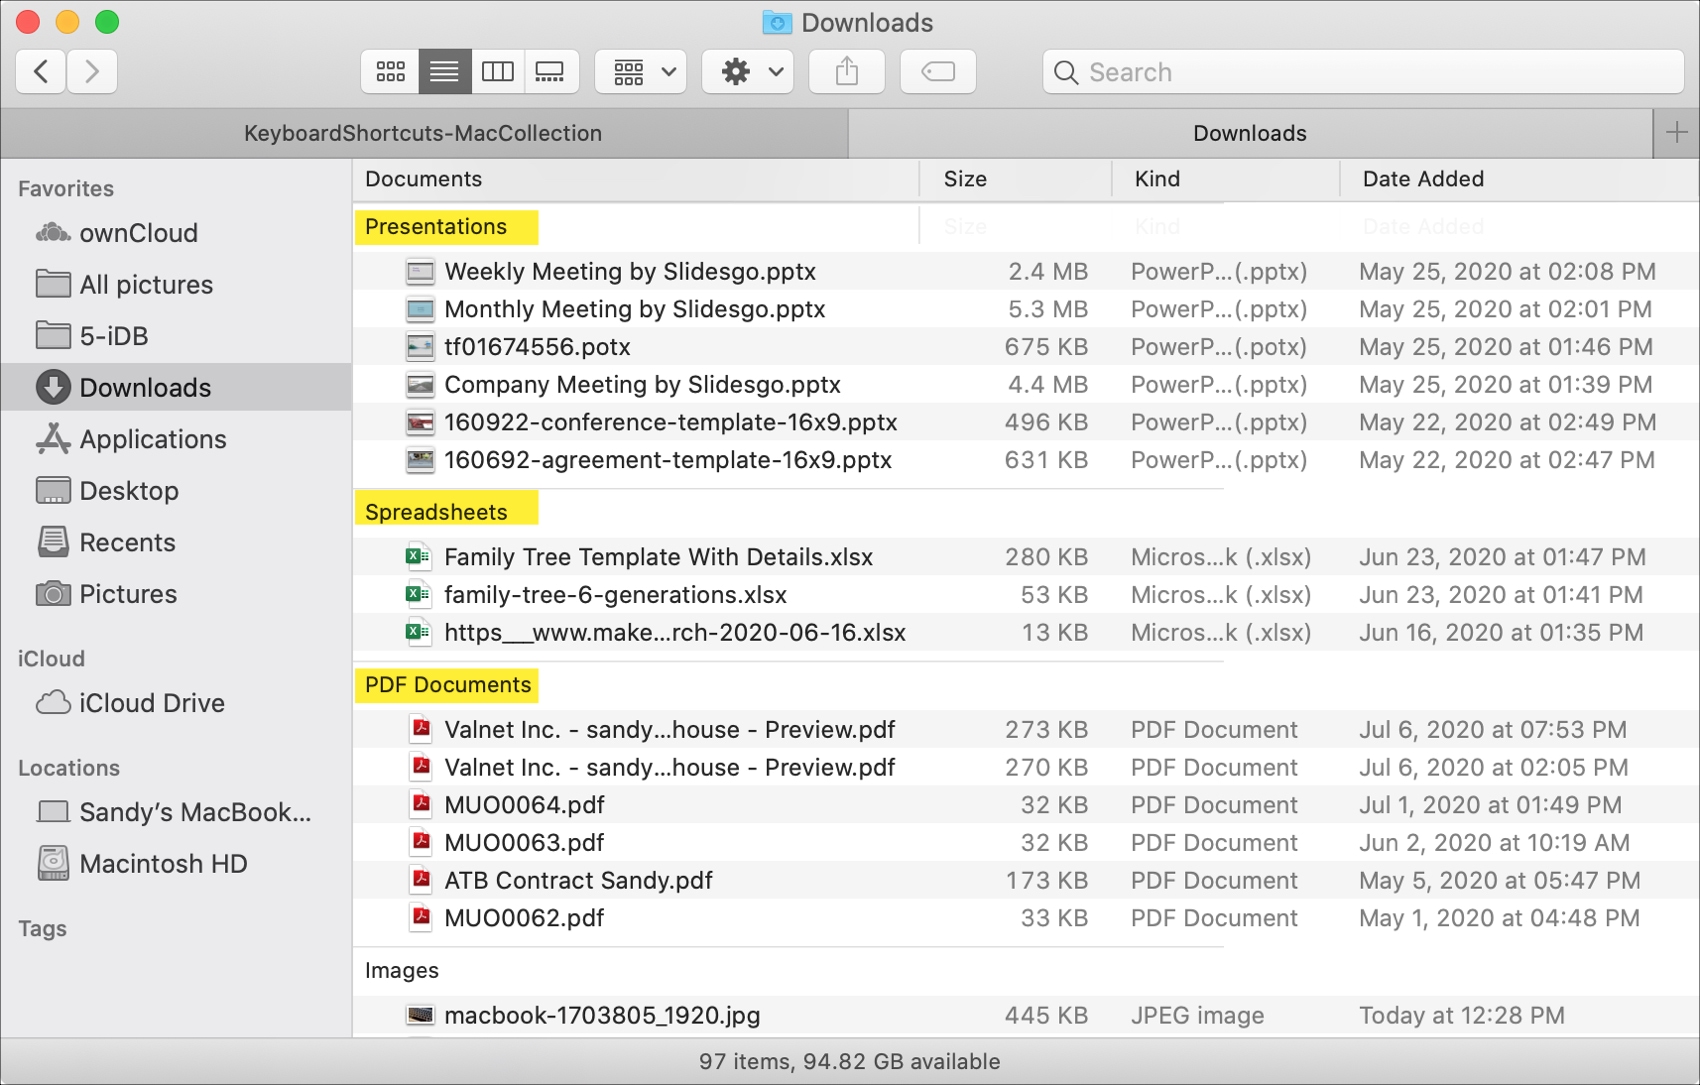
When you use Groups in Finder, the folder you’re viewing will likely be sorted by the types of items within it by default. This is useful for folders that contain multiple kinds of items like documents, images, videos, and subfolders.
Plus, your documents will be grouped by kind as well. So you’ll see PDF documents, presentations, and spreadsheets. However, you can change how the groups are sorted, and we’ll show you that below as well.
One last note, when you choose to use Groups in Finder, it will only apply to the current folder you are viewing. This gives you the flexibility to only use groupings when it’s helpful to you.
Use Groups
To use Groups in a Finder folder, do one of the following:
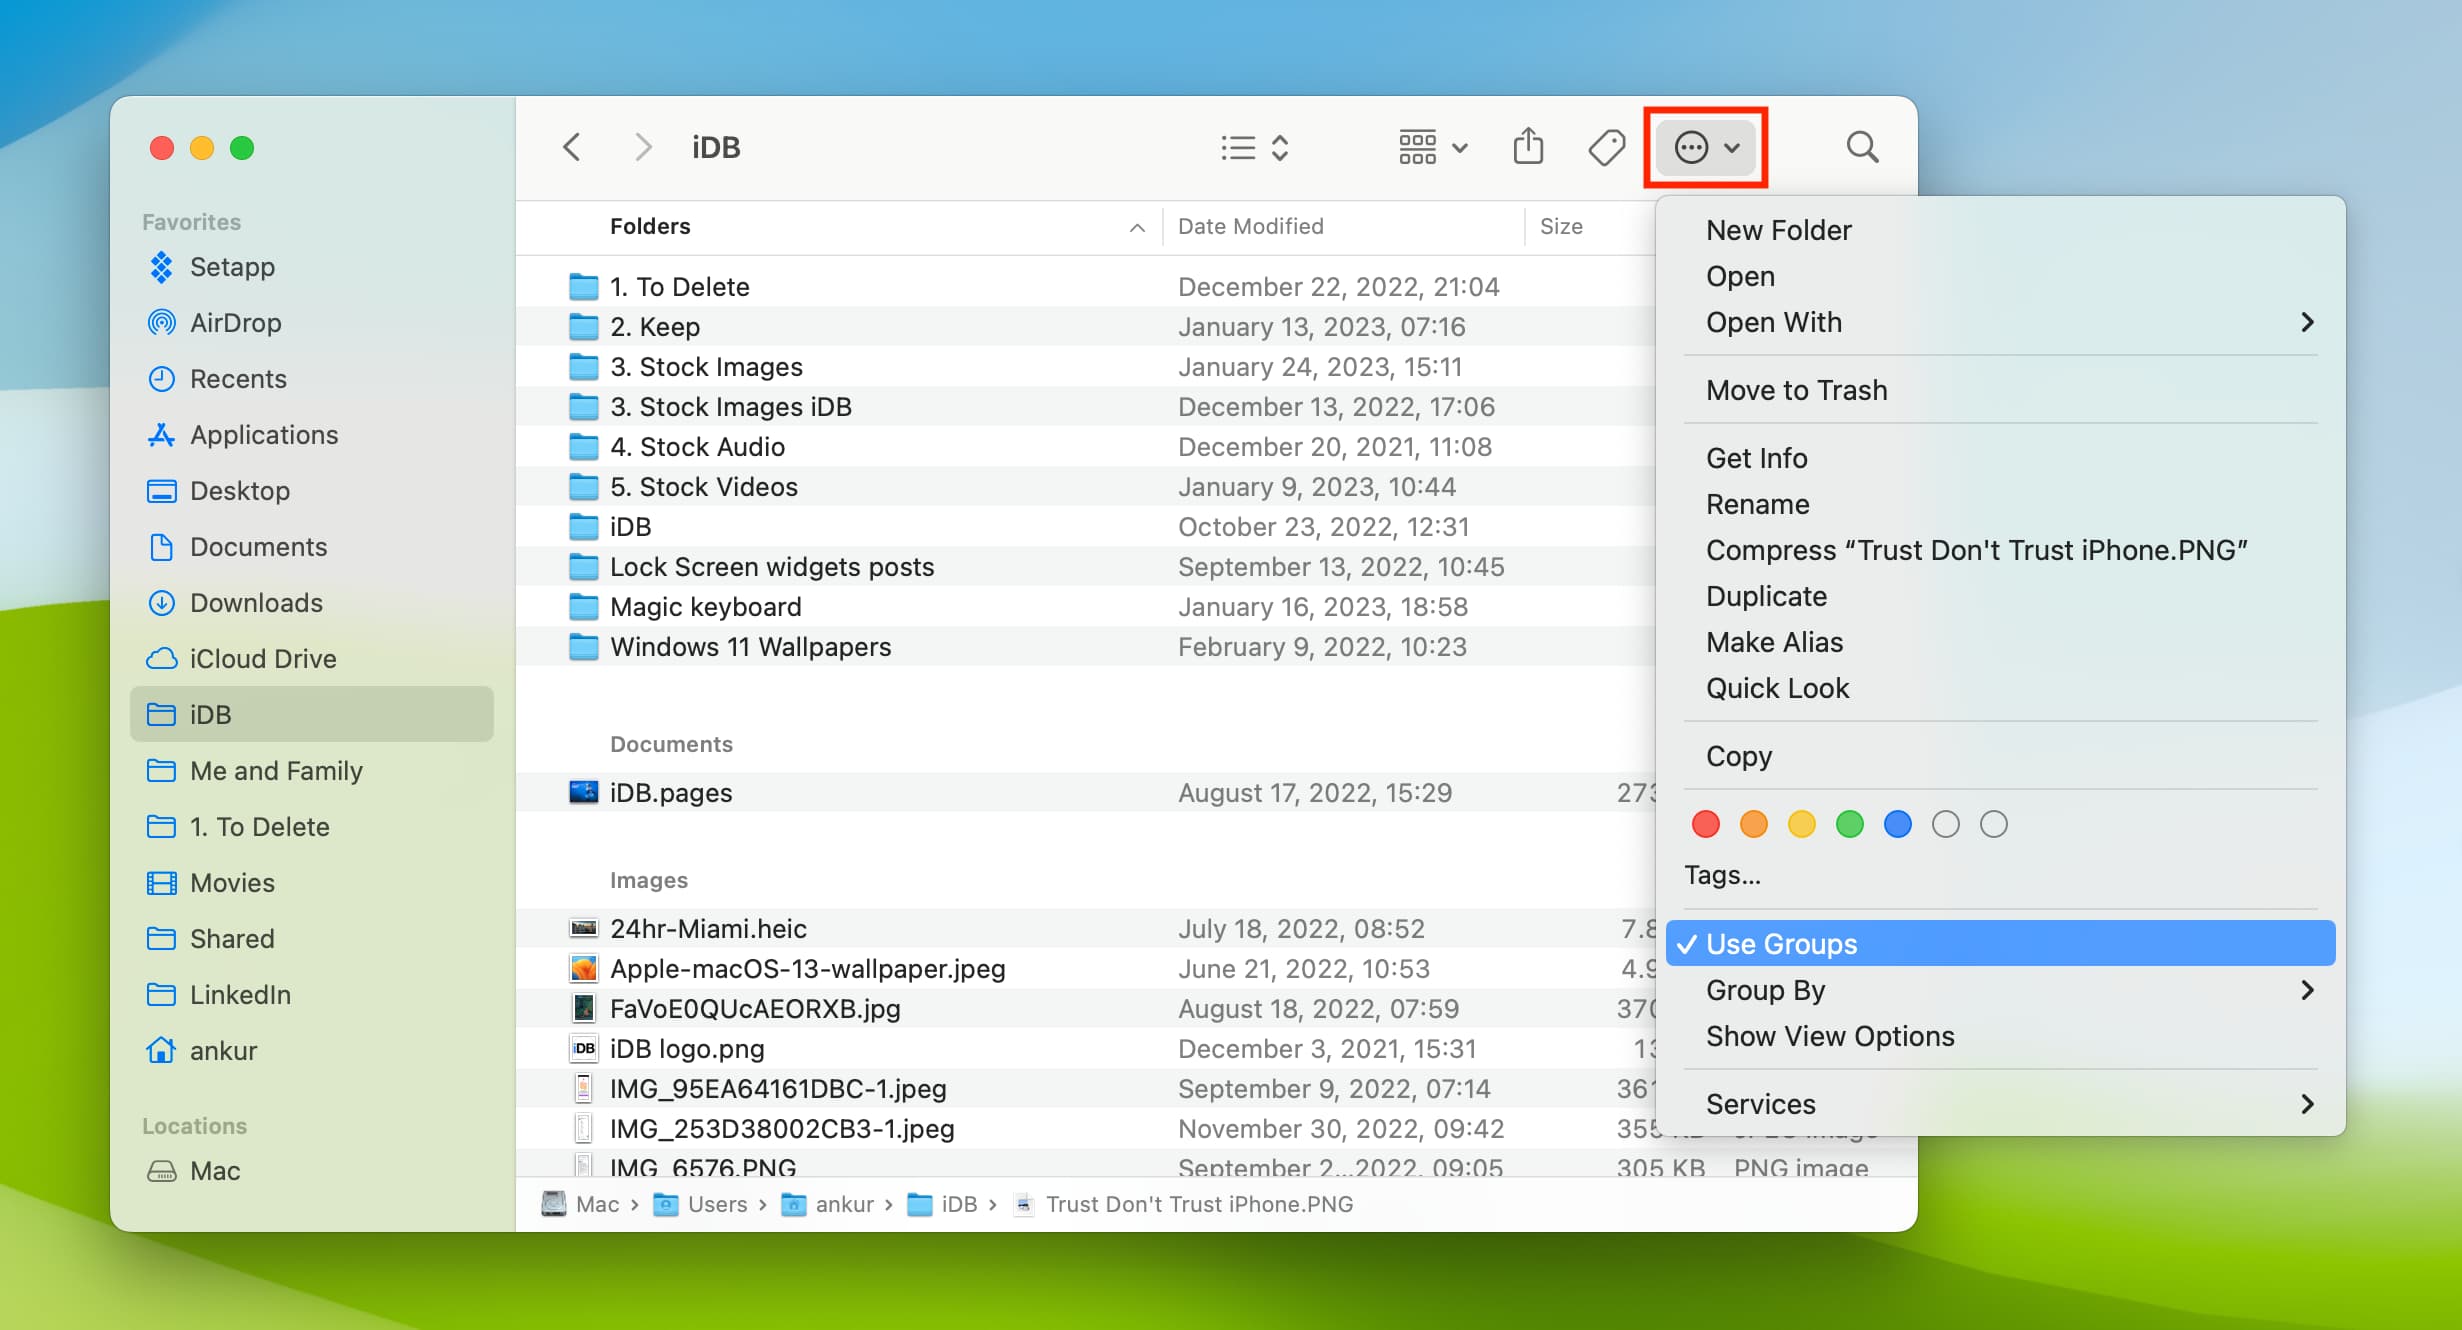
- Click the menu icon in the Finder toolbar and select Use Groups.
- Choose View from the menu bar and select Use Groups.
- Right-click within the folder and select Use Groups.
You’ll immediately see the folder adjust and group your items.
Use sort by in Group
Maybe you’d prefer to group items by date, size, tags, or application rather than kind. This is just as easy as enabling Groups in the first place.
Like when you turned on Groups in Finder, you can use the same locations to change the grouping.
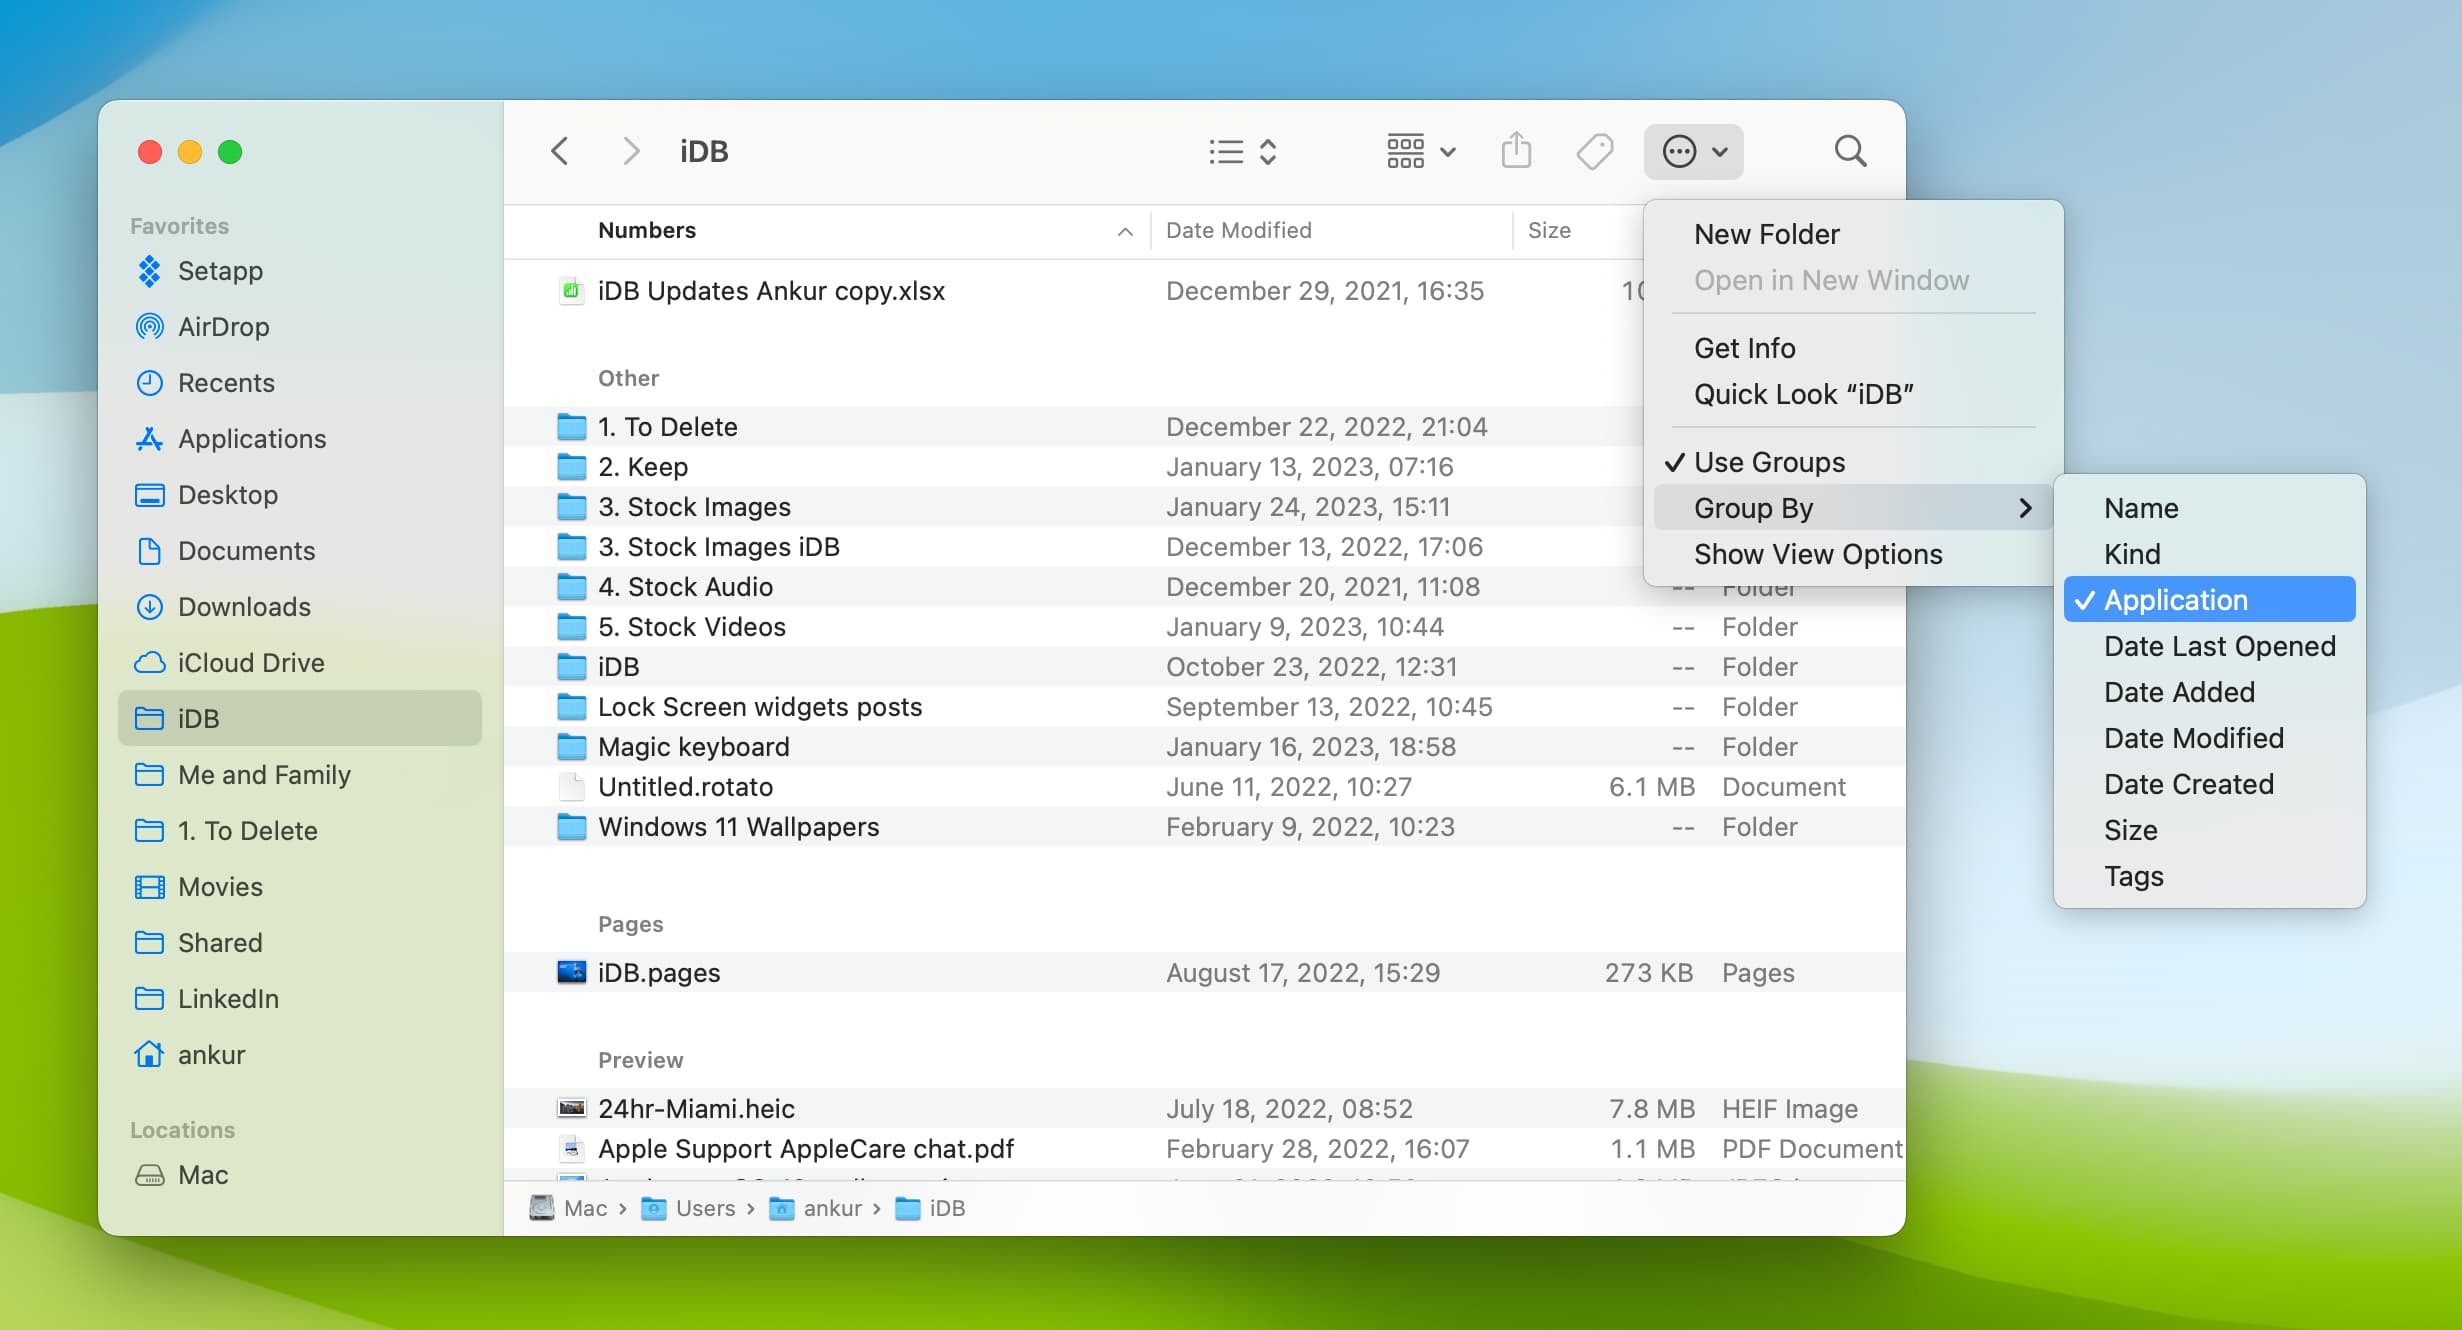
- Click the menu icon in the Finder toolbar and select Groups By.
- Choose View from the menu bar and select Groups By.
- Right-click within the folder and select Groups By.
Then, select the option you would like to group by in the pop-out menu. You have nine different options, which is great for different types of folders.
Stop using Groups
To stop using groups in Finder, follow one of the same methods as above to enable them and click Use Groups once more to uncheck it.
Using Groups can really come in handy. Whether you group by kind, date, or size, this type of view might be just the ticket to sorting your items the way you need them.
Are you going to give Groups a try?
Other Finder tips: