
With the macOS Catalina update, Apple introduced a helpful feature called Voice Control. Using Voice Control, you can navigate your Mac using only your voice. This is an enhancement to the previous dictation feature available on macOS and is quite useful for many people in different situations.
You can easily enable Voice Control and use it like you would any other input device, like your keyboard or mouse. But with Voice Control comes a bit of a learning curve. This includes knowing and even remembering basic navigational and app commands.
To help you get started, this tutorial shows you how to use Voice Control to navigate your Mac.
Enable Voice Control on Mac
To turn on Voice Control for the first time, you will need to use your keyboard or mouse. But after that, most anything can be done with just your voice.
1) Open your System Preferences using the icon in your Dock or Apple icon > System Preferences from the menu bar.
2) Select Accessibility.
3) On the left, scroll down to Motor and pick Voice Control.
4) Check the box for Enable Voice Control. Optionally, you can select a Language, Microphone, and enable the playing of sound when a command is recognized.

You’ll see a small microphone icon appear on your screen. This lets you know that Voice Control is active. You can drag that icon anywhere you like, but it will remain on top of your other windows.
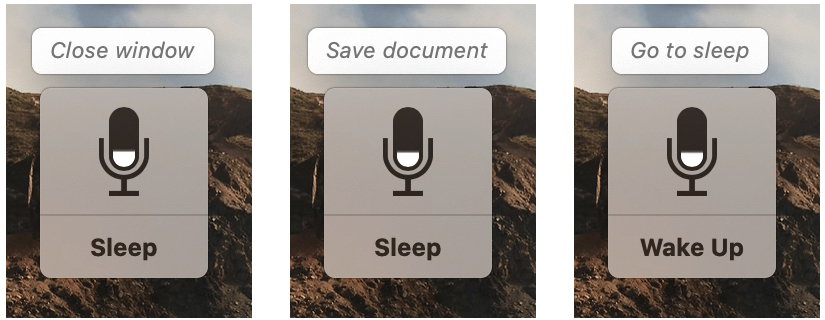
To pause Voice Control, say “Go to sleep” or click the Sleep button on the icon. To resume using Voice Control click or say “Wake up.” If you want to turn off Voice Control completely, just follow the steps above to uncheck the box.
Now, to try out Voice Control and close the System Preferences window, just say “Close window.” Notice that when Voice Control recognizes a command, it will display above the icon.
Basic Voice Control commands
Learning and remembering the commands to use with Voice Control takes a little time. But after a while, they’ll come naturally to you, especially for those you use most often.
You can use basic navigation, overlays and mouse, dictation, and text commands for selecting, navigating, editing, and deleting.
The best way to see and learn the commands you need is to say, “Show commands.” A small window with a list of the commands will appear and you can collapse or expand those categories you need.
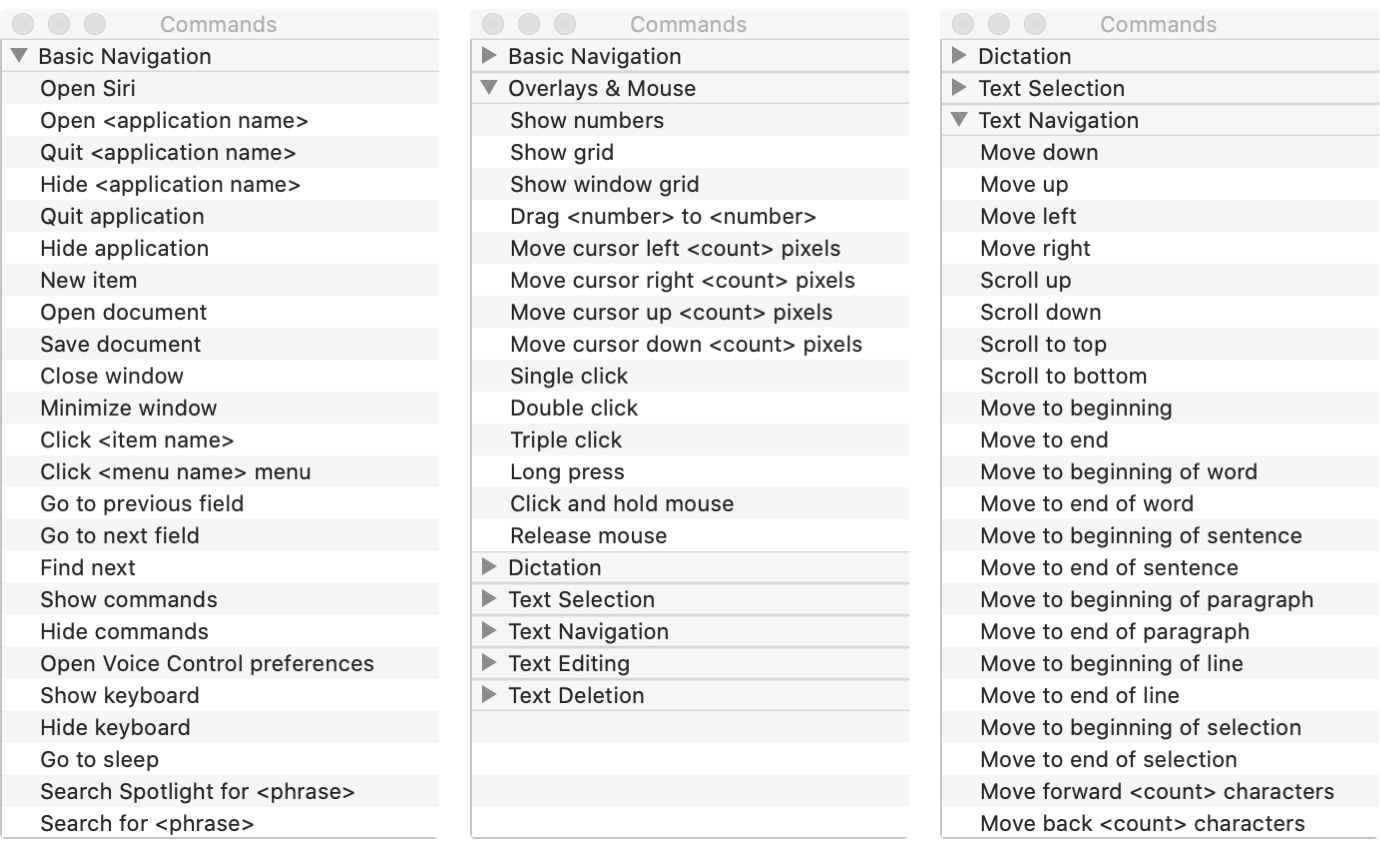
The nice thing about the commands window is that it adjusts for what you’re doing. For example, you won’t see much under the Text Deletion commands at first, but if you open Apple Pages to work on a document, you’ll see the list immediately update to offer many commands for deleting text.
So when you first start using Voice Control, try to keep the Commands window open. Place it somewhere on your screen where you can glance to see it without it being a distraction.
Number and grid overlays
Another great part of the Voice Control feature that helps you navigate your Mac easily are the overlays. You can use both or either number or grid overlays for quicker ways to move around.
Number overlays
Number overlays place numbers besides things like menu bar and shortcut menu items. Then to select that item, you can just say “Click [number].” This is quick way to take action.

To display number overlays, say “Show numbers.” If you want to stop using the number overlays, say “Hide numbers.”
Grid overlays
Similar to number overlays, grid overlays use numbers to break your screen up into squares. This is handy for items on your screen that don’t have controls for the Voice Control feature.
To display it, say “Show grid” and to use it, say “Click [number].” You’ll notice once you take action on the screen, the grid disappears so that you can do what you need. But you can display it at any time using the command.

To move in closer, say “Zoom [number].” You can then say “Show grid” again and use the Zoom command again to keep zooming in further and further.
You can also use a grid for the active window with the command, “Show window grid.”
If you want to remove the grid before taking an action, just say “Hide grid.”
Wrapping it up
Using Voice Control to navigate your Mac is just the beginning of how to control your computer, apps, and more with dictation. For those who are unable to use a keyboard or mouse, you can still enjoy a terrific macOS experience with the help of Voice Control.
Are you going to take some time to learn Voice Control to navigate your Mac? Or have you tried it and have thoughts you’d like to share? Leave a comment below or hit us up on Twitter!
And remember, you can use Voice Control on your iPhone too!