Even though the Mail app on your Mac has some terrific features for composing emails like adding drawings or inserting and annotating images, it currently lacks the ability to include a table. For formatting an email in a matrix structure, you can still insert a table into a new message. The trick is, you’ll copy that table from another app on your Mac.
While there are probably plenty of apps you can use to do this, the easiest way is with one that’s built right into your Mac. Here’s how to insert tables into emails in the Mail app on Mac.
Pasting a table into an email
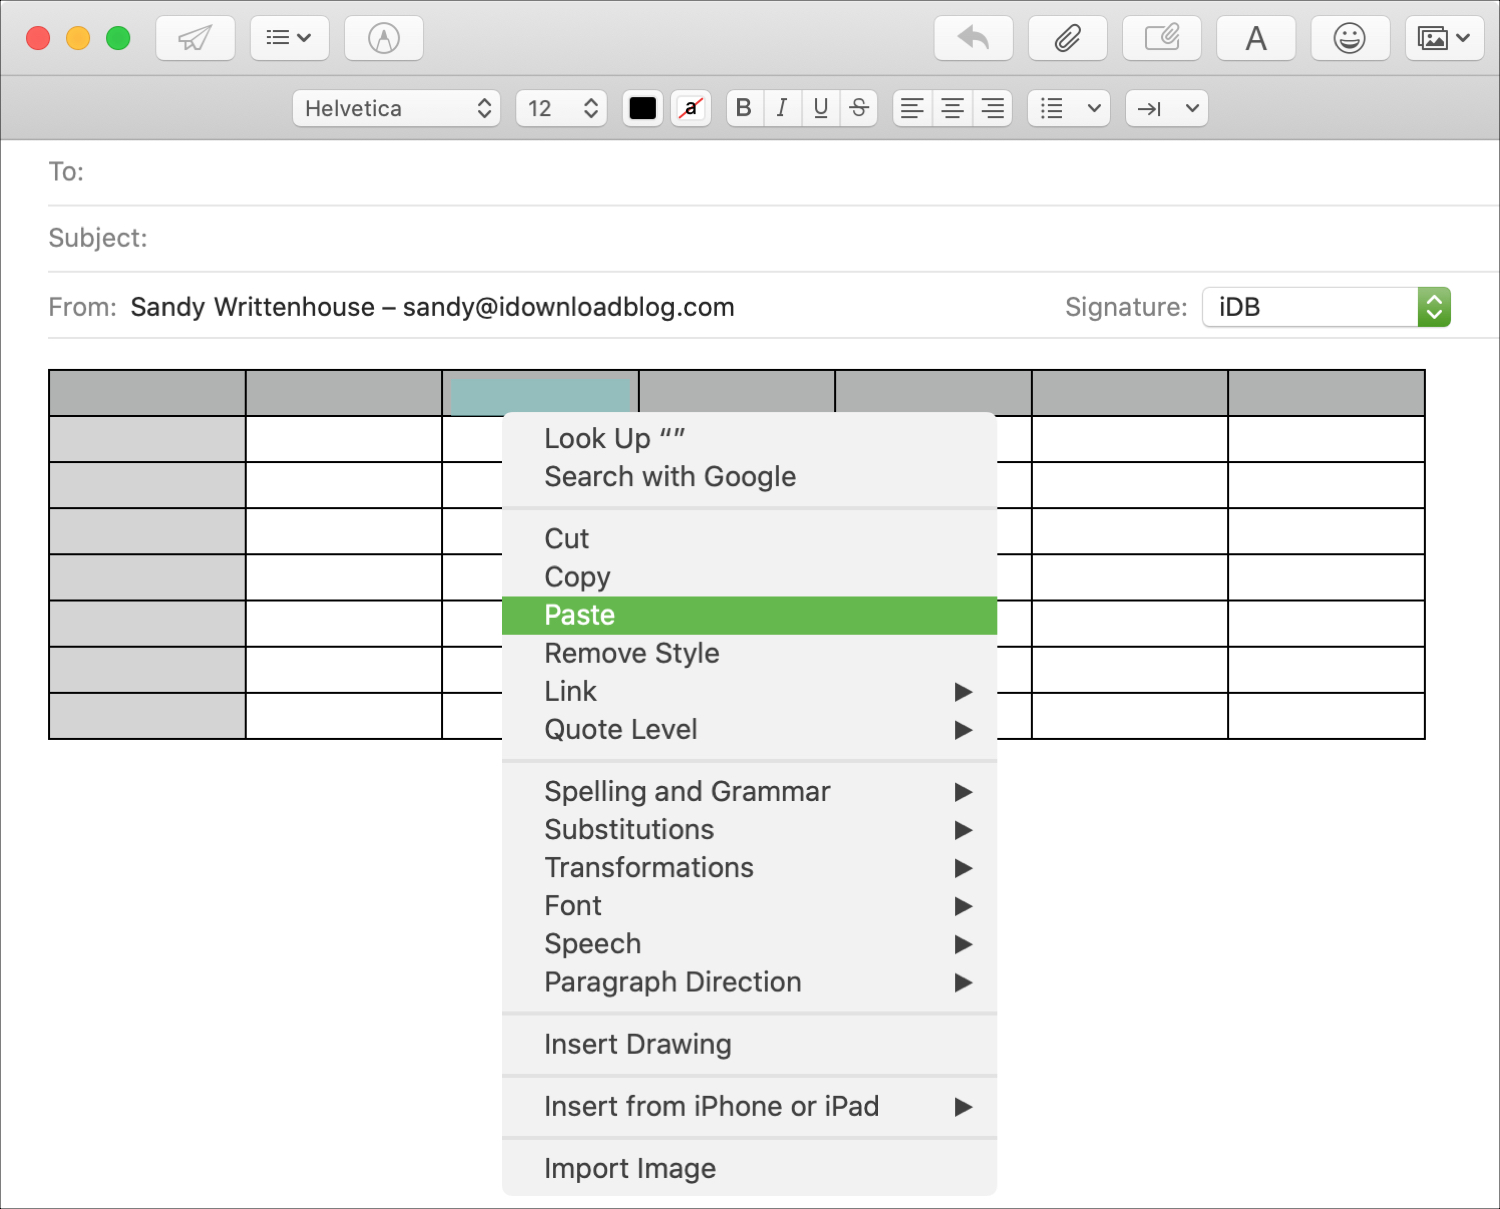
Before we go through the steps for creating and copying a table below, it’s important to know your different paste options. This way, once you choose an app for copying the table, you’ll be prepared to paste it into your email.
- Click Edit > Paste from the menu bar.
- Right-click or hold Control and click, then pick Paste from the shortcut menu.
- Use the keyboard shortcut Command + V.
Insert a table into an email
With TextEdit
Open TextEdit and if you don’t already have a table that you want to use, you can create one easily.
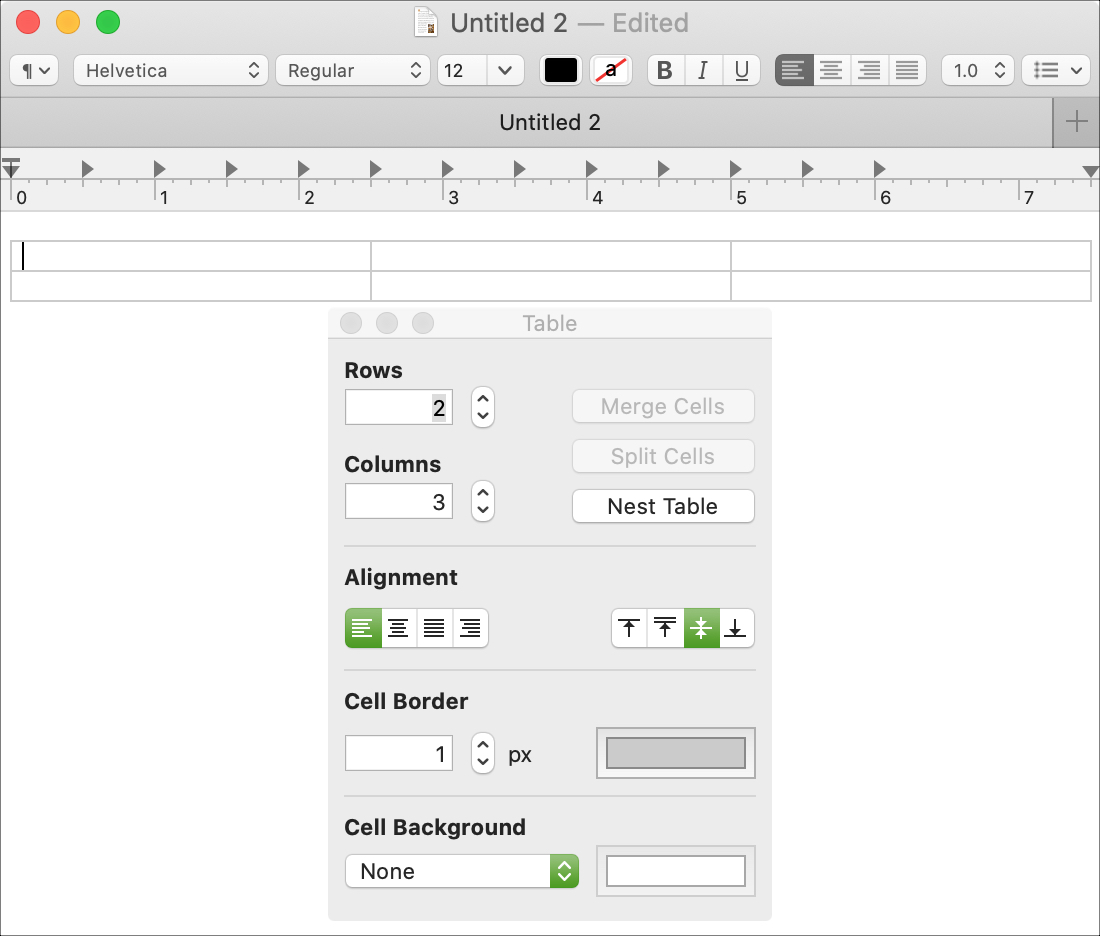
1) Click Format > Table from the menu bar. If the Table option is grayed out, select Make Rich Text from the list. You’ll then be able to create a table. Remember, tables use rich text, not plain text.
2) Choose the number of rows and columns you want for the table. Optionally, you can add a border, background, or nested table.
3) Select the table using Edit > Select All from the menu bar or Command + A on your keyboard.
4) Copy the table using Edit > Copy from the menu bar or Command + C on your keyboard.
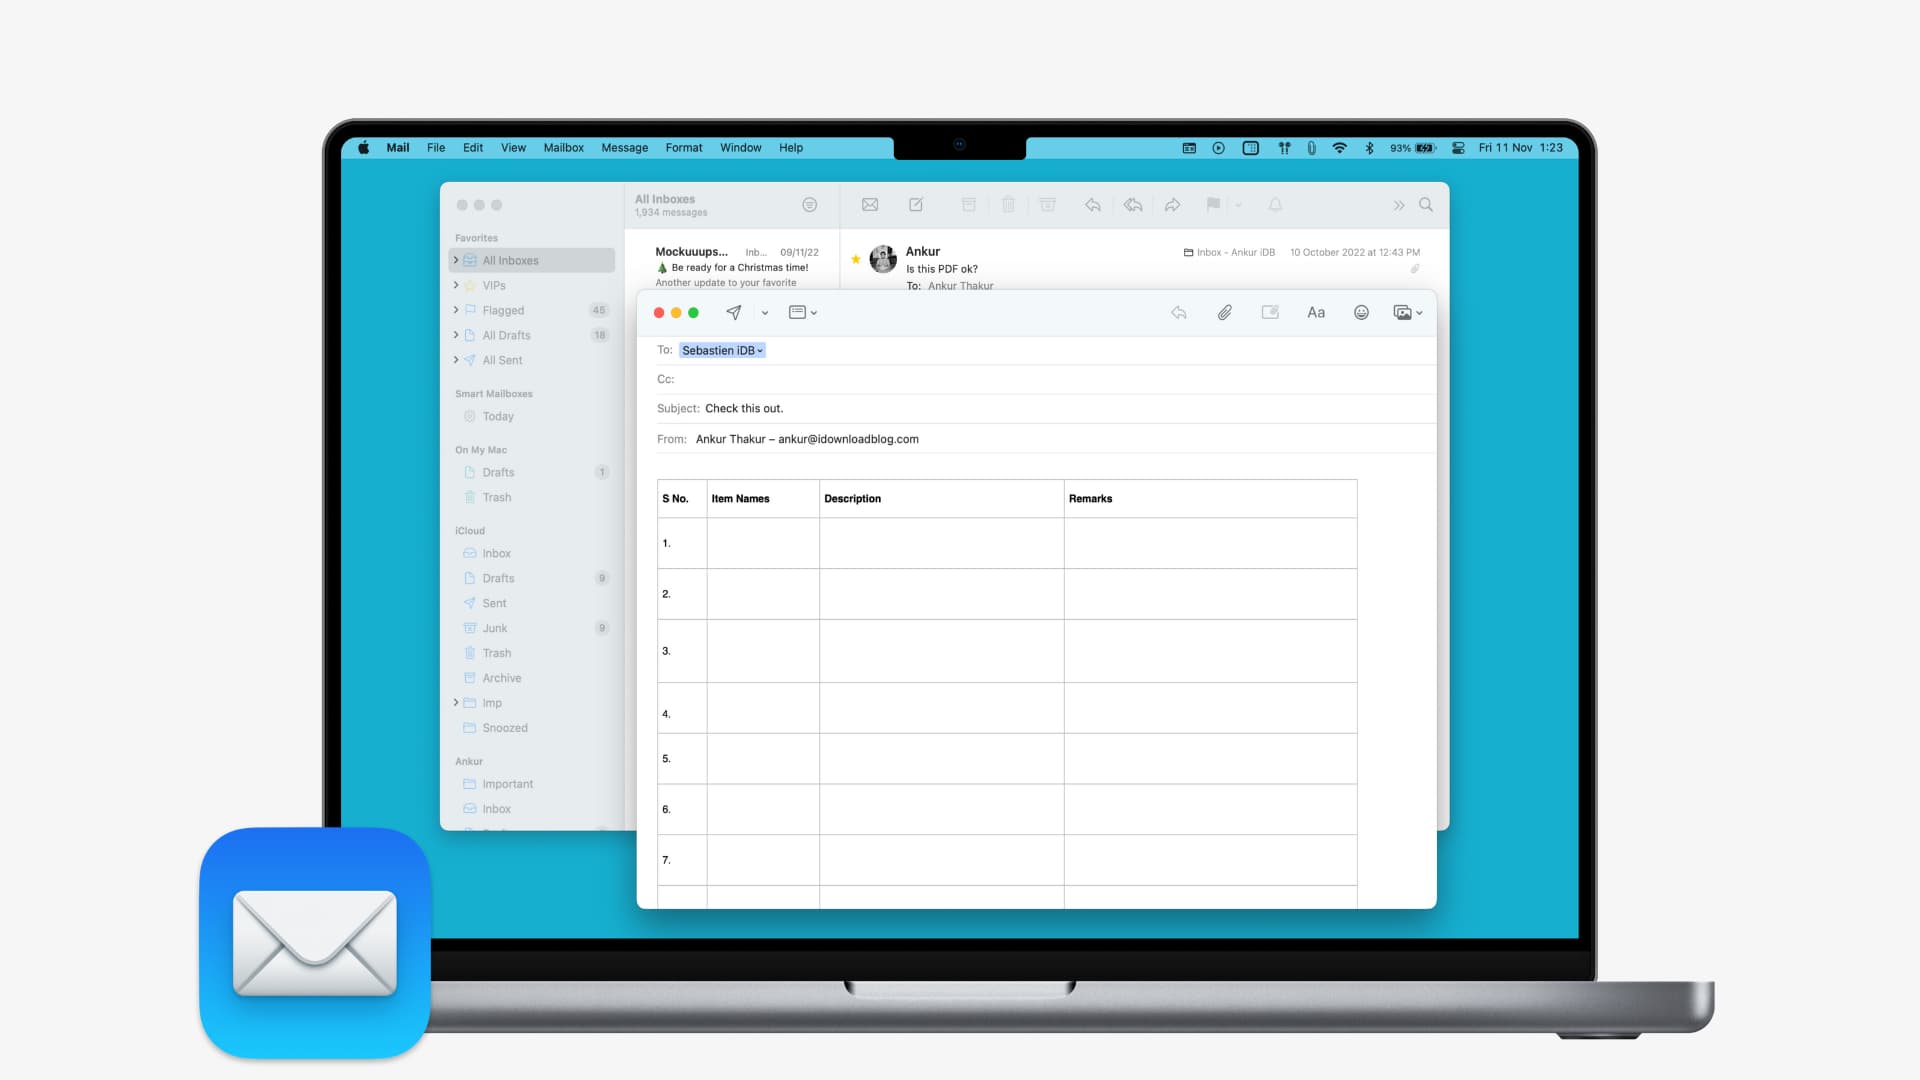
Now open the email where you want the table and paste it in using one of the methods mentioned at the beginning of the tutorial.
With Notes
The Notes app offers up a handy table feature as well. So you can create a table there or use an existing one and then copy it to Mail.
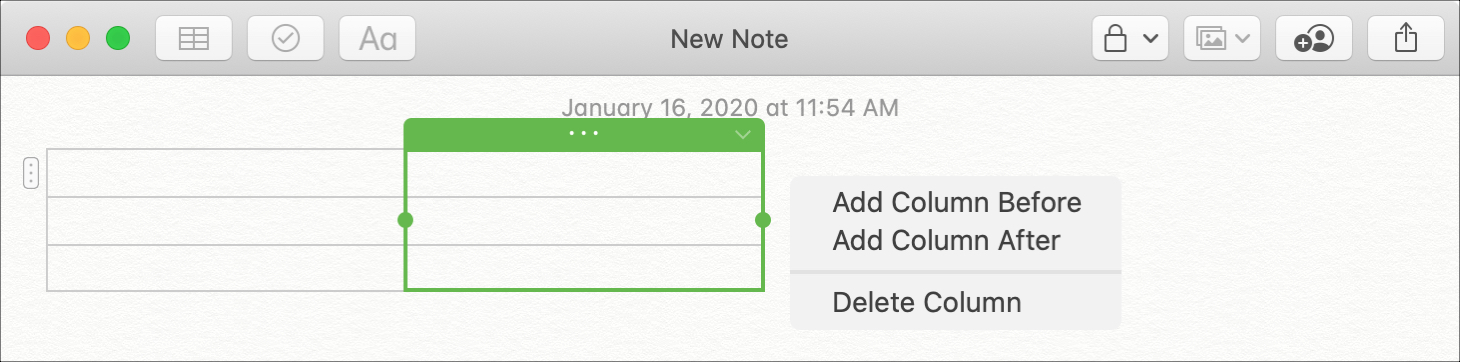
1) Click Format > Table from the menu bar. You can add or remove rows or columns by selecting one and clicking the arrow for those options.
2) Select the table using Edit > Select All from the menu bar or Command + A on your keyboard.
3) Copy the table using Edit > Copy from the menu bar or Command + C on your keyboard.
Open your email and paste the table in where you want it.
With Numbers
While Numbers is one of those applications that you can remove from your Mac if you like, for those who actually use it, you can easily copy a table from it.
Whether you want to use a table that contains existing data or a new one, just open Numbers and do the following.
Select and copy the table:
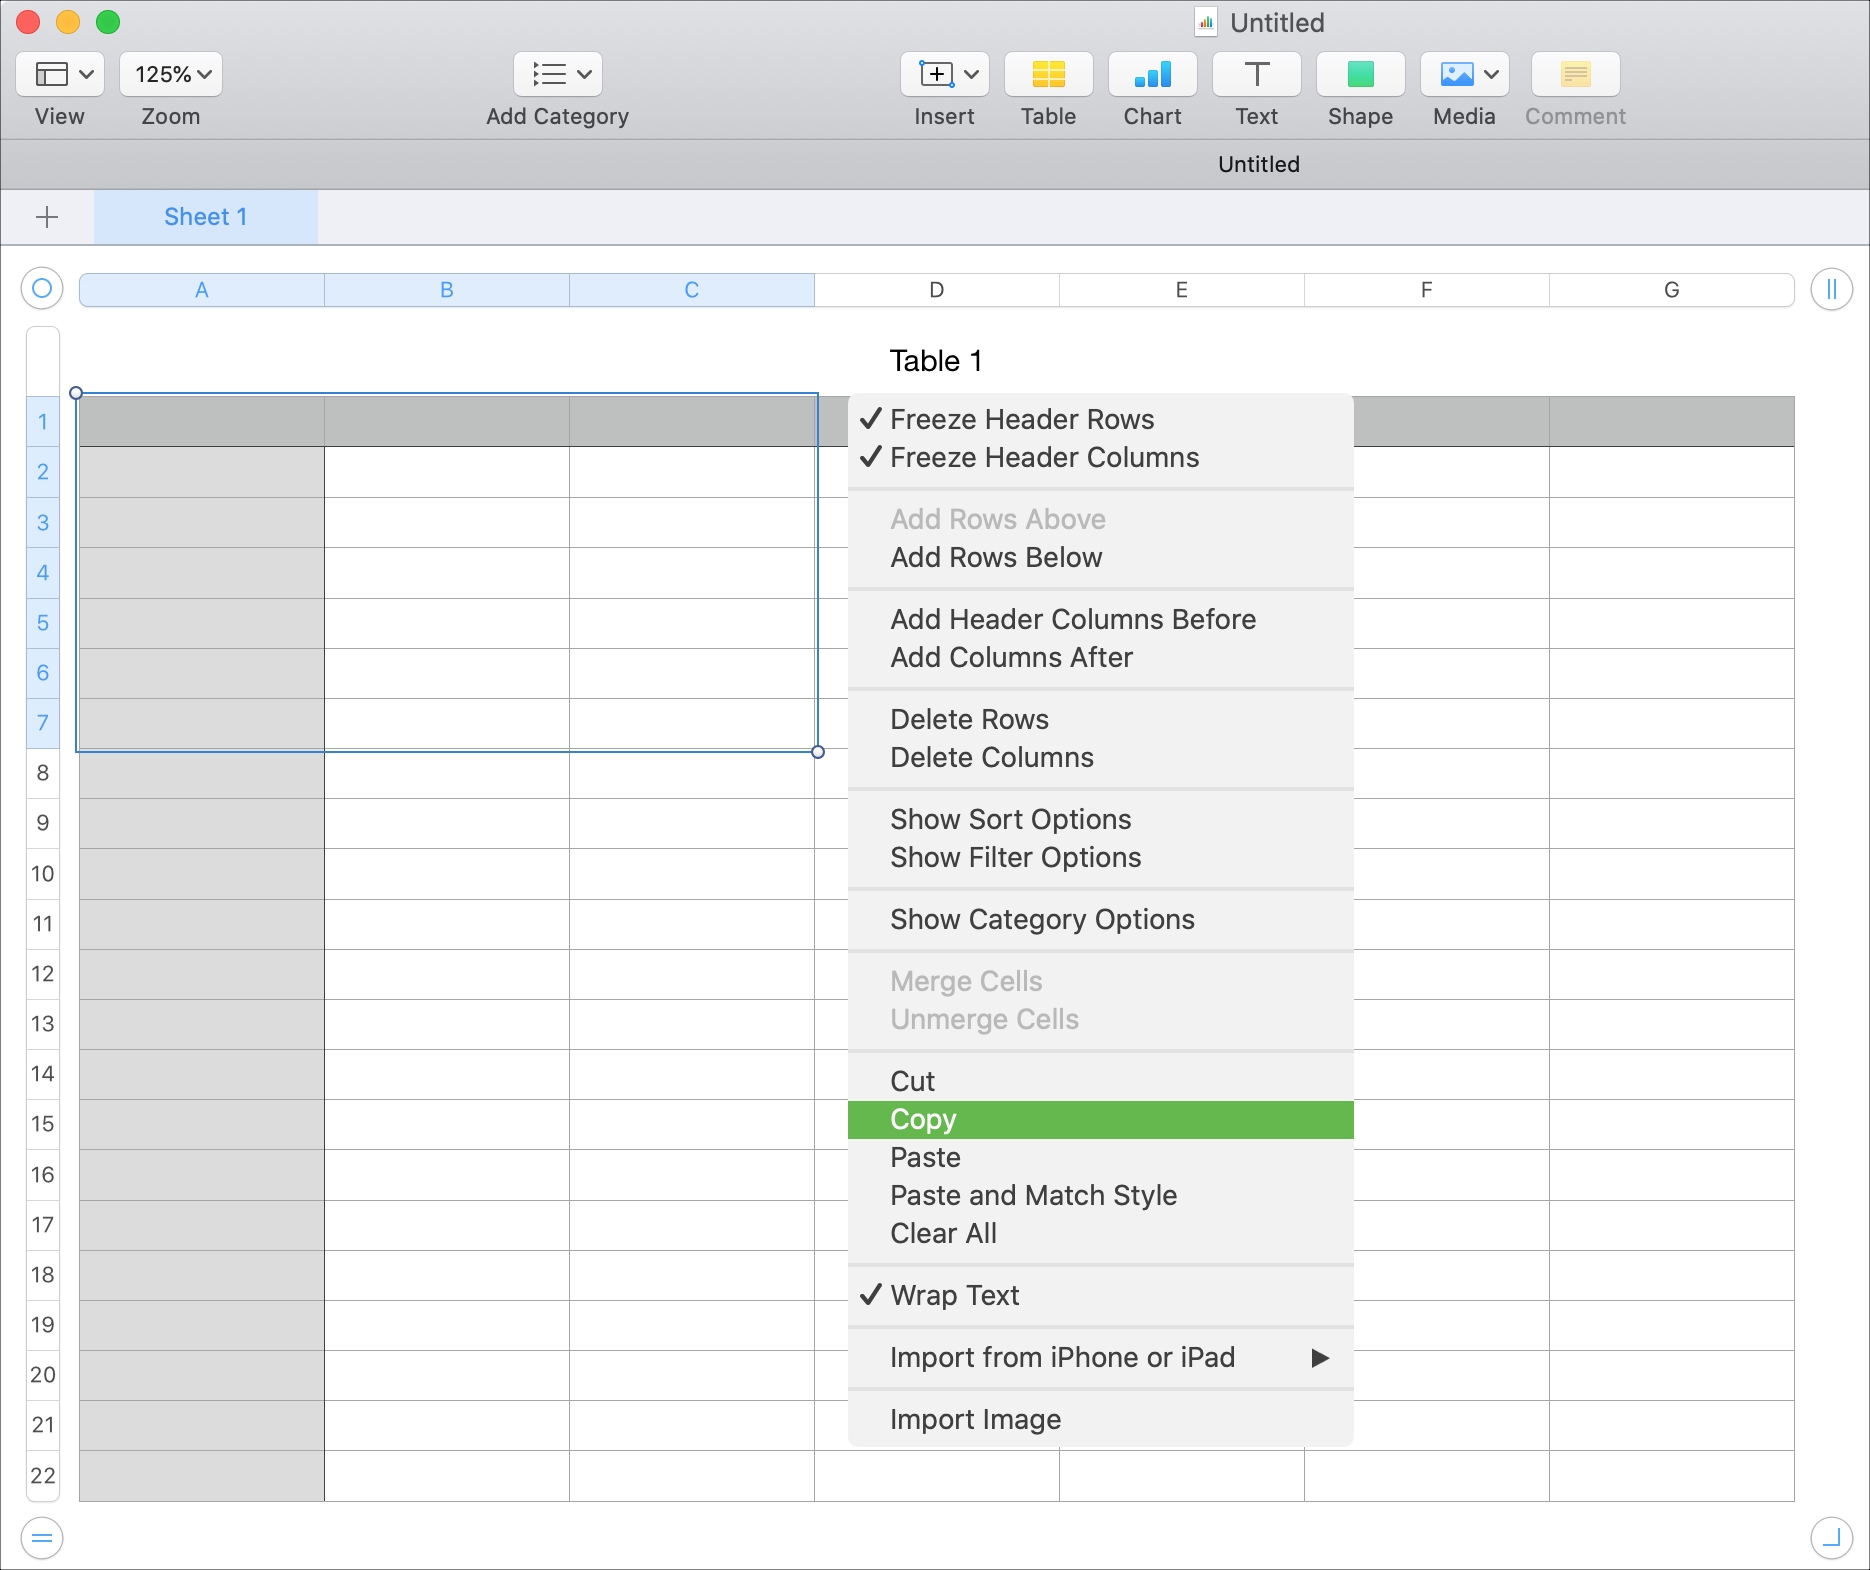
- To select the entire table in the spreadsheet, right-click the circle on the upper left corner and click Copy.
- To select part of a table using rows or columns, click the first row or column, hold the Shift key, and click the last row or column. Click Edit > Copy from the menu bar.
- To select part of a table using cells, click the first cell and then drag the corner in whichever direction necessary to select the rest. Right-click and pick Copy.
No matter which method you use to copy the table from Numbers, the rest is a breeze.
Head to the email you want to insert the table, click the spot in the message where you want it, and paste it in.
Tables in the Mail app
Why there isn’t a feature to insert a table into an email in the Mail app is a mystery. But as you can see, it’s very easy to copy one from another app and plop it into your message.
Are there any other features you’ve seen in email apps that you wish the Apple Mail app had? If so, let us know what they are in the comments below!
Useful Mail tips: