Follow iDownloadBlog’s step-by-step tutorial to learn how to add Automator workflows that are saved as Quick Actions to the Touch Bar of your Mac. Doing so will let you easily run your favorite macOS automation shortcuts at any time because they’ll be just two taps away.
About Quick Actions
Introduced in macOS Mojave 10.14, the Quick Actions feature lets you run custom scripts and Automator workflows such as adding a watermark to large sets of images from places like Finder windows, the Services menu or even the Touch Bar on a Mac that has one.
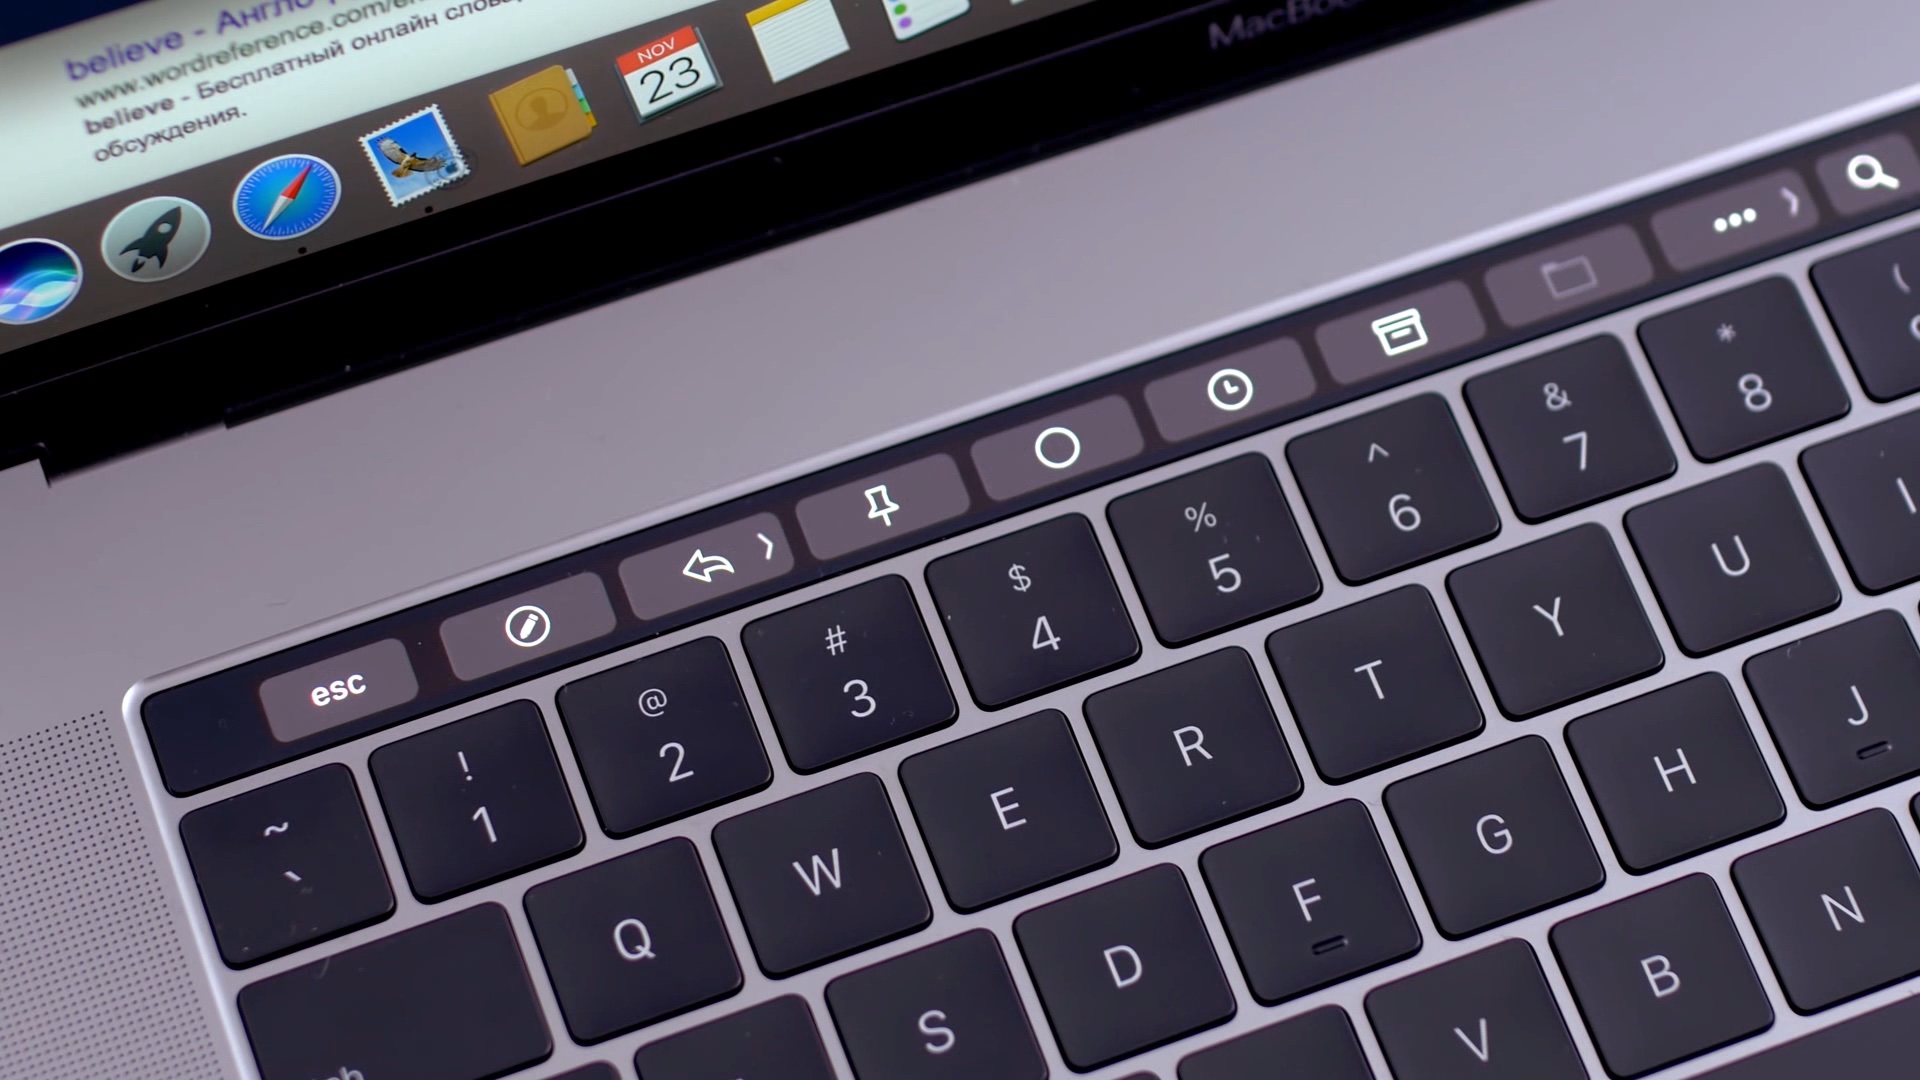
The Touch Bar is available on the MacBook Pro models from 2016 or later, excluding 2016’s and 2017’s 13-inch MacBook Pro models that are outfitted with two Thunderbolt 3 ports.
TUTORIAL: How to show either function F1-F12 keys or media controls in the Touch Bar
You can create Quick Action workflows in the Automator app on your Mac, then choose ones you want to have at the ready via the Touch Bar. Follow along with iDB as we show you how.
How to run Quick Actions from the Touch Bar
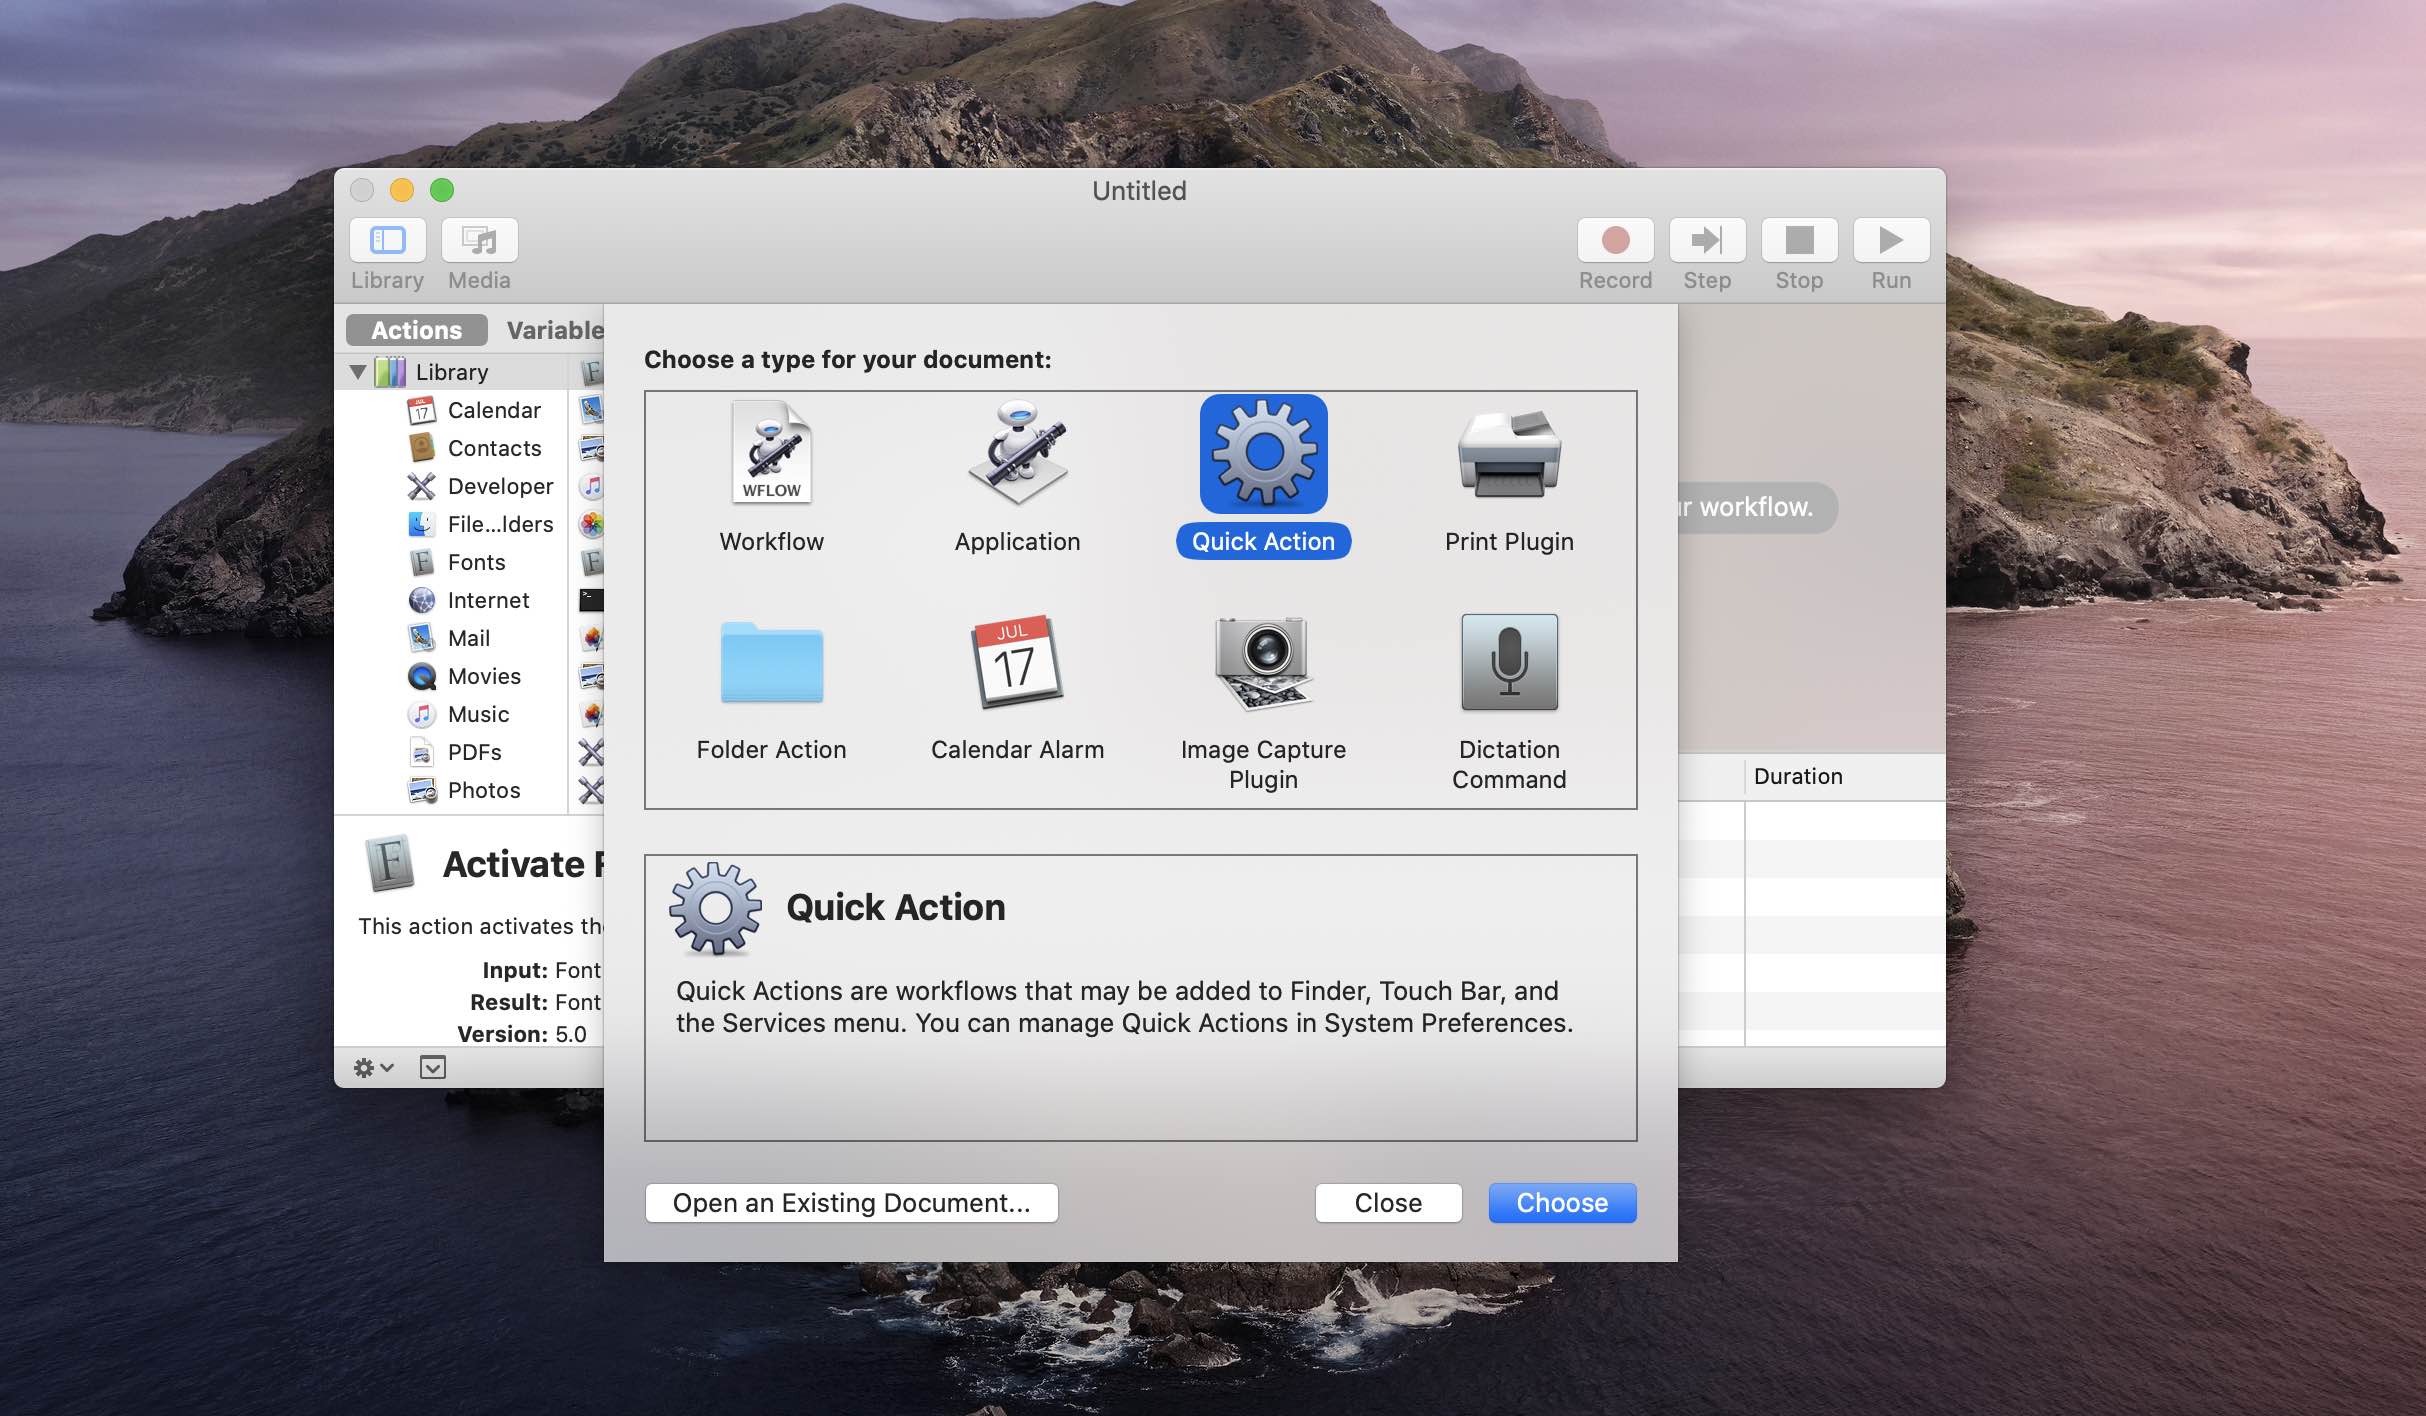
We’re not going to cover creating Automator workflows which let your Mac do repetitive tasks for you because that’s a topic for a whole new tutorial. We will however mention that you can create your own Quick Actions by launching the Automator app, then click the File menu and choose the option New in order to create a new Quick Action workflow from scratch.
TUTORIAL: 20 cool Touch Bar tips and tricks
Next, choose the Quick Action option from the sheet, customize your script, select an icon and a color for your Quick Action and finally save the action with a custom title.
By default, macOS saves your Quick Actions to the Library → Services sub-folder within your Mac account’s home folder. Your Mac hides the Library folder for security reasons, but you can get to it by holding the Option key while choosing the entry Library from the Finder’s Go menu.
After you have saved a few Quick Actions, you can start adding ones you need the most to the Touch Bar by following the steps included right ahead.
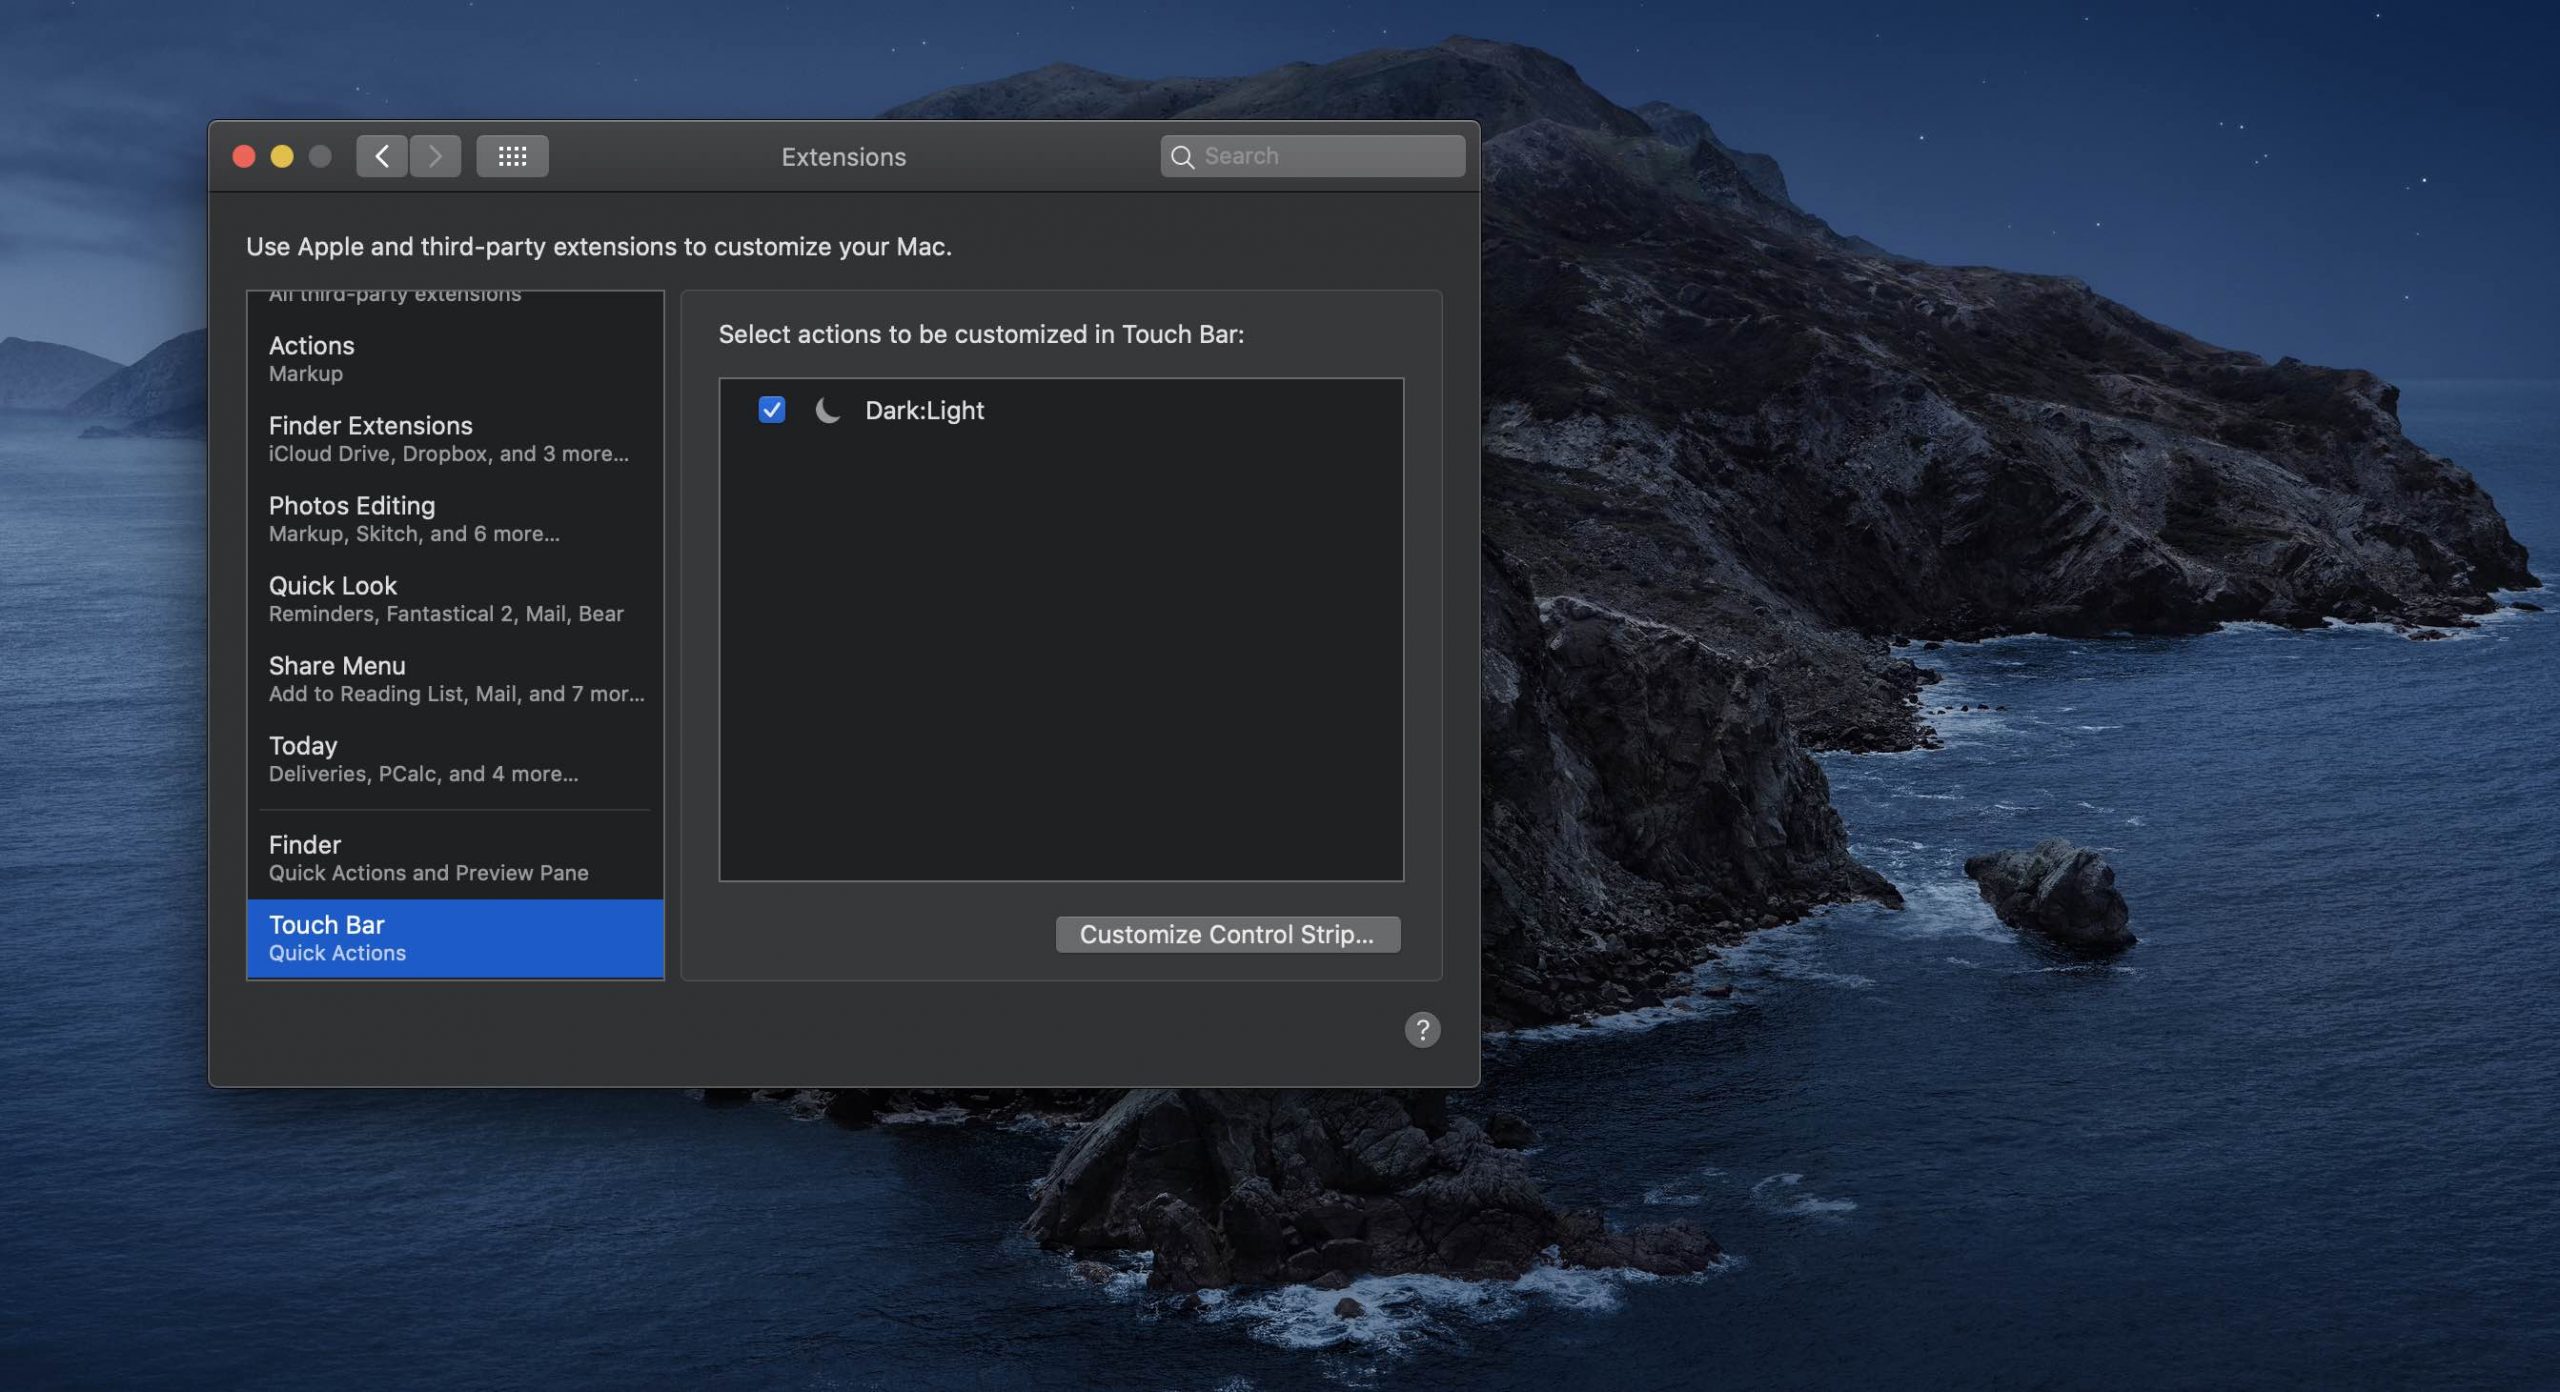
1) Click the Apple menu and choose System Preferences.
2) Click the Extensions icon in the System Preferences window.
3) Click the entry Touch Bar found at the bottom of the left hand sidebar.
Don’t see the entry? You don’t have a Mac with a Touch Bar or the Touch Bar is currently unavailable, which happens when the lid is closed while using your Mac in clamshell mode.
4) You will be presented with a list of available Quick Actions in the righthand column. Simply click the box next to your saved Automator workflow to toggle that action.
5) You now must customize the Control Strip so that it displays a special button dedicated to accessing your custom Automator actions from the Touch Bar (the Control Strip is a special section located on the right side of the Touch Bar that displays familiar controls like volume).
TUTORIAL: How to fix a frozen Touch Bar without restarting your Mac
To do so, choose System Preferences from the Apple menu, hit the Keyboard icon, click the Keyboard tab and then hit the button Customize Control Strip.
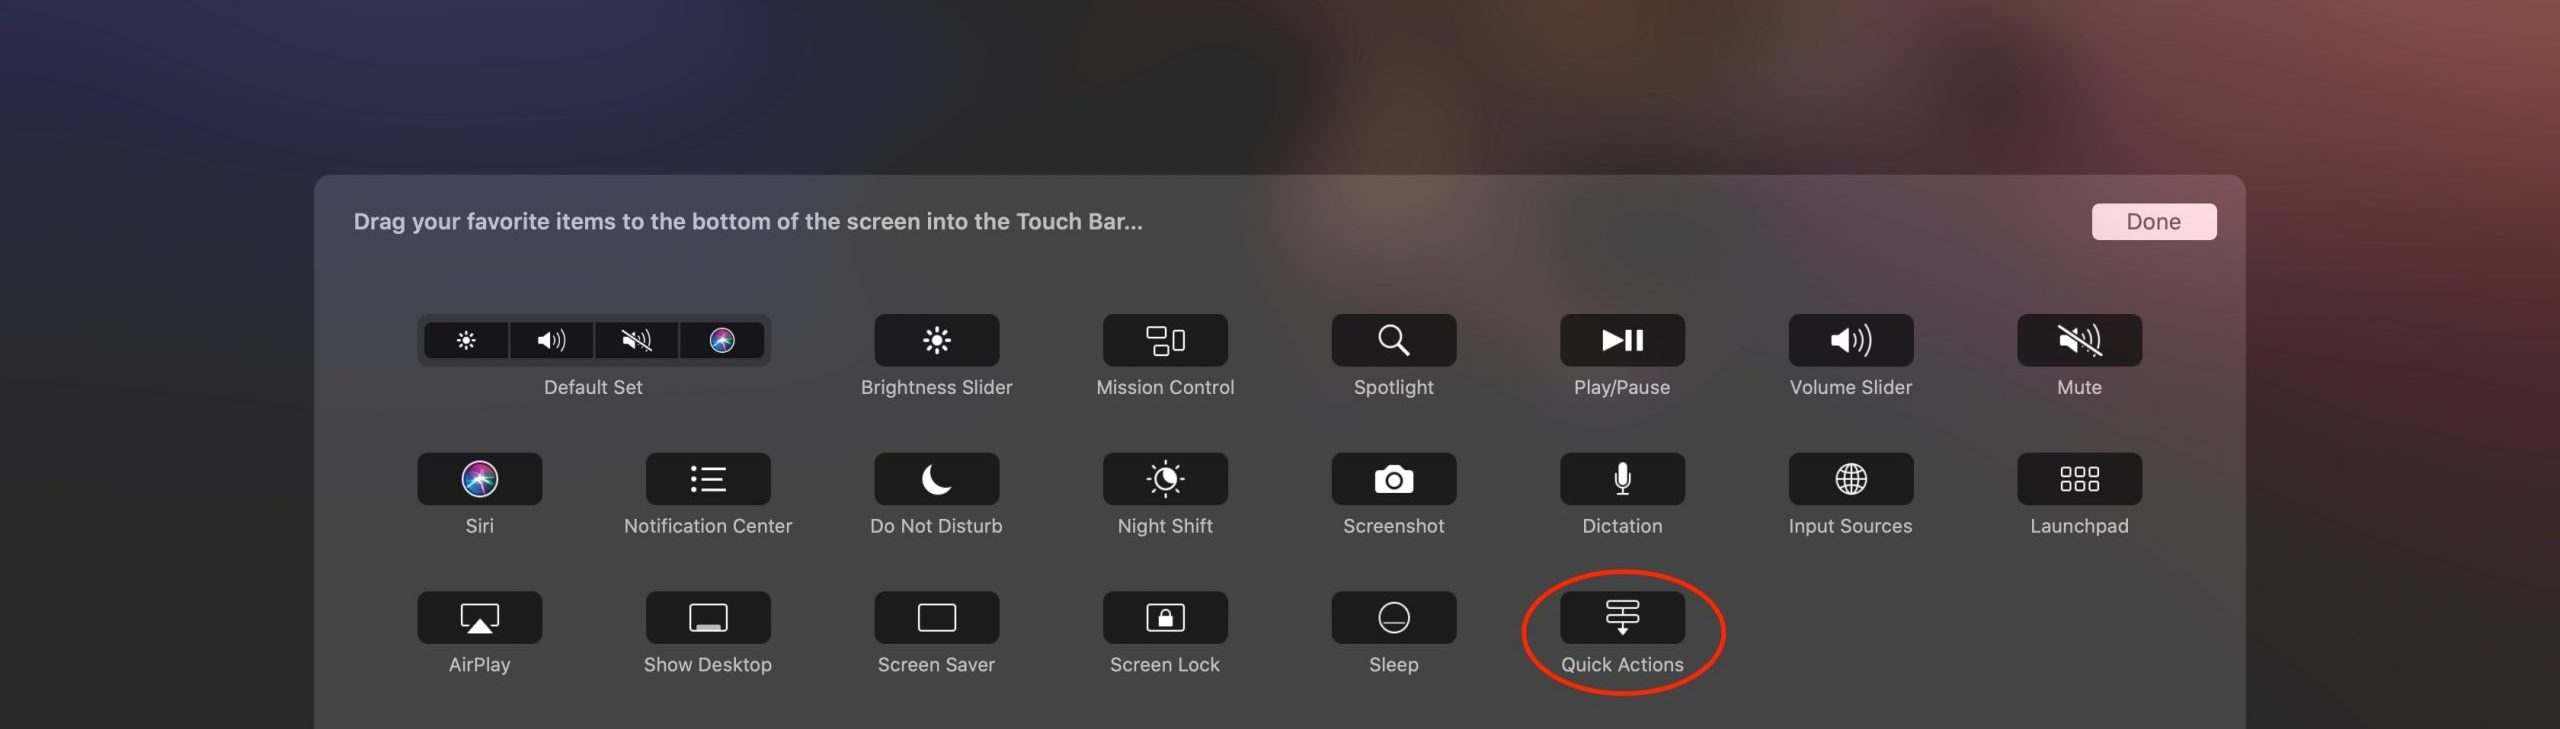
Now drag the Quick Actions icon (it resembles a signpost) to the bottom of the screen into the Touch Bar and click Done to save your custom Touch Bar configuration (I wholeheartedly recommend replacing the Siri icon in the Control Strip with the Quick Actions button).

6) You can now reach your favorite shortcuts by tapping the Quick Actions icon in the Control Strip of the Touch Bar (tap #1), then choose the Automator workflow to run (tap #2).
As I said, it only takes two taps to get to your favorite Quick Actions from the Touch Bar.
Quick Actions everywhere
As I mentioned earlier in this tutorial, you can also access your Quick Actions from the preview pane in a Finder window (choose View → Show Preview if you don’t see the preview pane on the right) as well as through the system-wide Services menu of the Finder.
If you don’t feel like creating custom Automator workflows, feel free to download some great quick actions from third-party developers via the Mac App Store. To those who are familiar with Automator, we hope this tutorial inspires you to create some great Touch Bar shortcuts.
Need help? Ask iDB!
If you like this tutorial, pass it along to your friends and leave a comment below.
Got stuck? Not sure how to do certain things on your Apple device? Let us know via help@idownloadblog.com and a future tutorial might provide a solution.
Submit your own how-to suggestions via tips@idownloadblog.com.