When you delete a file on your Mac, it’s moved to the Trash. And just like Recycle Bin on Windows PC needs to be emptied from time to time, so does the Trash.
On Mac, you can empty all of your Trash or just certain items from it. Plus, you can have the Trash emptied automatically, so you don’t have to worry about doing it yourself.
If you’re new to Mac, here is how to empty the Trash.
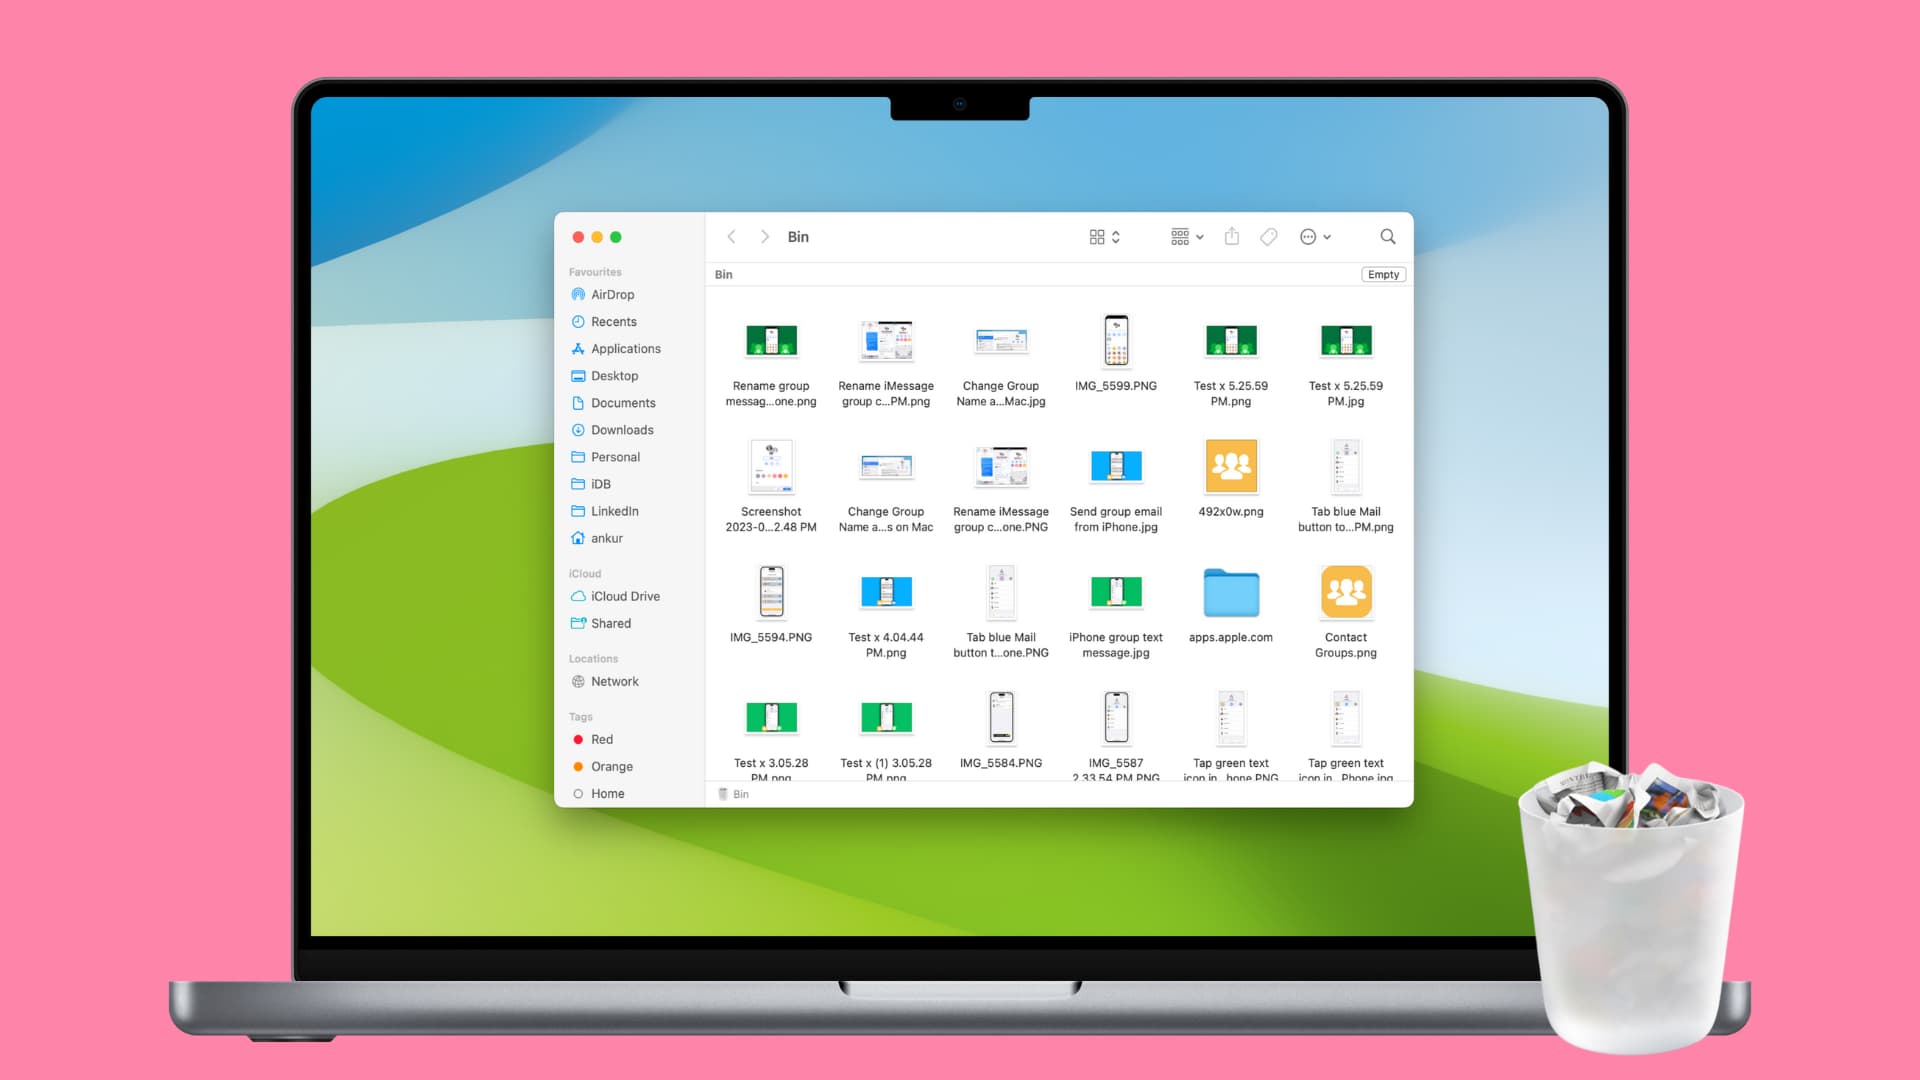
Note: The Trash is called Bin if your Mac’s region and language are set to Europe, India, or some other countries.
Empty the entire Trash
We’ve listed out four different methods that you can use to empty your entire Trash folder. This gives you plenty of options depending on what you’re doing at the time on your Mac.
Method 1. Right-click on the trash can
Your Trash folder sits nicely in the Dock on your Mac. So if you want to empty all of the items within it quickly, this is the easiest way. Either right-click or hold Control and click Trash. Then, pick Empty Trash.

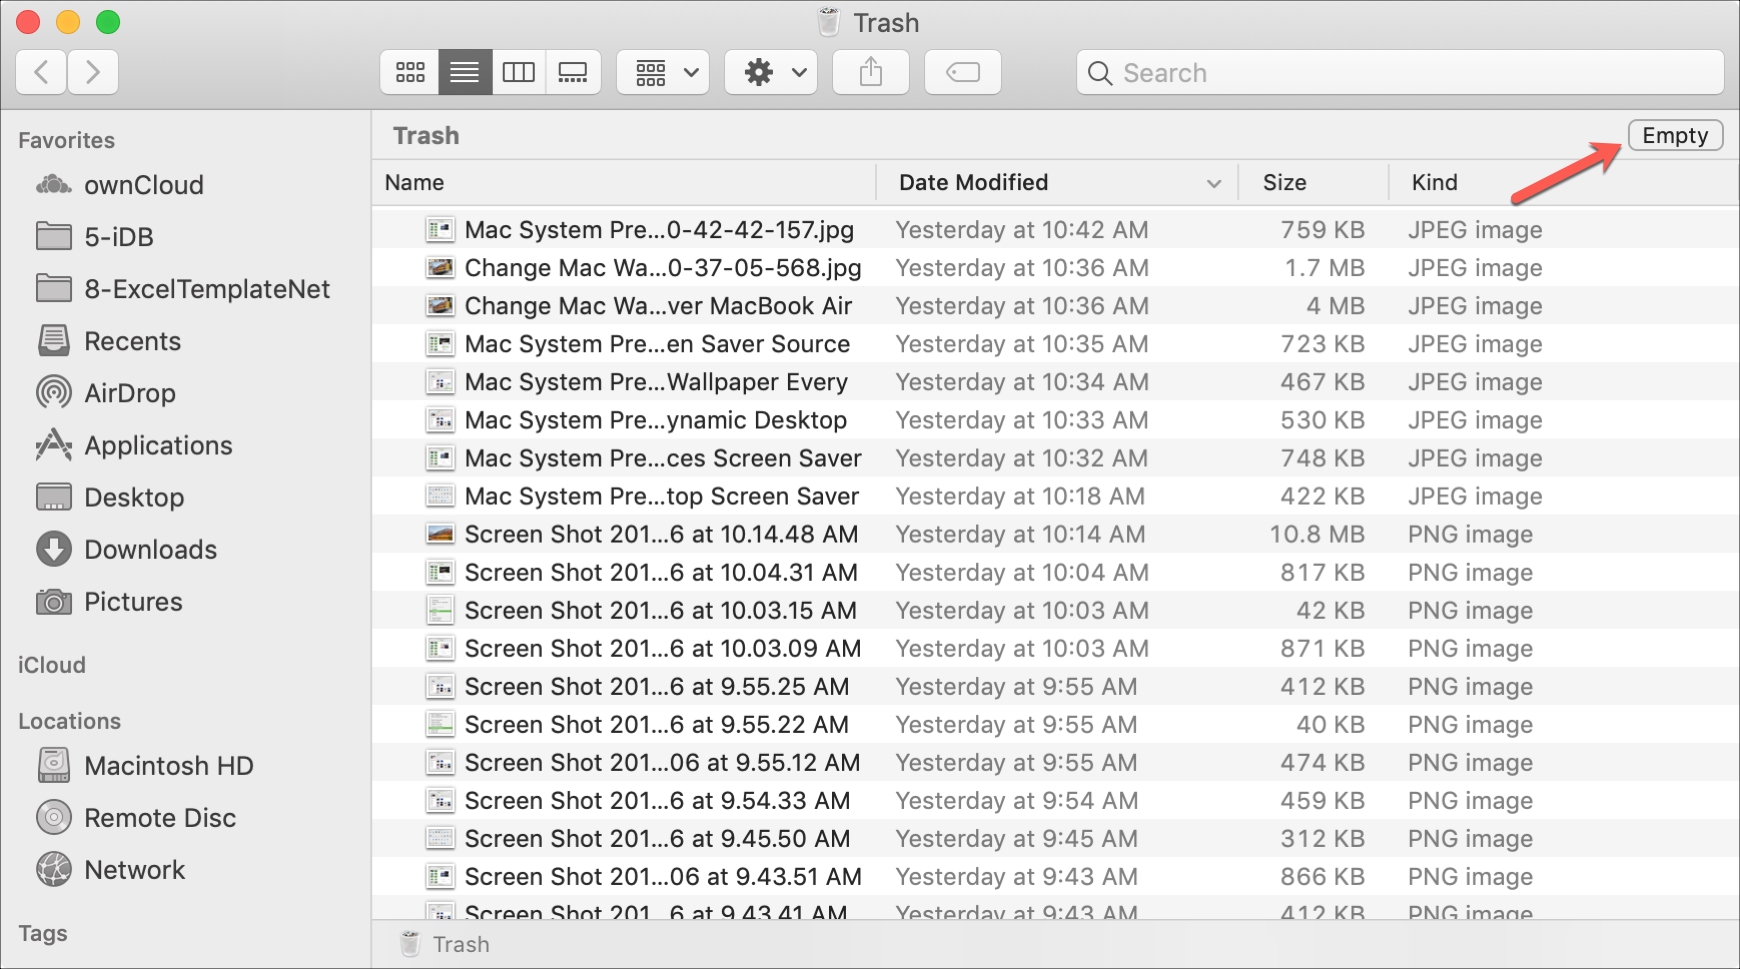
If you decide to click and open the Trash to make sure that you’re ready to say goodbye to everything in it, you can click the Empty button on the top right and confirm by clicking Empty Trash.
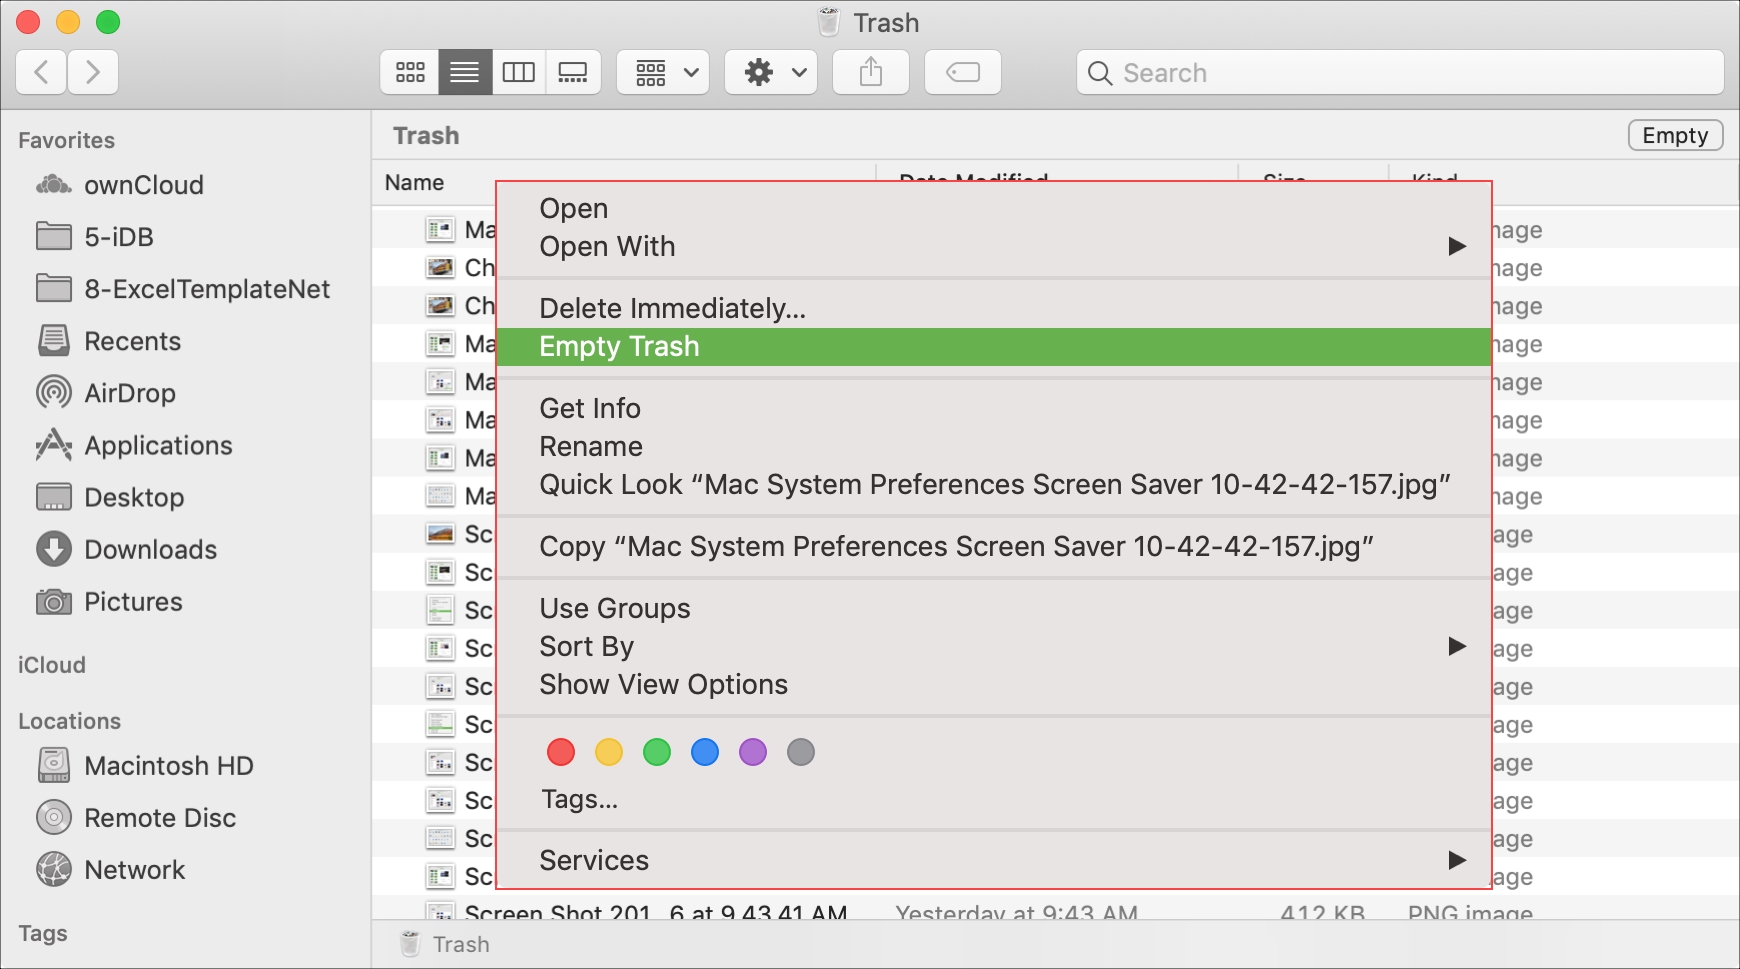
Method 3. Right-click inside the Trash
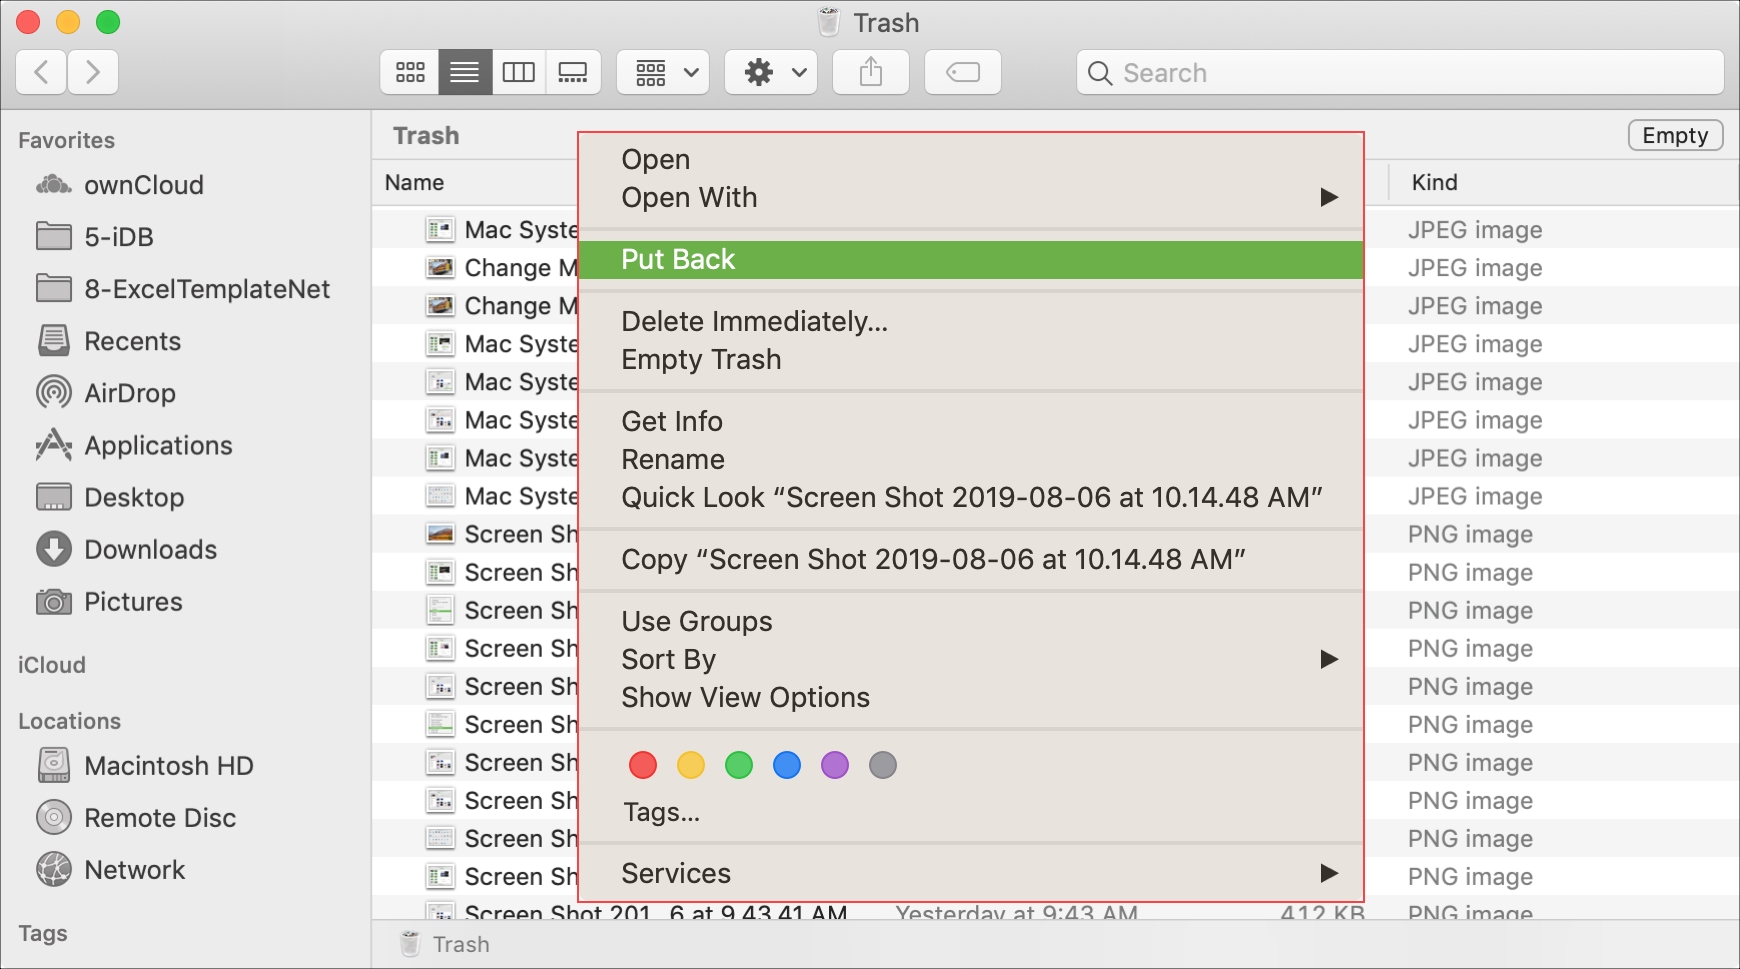
Alternatively, with your Trash open, you can right-click or hold Control and click within the Trash window and pick Empty Trash from the context menu.
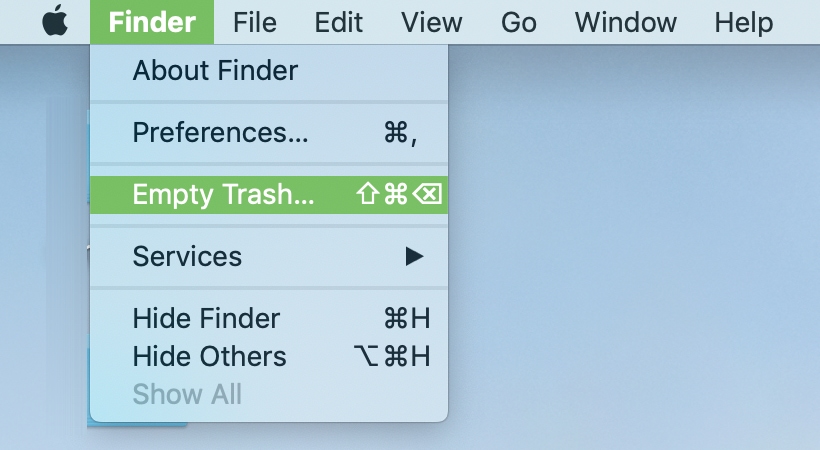
One other way to empty all of the Trash is using the menu bar. Click Finder > Empty Trash.
Empty certain files from the Trash
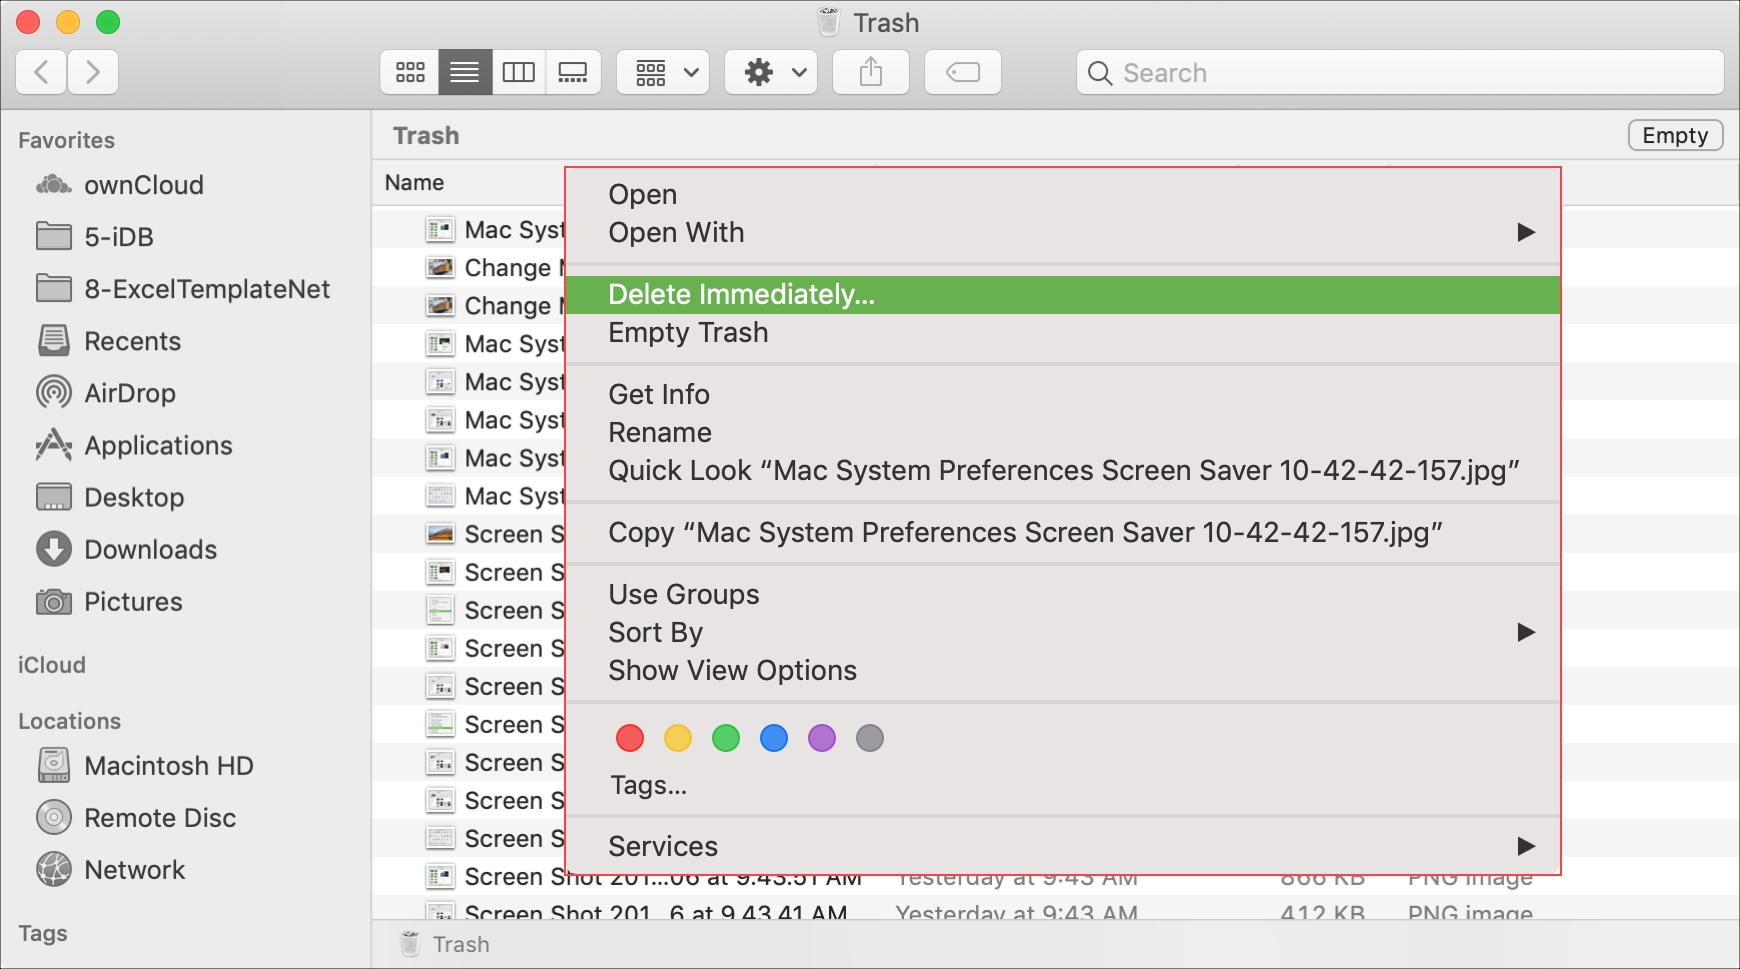
Maybe while doing your Mac spring cleaning, you find some files in the Trash that you’re not quite ready to part with or just aren’t sure about. But there are others you know you never want to see again.
You can remove certain files from the Trash easily. Right-click or hold Control and click on the item that you want gone for good. Select Delete Immediately from the context menu.
Empty the Trash automatically
Maybe you’re really bad about remembering to take out the trash. If so, you can set it up to be emptied automatically (which would be wonderful with our physical trash, right?).
- Select Finder > Settings or Preferences from the menu bar.
- Click the Advanced tab.
- Mark the checkbox for Remove items from the Trash after 30 days.
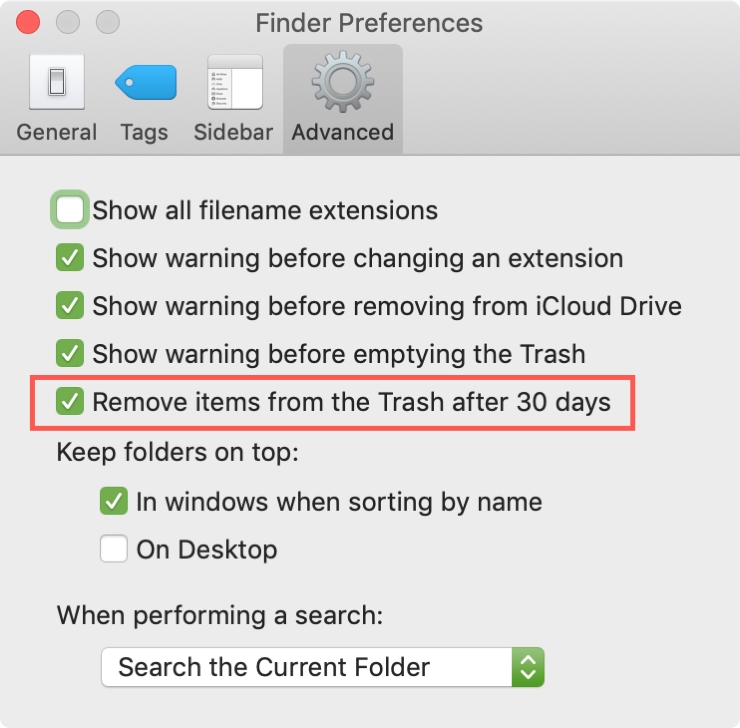
You can then close the Finder Preferences window.
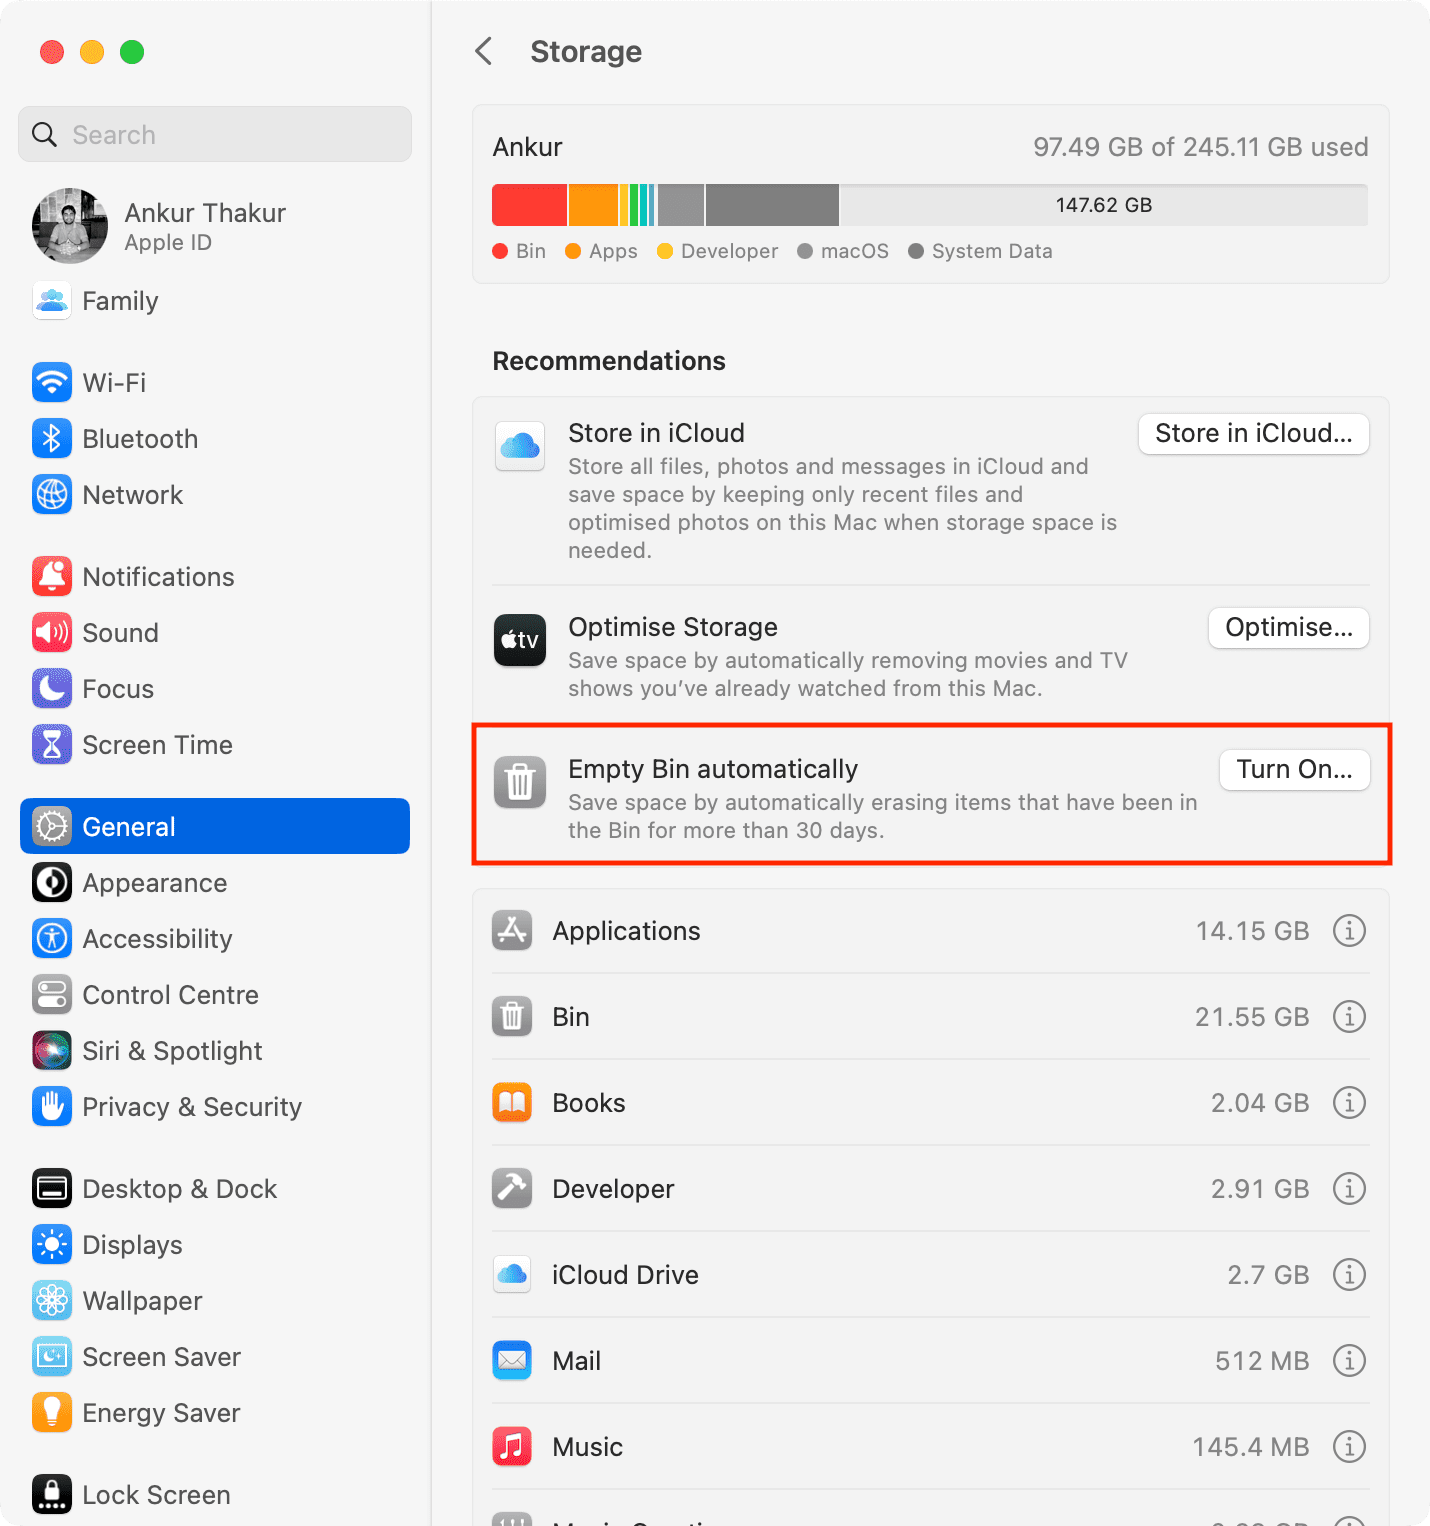
Method 2. From System Settings
- Click the Apple icon from the top left and choose System Settings.
- Go to General > Storage.
- Click Turn On next to Empty Trash automatically.
Empty the Trash with Terminal
Even though you’re new to Mac, you may be familiar with using command prompts or are trying to get used to using Terminal for quick actions. If so, you can empty your Trash that way too.
Navigate to and open macOS Terminal using Spotlight Search, or Go > Utilities from the menu bar, or Applications > Utilities from your Dock. Next, open your Trash folder. Then, do the following to empty your Trash with Terminal.
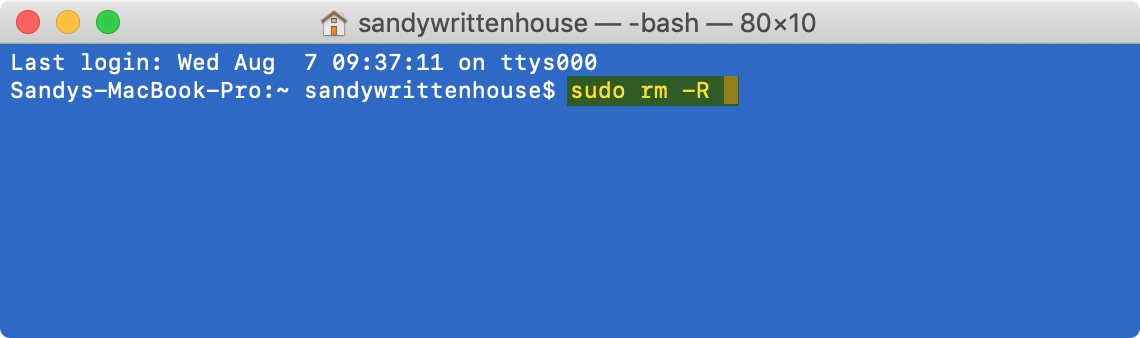
1) Enter the below command into the Terminal window:
sudo rm -R
(make sure to use a space after the letter R)
Do not hit the Return key.
2) Select all, one, or several files from the Trash that you want to delete and drag them into the Terminal window. You’ll see the file name(s) displayed in the window when you release your finger.

3) Now hit your Return key.
4) Enter your Mac user password (which will not display) and hit Return.
You’ll see the item(s) disappear from your Trash folder.
Bonus: Recover items from the Trash
Just remember that once you empty the Trash, those items are gone forever. So, if you change your mind about a file and want to keep it, right-click or hold Control and click the item and pick Put Back from the context menu.
As you can see, macOS gives you plenty of ways to empty your Trash folder. So, use what’s most comfortable for you or most convenient at the time. Which method or methods do you think you’ll use?
On the same note: