One nice thing about working with Microsoft applications like Word and Excel is that you can customize your tools. From the status bar at the bottom to the ribbon at the top, you can remove and add exactly what you need.
Another area you can customize is the Quick Access Toolbar. This is the small toolbar above your ribbon on the top left of the window. The point of this toolbar, as its name implies, is for quick access to tools you use most.
To help you make the most out of this area, this tutorial explains how to customize the Quick Access Toolbar to suit your specific needs.
Access the Quick Access Toolbar settings on Mac
In both Word and Excel, you can get to the Quick Access Toolbar basically the same way.
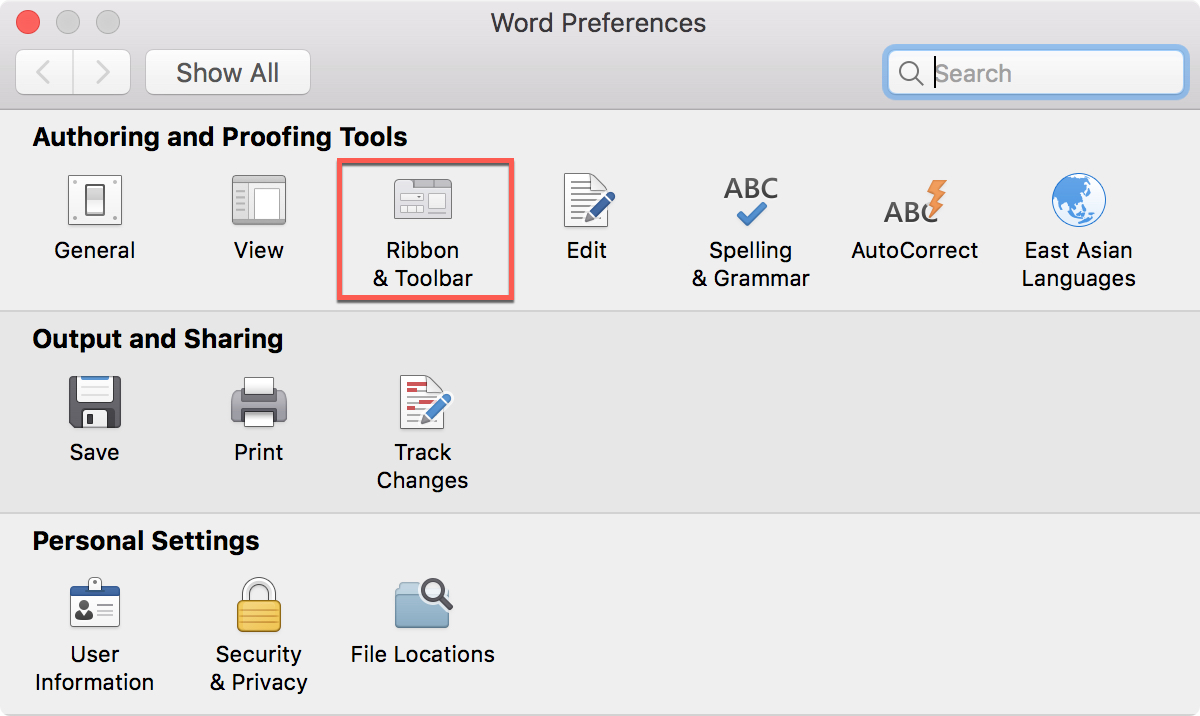
1) In Word, click Word from your menu and select Preferences. In Excel, click Excel from your menu and select Preferences.
2) When the pop-up window appears, click Ribbon & Toolbar.
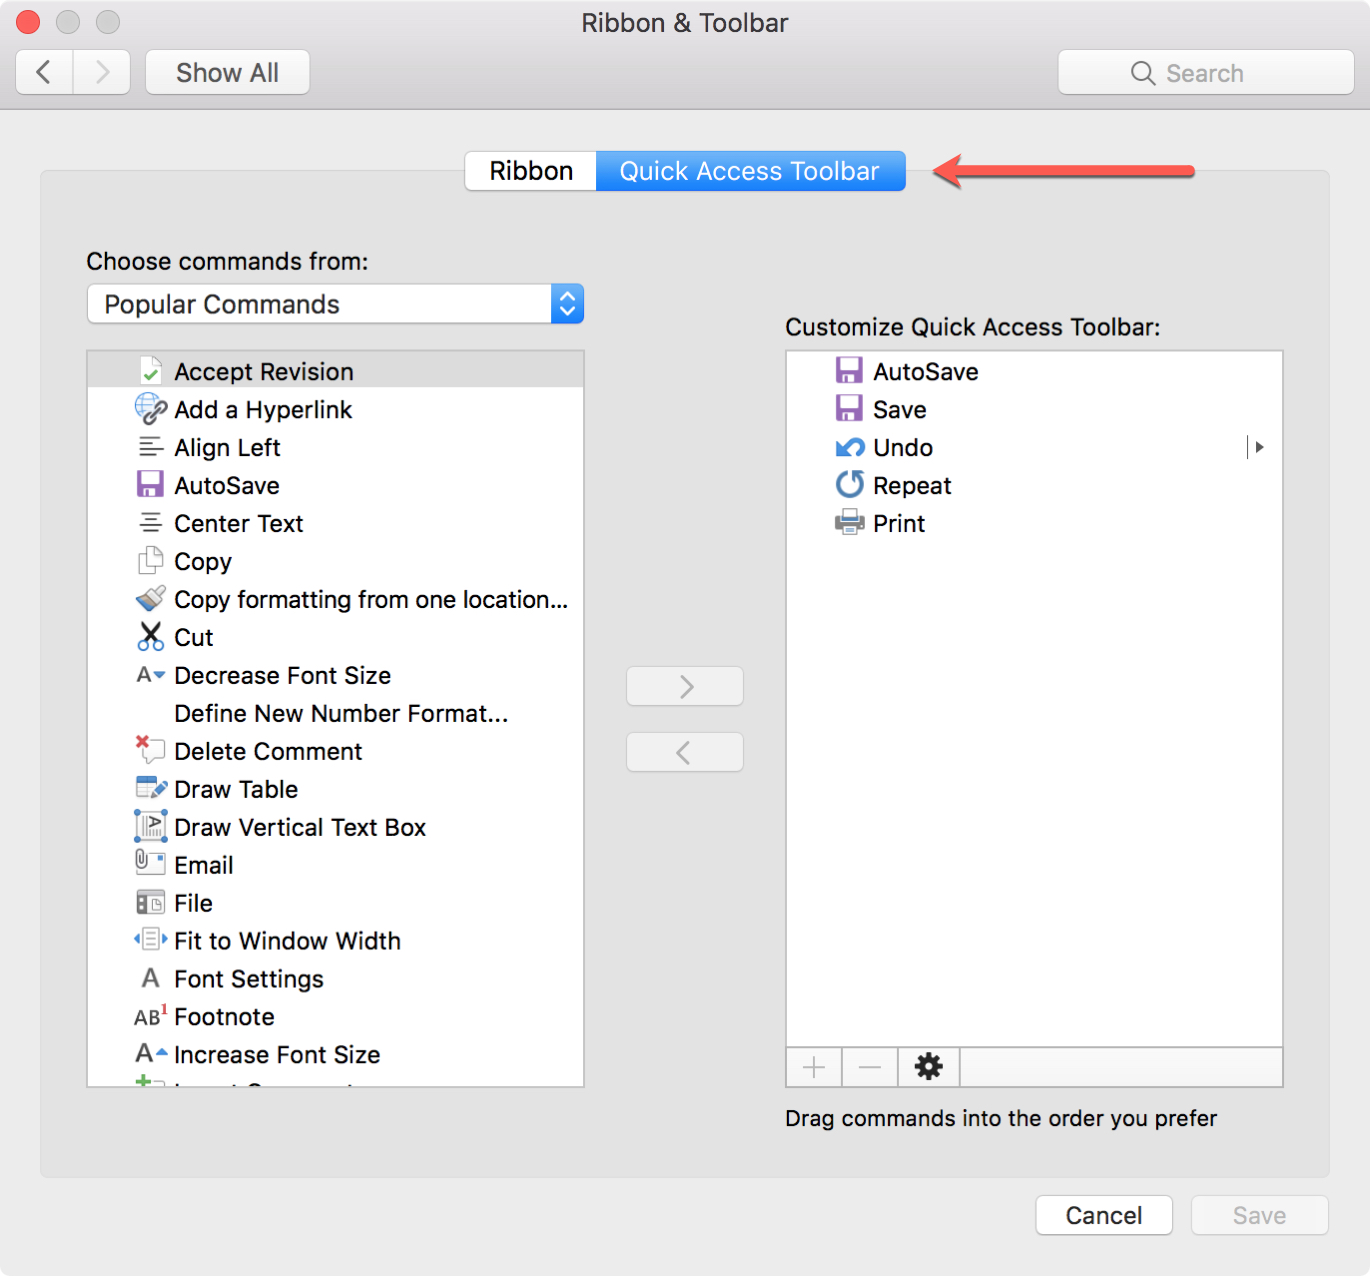
3) At the top of the next screen, click the Quick Access Toolbar button.
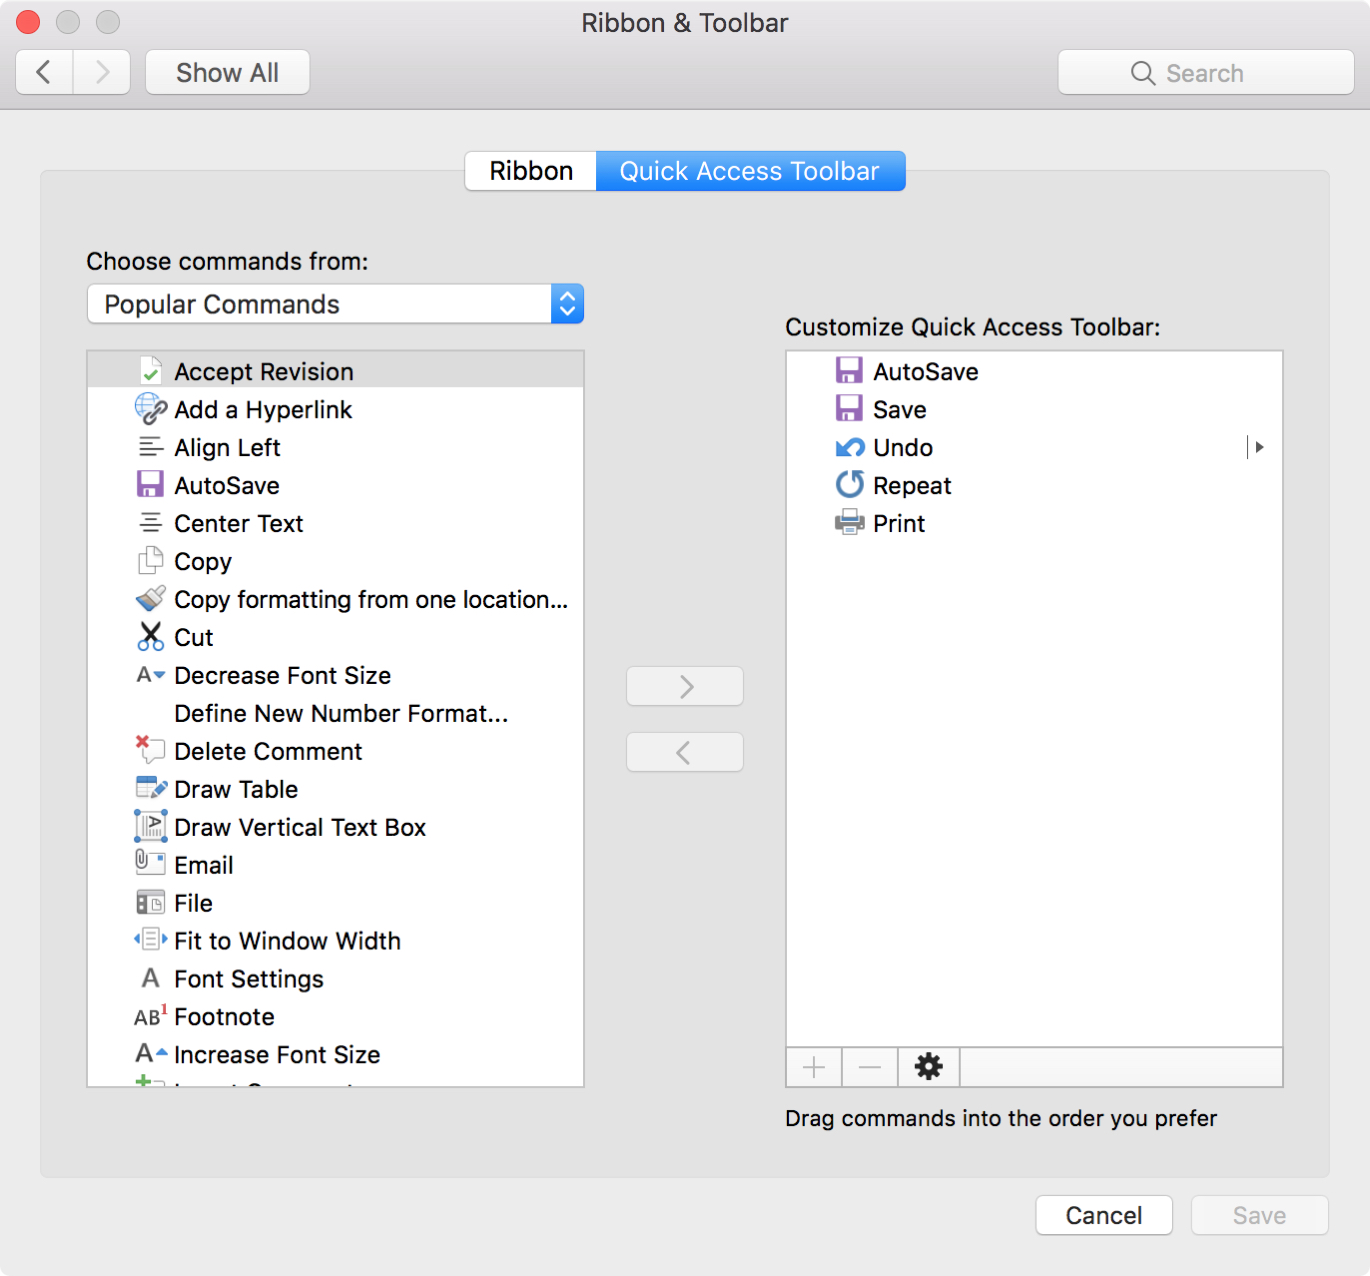
On the right side of the window, you’ll see the current commands in your Quick Access Toolbar that likely include tools like Save, Undo, and Print.
The left side of the window gives you all the possible commands that you can add to the toolbar.
Customize the Quick Access Toolbar on your Mac
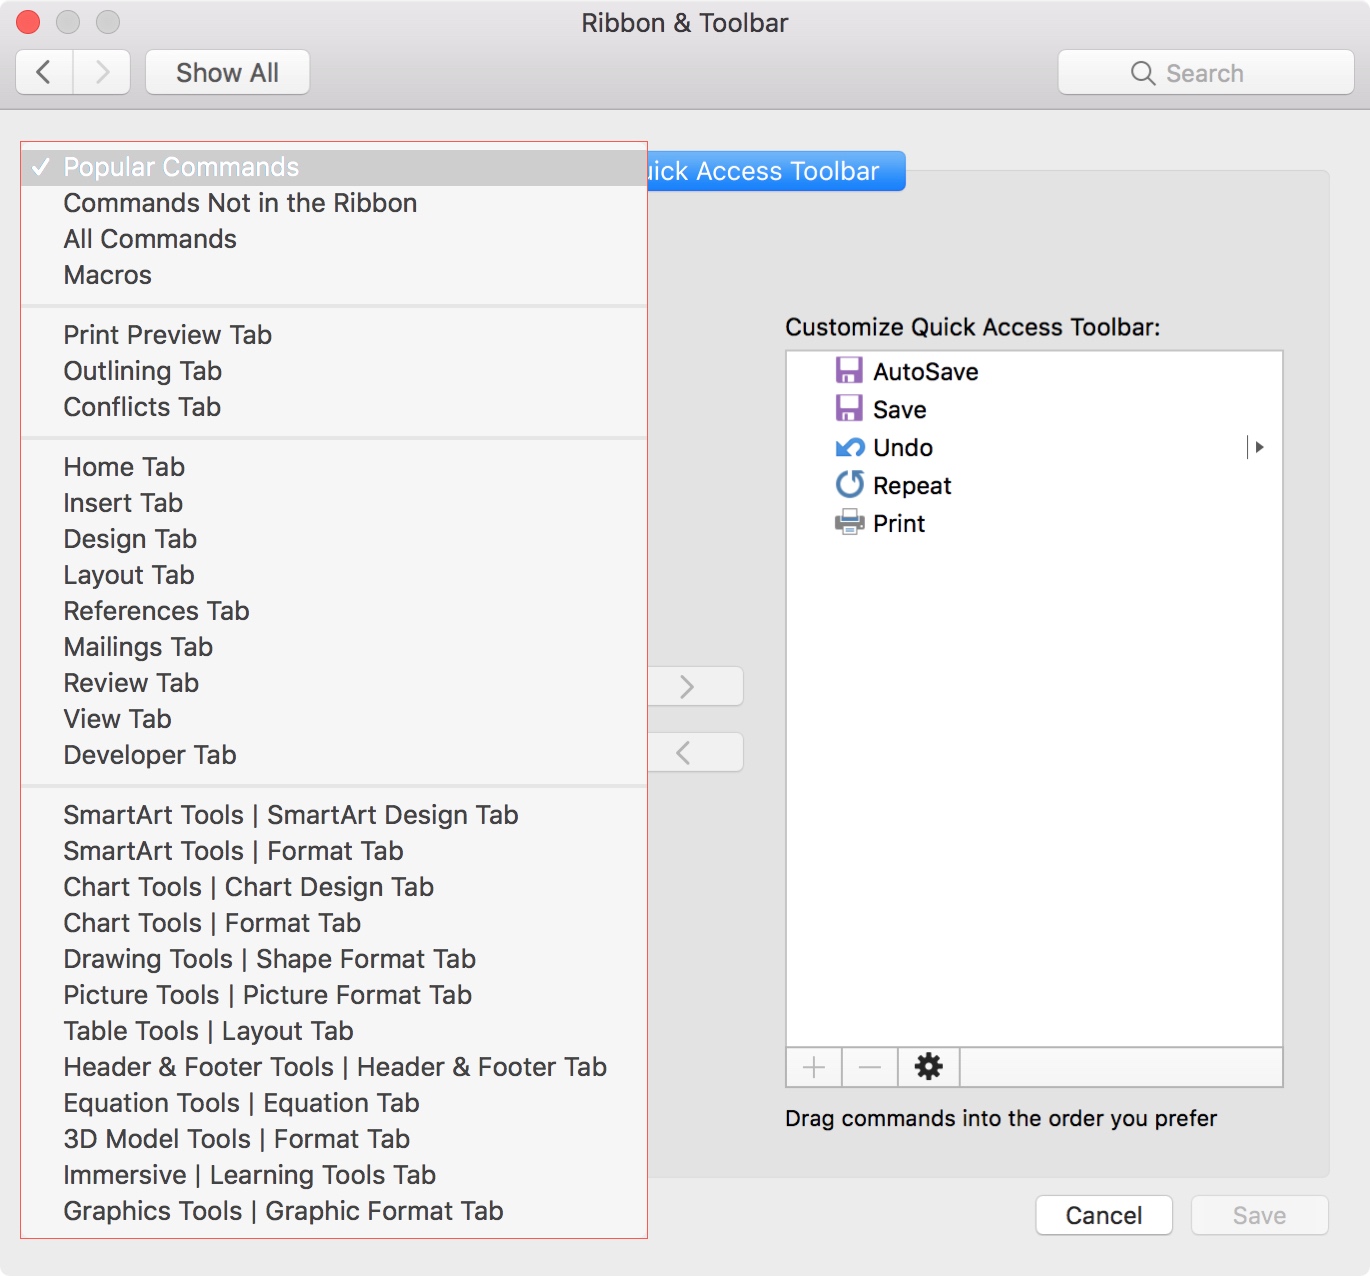
Now that you’re in the right spot to customize the commands, think about which tools you need and which you use most. Then, click the Choose commands from drop-down box to view all of the tools in each of the sections that you can add to the toolbar.
Or, you might start by removing the ones that you don’t use at all. Removing as well as adding commands can be done in two different ways.
Remove and add commands
Method one
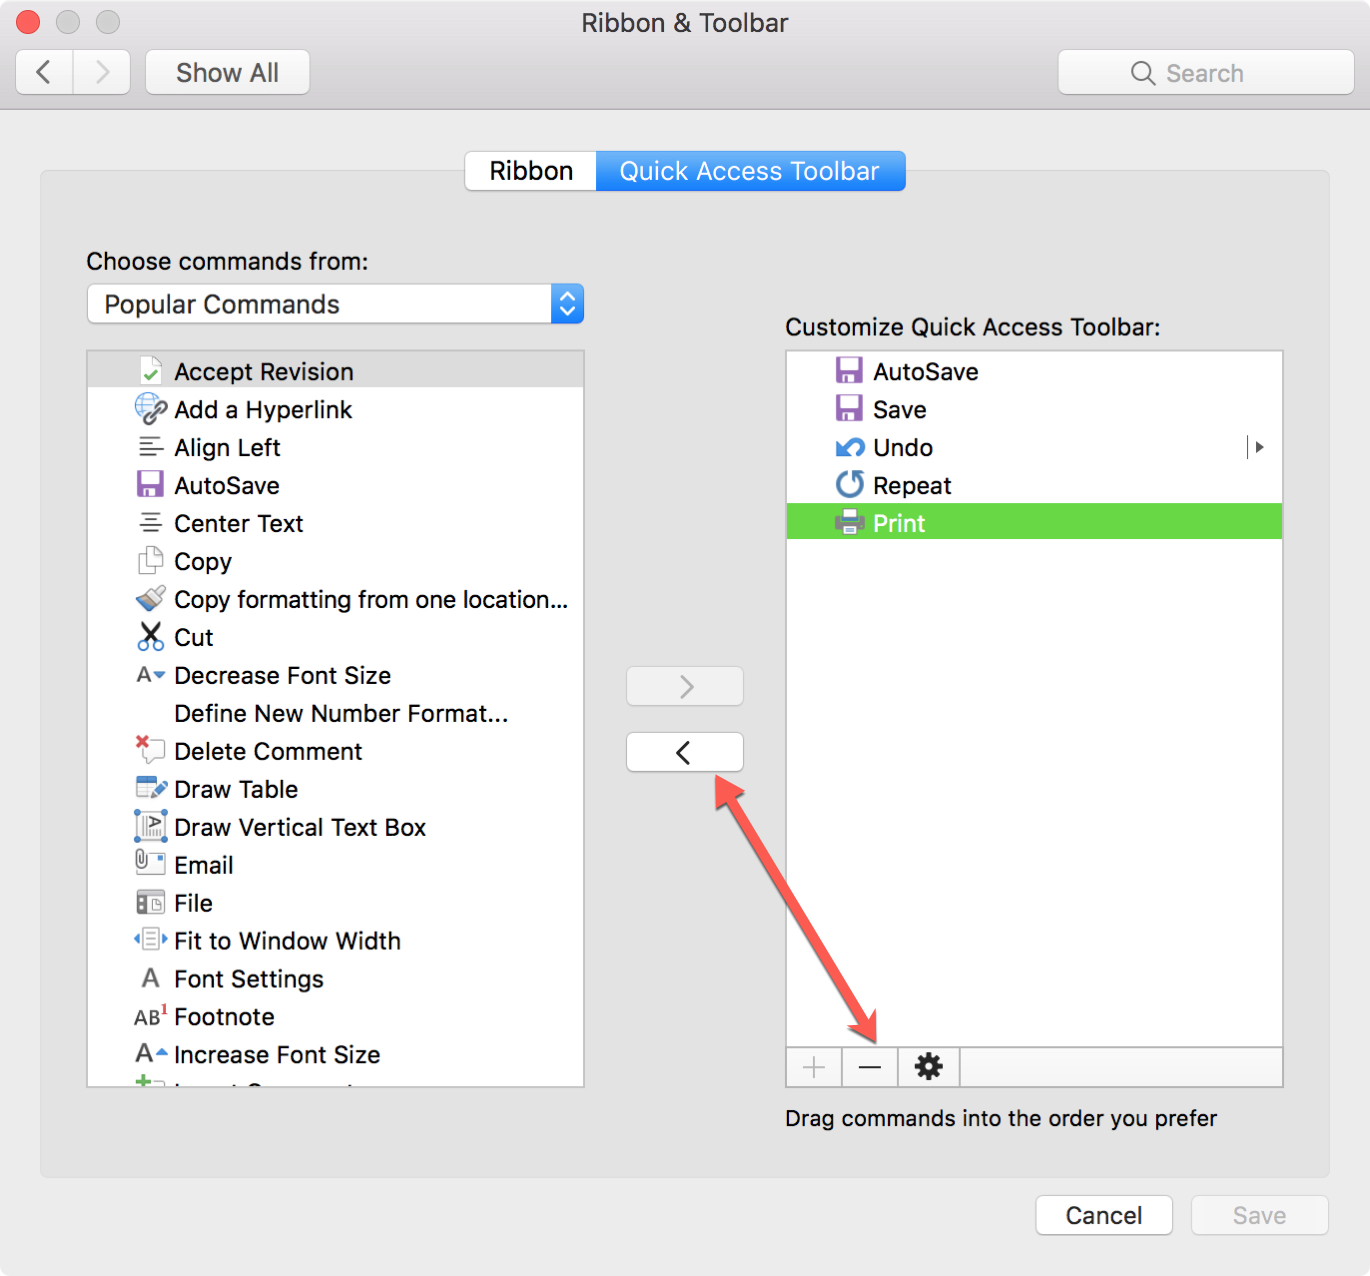
- To remove a command, select it on the right and click the minus button.
- To add a command, select it on the left and click the plus button.
Method two
- To remove a command, select it on the right and click the arrow pointing left to remove it from the list.
- To add a command, select it on the left and click the arrow pointing right to add it to the list.

Rearrange commands
After you have removed and added commands, you can rearrange the order that they appear in the Quick Access Toolbar.
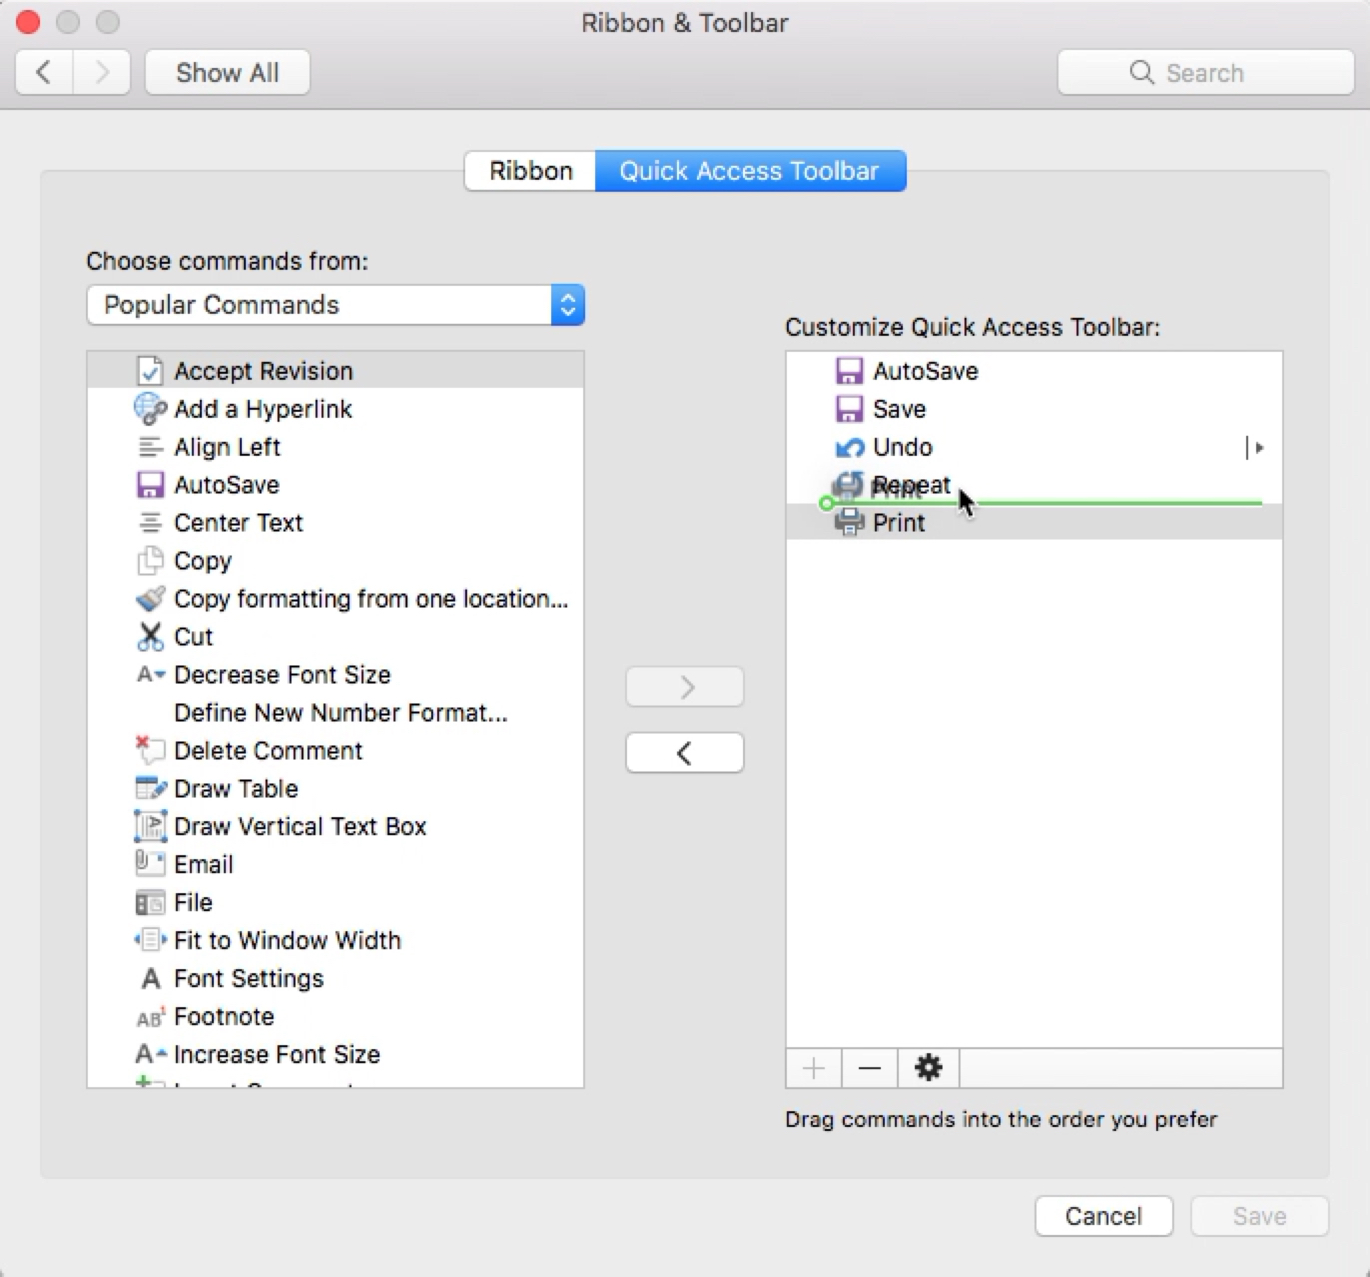
1) Select the first command you want to move by clicking it.
2) Drag it to its new location. You will see a green line appear as you drag the command which indicates the spot it will land in.
3) Release your mouse or Trackpad to drop the command into its new location.
Reset commands
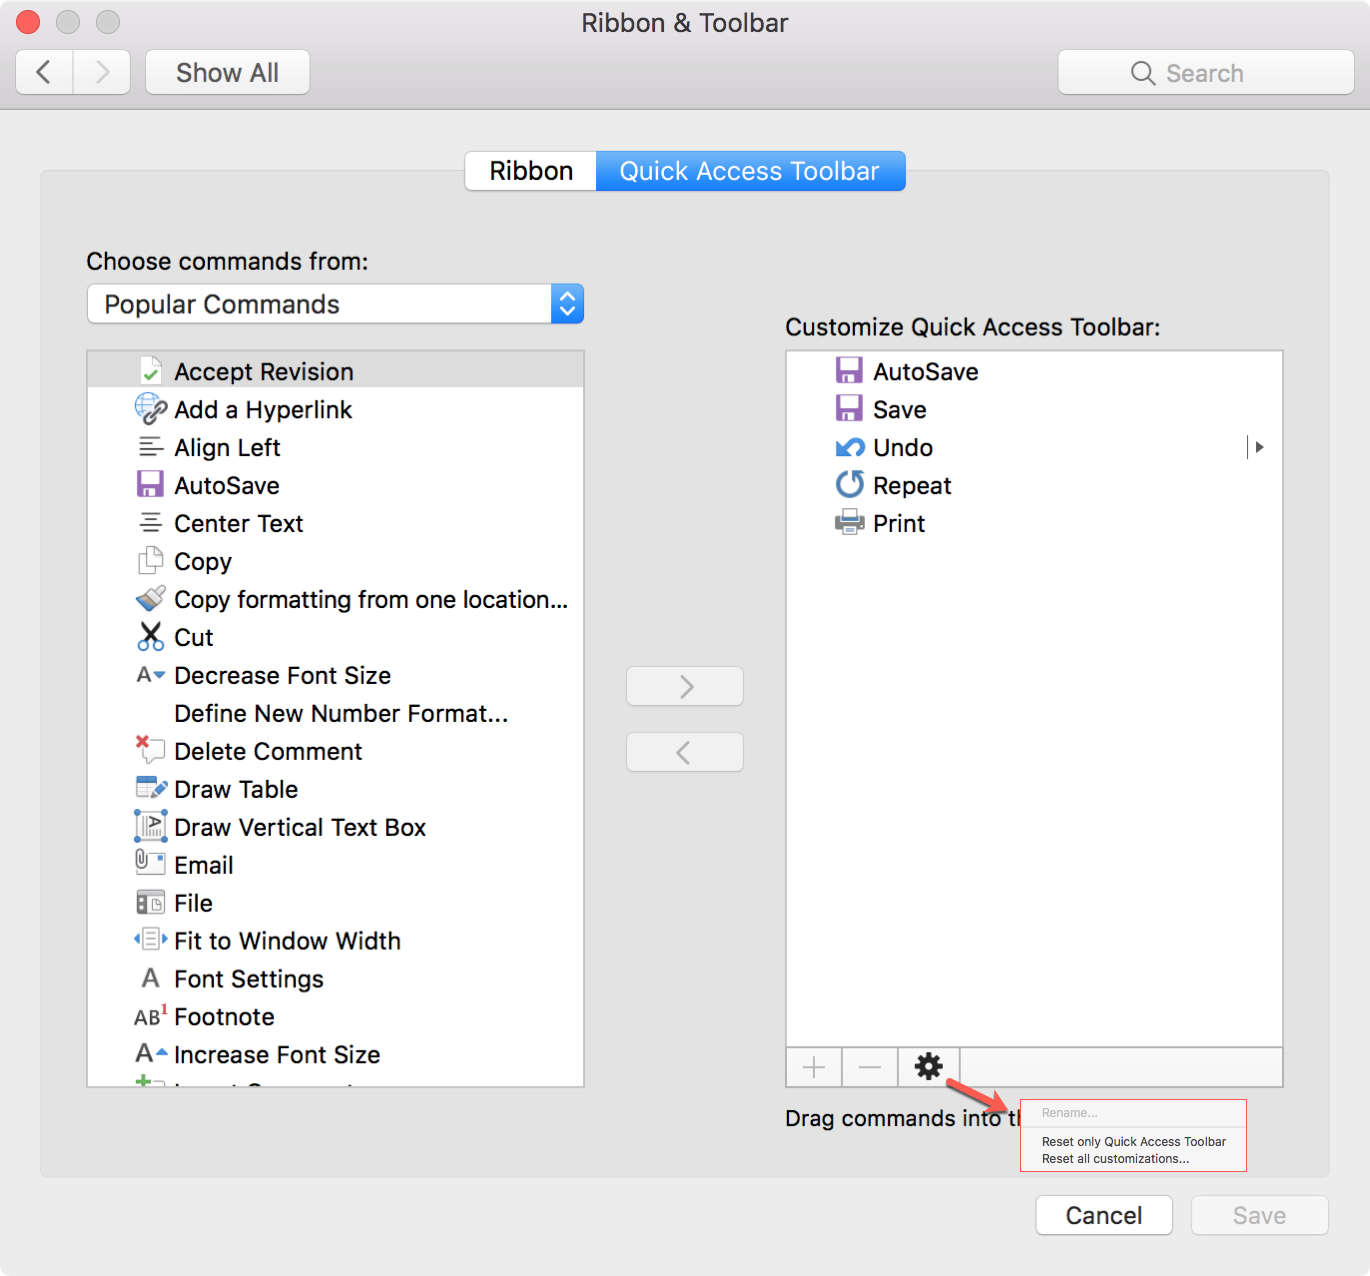
If at any point you decide to go back to the original configuration for the Quick Access Toolbar, click the Settings (gear icon) button and choose Reset only Quick Access Toolbar. If you select the second option, it will reset any customizations you’ve applied to both the Quick Access Toolbar and the Ribbon.
Save your changes
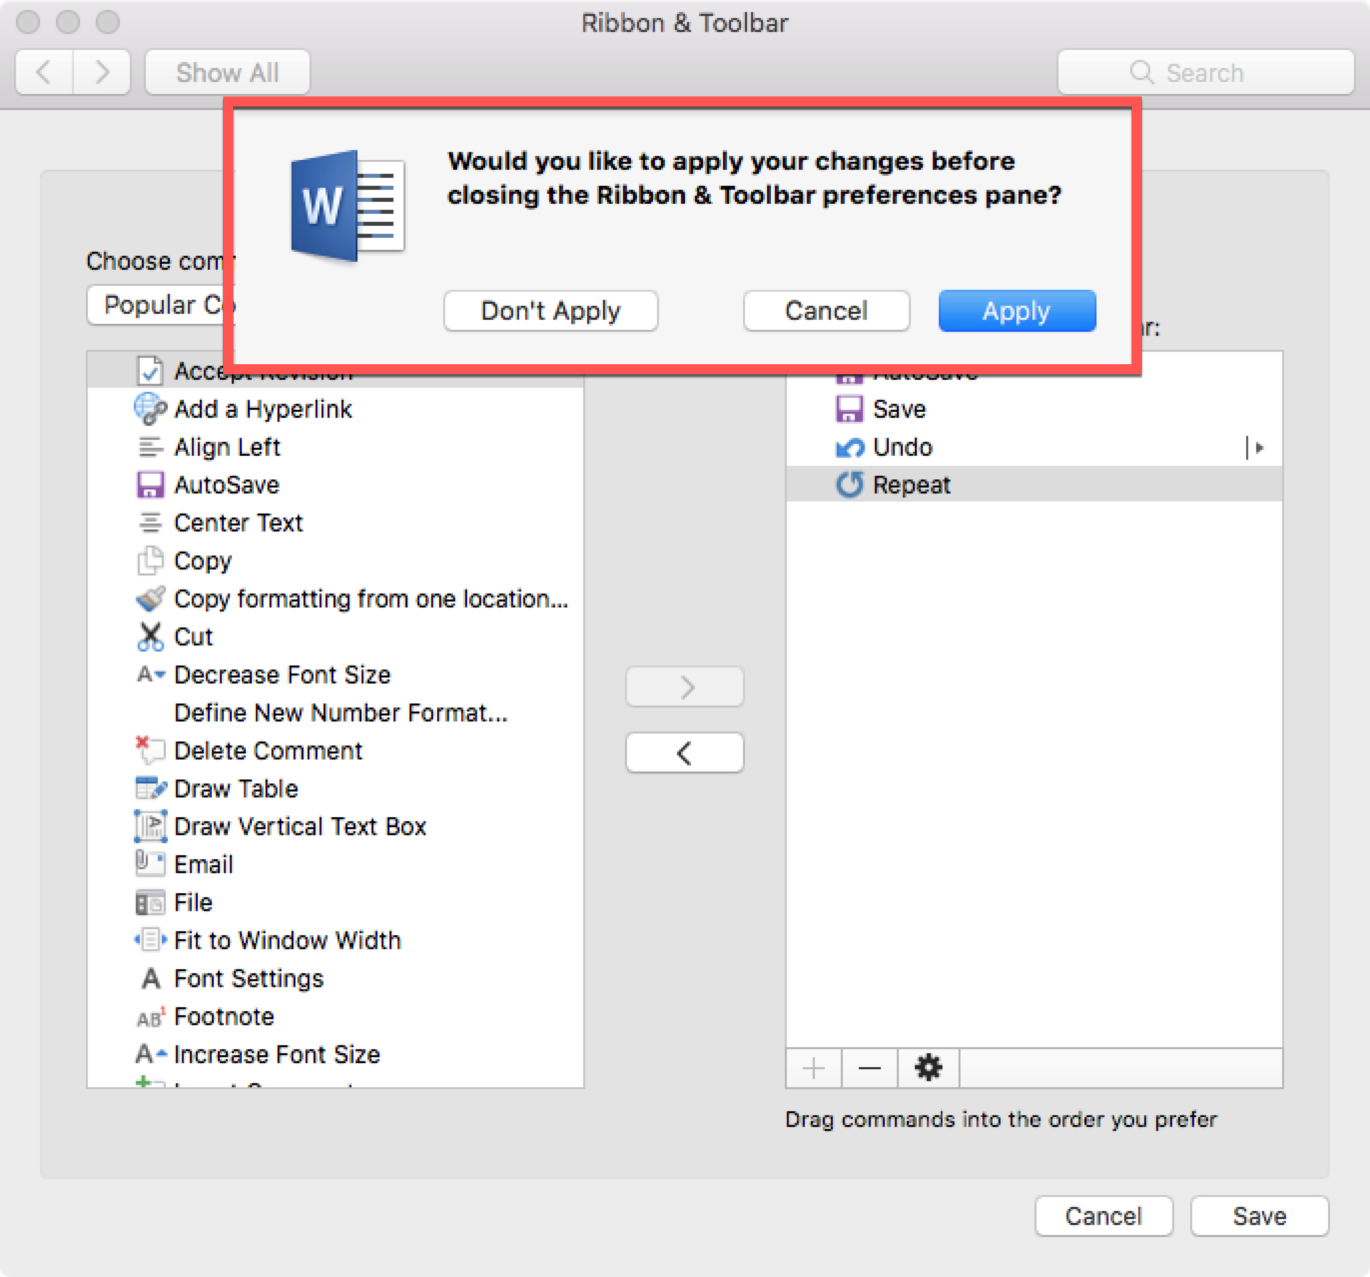
When you finish making your changes, click the Save button at the bottom. If you attempt to close the window without saving, you will see a prompt asking if you want to apply the changes.
Wrapping it up
The Quick Access Toolbar in Word and Excel lets you preform actions with a click. This is a handy way to quickly use tools and commands that you need so that you can continue working on your document. Are there any other tips, tricks, or customizations you’d like to see us cover for Word or Excel? Let us know in the comments!