For security reasons, the Yalu and extra_recipe jailbreaks have confined SSH connections to USB only. This is sufficient for most, but power users may wish to enable wireless SSH connections for convenience. Additionally, the Dropbear client that these jailbreaks use to manage SSH does not bundle SCP or SFTP, the commands most often used for pushing files to and from your iOS device over SSH.
In this guide, we’ll set about fixing up both these issues, to leave you with a more fully-configured SSH client.
Make sure you remember to change your root and mobile passwords. You MUST do this when using an SSH client, and ESPECIALLY after enabling it over WiFi.
You can change these passwords before following this guide using SSH over USB, or in a mobile Terminal app directly on your iOS device, if you know how.
If you don’t know how to do that, follow this article, and then IMMEDIATELY change your passwords by following my article on the topic. You MUST skip Step 1 of the linked guide as it will cause compatibility problems on iOS 10.
How to enable SSH over Wi-Fi
1) If you have OpenSSH installed on your iOS 10 jailbroken device, uninstall it, as it causes compatibility problems with the bundled SSH client Dropbear.
2) Ensure that you have your jailbreak app (Yalu or extra_recipe) in an easily accessible location on your computer.
(You can also do this in Filza file manager on your iOS device if you have the .ipa file stored on it, but this way is probably quicker/easier.)
3) Rename your jailbreak app from APP_NAME.ipa to APP_NAME.zip. When asked if you are sure you wish to change the file extension to .zip, confirm your choice with Use .zip.
4) Double-click the .zip file to unarchive it. A folder named Payload will appear.
5) Open the Payload folder and look inside for the jailbreak app (yalu102.app or extra_recipe.app).
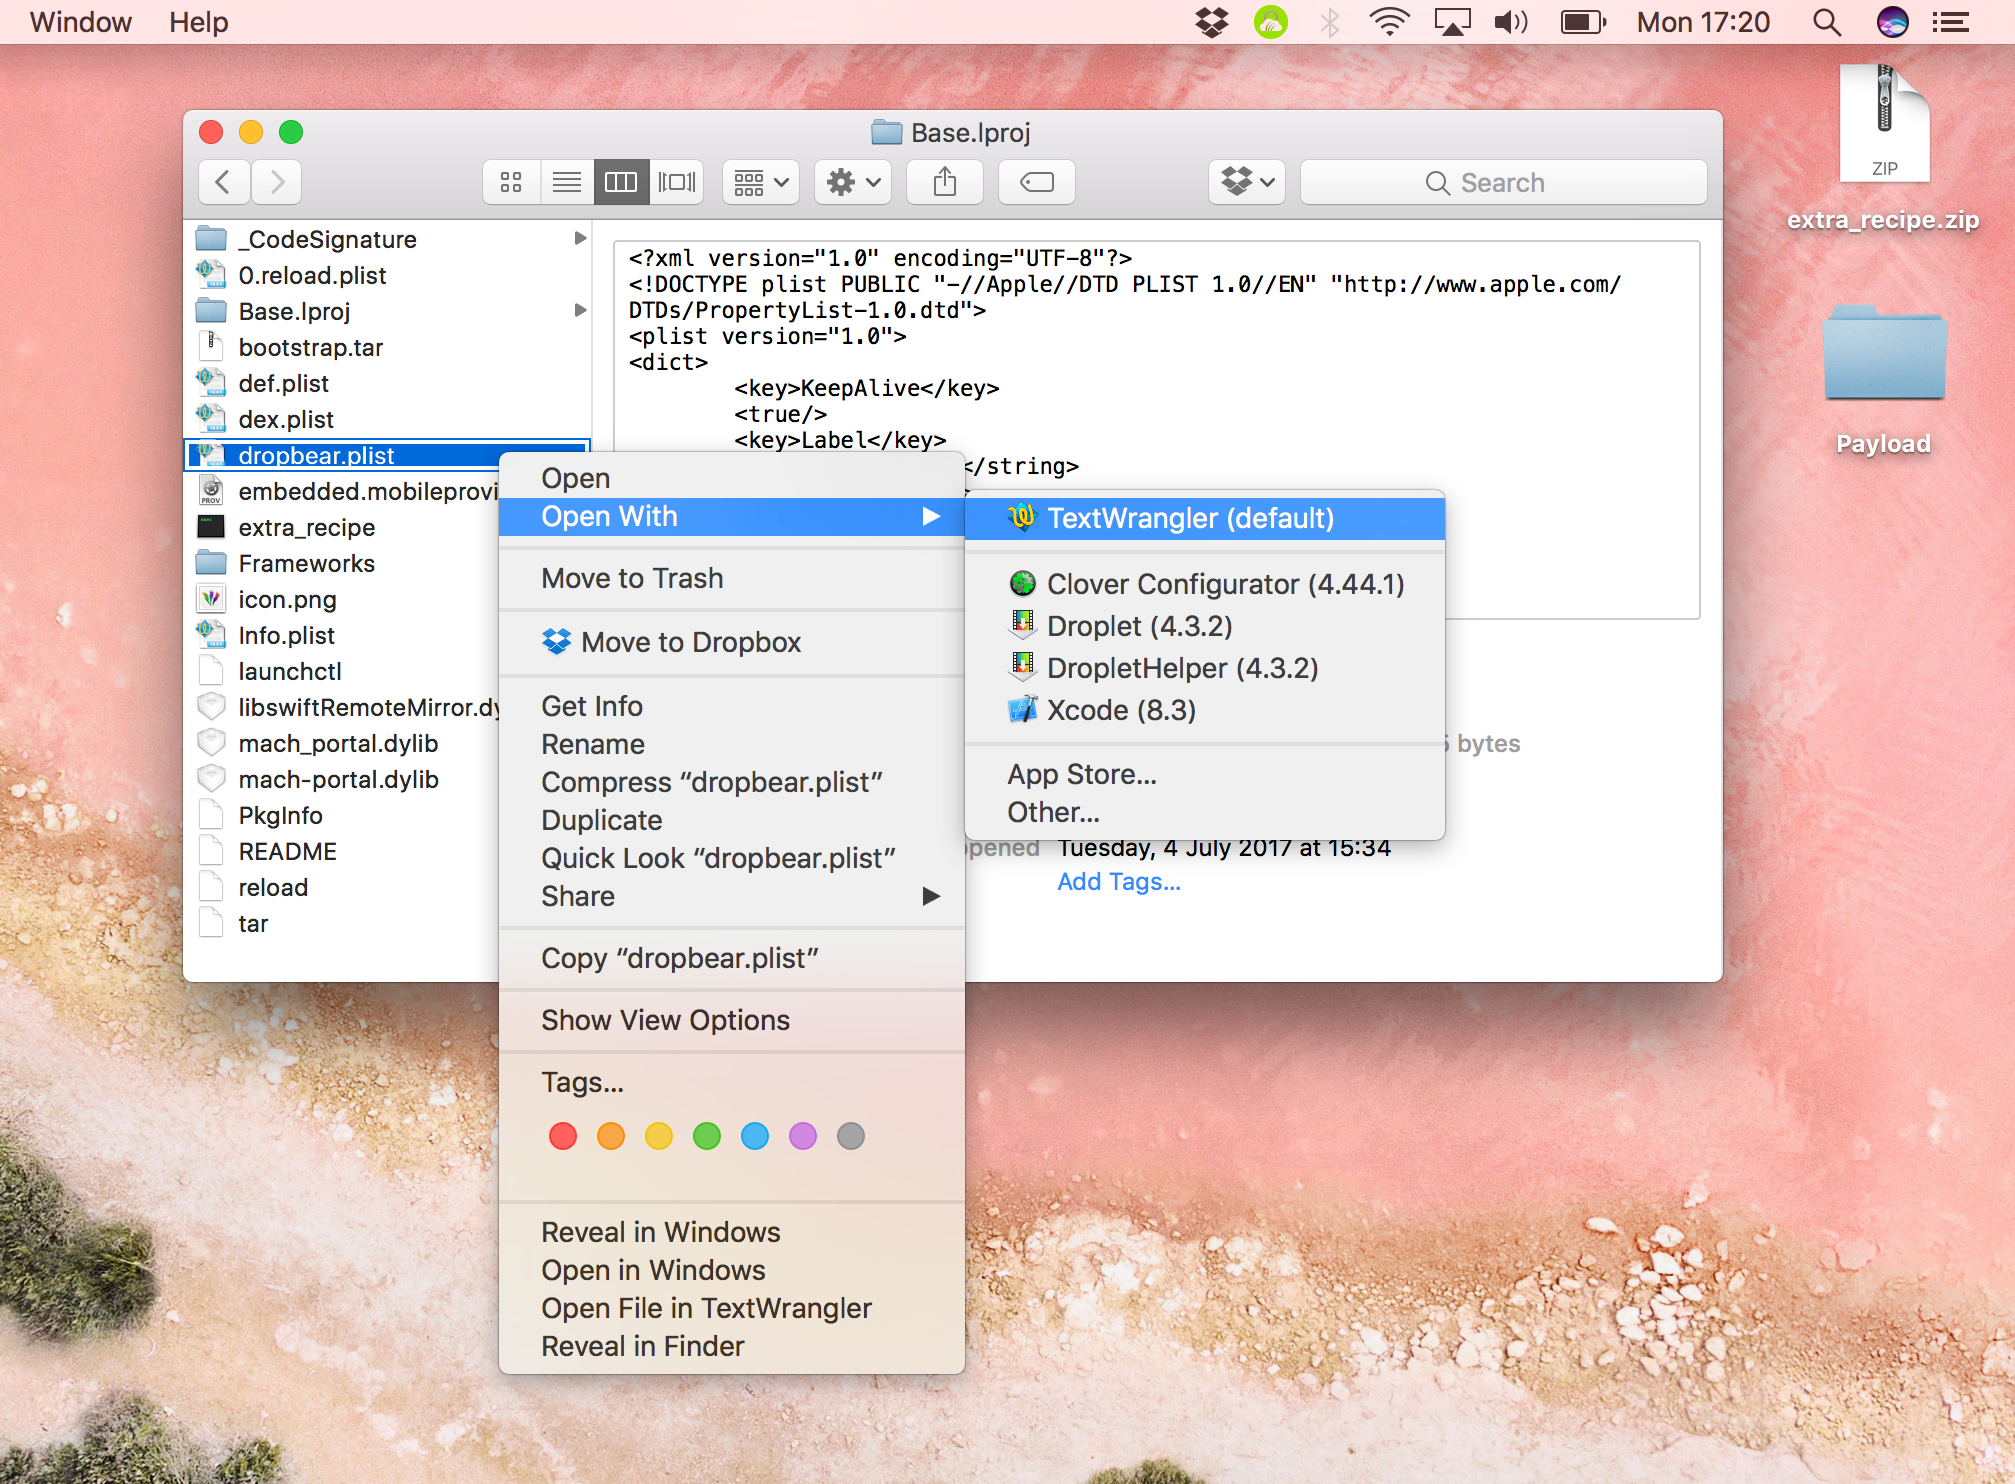
6) Right-click the app, and select Show Package Contents.
7) Inside the app will be a file called dropbear.plist. Open this in a text editor of your choice. I use TextWrangler, which is free on the App Store, but any will do.
8) In the .plist, find the string under ProgramArguments which reads 127.0.0.1:22. This line signifies that SSH will only accept connections over USB.
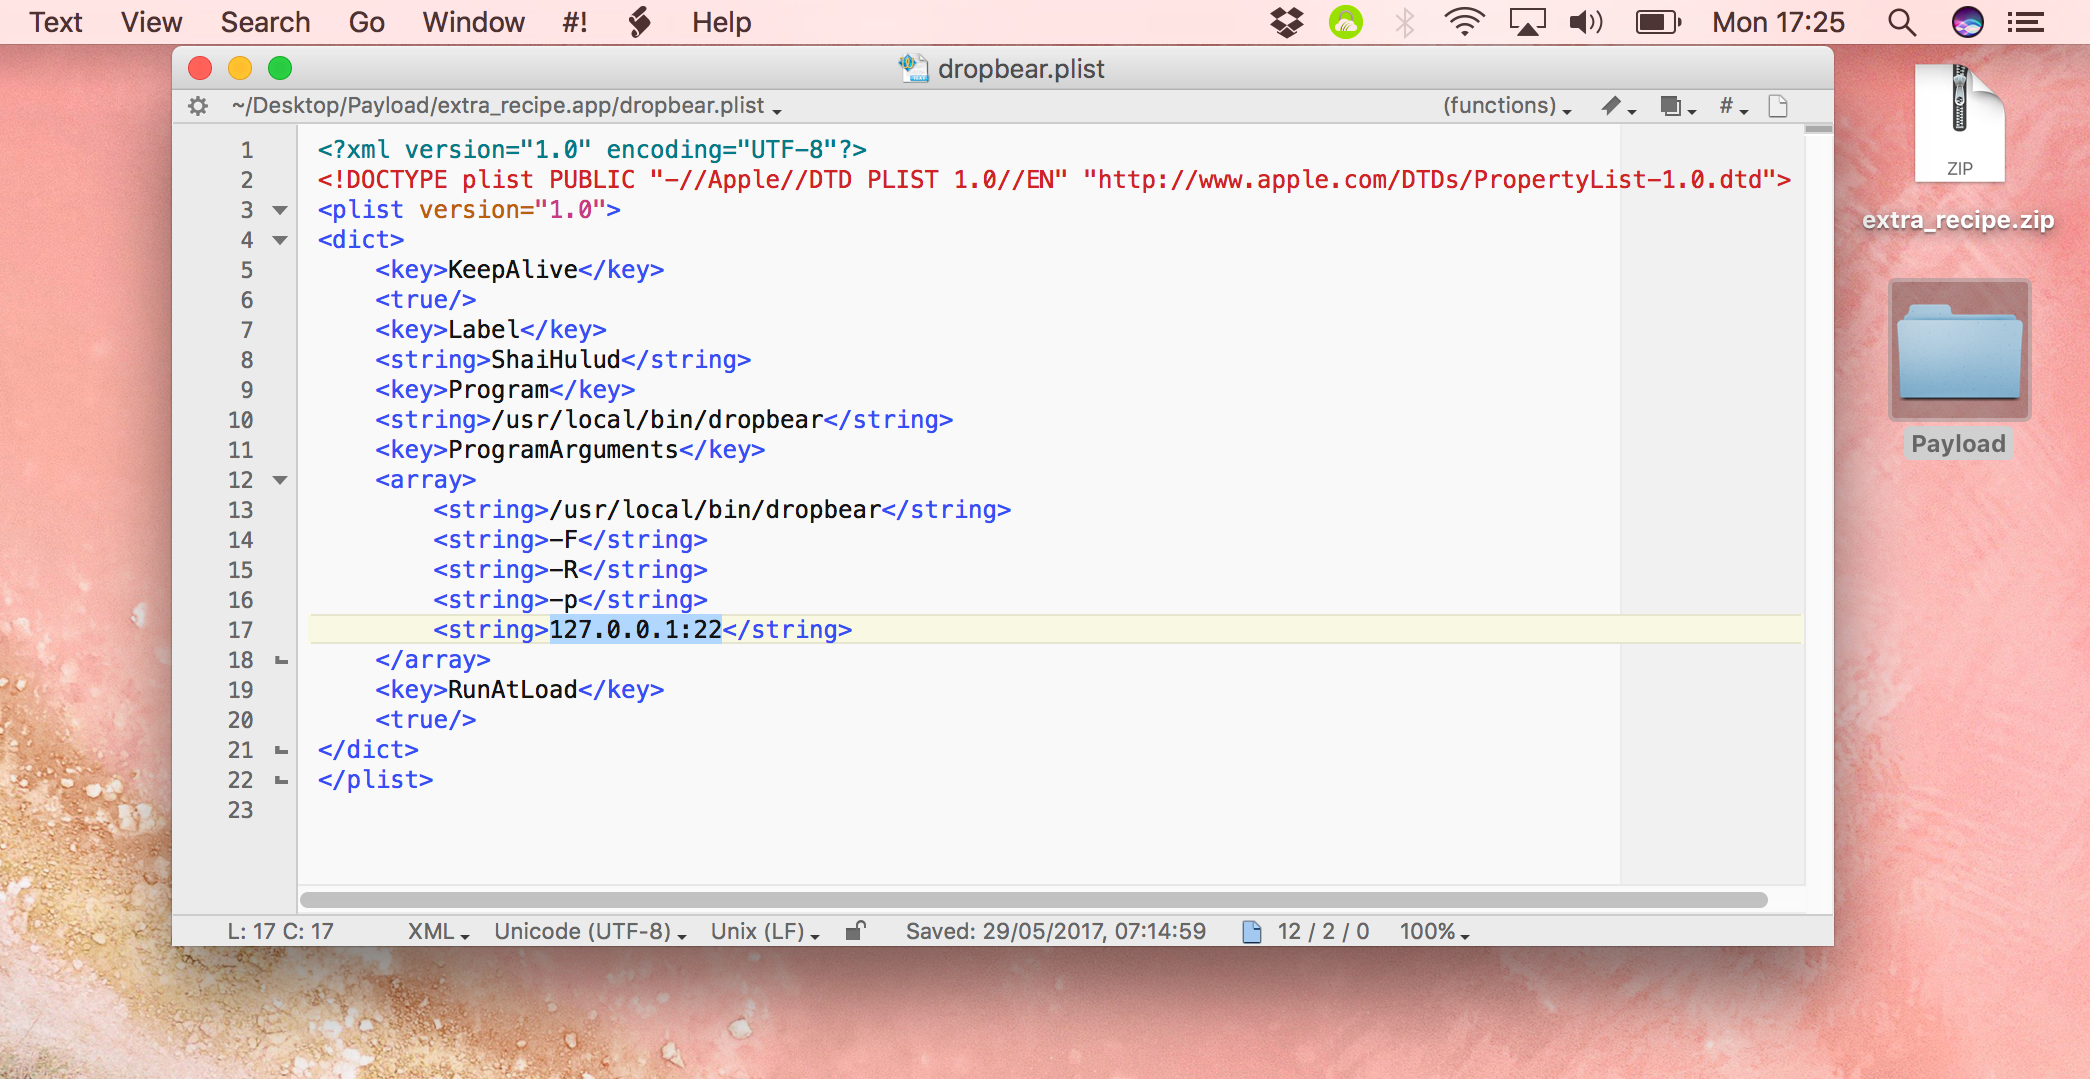
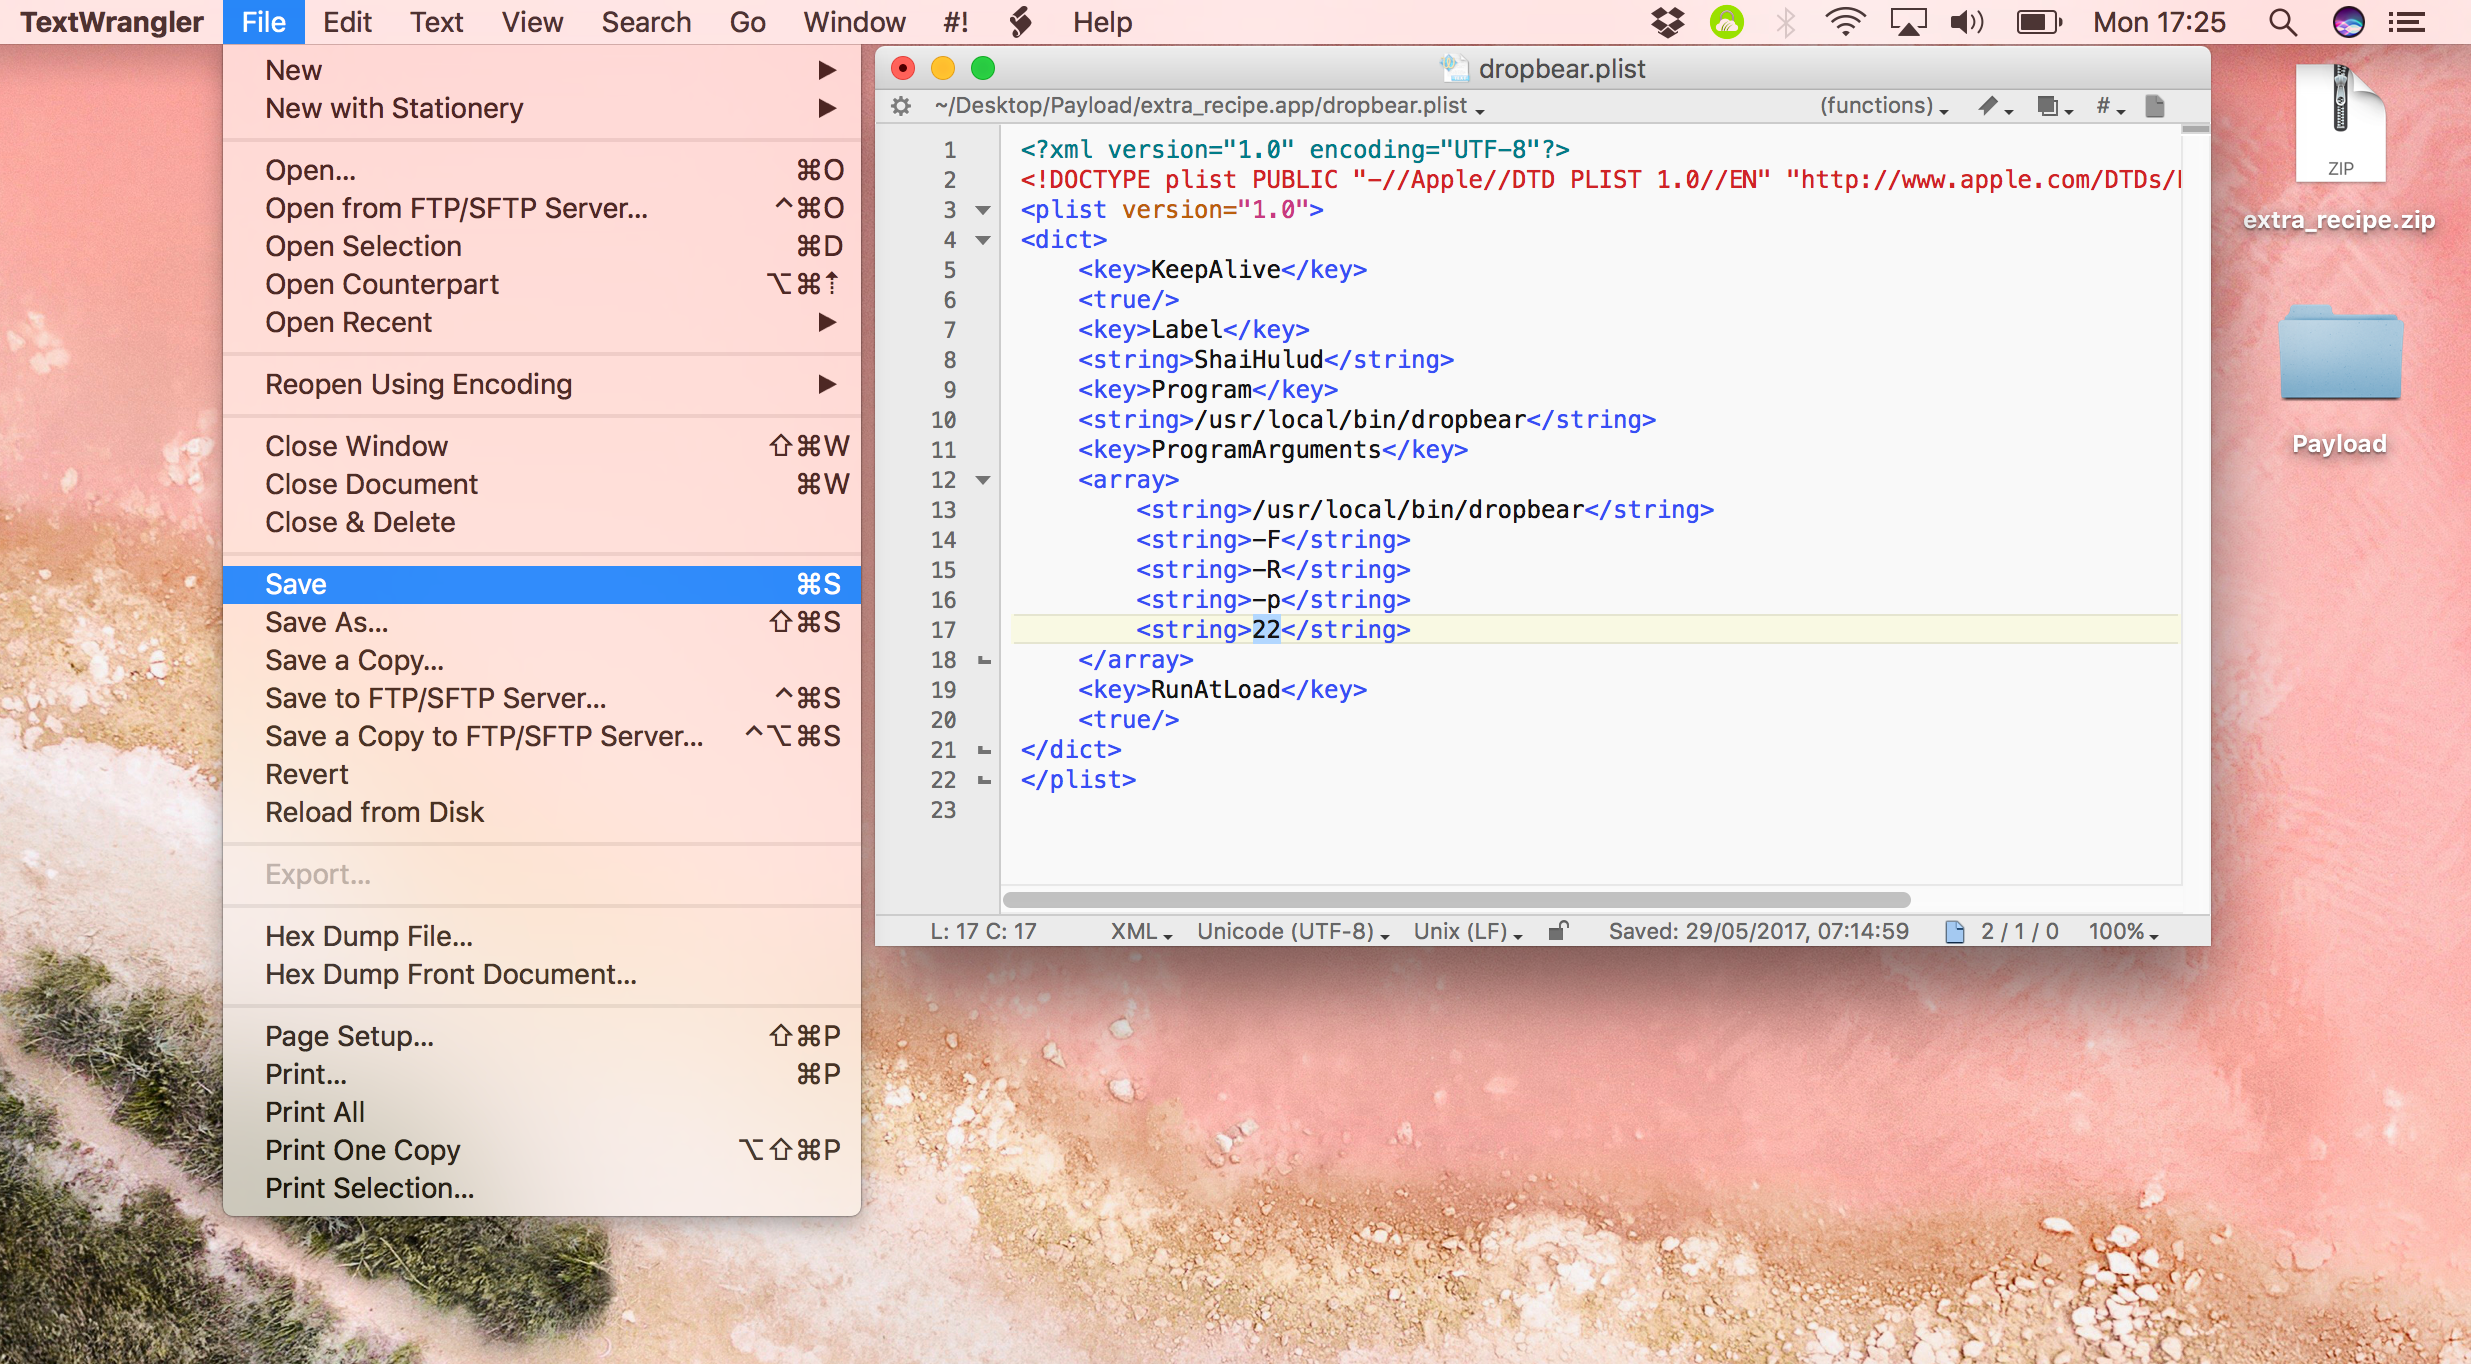
Edit this line so it reads simply 22, deleting the 127.0.0.1: section. This allows SSH to connect over any interface, including WiFi.
9) Save the document once you have made your change.
10) Now select your Payload folder once more, and right-click it. Select Compress “Payload” to zip it up again.
11) Select the resulting Payload.zip and rename it again, to APP_NAME.ipa. When asked to confirm, select Use .ipa.
12) Your jailbreak .ipa with bundled SSH over WiFi is now ready. Sideload it to your device with Cydia Impactor. If you had your jailbreak app configured to re-sign itself with Ext3nder or Extender: Reloaded, you will need to set that up again.
13) Restart your device, and re-jailbreak with your new SSH-enabled jailbreak app.
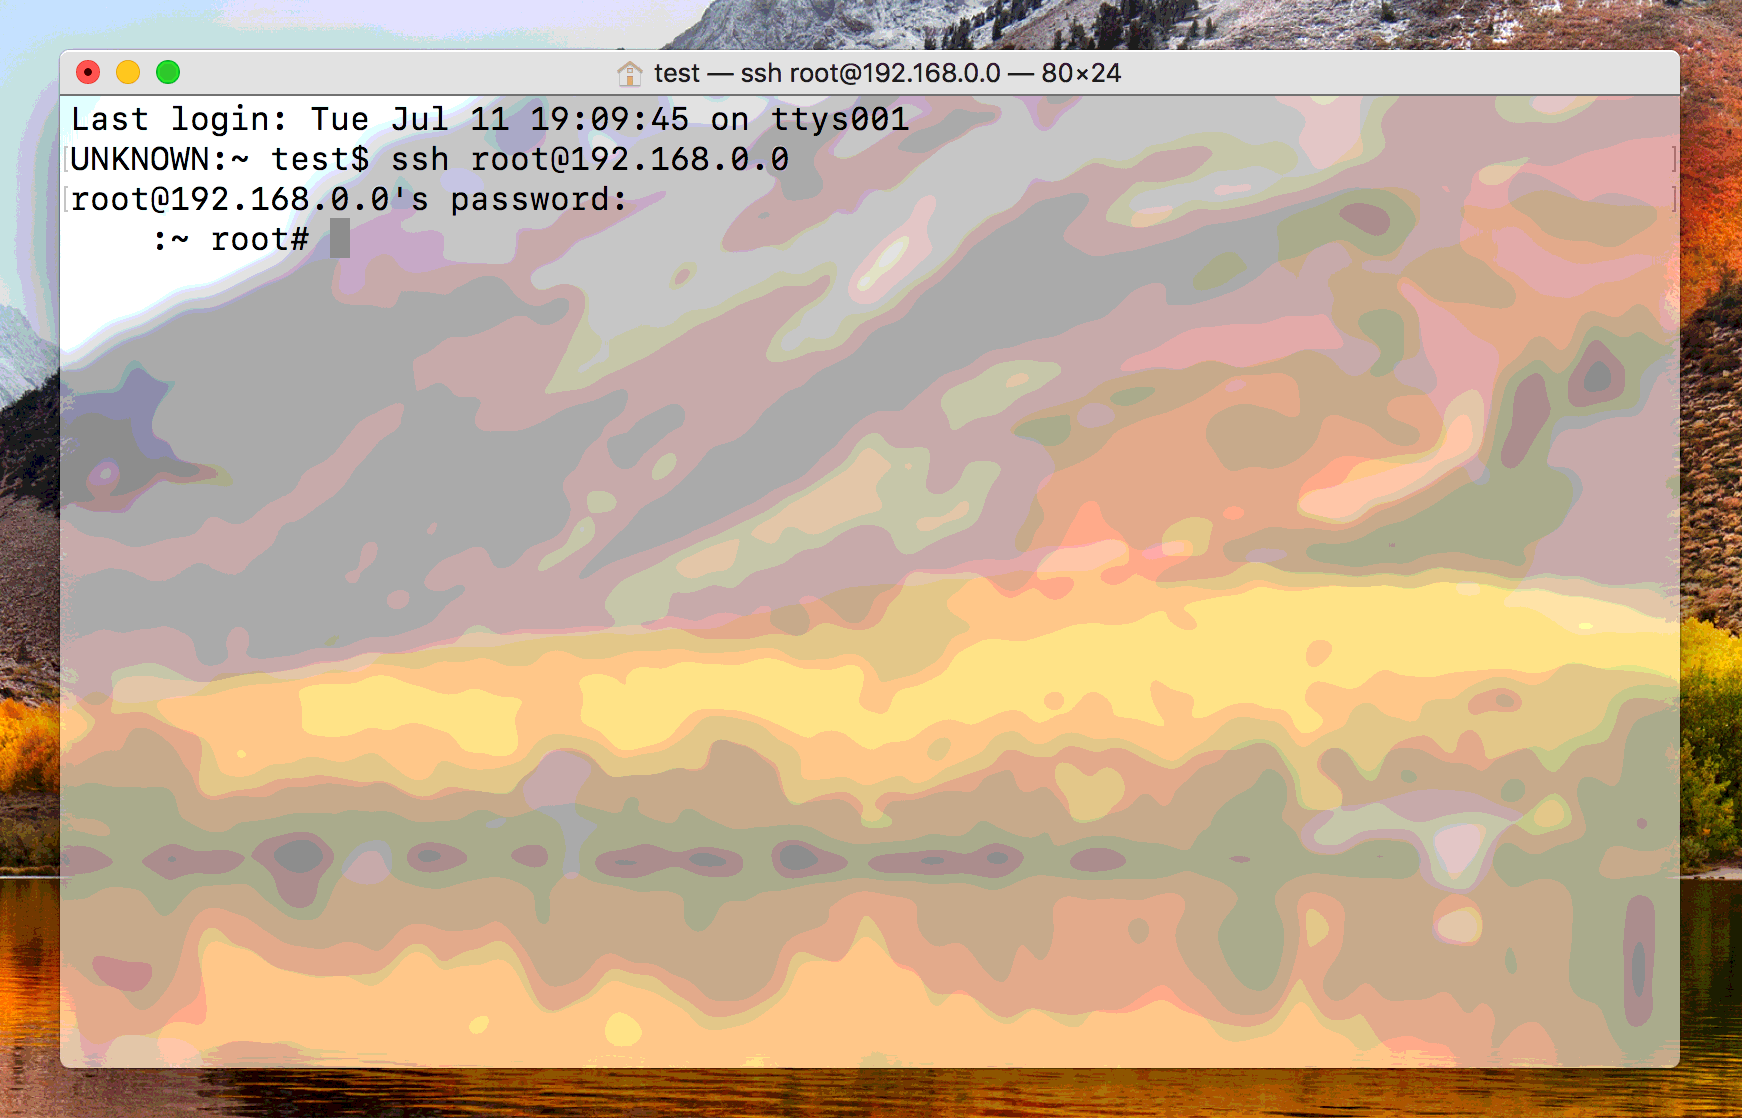
14) You can now connect to your device using SSH over WiFi as usual. Follow our guide to see how if you don’t know.
If you haven’t already done so, change your root and mobile passwords now by following our guide on the subject.
How to add SCP & SFTP for transferring files to and from your device over SSH
1) If you have OpenSSH installed on your iOS 10 jailbroken device, uninstall it, as it causes compatibility problems with the bundled SSH client Dropbear.
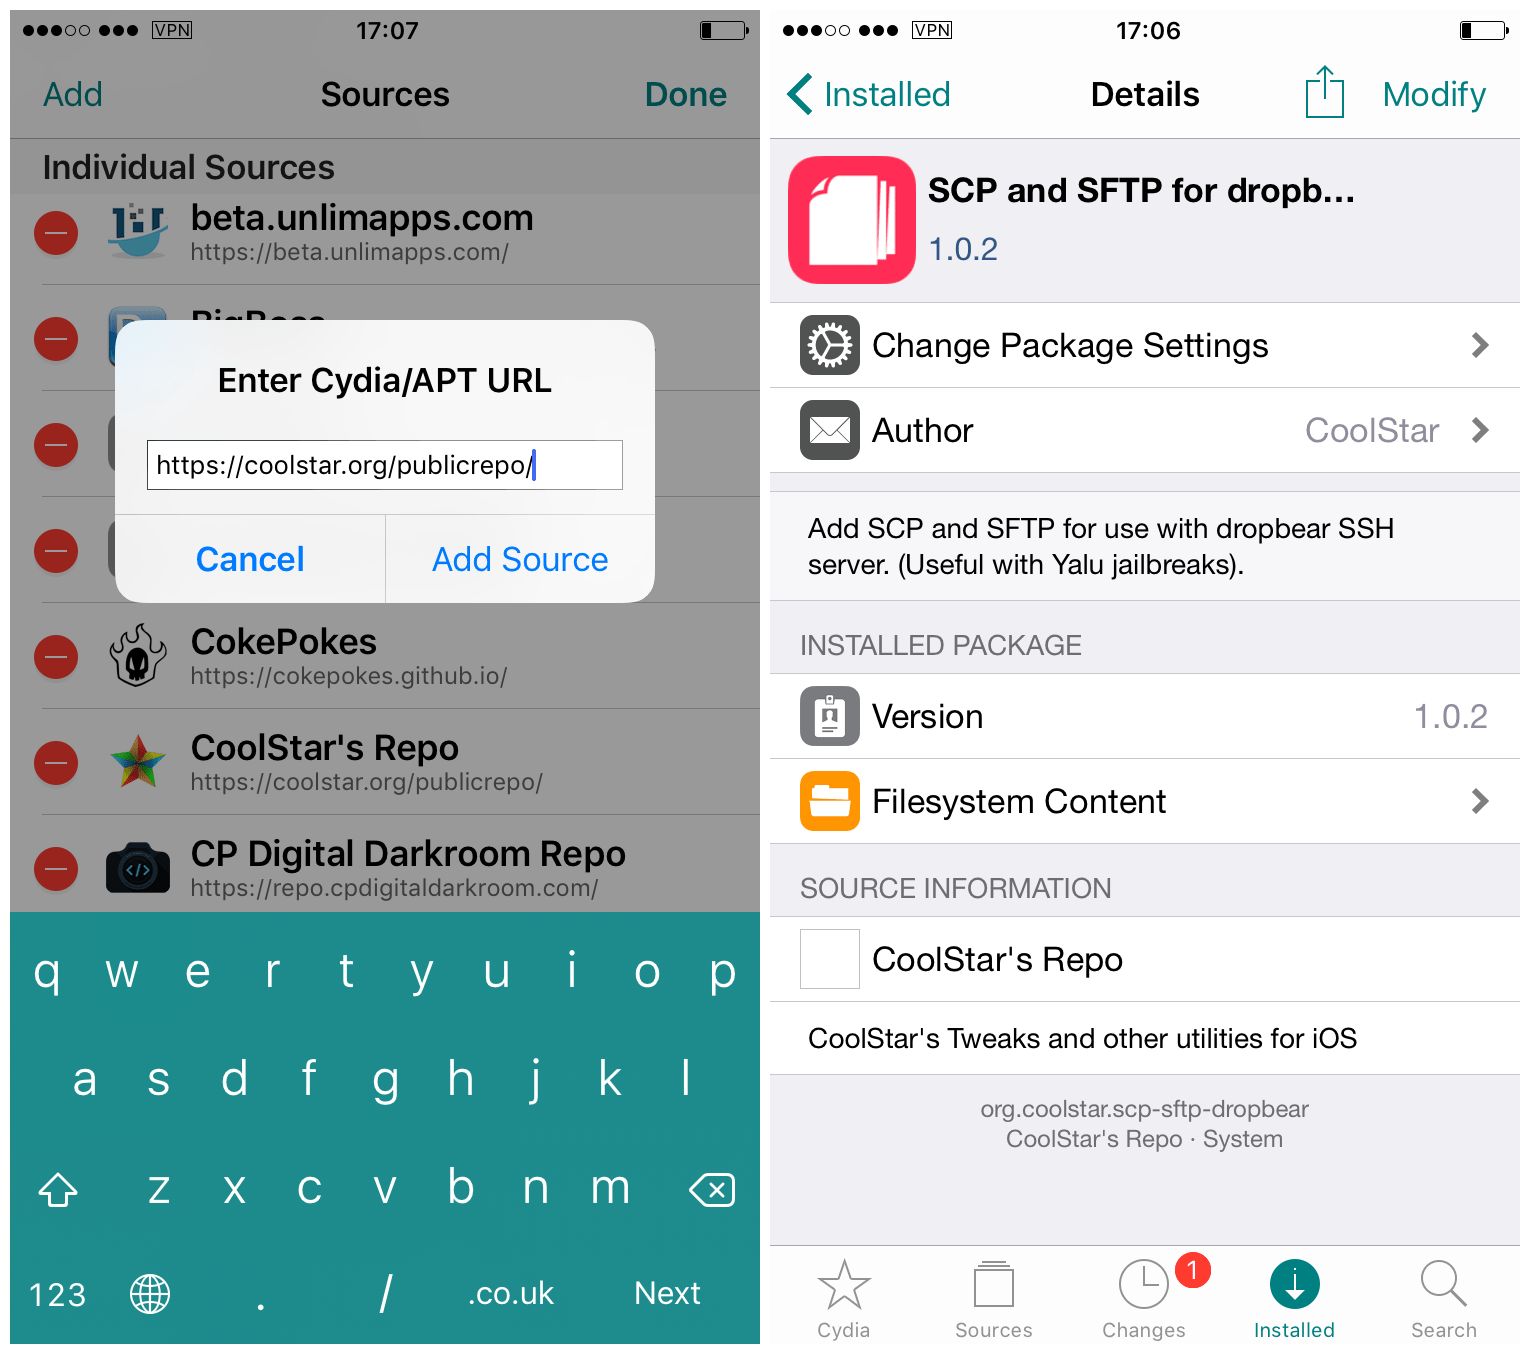
2) Open Cydia on your device and add the following repository:
https://coolstar.org/publicrepo
3) From the repo, install the package called SCP and SFTP for dropbear.
4) We now need to make a symlink on your iOS device, so that an errant Dropbear file can be found. Without it, you may get the following error when trying to copy device from your iOS device to another device using scp:
/usr/bin/dbclient: No such file or directory
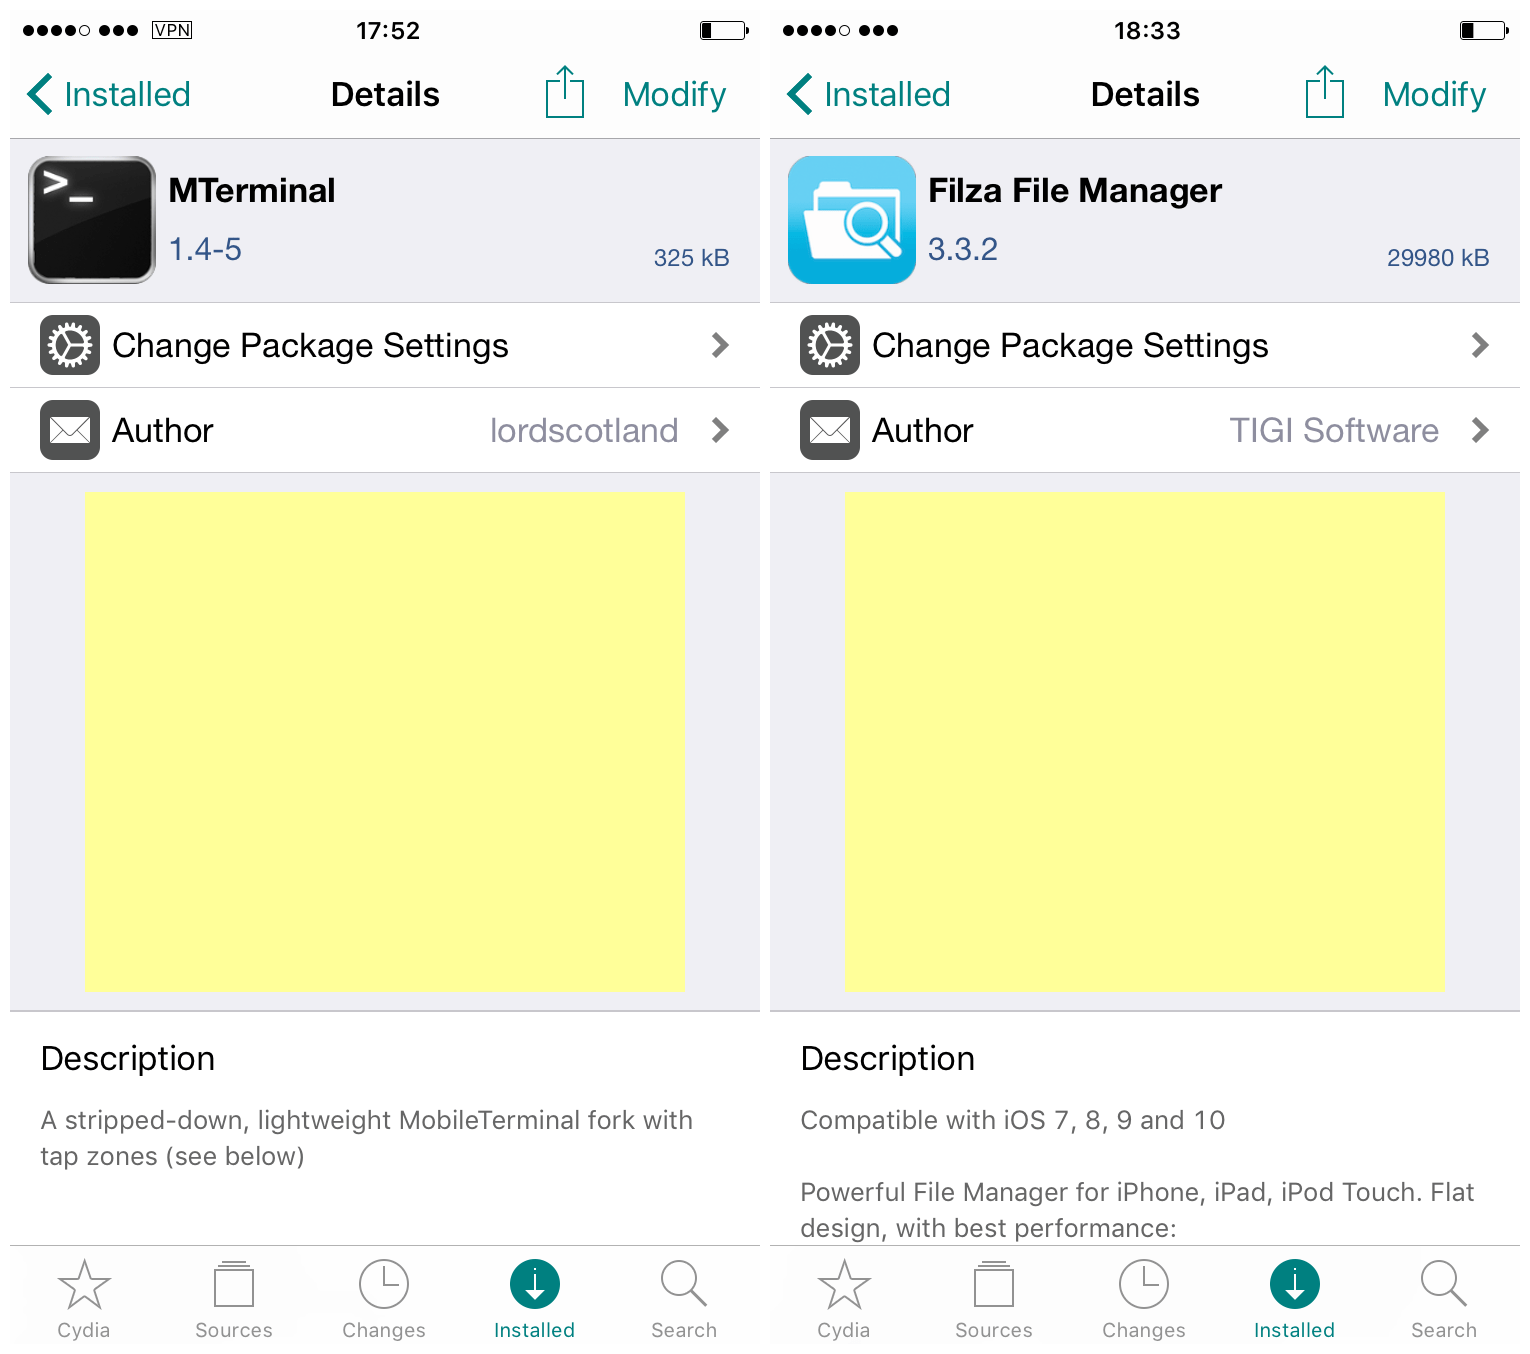
To do this, open a mobile Terminal app on your iOS device. If you don’t have one, try MTerminal from Cydia. It also helps to have a file manager such as Filza.
5) Inside your iOS Terminal app, type the following commands one after the other at the prompt:
su
(Enter your root password here. The default is alpine, but you should change it.)
cd /
ln -sf /usr/local/bin/dbclient /usr/bin/dbclient
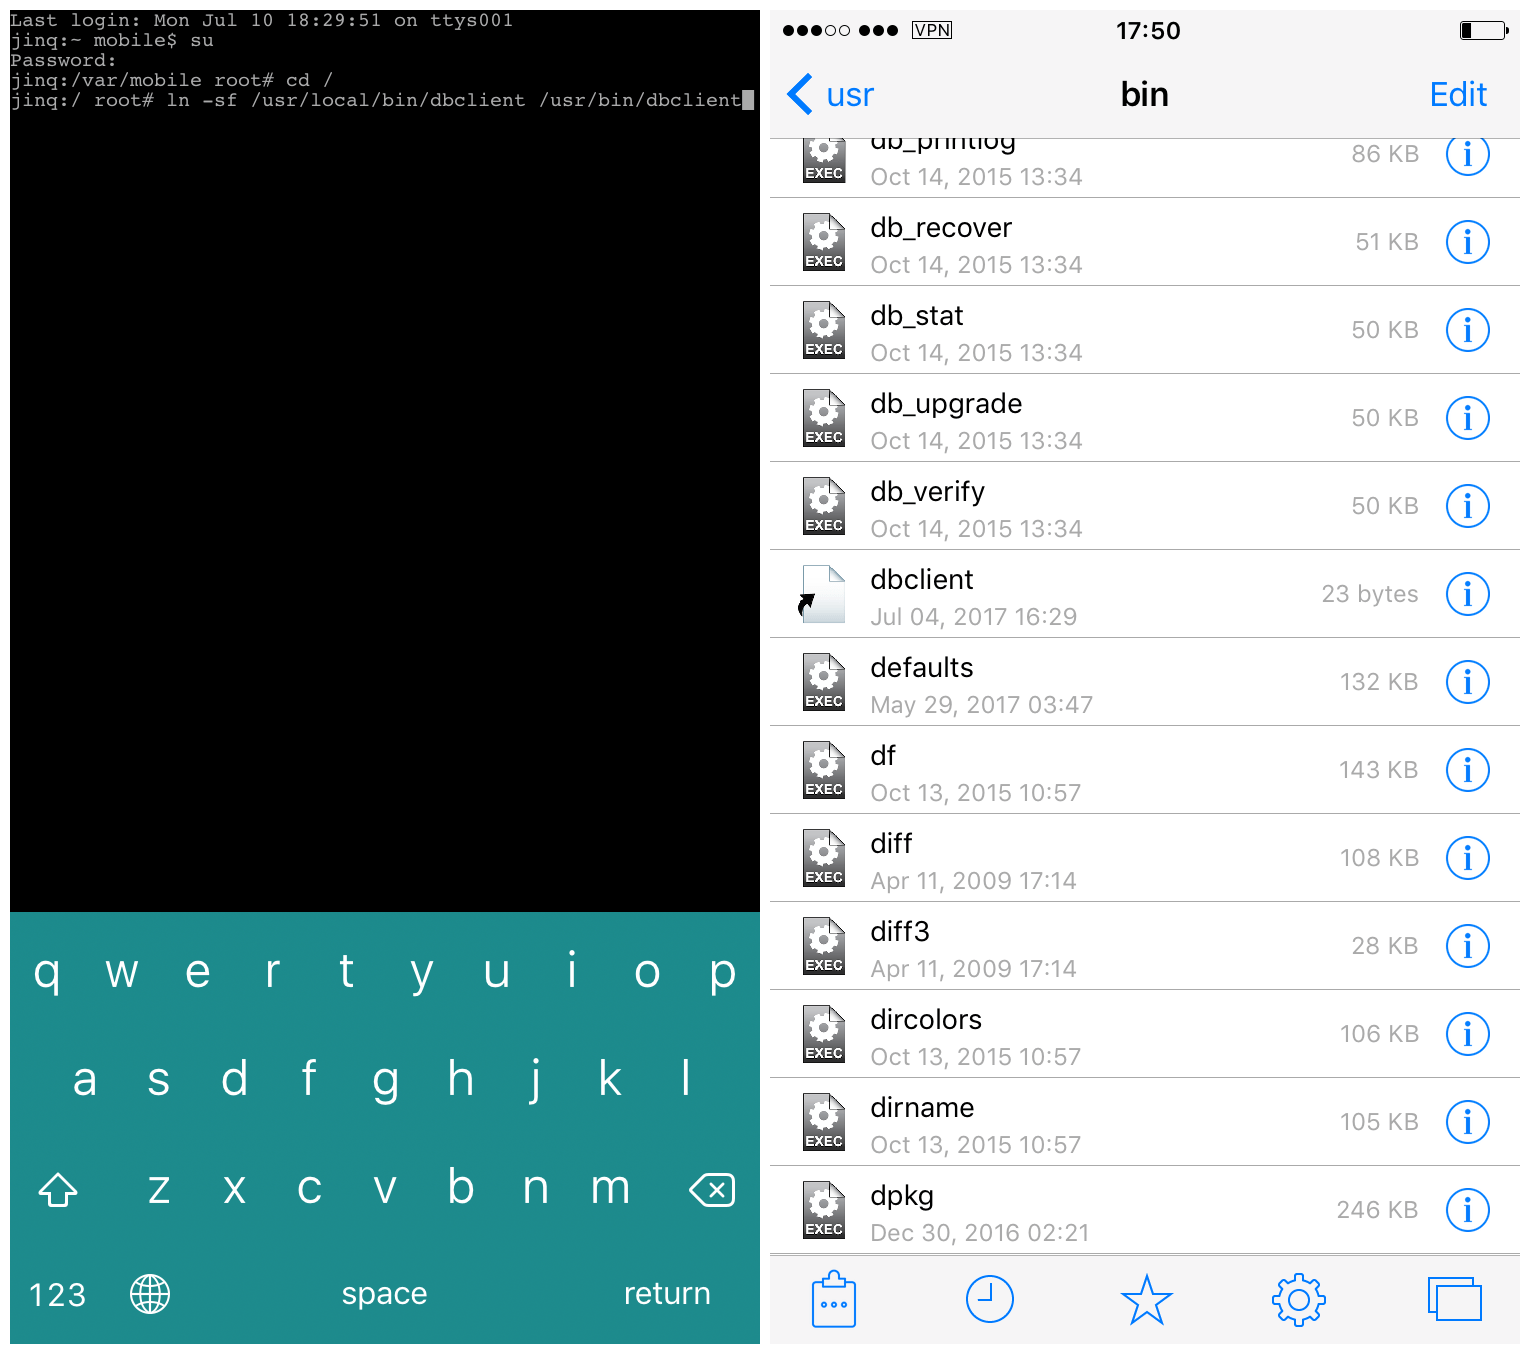
6) This should create a symlink in the correct place so that the commands can run. To verify it’s there, open up Filza, navigate to /usr/bin/ and look for an alias called dbclient. If it’s there, then you’re all done!
If you have any trouble with either of these SSH enhancements, let me know in the comments section. It’s always good to have working SSH to troubleshoot and possibly save your jailbreak in an emergency. What do you use it for?