![]()
With the exception of partitions in unreadable formats and certain hidden partitions such as EFI and Recovery HD, the default behaviour of macOS is to mount all partitions of a drive on boot-up, login, or on connecting an external drive.
Whilst this behaviour is useful for the novice or for those connecting a single USB stick to copy some files, it can become unwieldy and even annoying if you have many multi-partitioned drives attached to your Mac.
For example, my desktop Hackintosh has three internal drives, each with at least two partitions, and one of these drives is not even needed when booted under macOS – it is for Windows 10 and Linux. Add to this a couple of external hard drives with partitions for storage, OS installers and Time Machine backups for other computers, and your desktop and Finder sidebar can begin to look a real mess. It also takes time for the drives to mount on every boot and unmount on sleep or shutdown.
This guide will detail how to ensure only the drives of your choosing mount automatically, leaving the rest unmounted within macOS.
1) To prevent partitions from mounting automatically we are going to add their UUIDs to a list via Terminal. First, connect the drives and mount the partitions which you do not want to mount automatically in future.
2) Next, launch Terminal (found in /Applications/Utilities, or with Spotlight). At the prompt, paste the command:
diskutil info /Volumes/"Volume Name" | grep 'Volume UUID'
Replace “Volume Name” with the name of the partition you want to stop from mounting, making sure to retain the speech marks if your volume name contains spaces or punctuation.
It will return a string titled “Volume UUID”.
3) Copy this long string and paste it somewhere, then repeat the command for all the other partition names you want, pasting their UUIDs somewhere safe too.

4) Once this is done, in Terminal, type:
sudo vifs
5) Enter your administrator password when prompted. An empty editable document will then appear in the Terminal window. Press the “A” key to bring up the cursor and, using the “Down Arrow” key and a final press of the “Enter” key, navigate down the document to below the lines marked with the # symbol, and above the lines marked with the ~ symbol.
Now copy and paste the following line into the document:
UUID=XXXXXXXX-XXXX-XXXX-XXXX-XXXXXXXXXXXX none hfs rw,noauto
Replace the string of Xs with your own UUID which you noted earlier. Add any further partitions on the lines below, repeating the entire phrase but changing the Xs each time.
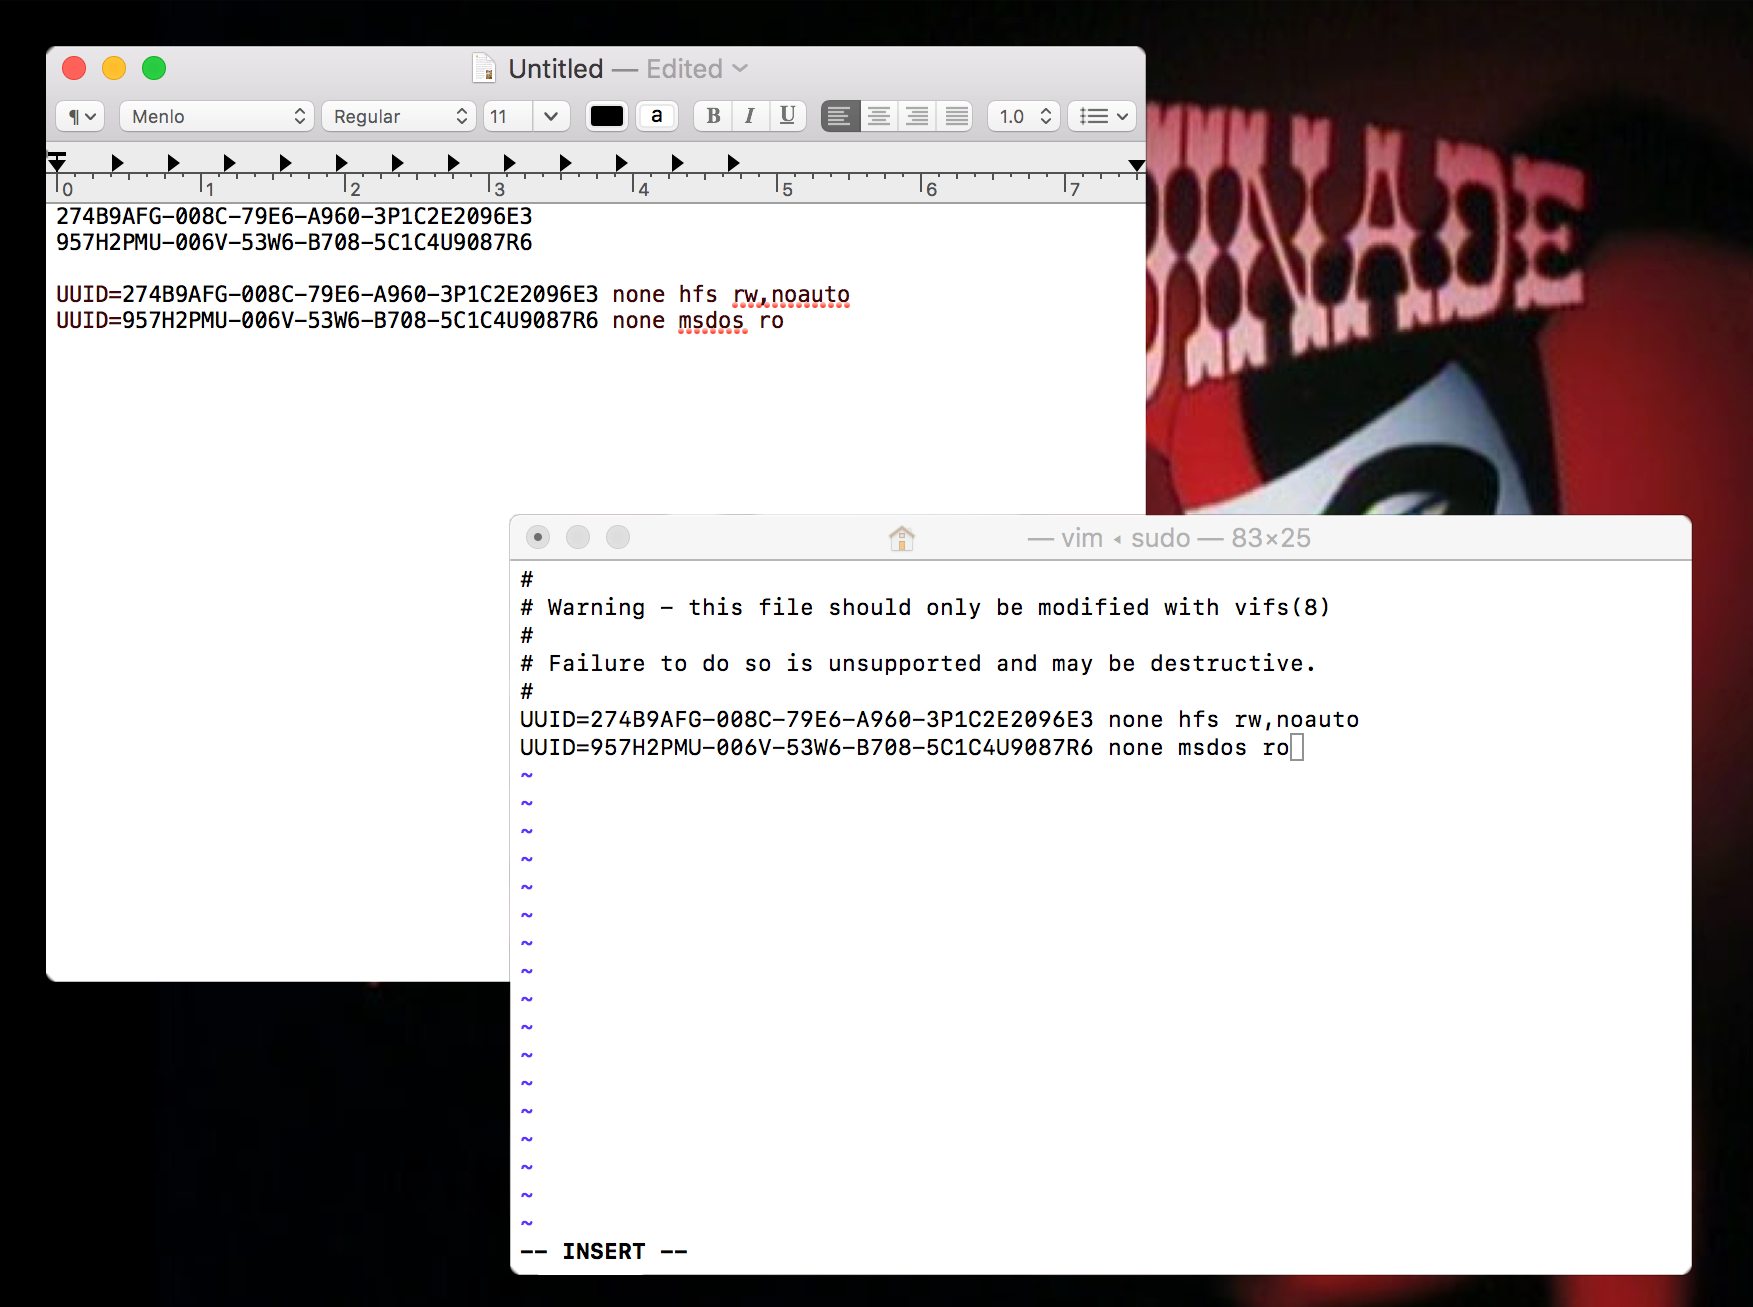
6) When you’ve finished, press the “esc” key to exit cursor mode, then type “:x” and hit the “Enter” key to save your changes and exit the document.
After a reboot, logout/login, or disconnect/reconnect of the drives, the partitions you have added to the document should not automatically mount. If you wish to mount those partitions in future, you can use Disk Utility or Terminal to do it manually.
In order to reverse the changes described here you can remove the UUIDs of your drives from the /etc/fstab file which we added them to, using a similar process as before. First, open Terminal and issue the “sudo vifs” command. Enter your password to view /etc/fstab with your list of drives inside. Press “A” to enter edit mode, navigate down to your inserted lines with the “Down Arrow” key, and use the “Delete” or “Backspace” key to remove as many of them as you like. When finished, press “esc” to leave edit mode, then type “:x” and press the “Enter” key to save changes and exit the editor.
This method will work with normal, RAID, encrypted and CoreStorage partitions. The command given in this guide assumes the partition in question is formatted jhfs+ (Mac OS Extended Journaled), and that you wish it to be read-write on mount. Most macOS partitions are formatted in this way, but you can check the formatting of your drive in the Disk Utility application if you are unsure. If your partitions are set up differently, you must edit the command accordingly.
For example, if you did want the partition to mount automatically, but wanted it to be mounted as read-only instead of read-write, you could remove the phrase “noauto”, and replace “rw” with “ro”.
To set a partition that is formatted as FAT to not automatically mount, replace “hfs” in the above command with “msdos”.
Other file type commands are available, look up the ones you need if they are not mentioned here. I have verified this guide as working from OS X 10.7 – macOS 10.12.
As a final note, many guides suggest using this command to edit the file:
sudo nano /etc/fstab
Although I have used this command myself and it works well, it is not recommended by Apple as completely safe. As detailed, Apple recommends always using the “vifs” tool instead.
Please let me know if you found this useful below, or if you have any questions or problems regarding the process. Happy mounting!