In this tutorial, we will show you how to zoom your Mac screen, irrespective of the app you are in, to make sure you can see the content easily.

There may be scenarios where you can’t see something on your Mac’s screen very well, and having the ability to zoom in just a little bit closer to get a better look at something might be very useful.
Fortunately, macOS comes with built-in zoom features that can be enabled by the user. It works to let you zoom the desktop, System Settings screen, and pretty much everything.
Enable Zoom
- Open System Settings on your Mac and select Accessibility.
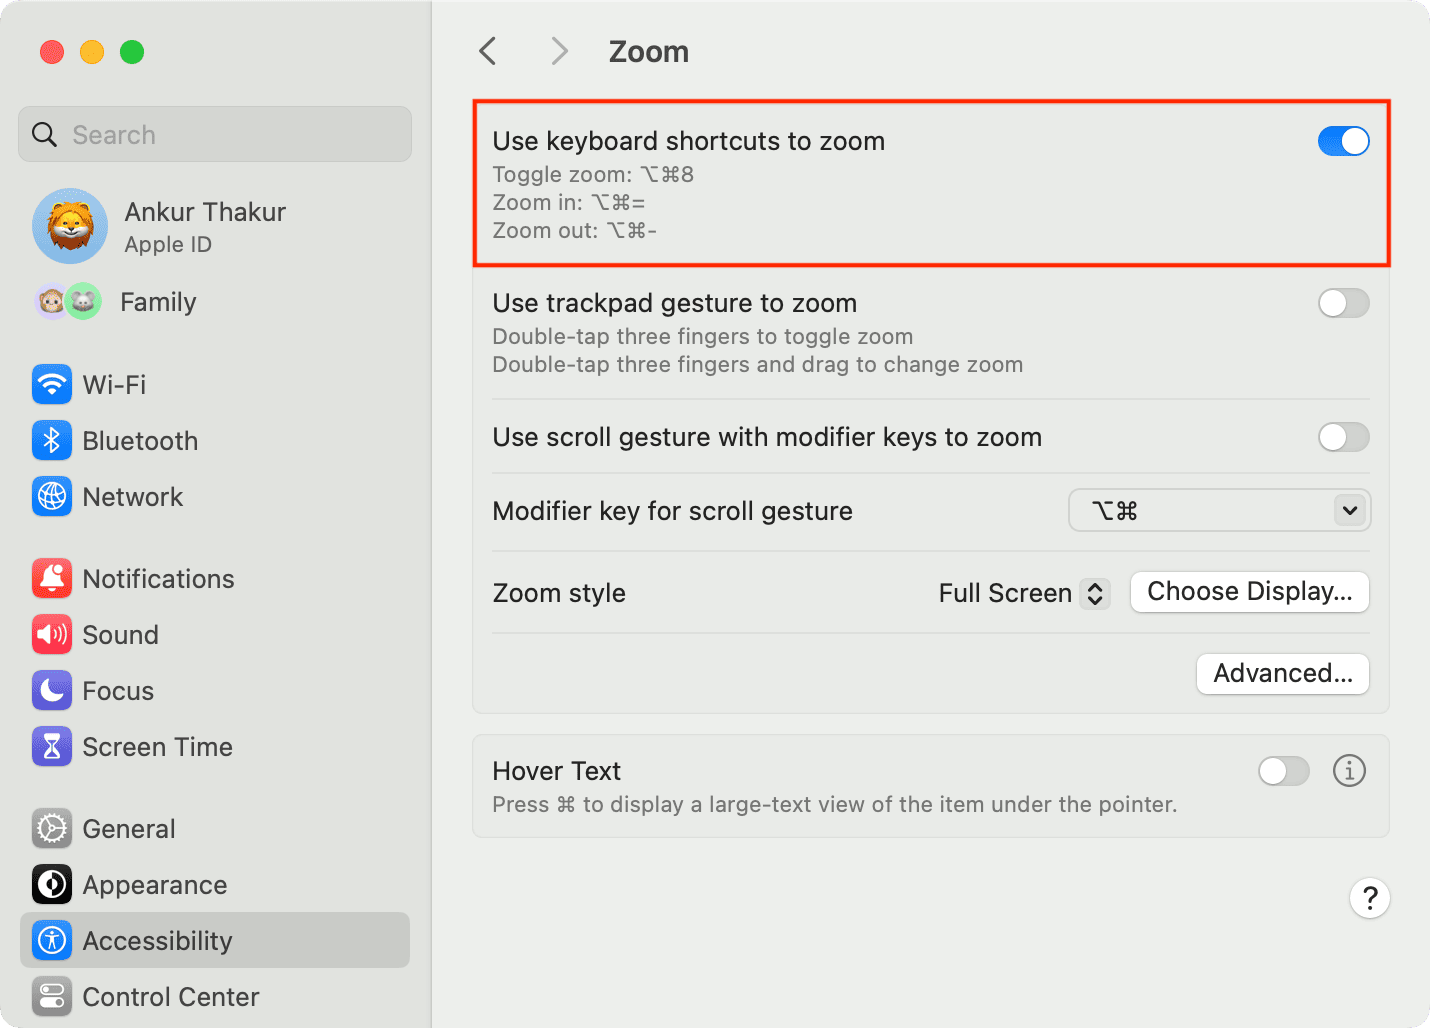
- Click Zoom.
- Turn on the switch next to “Use keyboard shortcuts to zoom.”
Use Zoom
There are a number of keyboard shortcuts you can use to play with Zoom on your Mac. We’d suggest trying it out first on some kind of image on the web. Some of the keyboard shortcuts you’ll want to familiarize yourself with are:
- Toggle zoom on and off: Option + Command + 8
- Zoom in: Option + Command + =
- Zoom out: Option + Command + –
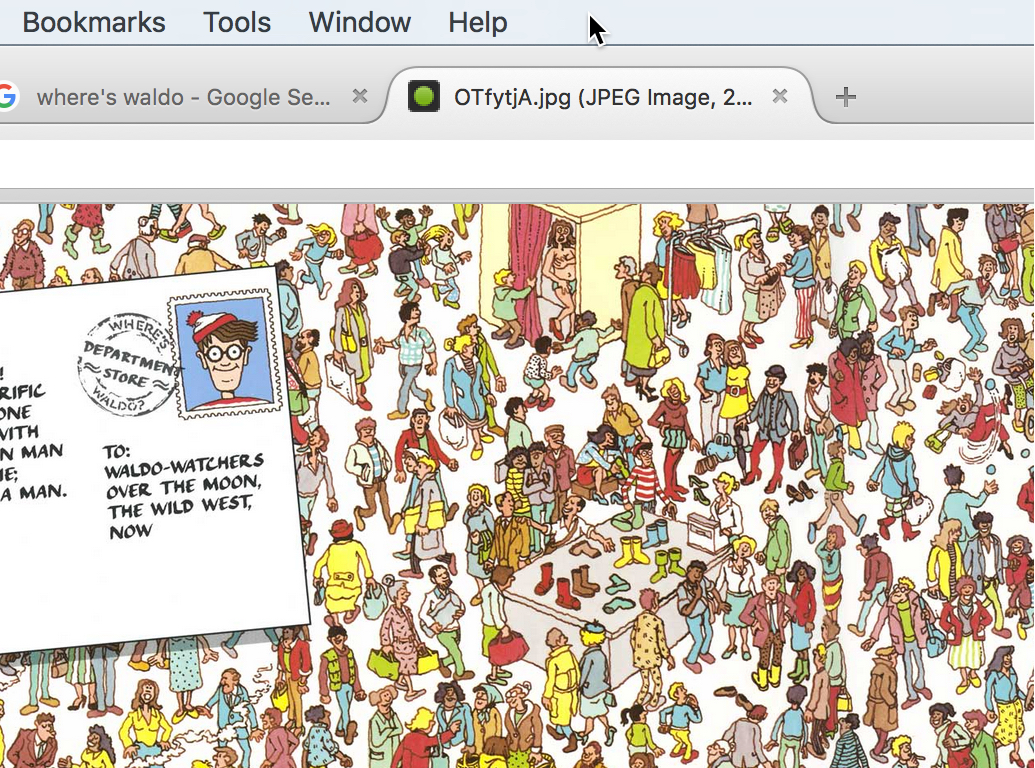
For laughs, I chose to test the Zoom feature on a Where’s Waldo image I found on Google, and I zoomed right into where I found Waldo.
There is also more than one Zoom mode in macOS, and while I used fullscreen mode in the example above, which essentially just blows everything on on your entire Mac display, there’s also a picture-in-picture mode that works more like a magnifying glass, like this.

No matter which Zoom method you prefer, both will get you a closer look at anything you want to lay your eyes on without having to move your head any closer to your Mac’s display.
Adjust Zoom settings
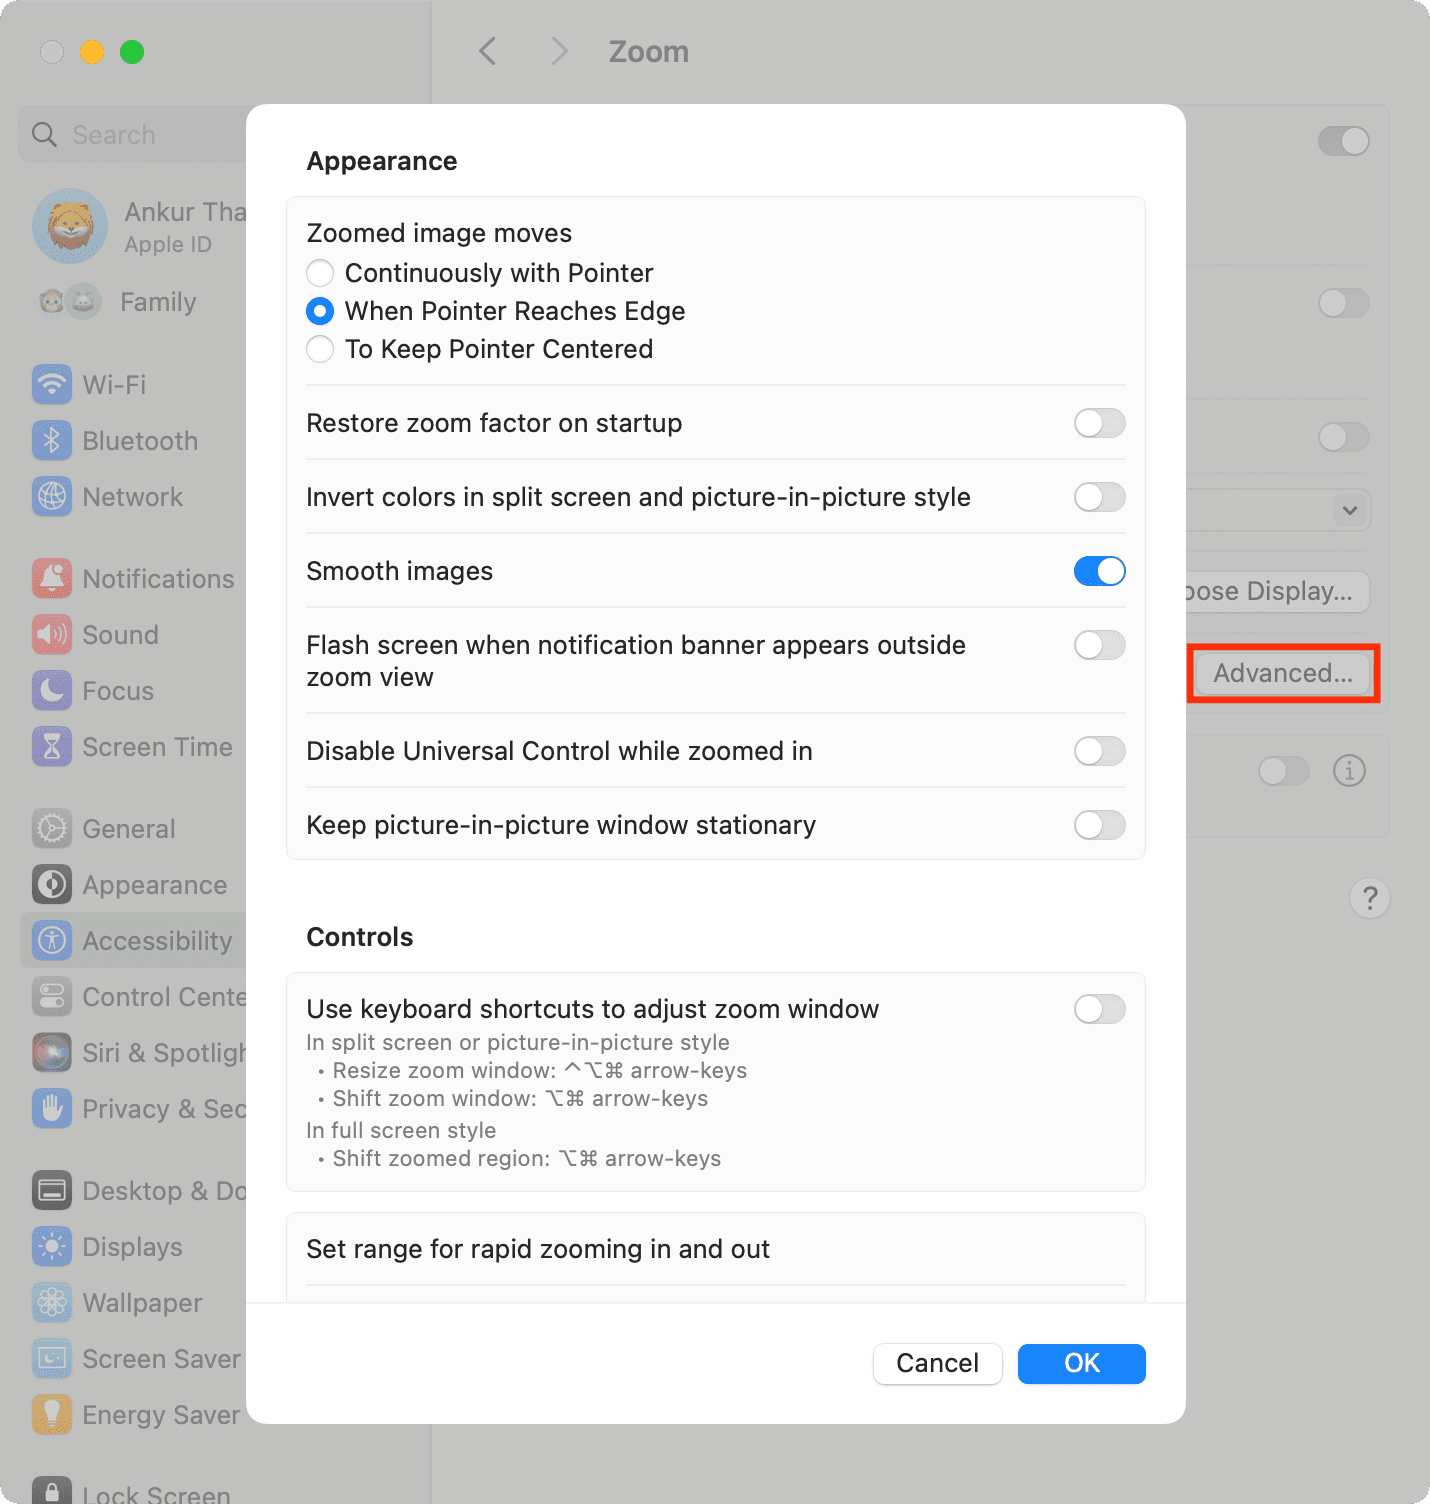
Head back to System Settings > Accessibility > Zoom and make adjustments here. For instance, you can use a trackpad gesture to zoom, pick a Zoom style (Full Screen, Split Screen, Picture in Picture), and much more. Additionally, you can also click the Advanced button to check out a ton of other options for using Zoom.
Do you use Zoom on your Mac?
Check out next: