Many of us still have the same email address associated with our Apple ID that we made years and years ago when we got our first device. We use it to sign into each and every one of our devices when we buy one new from the store or restore an existing one to factory settings.
On the other hand, times change. Sometimes you may get new email addresses, and sometimes you want to use something new to log in with rather than your high school email address. Perhaps you’ve made one that is a little more professional looking and seek to use it instead.
Apple provides a way to change your Apple ID email address so you can use something different to sign into everything you use. In this tutorial, we’ll show you how that’s done.
Changing your Apple ID email address
I’ll admit, I wasn’t very happy with my original Apple ID sign-in email. I thought it was cool at the time, but I grew out of it pretty fast; call it a phase. Soon after, I wanted to change my Apple ID to something a little more… professional.
I’m sure I can’t be the only person in that boat, so I’ll be showing you how you can change your Apple ID sign-in email in this tutorial.
To change your Apple ID sign-in email, these are the steps you should follow:
1) Sign out of your Apple ID everywhere. Yes, that’s right; everywhere. This includes your iOS devices, your Macs, your iTunes accounts, App Store accounts, and anywhere else you can think of where you might be signed in.
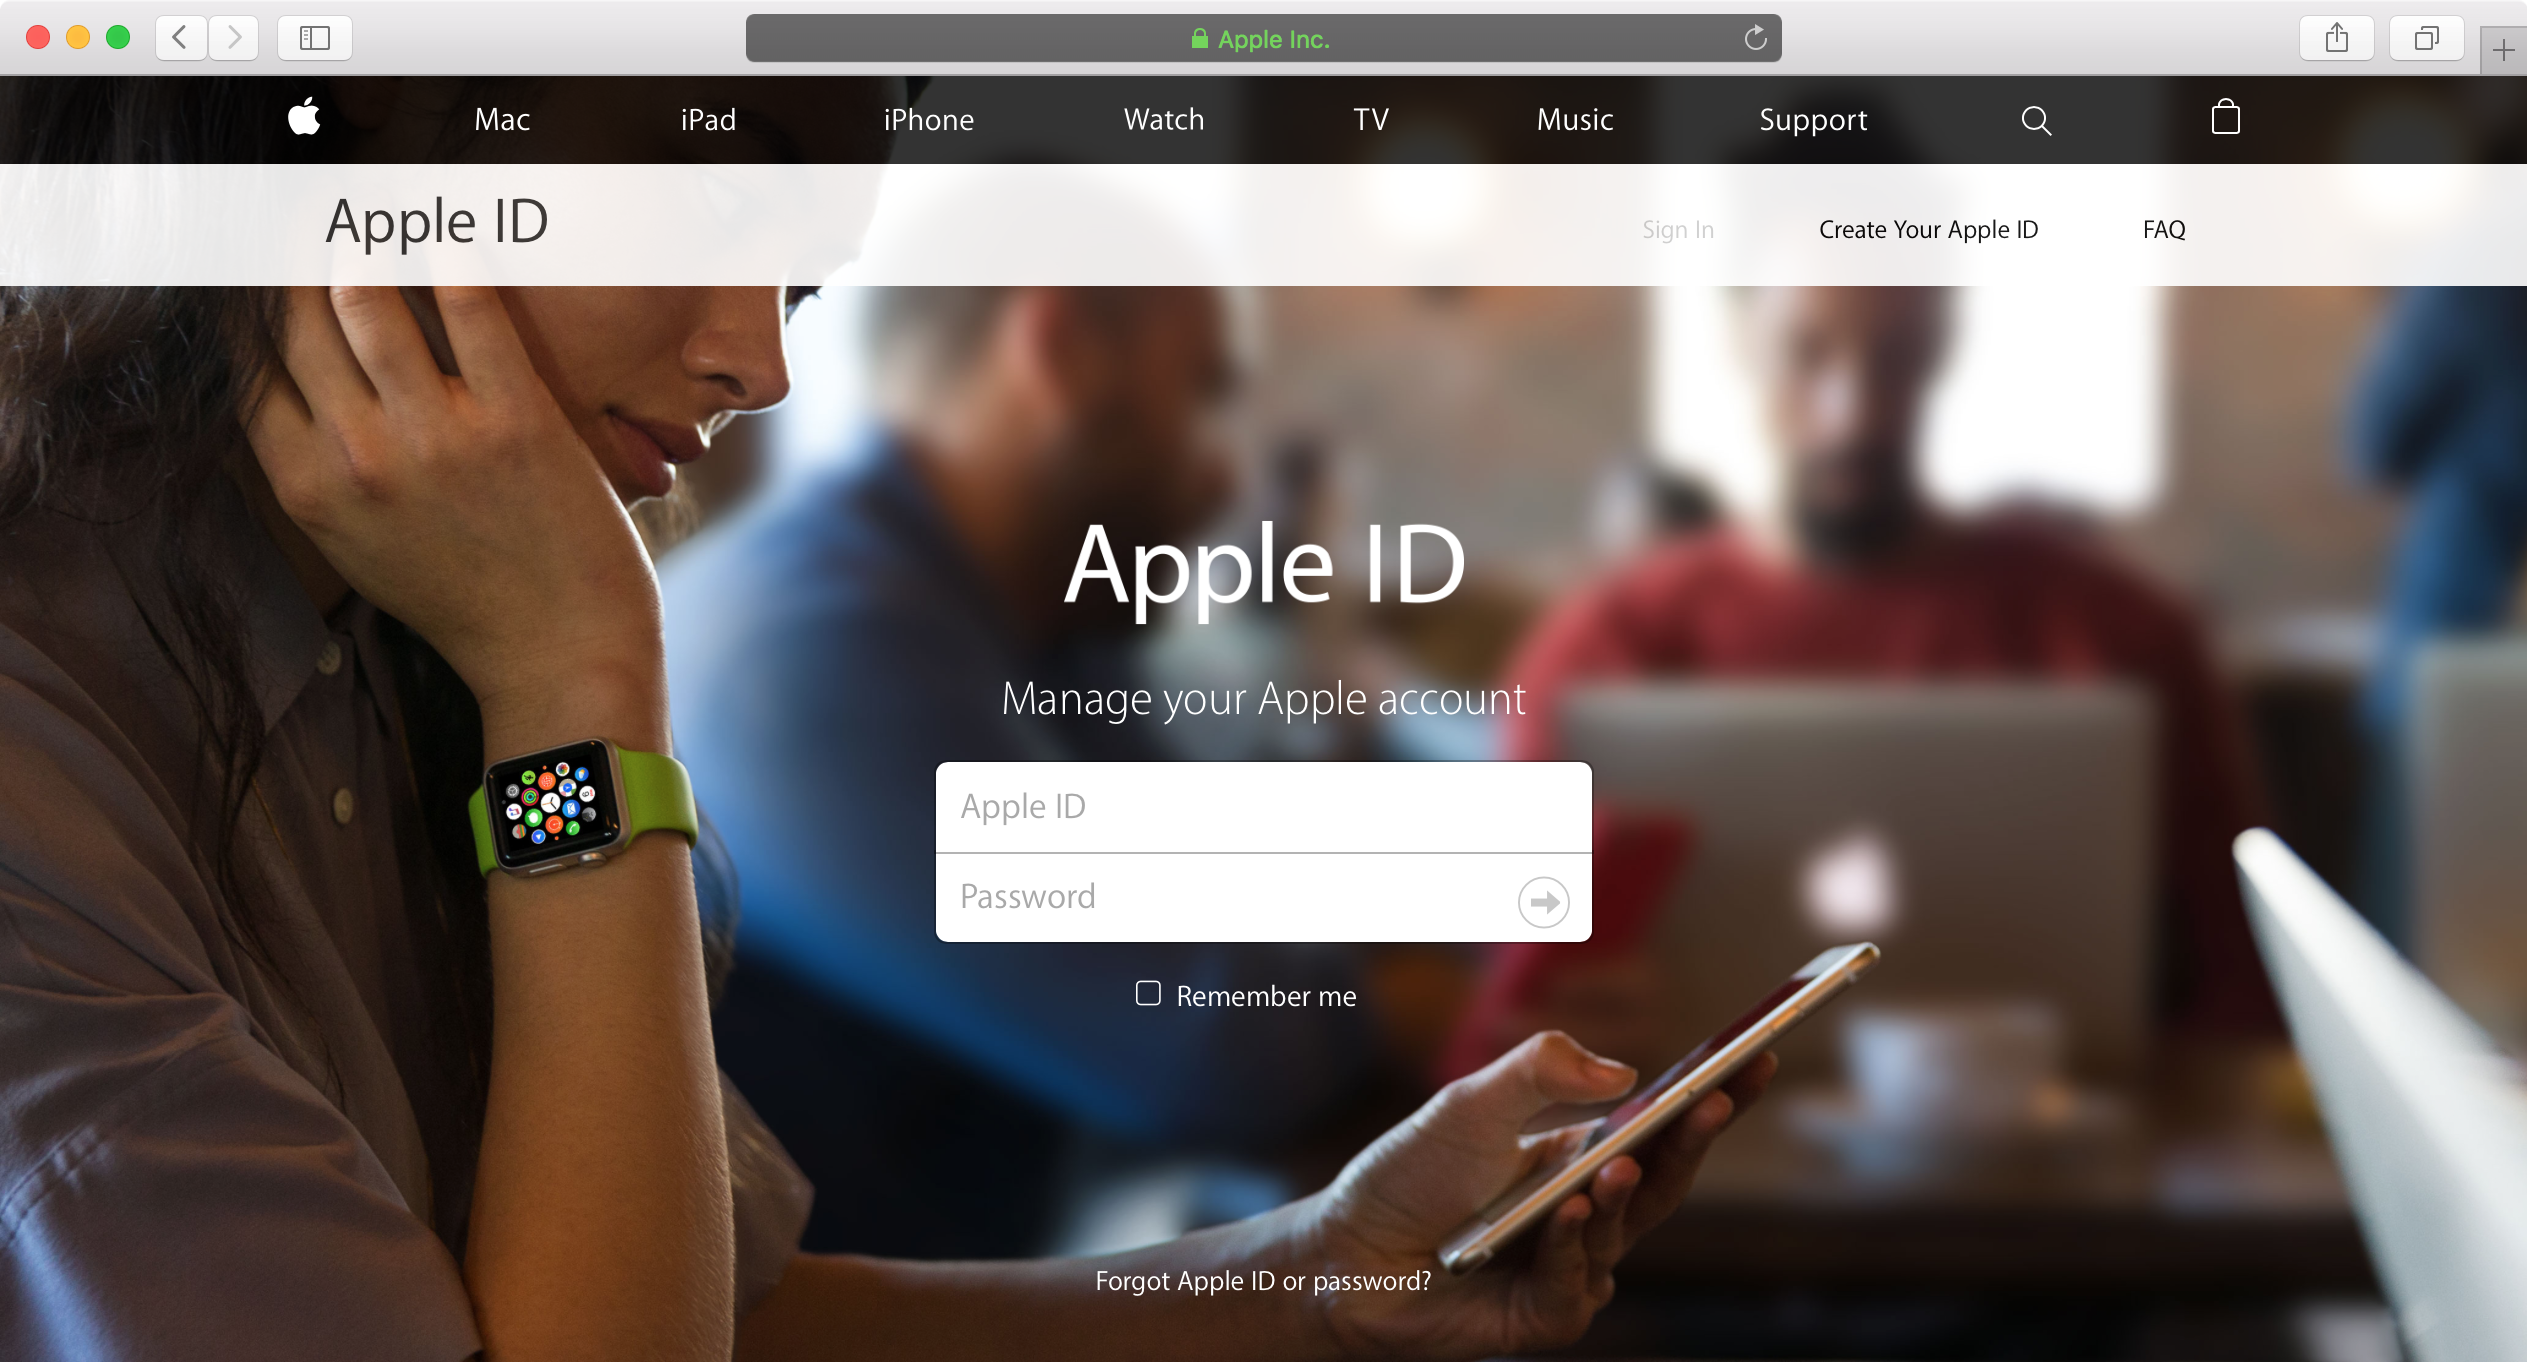
2) Next, visit the Apple ID sign-in page. You’ll sign in with your current Apple ID information here, so go ahead and do that.
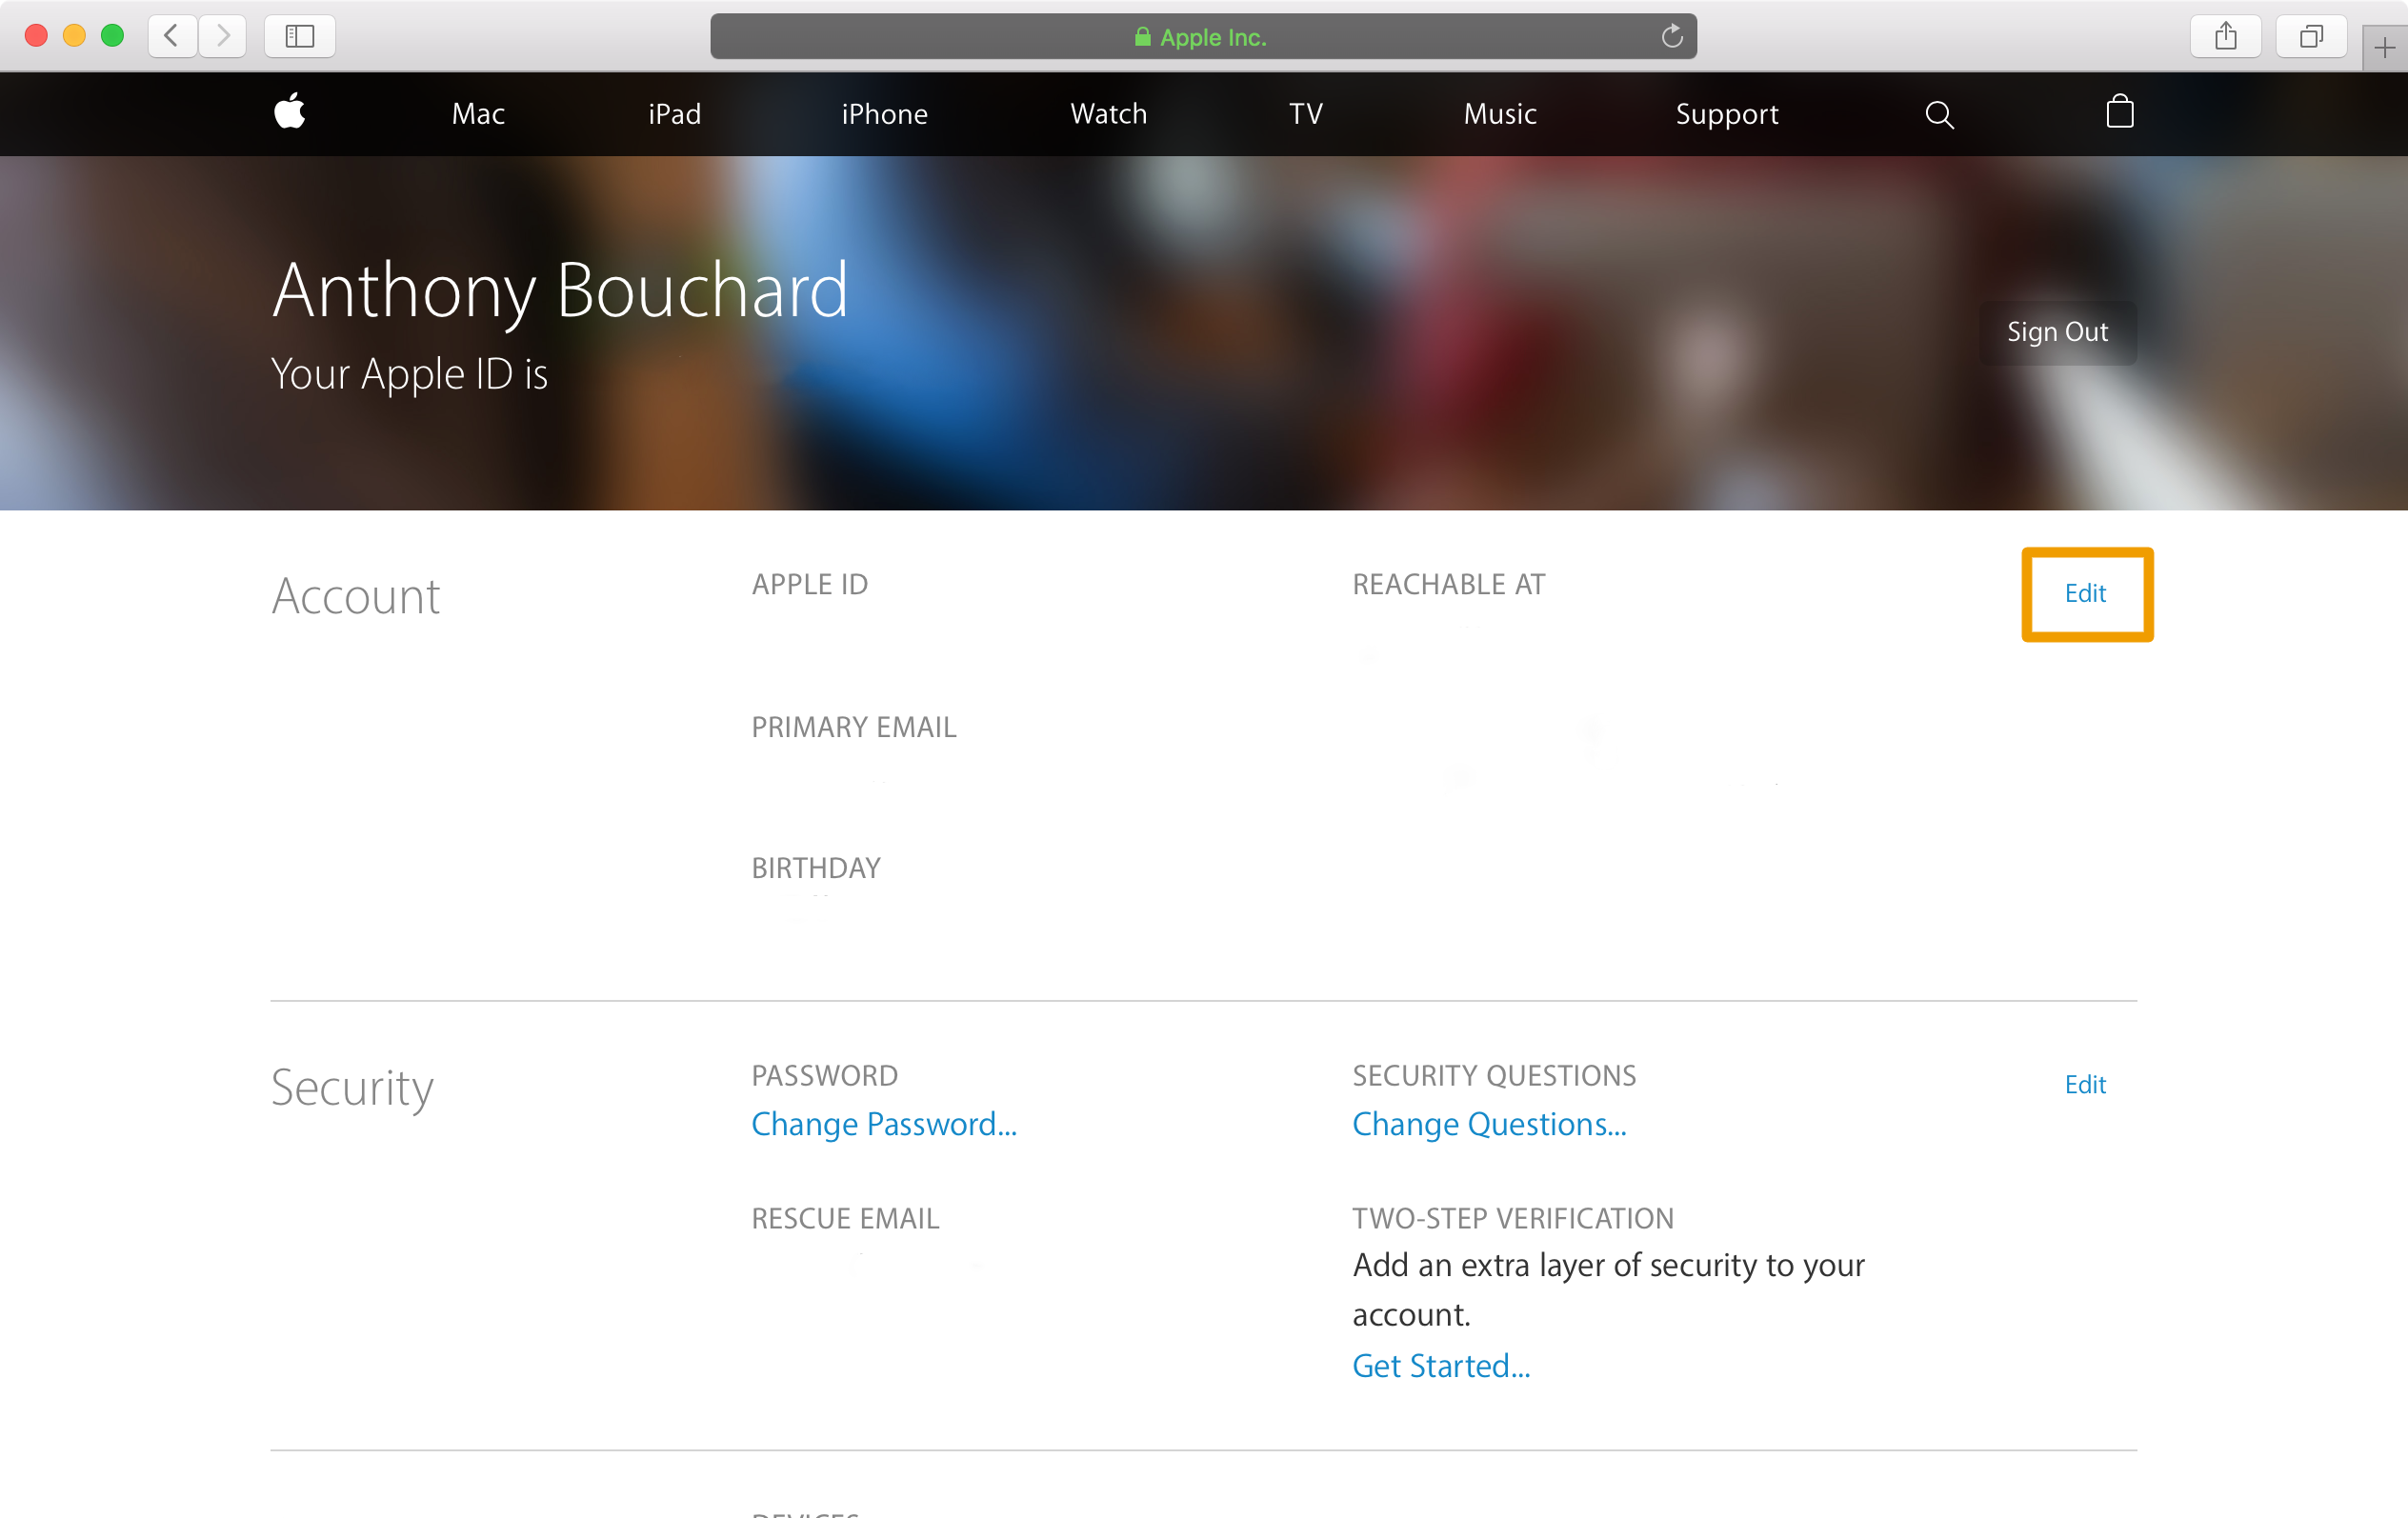
3) This will bring you to a page with all of your Apple ID account information. Under the Account section, go ahead and click on the Edit button on the right side of the page.
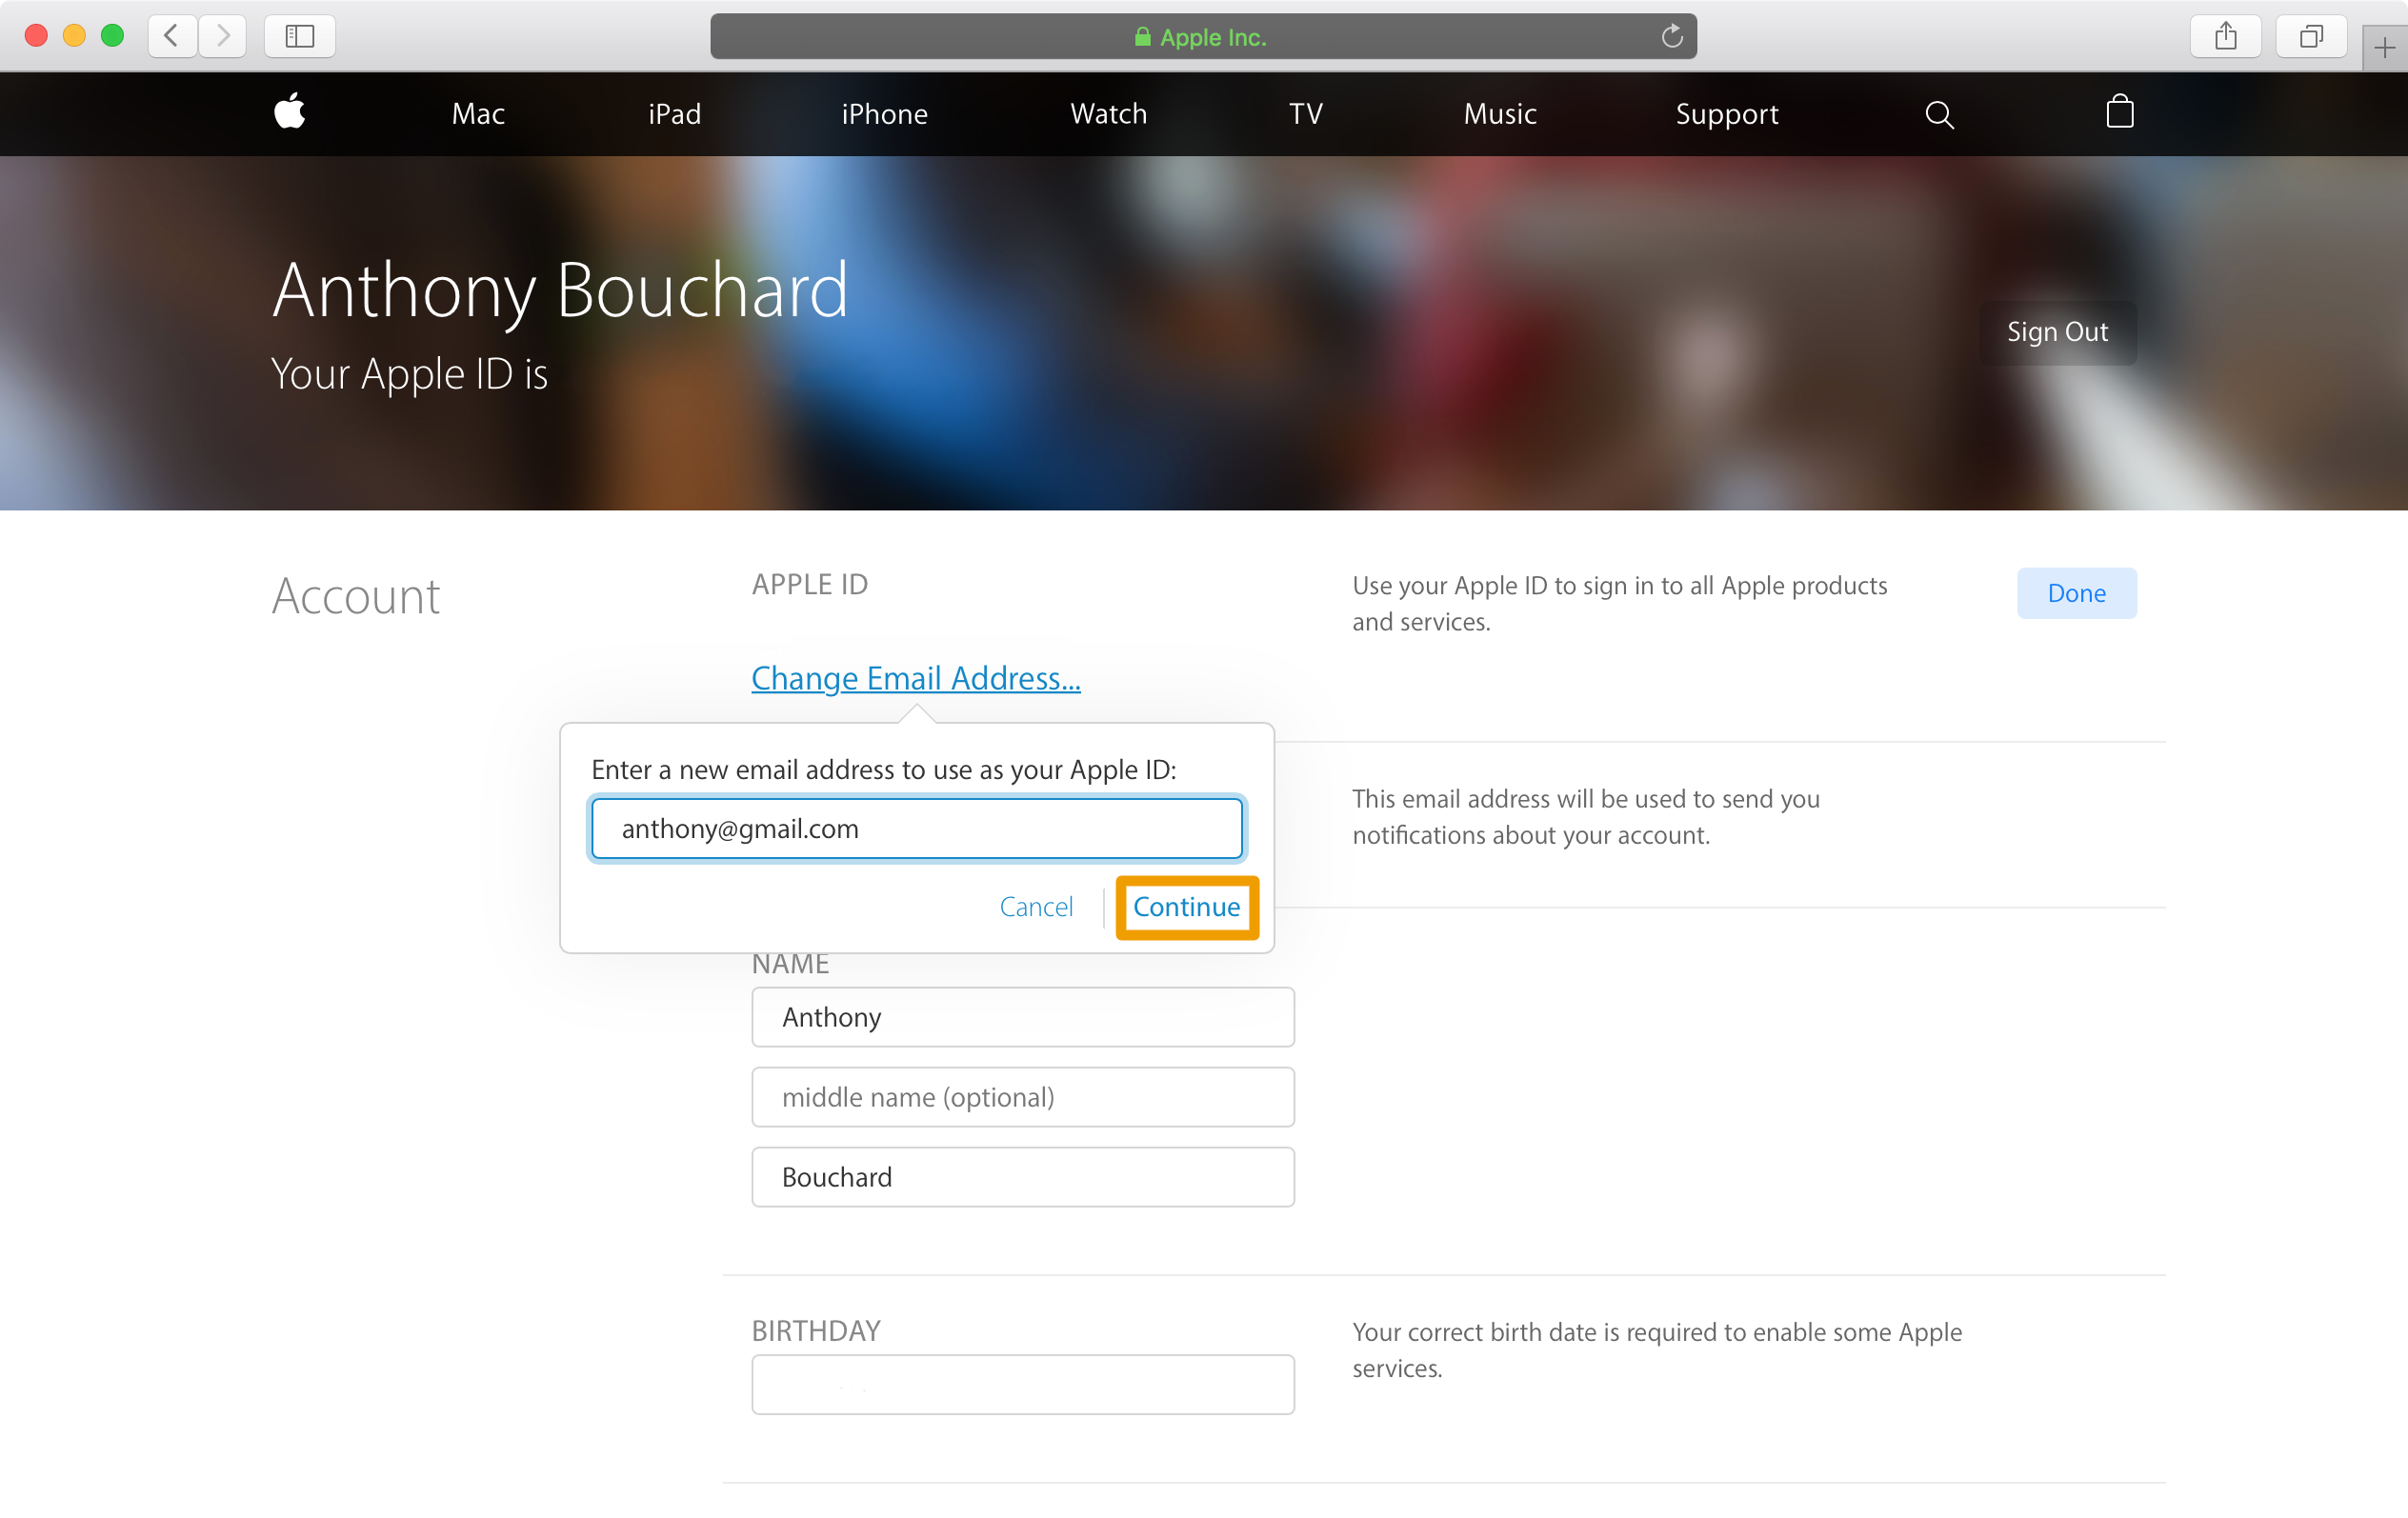
4) The next page provides you with text fields for editing your account information. You’ll be clicking on the Change Email Address button.

5) A pop-up appears with a field for you to enter a new email address to use with your Apple ID. Enter the email you want to use and click on the Continue button.
6) A verification code will now be sent to the email address you just entered. Check your inbox (and your spam folder) to look for the verification code. You’ll use this to verify with Apple that you’re you, and you’ll copy and paste it into the Apple ID reset form to complete the Apple ID change.
7) Sign back into all your iOS devices and Macs with the new Apple ID.
That’s all there is to it! Now you can have a different email address associated with your Apple ID that you’ll use for signing into the App Store, iTunes Store, and the rest of your Apple services.
Please note that your Apple ID email is different from your iCloud email, and your iCloud email will stay the same after you change your Apple ID.
Wrapping up
Since you’re now aware of how to change your Apple ID, you can now change your embarrassing email to something better. This Apple ID email will be used to sign in across all of your Apple devices and services.
Related:
Are you going to change your Apple ID email any time soon? Share in the comments!