In this tutorial, we will share how you can get your Mac to speak selected text back to you, turning your computer into a personal reader that can help you absorb information more effectively, and even assist those with visual impairments.
Related: How to use text-to-speech on iPhone and iPad
Why have your Mac speak selected text
If you’re visually impaired or you’re trying to multitask, sometimes having your Mac speak a body of text out loud to you instead of you needing to read it can be helpful.
I particularly find it useful when I want to listen to something and type at the same time because rather than having to read and type at the same time, which involves looking back and forth, having the text read aloud to me lets me remain focused on my typing. I also use it when I want to know the pronunciation of a complex word.
I can see this being useful for anyone who can’t see well because when text is too small to make sense of, you can simply select it and press your hotkeys on the keyboard to have your Mac say it aloud. This will ensure you understand what you’re looking at, even if you have to listen to it instead.
How to make your Mac speak selected text
Here are three easy ways to do that.
1. Use the in-app Speech option
1) Open Safari, Notes, or an app where you have your text.
2) Select the text you want to be spoken. You can also press Command + A to select the entire chunk of words on a web page or note.
3) Right-click over the selected text and choose Speech > Start Speaking.
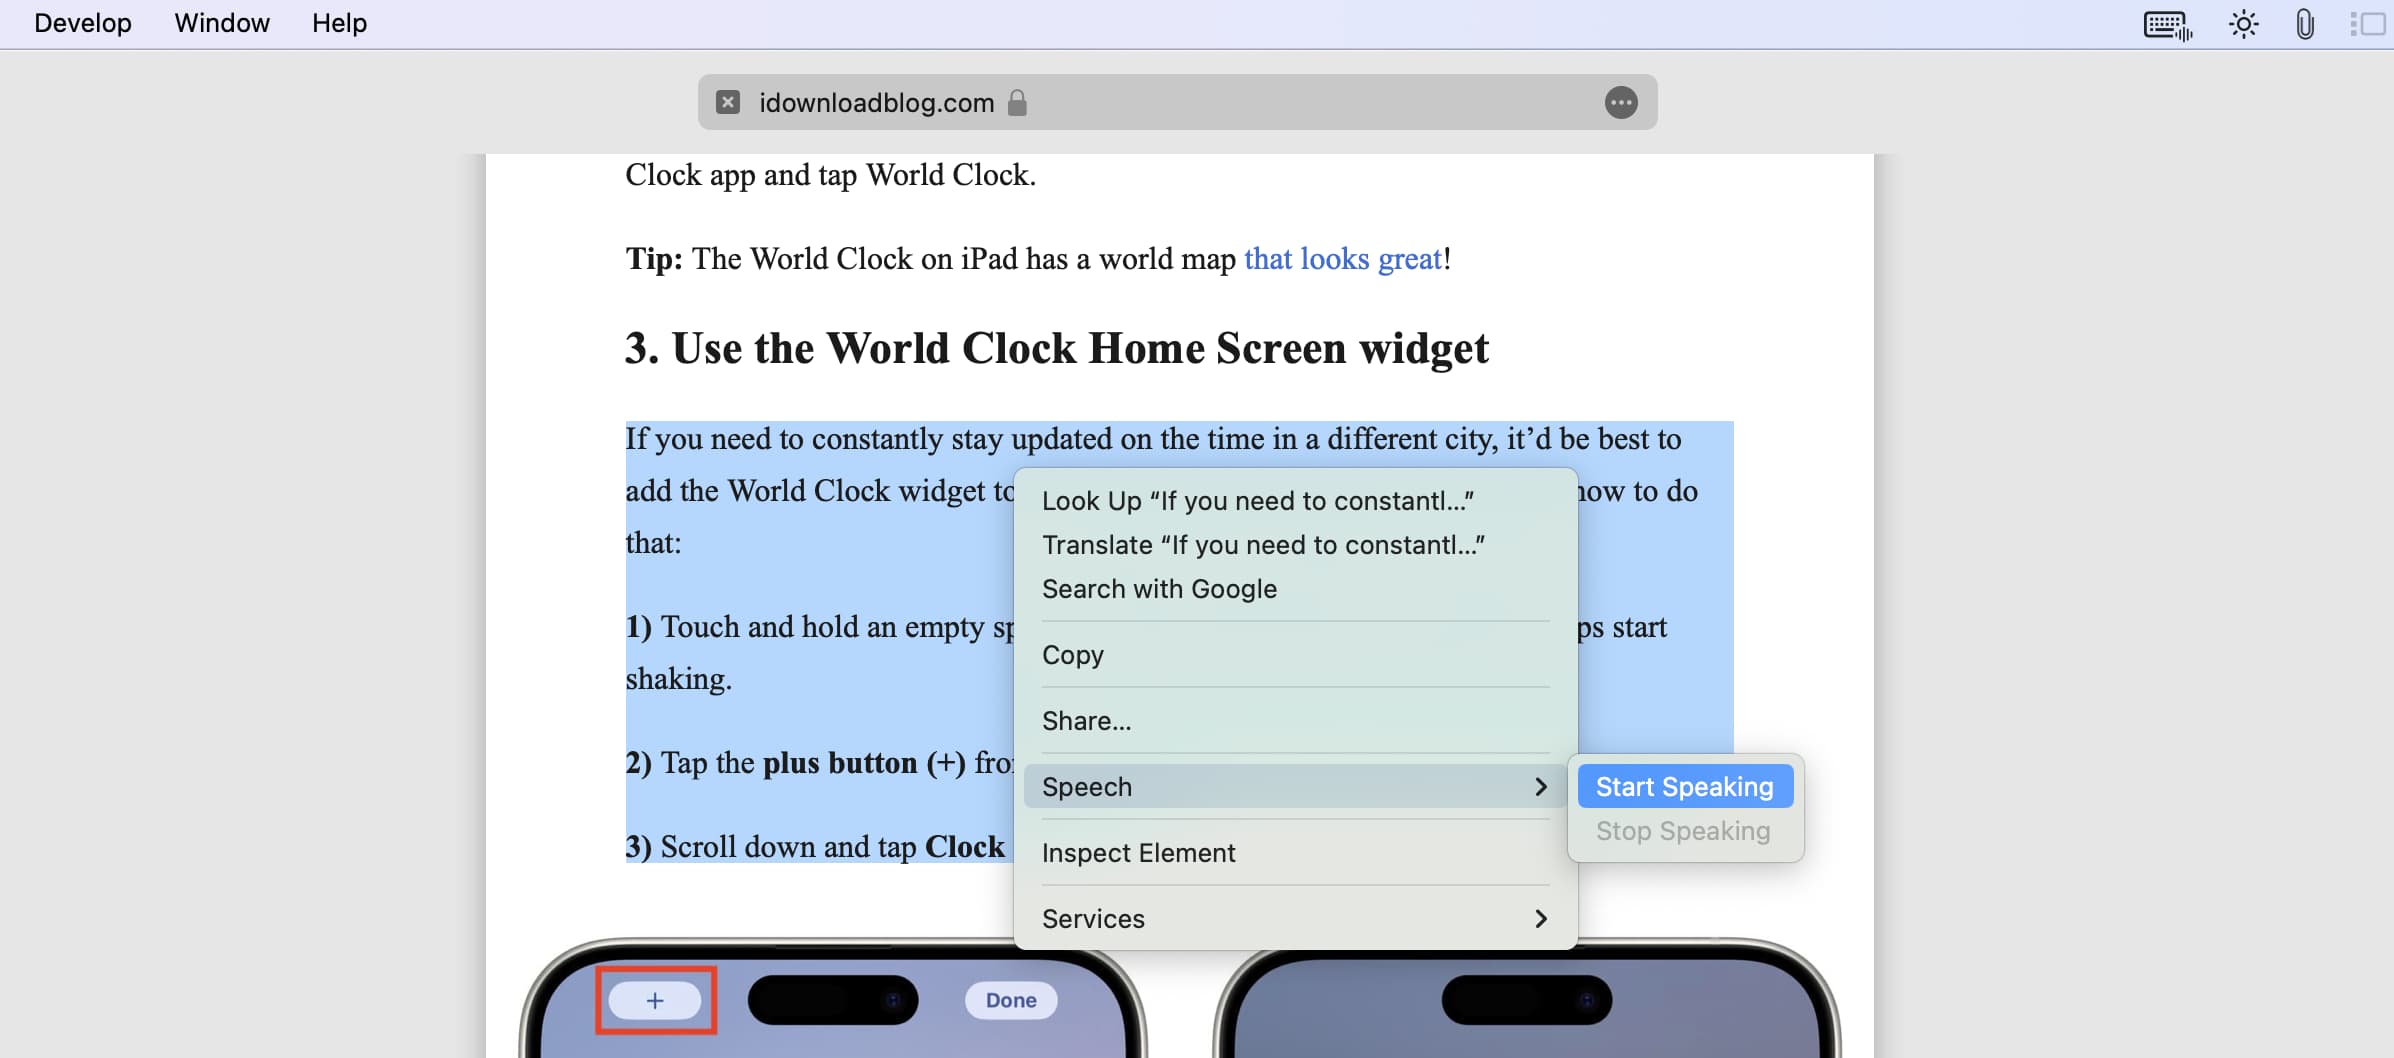
Your Mac will start speaking the selected text. However, using this right-click method has the major disadvantage of not having play pause controls. So, the audio output will stop once the computer has finished speaking the entire selected text. Or, in apps like Safari, closing that web page tab may stop the system from speaking.
If you want better controls, use the second method mentioned below.
2. Use the Speak selection accessibility feature
1) Open Mac System Settings.
2) Go to Accessibility > Spoken Content.
3) Turn on the switch next to the Speak selection option.

4) Open Safari, Notes, or another app and select the text there.
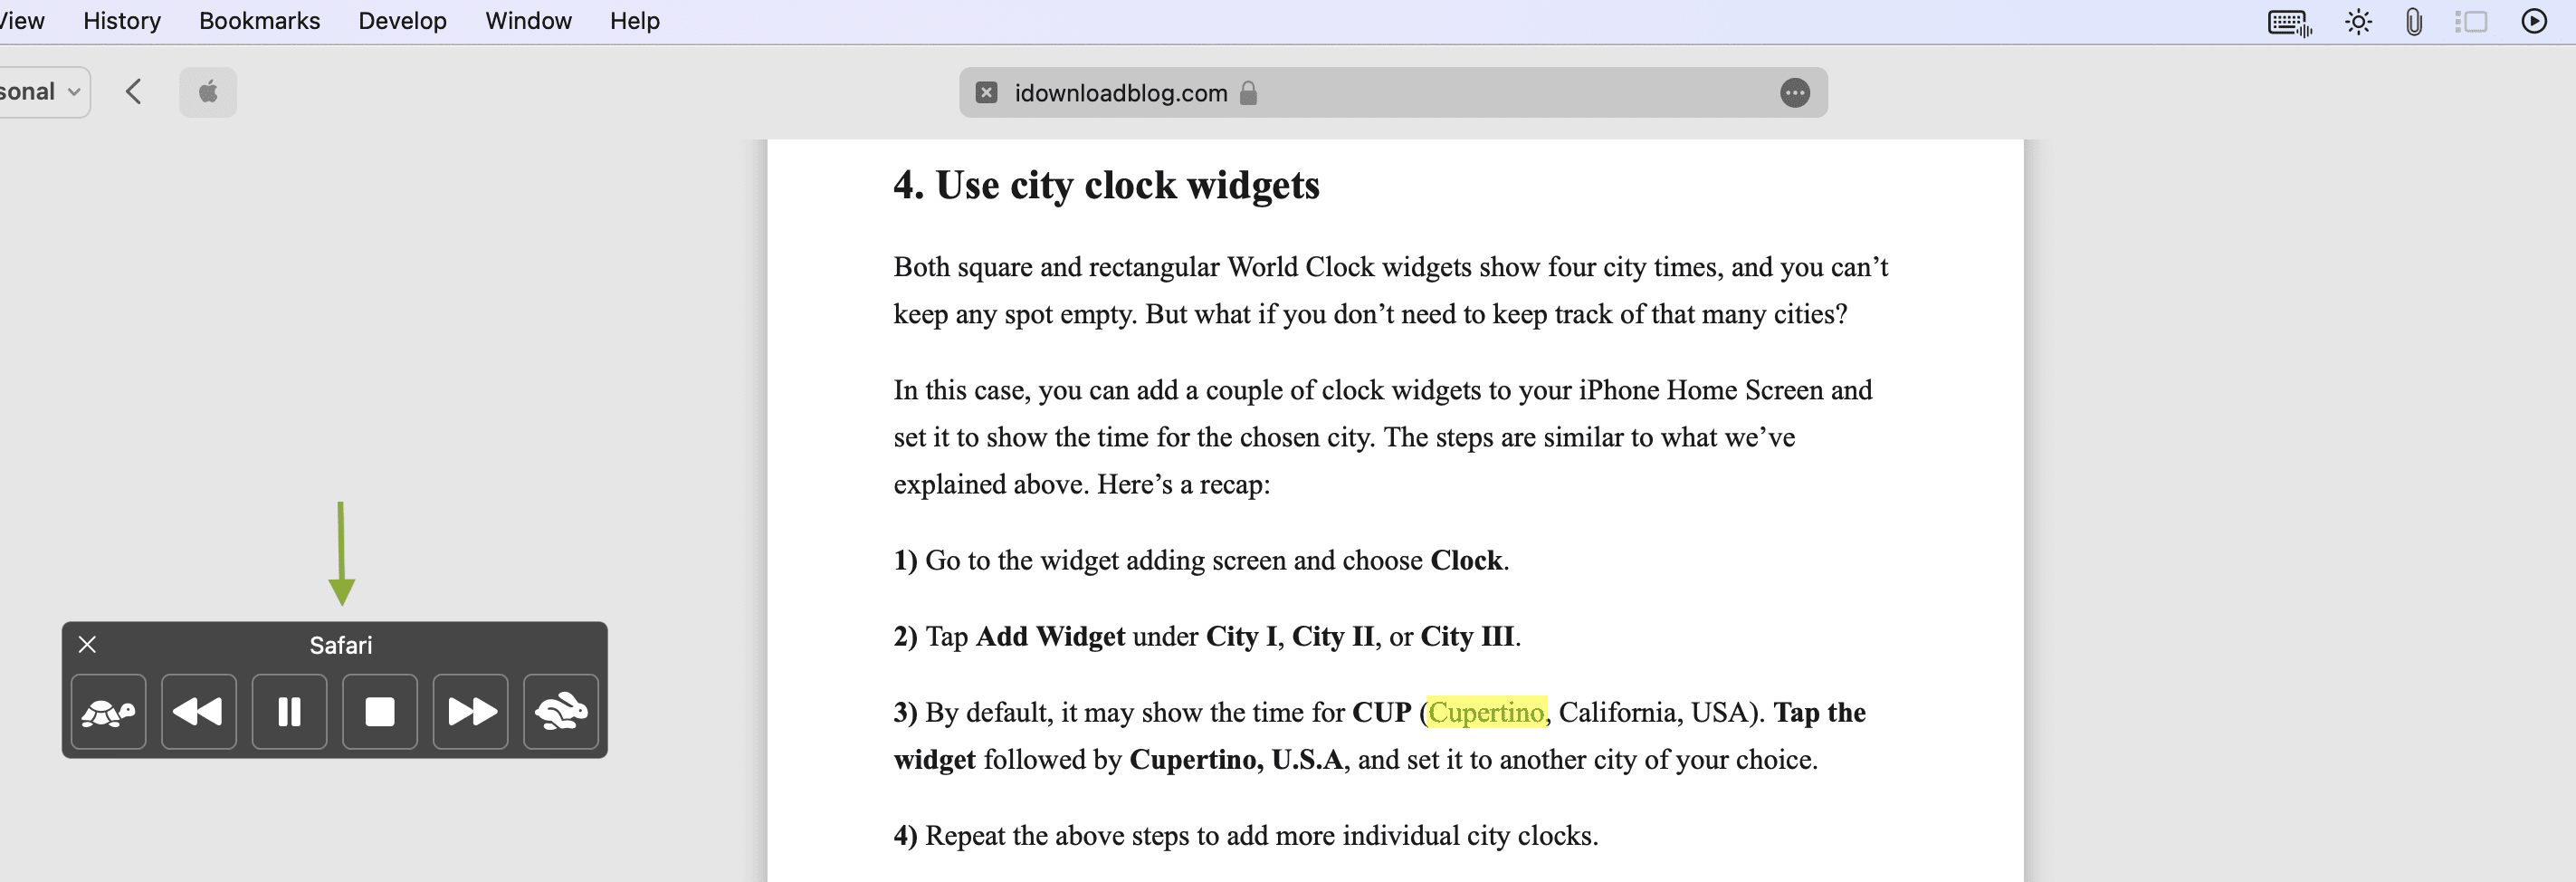
5) After selecting the text, press the Option + esc keys, and your Mac will start speaking the text. You will also see a useful floating control to pause, stop, skip, and change the speaking rate.
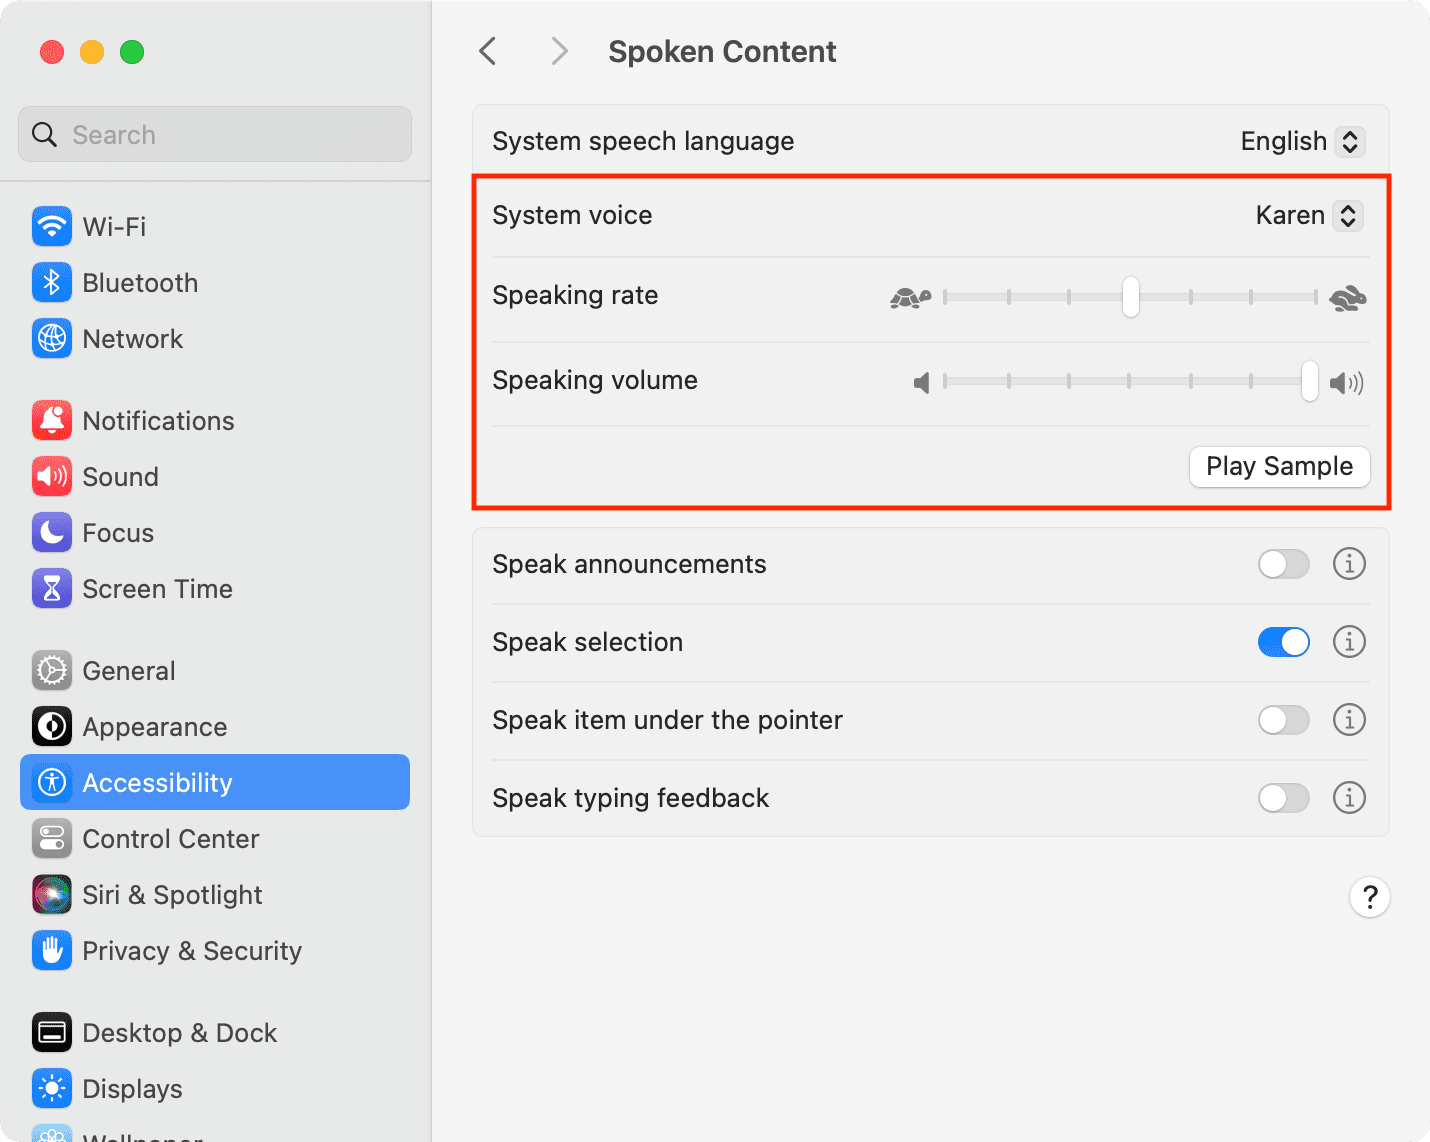
Change the voice: You can pick a different voice by going to System Settings > Accessibility > Spoken Content > System voice. Here, you can try out different voices and pick one that you like. From this screen, you can also adjust the speaking rate and volume.
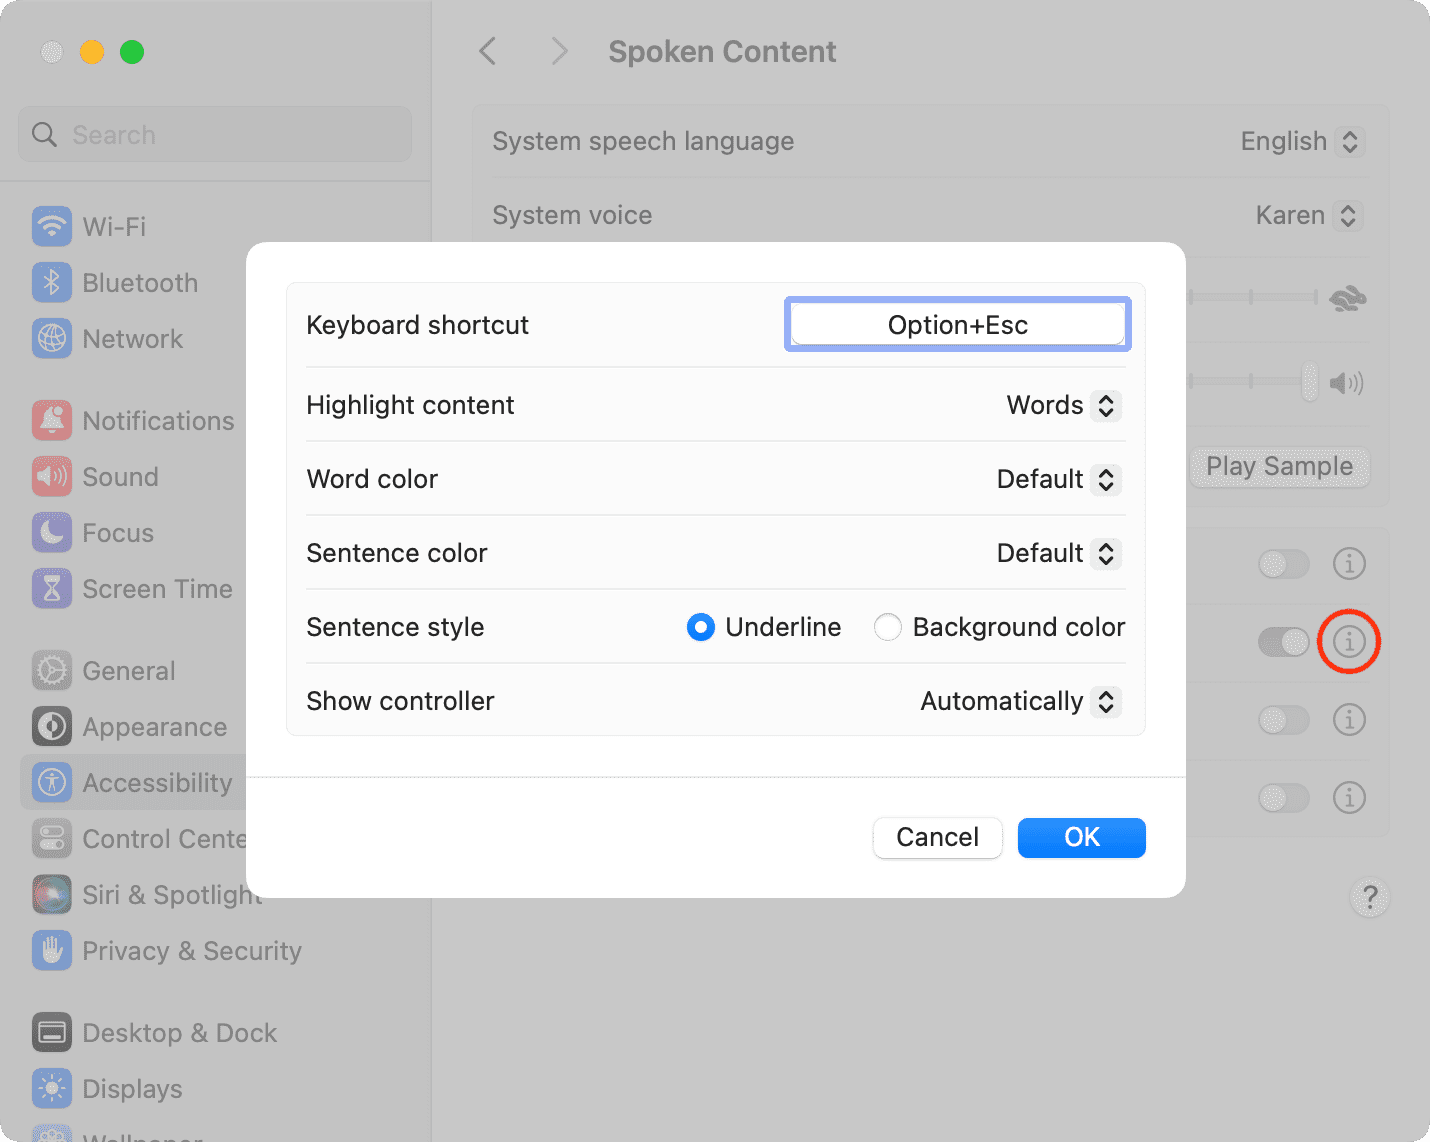
Change keyboard shortcut: Next, you can click the information icon ⓘ next to the Speak selection option to tweak the settings and make it suitable for your work. The default shortcut is pressing Option + Esc on your keyboard, but you can change it to anything else.
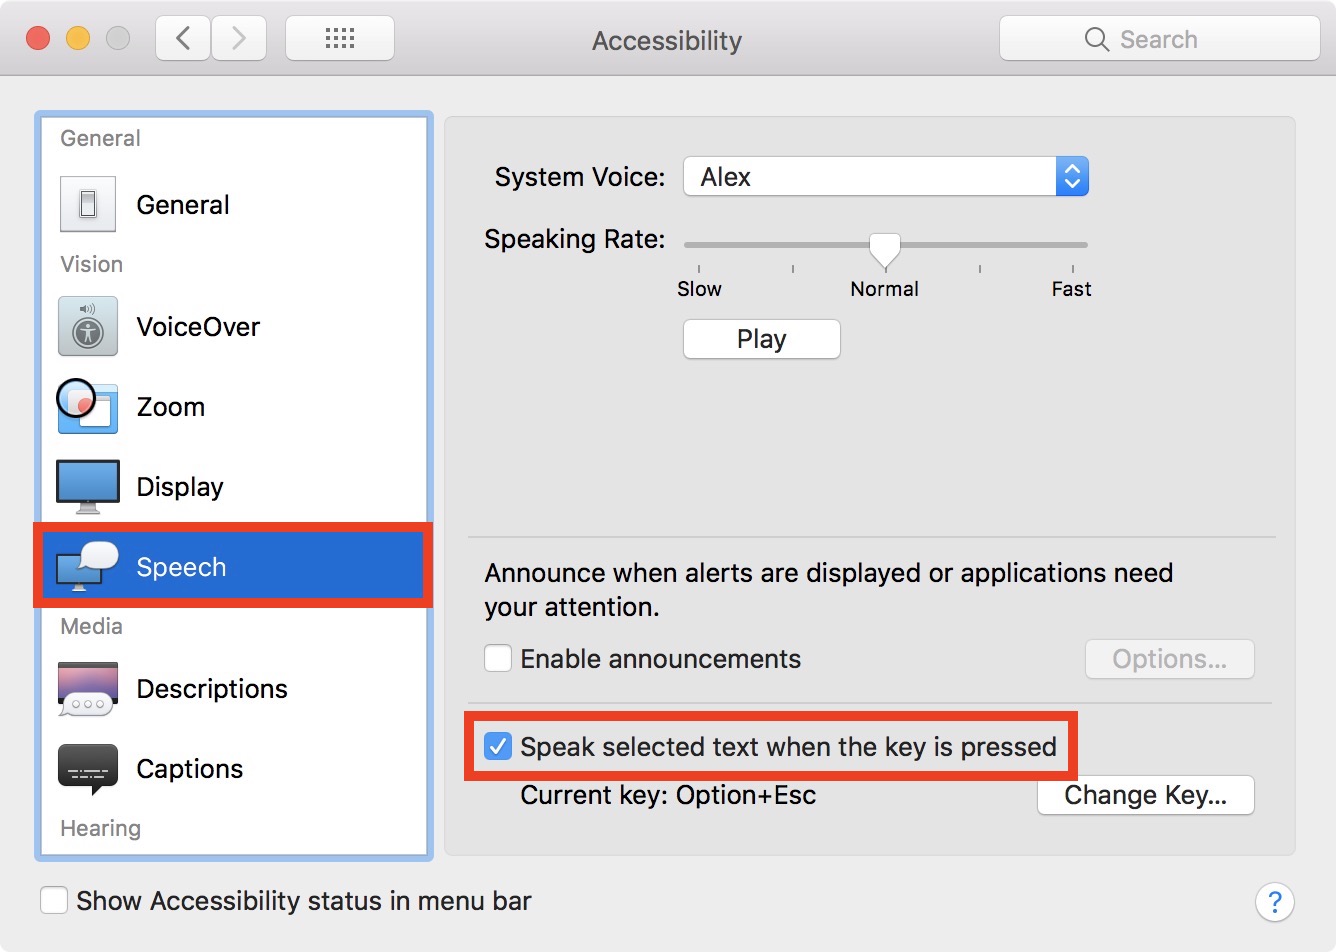
Are you on an older version of macOS? Go to System Preferences > Accessibility > Speech and ensure the Speak selected text when the key is pressed option is enabled. With this feature turned on, you can now use the keyboard shortcut whenever text is selected to have your Mac speak it aloud.
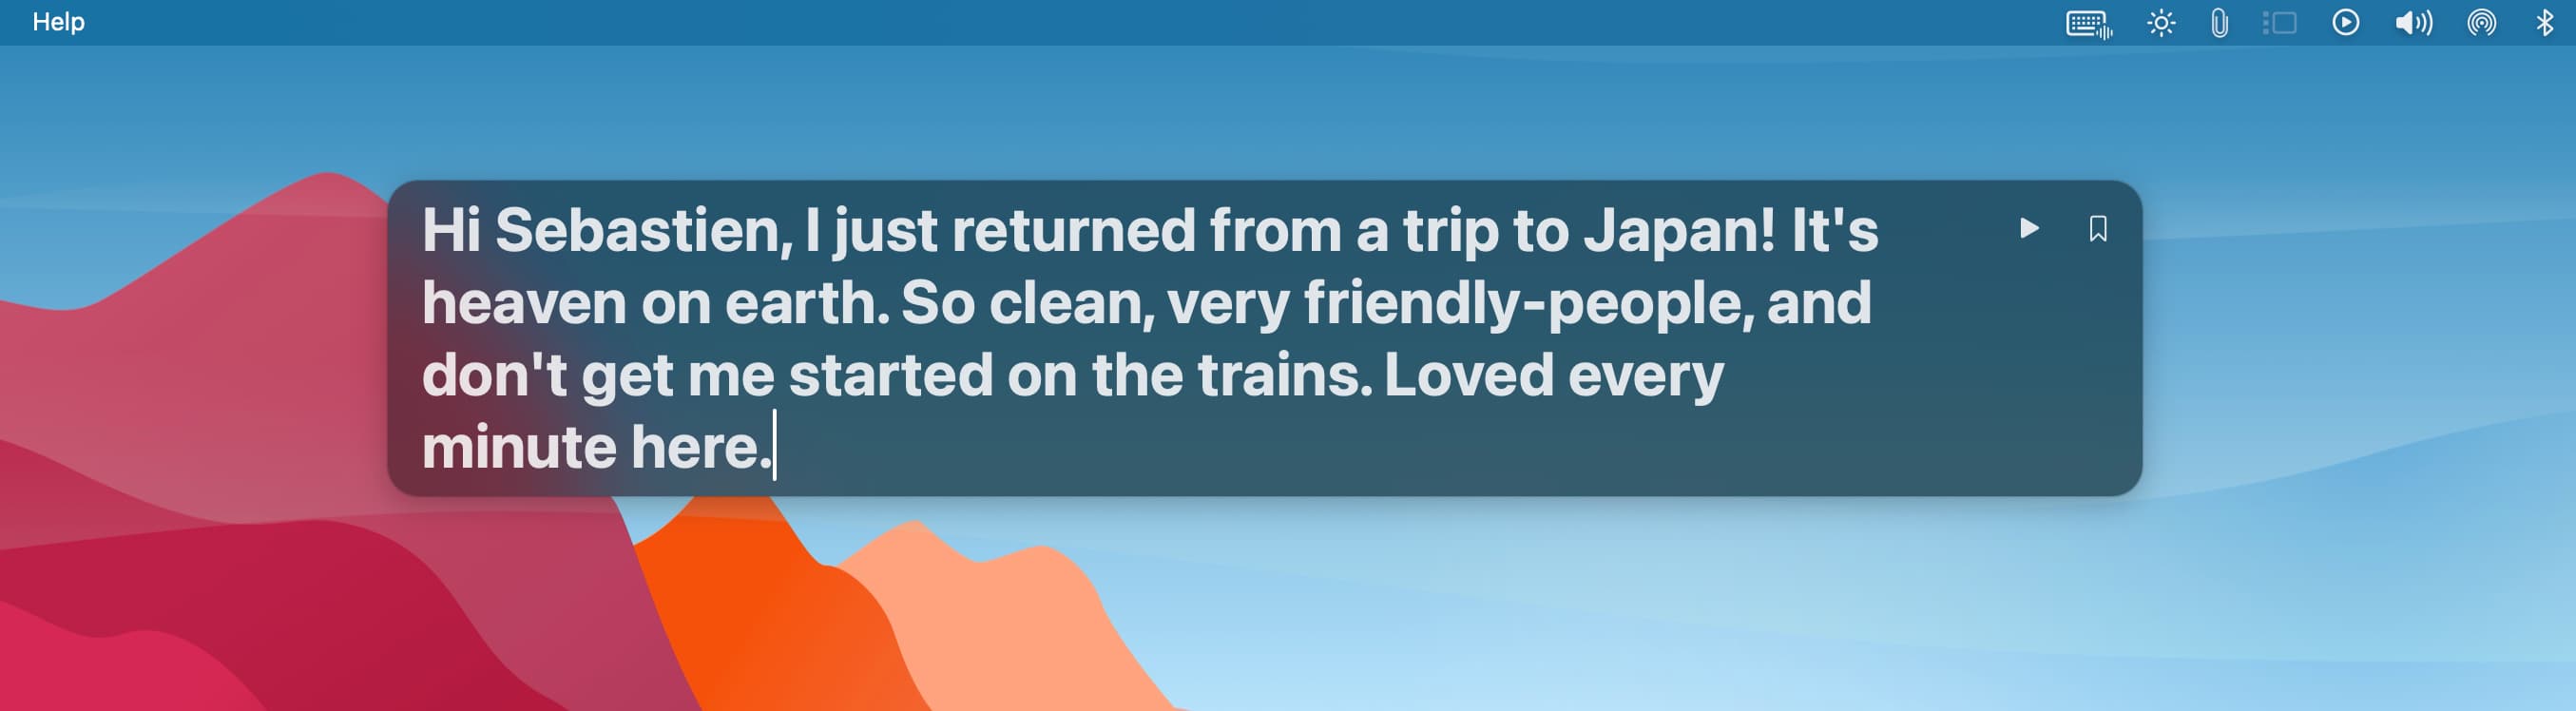
3. Use Live Speech
After you update your Mac to macOS Sonoma or later, you get access to the Live Speech accessibility feature. With this, you can enter desired words, sentences, or paragraphs in the Live Speech box, and your Mac will speak them out loud. This is useful for people who cannot speak at all or have difficulty speaking. Further, you can pair Live Speech with Personal Voice to make your computer speak in your voice!
On the same note: