Snapper is a recently released tweak that allows you to manually draw screenshots using your finger. It’s a bit difficult to explain without actually seeing it in action, but it allows you to “cut out” screenshots and pin them on the screen as you go about your business on your iPhone.
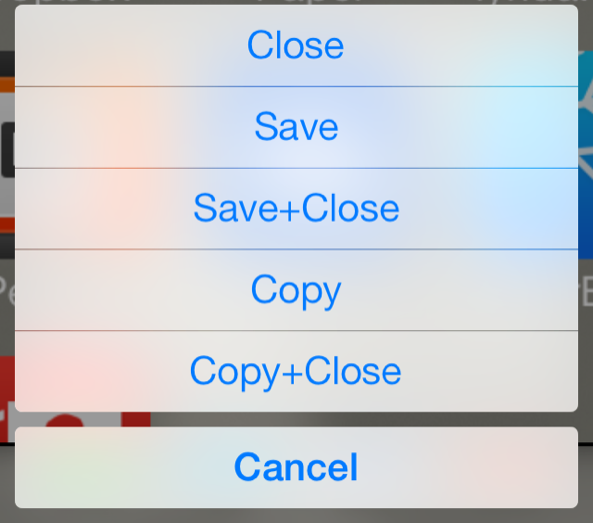
An Activator gesture needs to be assigned to Snapper in order to invoke the tweak. Once you cut out the screenshot, you can then tap and hold on it to bring up a screenshot management sheet. This sheet allows you to save the screenshot, close the screenshot, copy it, or use a combination of those commands.
To help better explain how Snapper works, we’ve created a video walkthrough. Have a look inside to learn more.
Once you have Snapper installed, you’ll need to go to the stock Settings app in order to find its preferences. Inside of the Snapper preferences, you’ll find a section for assigning an Activator gesture. You must assign an Activator gesture for Snapper to work. I prefer to use the double tap on the status bar gesture, but you can use whatever feels best to you.
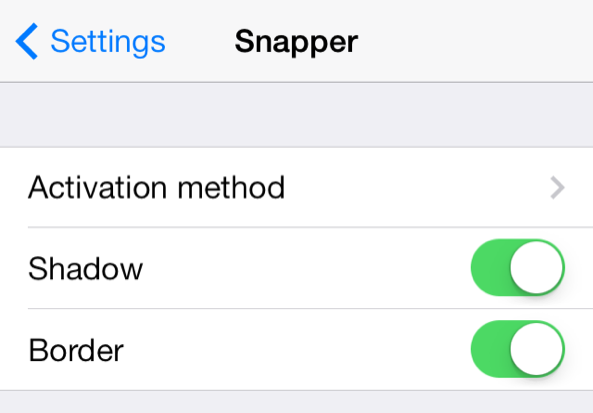
After the gesture is established, you can choose whether you’d like a shadow and/or border effect for your screenshots. In the screenshots on this post, I have both enabled, but again, this is something that will be up to your discretion.
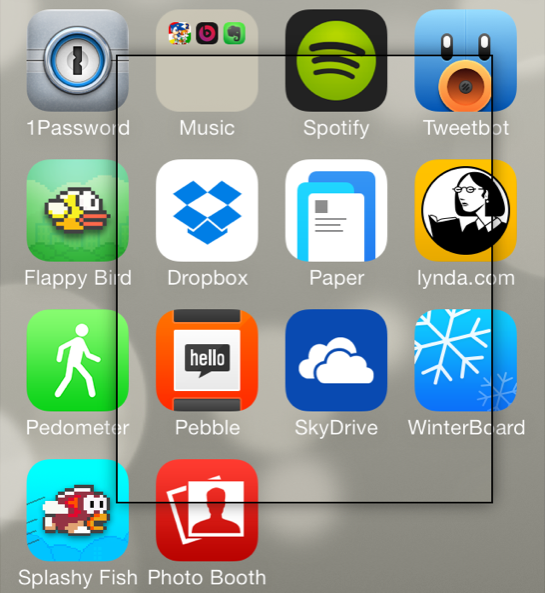
Once you have Snapper setup to your liking, it’s time to start taking some Snapper-ized screenshots. Invoke the tweak by using the Activator gesture you assigned, and you’ll notice the screen dim slightly. Draw on the screen with your finger to make a rectangular box. The area within this box, when you let go of your finger, will be the portion used to create the screenshot.
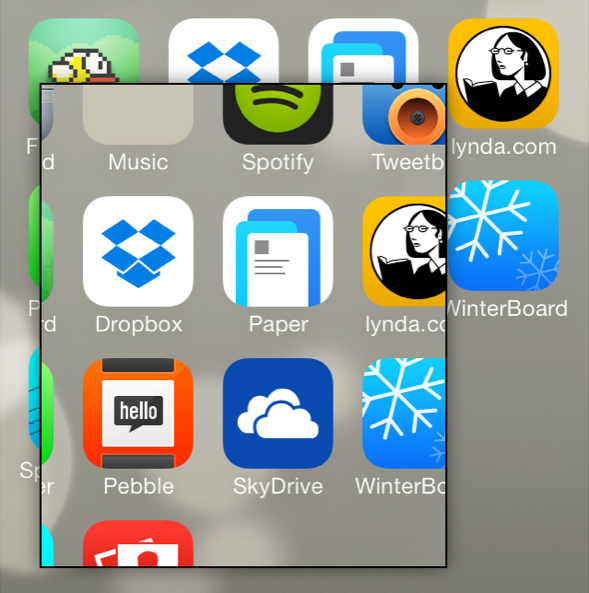
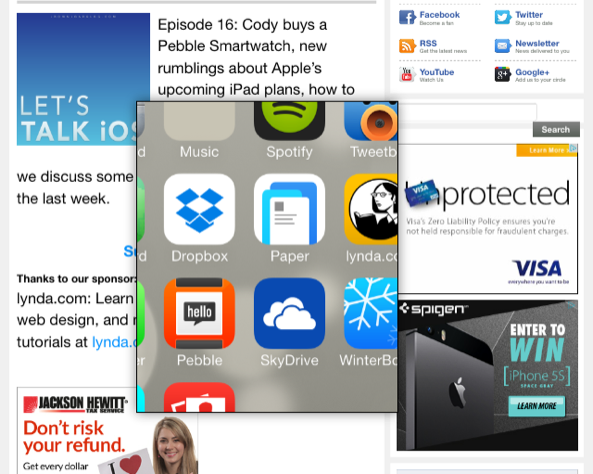
Once you let go of your finger, the screen will un-dim, and you’ll see your screenshot pinned to the screen. You can use your iPhone like normal with the screenshot pinned to the screen. You can resize the screenshot while it is pinned to your screen to gain more or less viewing area. The screenshot will stay pinned to your screen until you dismiss it by invoking Snapper again, or by tapping and holding on the screenshot and choosing one of the close options.
The options that appear when you tap and hold on the screenshot are Close, Save, Save+Close, Copy, and Copy+Close. Using one of the save options will save the screenshot to the camera roll, and using the copy option will save it to your clipboard. Unfortunately, there isn’t a Save+Copy option, but perhaps that will be included in a future update.
Snapper is a nice tweak, because it basically allows you to pre-crop your screenshots and get the exact image your want in pre-production instead of post production. It’s definitely not a tweak for everyone, but only you will be able to determine if you take enough screenshots and if you crop them and edit them enough to warrant using Snapper.
If you want to try Snapper, you can find it for $0.99 on Cydia’s BigBoss repo. Please let me know what you think about the tweak in the comments down below.