This tutorial will show you how to edit, reorganize, and hide your mailboxes in the Apple Mail app on your iPhone and iPad.
Doing so will let you customize your mailbox layout to better organize your emails, and make the most of your inbox while giving you a cleaner and more streamlined email experience.

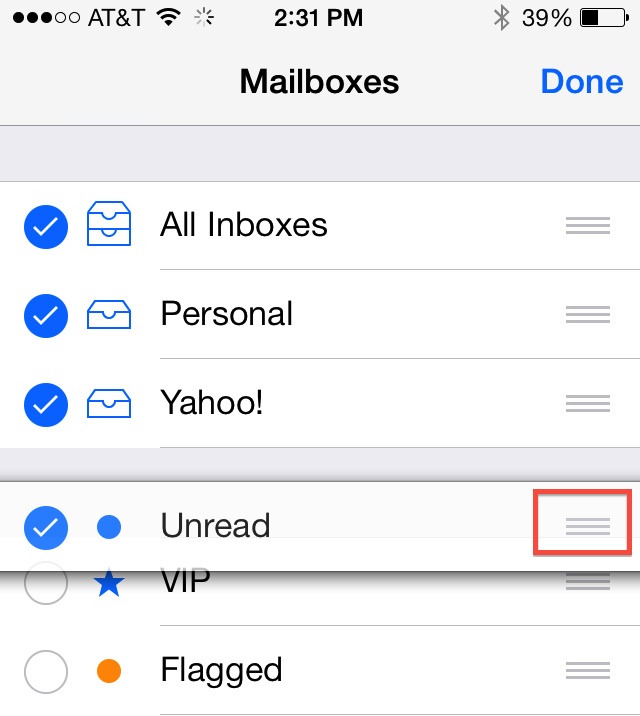
Hide and un-hide mailboxes
Are you one of those people that hates the VIP mailbox feature and have always wished you could get rid of it? Well, you can!
- Open the Mail app and go back to the Mailboxes screen.
- Tap Edit in the upper right corner.
- Select or deselect the mailboxes you want to see or hide.
- Finally, tap Done.

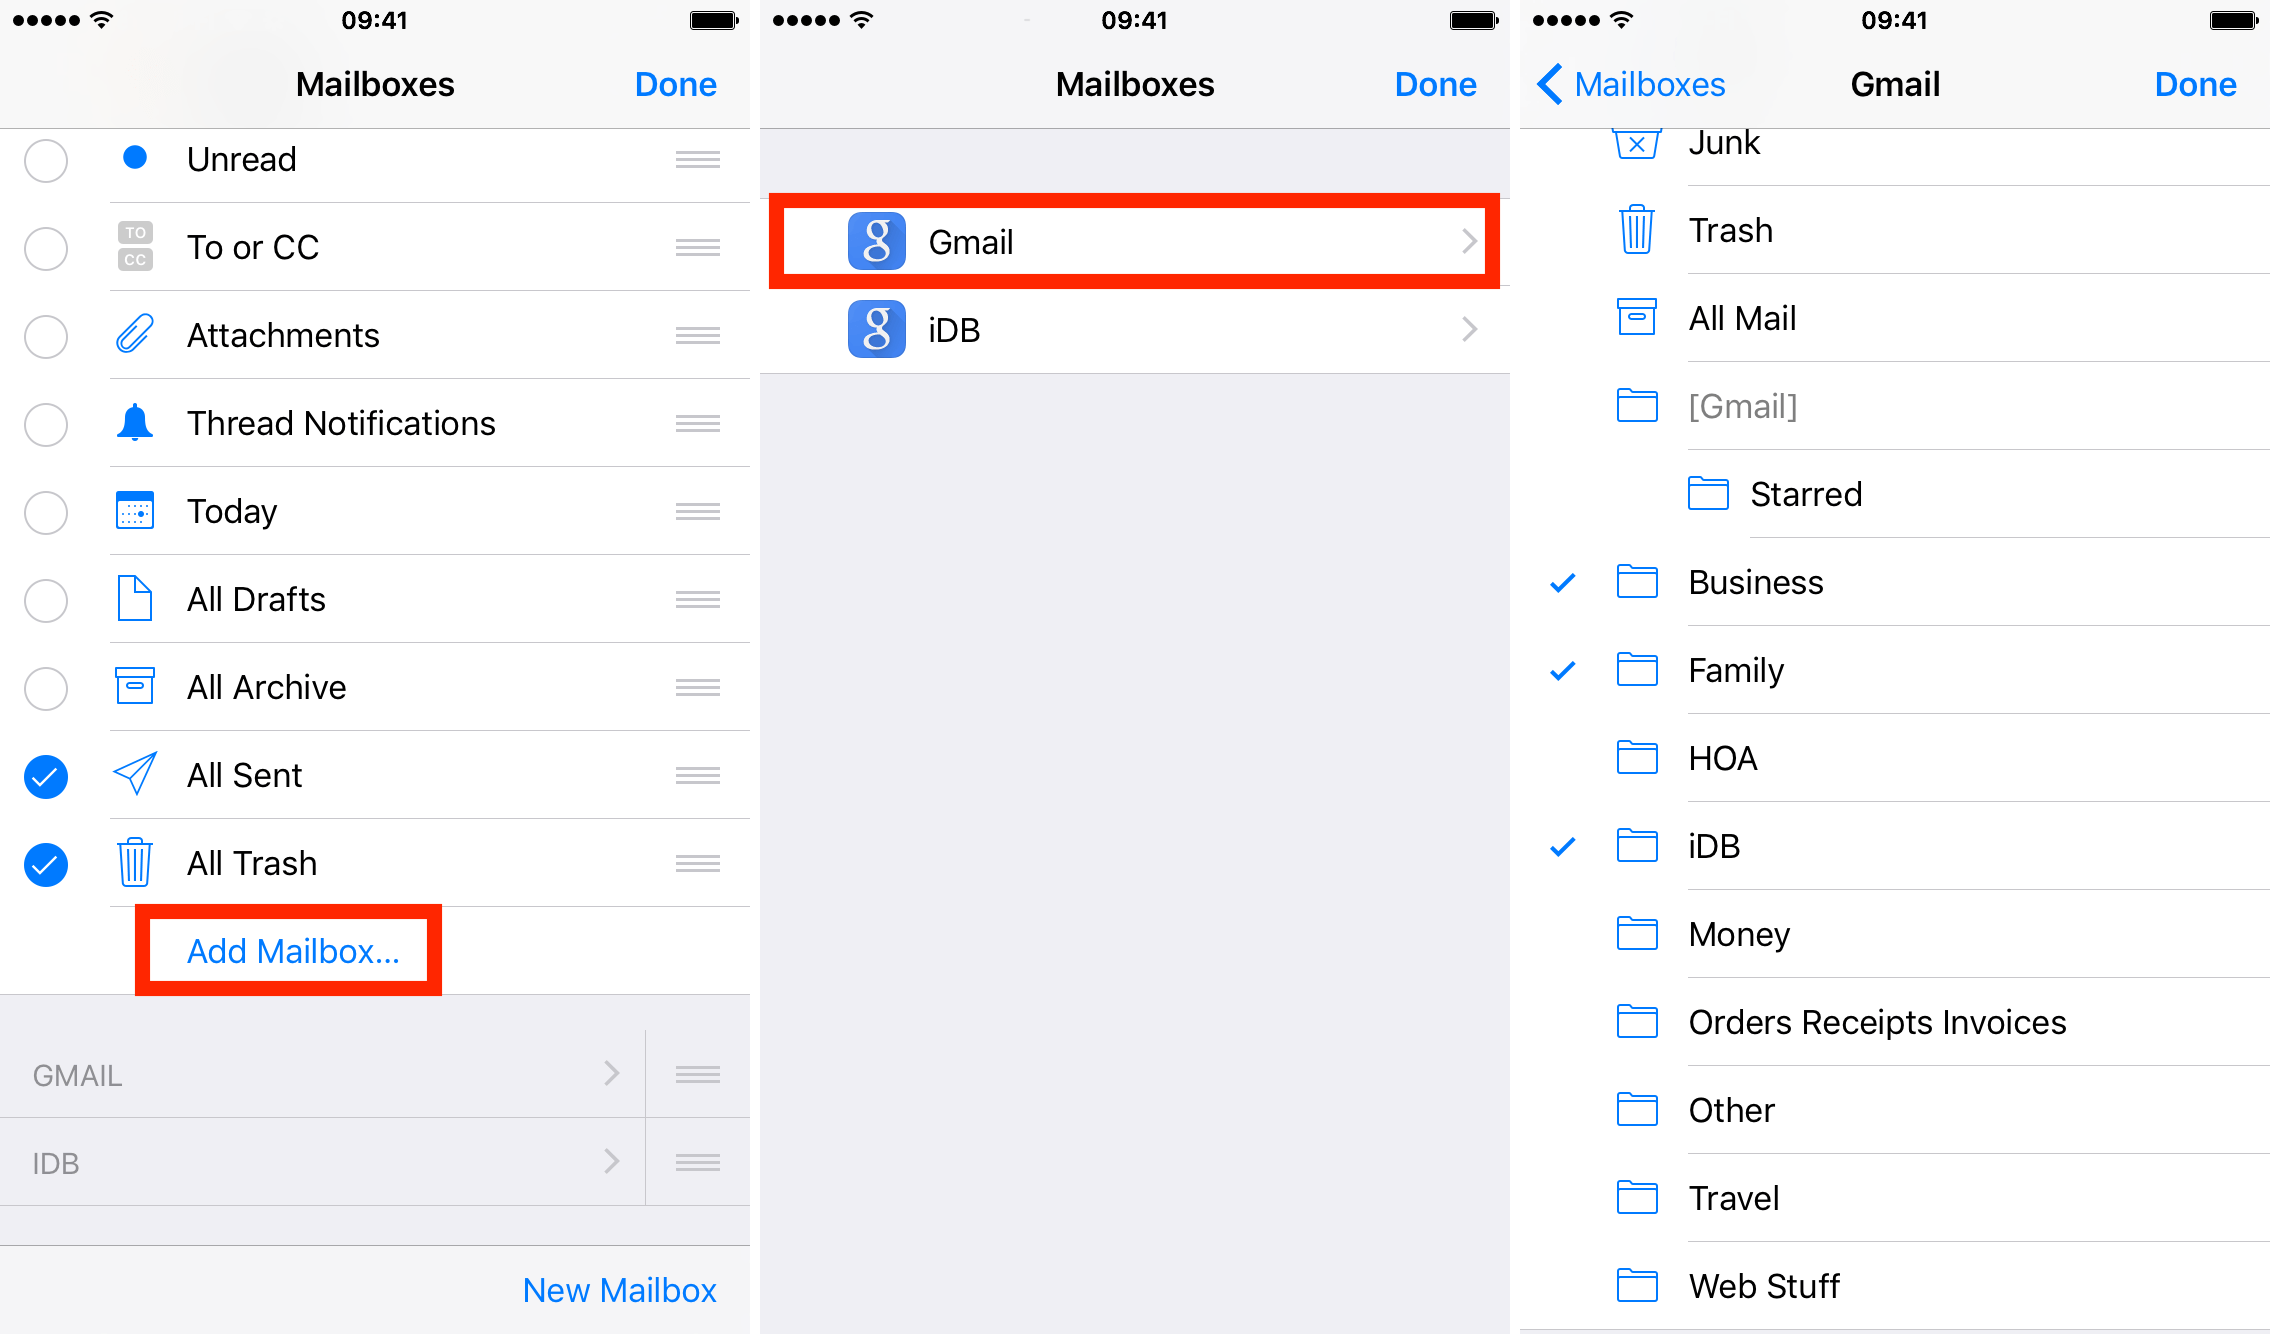
Add new mailboxes
You can also add new mailboxes from folders in your email account. If there is a particular folder in your account that you access regularly, this feature makes it possible for you to get to it from your Mailboxes section.
- Tap Edit from the Mailboxes section of the Apple Mail app.
- Scroll down to Add Mailbox and tap it.
- Choose an email account to add the folder from.
- Select the folders you want to create new mailboxes from.
- Tap Done twice to save everything.
Reorganize mailboxes
If you like having your personal email account on top, and less important accounts listed down below, you can do something about that now by customizing the order they are listed in your Mail app.
- Open the Mail app and go to Mailboxes.
- Tap Edit in the upper right corner.
- Touch the three lines icon on the right side of the mailbox you want to move and drag the mailbox to its new location.
- At last, tap Done in the upper right corner.
Do more with the Mail app: