If you’re a Windows user, and you’ve been dying for an update to Sn0wBreeze, then your wait is over. As we posted earlier, Sn0wBreeze was updated to 2.9.7, and with it comes tethered support for pre-A5 devices running iOS 6 and iOS 6.0.1
For those of you who’ve been holding off until a Sn0wBreeze update, we’ve created a handy tutorial for you to follow, which shows you how to jailbreak iOS 6 and iOS 6.1 using Sn0wBreeze on Windows. Take a look inside for the full details…
Note: As always, let me reiterate a few things before you begin. This is a tethered jailbreak only, except for old bootrom 3GS users. This does not work at all with A5 devices like the iPad 2, or A6 devices like the iPhone 5. This only works with older pre-A5 devices like the iPhone 4, or iPod touch 4th generation.
Step 1: Download Sn0wBreeze 2.9.7 from our downloads page.
Step 2: Unzip the package and run sn0wbreeze-v2.9.7.exe as an administrator from the desktop.
Step 3: Click Okay > Next > and then Browse for IPSW. If you don’t know the location of your 6.0 or 6.0.1 firmware, you can download it by clicking the Download iOS Firmwares button instead. Alternatively, you can always download the necessary firmware for your device via our downloads page. It’s best to move any firmware file directly to the desktop for easy access.
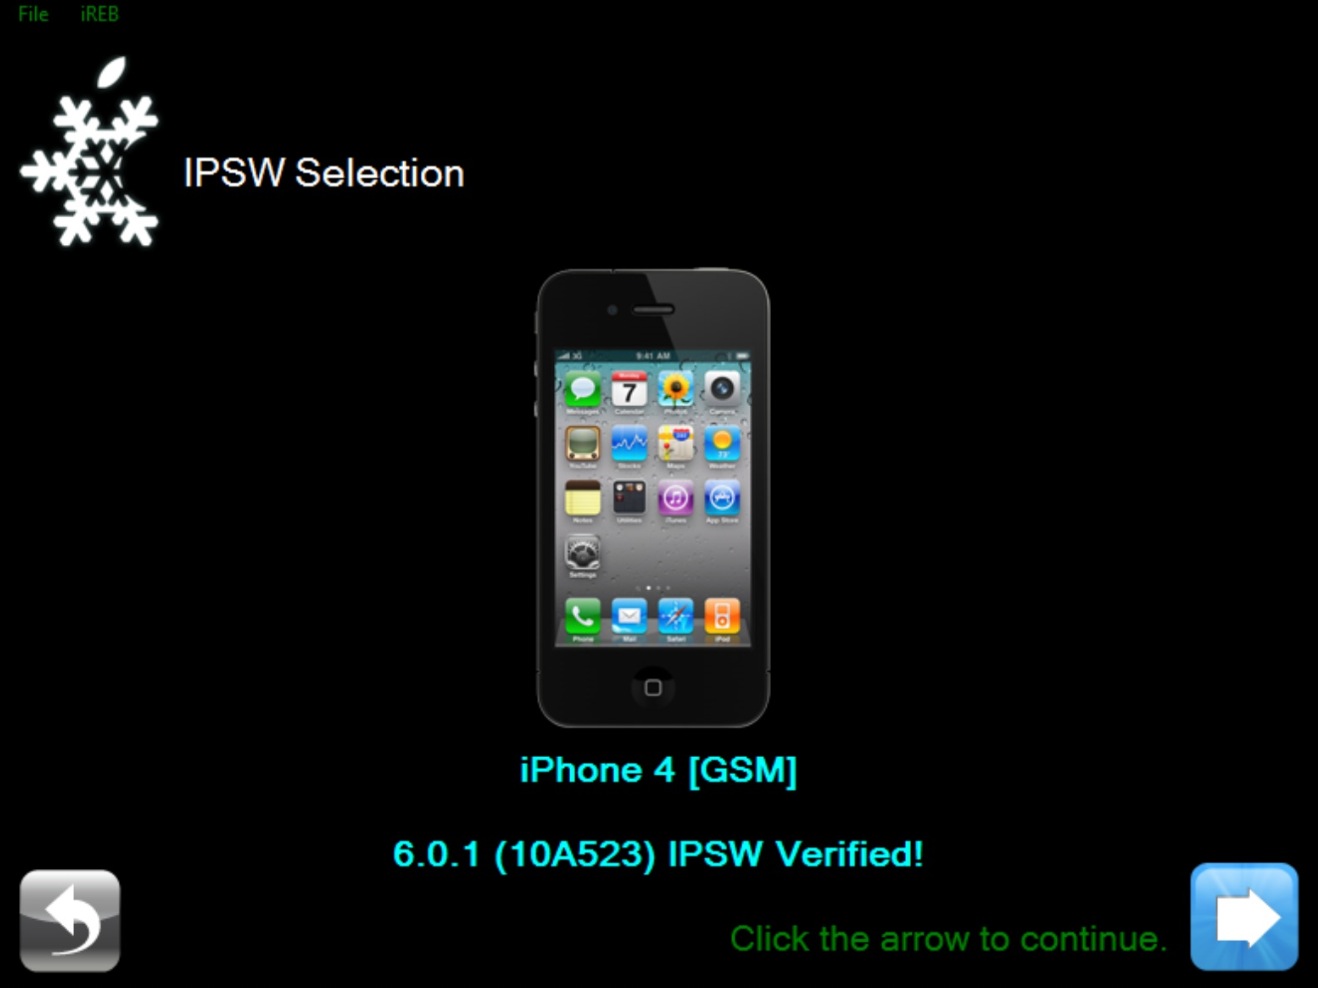
Step 4: Once you select the proper IPSW file for your device, you should see a message stating that the file was verified. Click next.
Step 5: Click Simple Mode, and select Yes to Hacktivation. Your custom IPSW file will now be created, and it should appear on your desktop.
Step 6: Click OK, place your iDevice into DFU mode, and click Start to put the device into PwnedDFU mode using iReb. The screen on the iPhone should stay black.
Step 7: Once verified in PwnedDFU, open iTunes, and it should detect a device in recovery mode. Select your device from the list of available devices, and hold the Shift key on your keyboard while clicking the Restore. Select the custom IPSW file created by Sn0wBreeze i.e. sn0wbreeze_iPhone_4-GSM-6.0.1-10A523, and click OK.
Step 8: Your iDevice will restore like normal via iTunes, except this time you should notice a snowflake icon on your screen as it restores the custom firmware.
Step 9: Once your device is finished restoring, go through the normal setup process until you arrive at the Home screen. Swipe to the second page, and you should see Cydia. Since this is a tethered jailbreak, you cannot use Cydia until you perform a tethered boot.
Step 10: Place your device back into DFU mode.
Step 11: Open the iBooty folder located on the desktop and run iBooty.
Step 12: Select your device from the drop down menu, and click Start. The device will now tether boot, so that Cydia will be usable once it arrives back at the Home screen.
Step 13: Once at the Home screen, try opening Cydia. If Cydia opens, congratulations, you’ve successfully jailbroken your device using Sn0wBreeze 2.9.7 on Windows.
Again, if you need some of the more advanced features like iFaith, be sure to search iDownloadBlog for other tutorials based on Sn0wBreeze.
What do you think?
