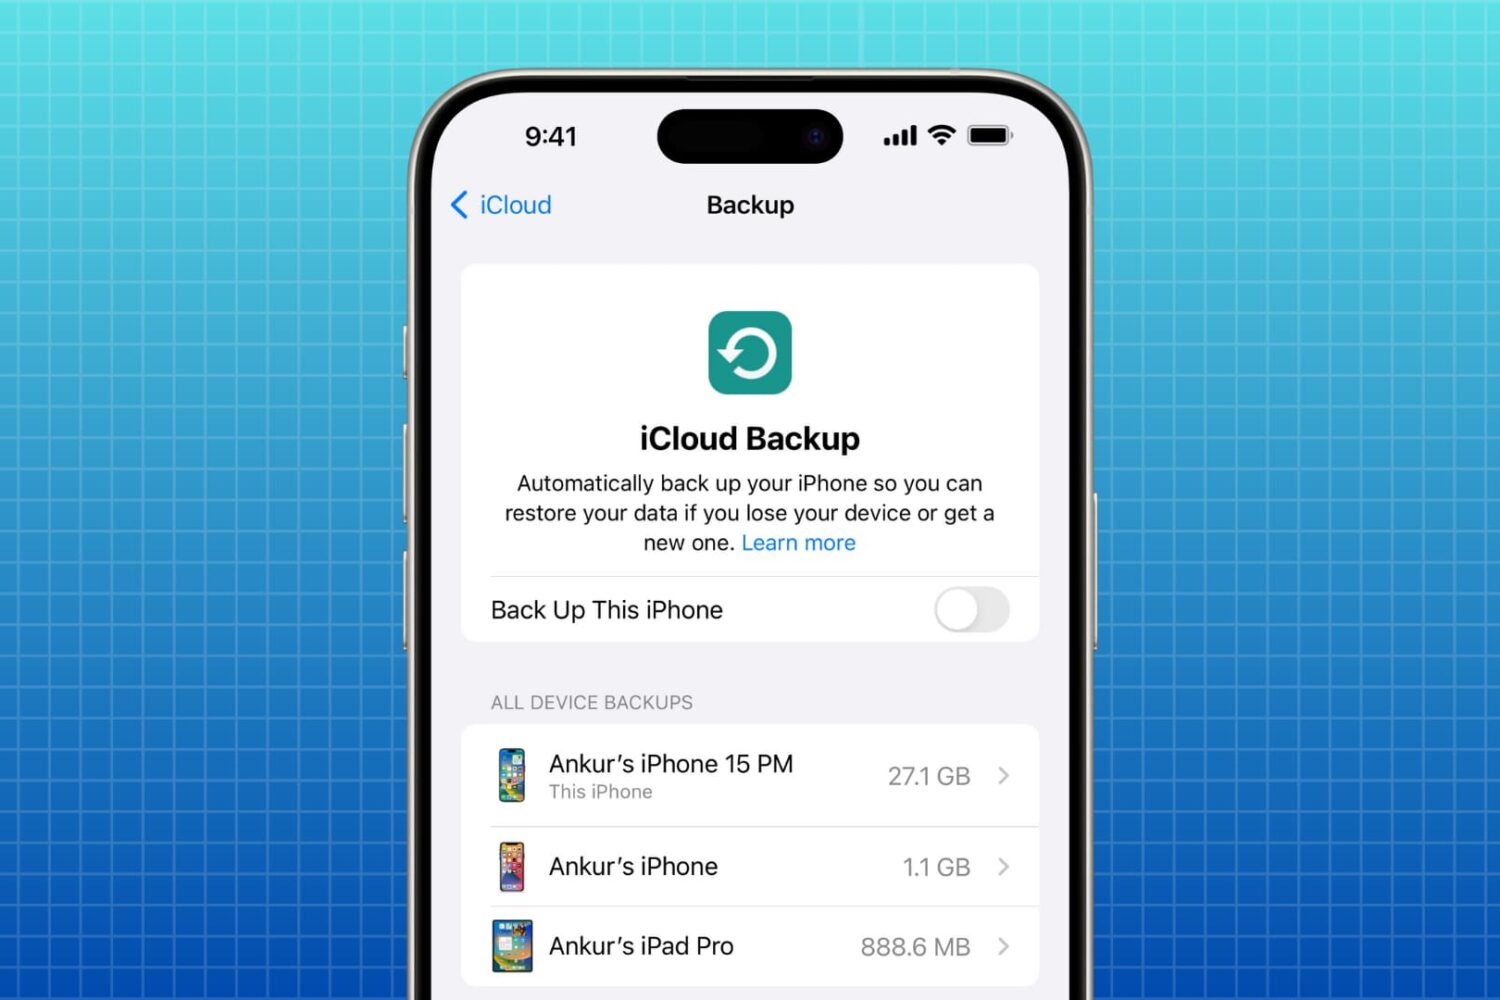
Backup

Transfer iPhone data with MacX MediaTrans: license + iPhone giveaway [sponsor]

We all understand the importance of backing up the iPhone contents. Those memorable travel videos, heartwarming family photos, hot songs are the treasures of our life. To achieve the successful iPhone backup, a handy App like MacX MediaTrans is a must have. With this tool, you can easily browse and transfer the music, photos, videos, books, podcasts and other data on your iPhone or iPad, selectively back up them on your Mac computer, optionally encrypt your data and much more.

Review: SanDisk iXpand Base is an effortless way to backup your phone

Does anyone else remember back when you would get a new cell phone and you basically lost all your contacts and pictures? I don't think anyone misses that experience. While iCloud is a great option for backing up your device, it has its limitations, and it isn't for everyone. The SanDisk iXpand Base is an offline, and effortless way to backup your photos, videos, contacts to prevent you from ever ending up like 1999 again.

Some users are having issues with Apple’s iCloud Backup service

Apple today acknowledged ongoing issues with iCloud backups, noting on its System Status webpage that a small percentage of customers have been unable to create new iOS device backups in iCloud or restore from previous saves since Tuesday morning.

“Users may be unable to restore from an iCloud backup,” reads Apple's notice.

According to the System Status webpage, less than one precent of Apple users are affected by the outage. Given the company's one billion active devices in the wild, that seemingly small percentage potentially translates into tens of millions of affected customers.

The company states that its iCloud Backup service has been down since 8am Pacific on Tuesday. The downtime had persisted at the time of this writing, but other iCloud systems didn't seem to have been affected.

Are you experiencing issues creating iCloud backups or restoring from previous ones?

Google prepping new app for backing up your Mac to Drive

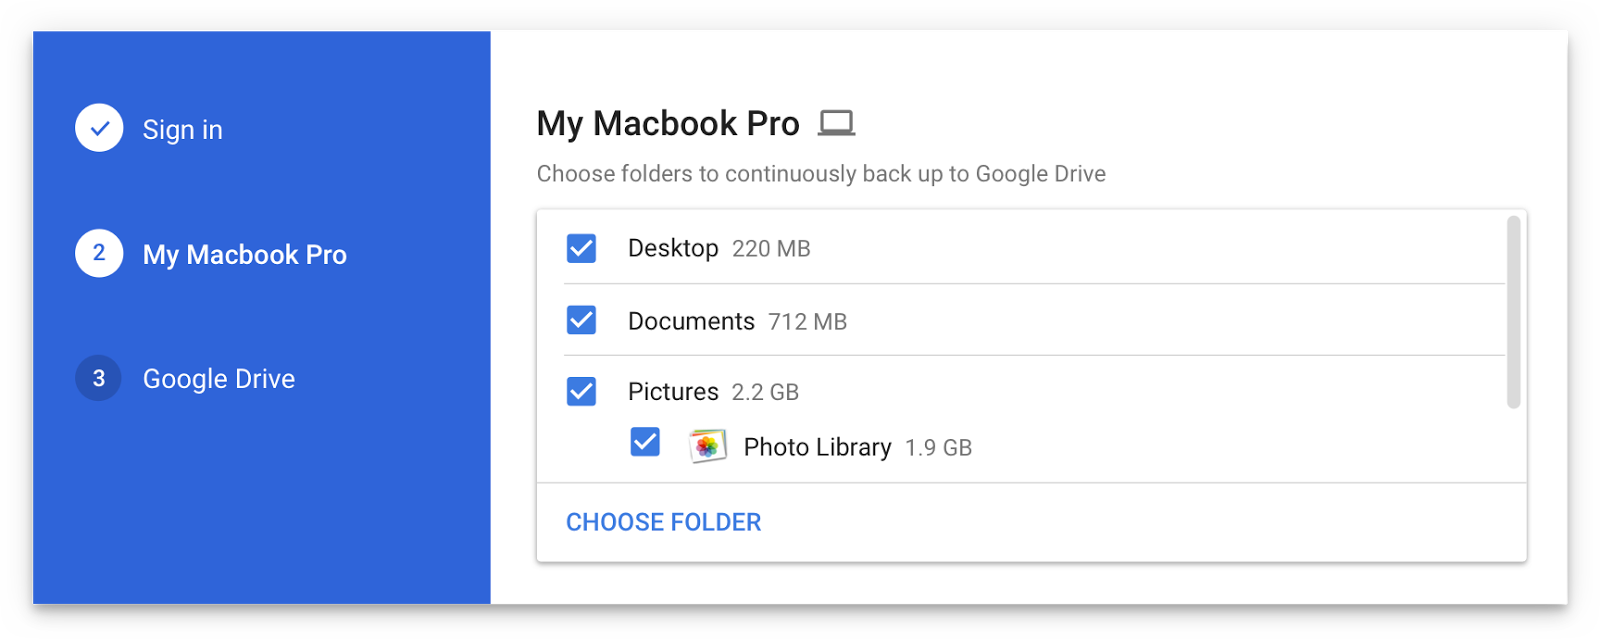
Are you a fan of Drive, the search giant's cloud-storage service? If so, a new app from Google will soon let you back up any folder(s) on your computer to Drive and keep them in sync.

This is welcome news because Drive's current desktop client does not allow for selective sync of any folders that don't live inside of the Google Drive folder on your Mac or Windows PC.

The forthcoming Backup and Sync app is better integrated with your computer than the existing client and will replace it on Wednesday, June 28.

According to the search firm, Backup and Sync is intended to “help everyday users back up files and photos from their computers, so they’re safe and accessible from anywhere”.

As mentioned, you'll be able to continually back up any items found in custom folders on your computer, like the Desktop, Photos, Documents and so forth.

Backup and Sync will replace Google's existing desktop uploader for Photos, too.

Basically, you could use the new app to back up and sync your entire Mac account's home folder to Drive and use Google's powerful search engine via Drive's web interface to quickly identify that needle in the haystack you were looking for.

However, you'll probably need to upgrade your cloud storage to keep your Mac safely backed up to Drive. Each Google account gets 15GB of free Drive storage versus Apple's 5GB free tier.

If you need more storage, you can upgrade to one of the paid Drive tiers:

100GB for $1.99 per month 1TB for $9.99 per month 10TB for $99.99 per month

And here are Apple's recently refreshed iCloud storage upgrades:

50GB for $0.99 per month 200GB for $2.99 per month 2TB for $9.99 per month

Google Drive for Mac and Windows is available via google.com/drive/download.

Google Drive for iPhone and iPad is a free download from App Store.

Do you use Google Drive? If so, are you looking forward to backing up your Mac to the Google cloud? If not, what's your preferred online service for storing files, documents and other data?

Tell us in comments!

How to delete old Time Machine backups

Do you use macOS's incredibly useful zero-configuration Time Machine feature to keep the personal files, settings and documents residing on your Mac safely backed up to an external disk? If so, is your backup disk nearly full? The best way to make room on your backup disk is to delete old Time Machine backups using Finder.

For example, the disk in my AirPort Time Capsule is nearly full because I have backups dating back to 2010. In this day and age of iCloud Drive and other cloud-storage services, keeping years worth of backups is kind of useless. That precious disk space could be put to better use for storing your photos and videos, for example.

In this tutorial, you will learn how to delete old Time Machine backups to help clean up your disk and regain storage space on it.

Deleting old backups should be your first order of business in situations when your Time Machine backup disk runs out of space. By default, Time Machine deletes older backups to make room for new ones as your backup disk fills up.

There are a couple ways to remove entire backups created on specific dates. We will describe both, but note that Apple seem to prefer the first method

How to delete old Time Machine backups

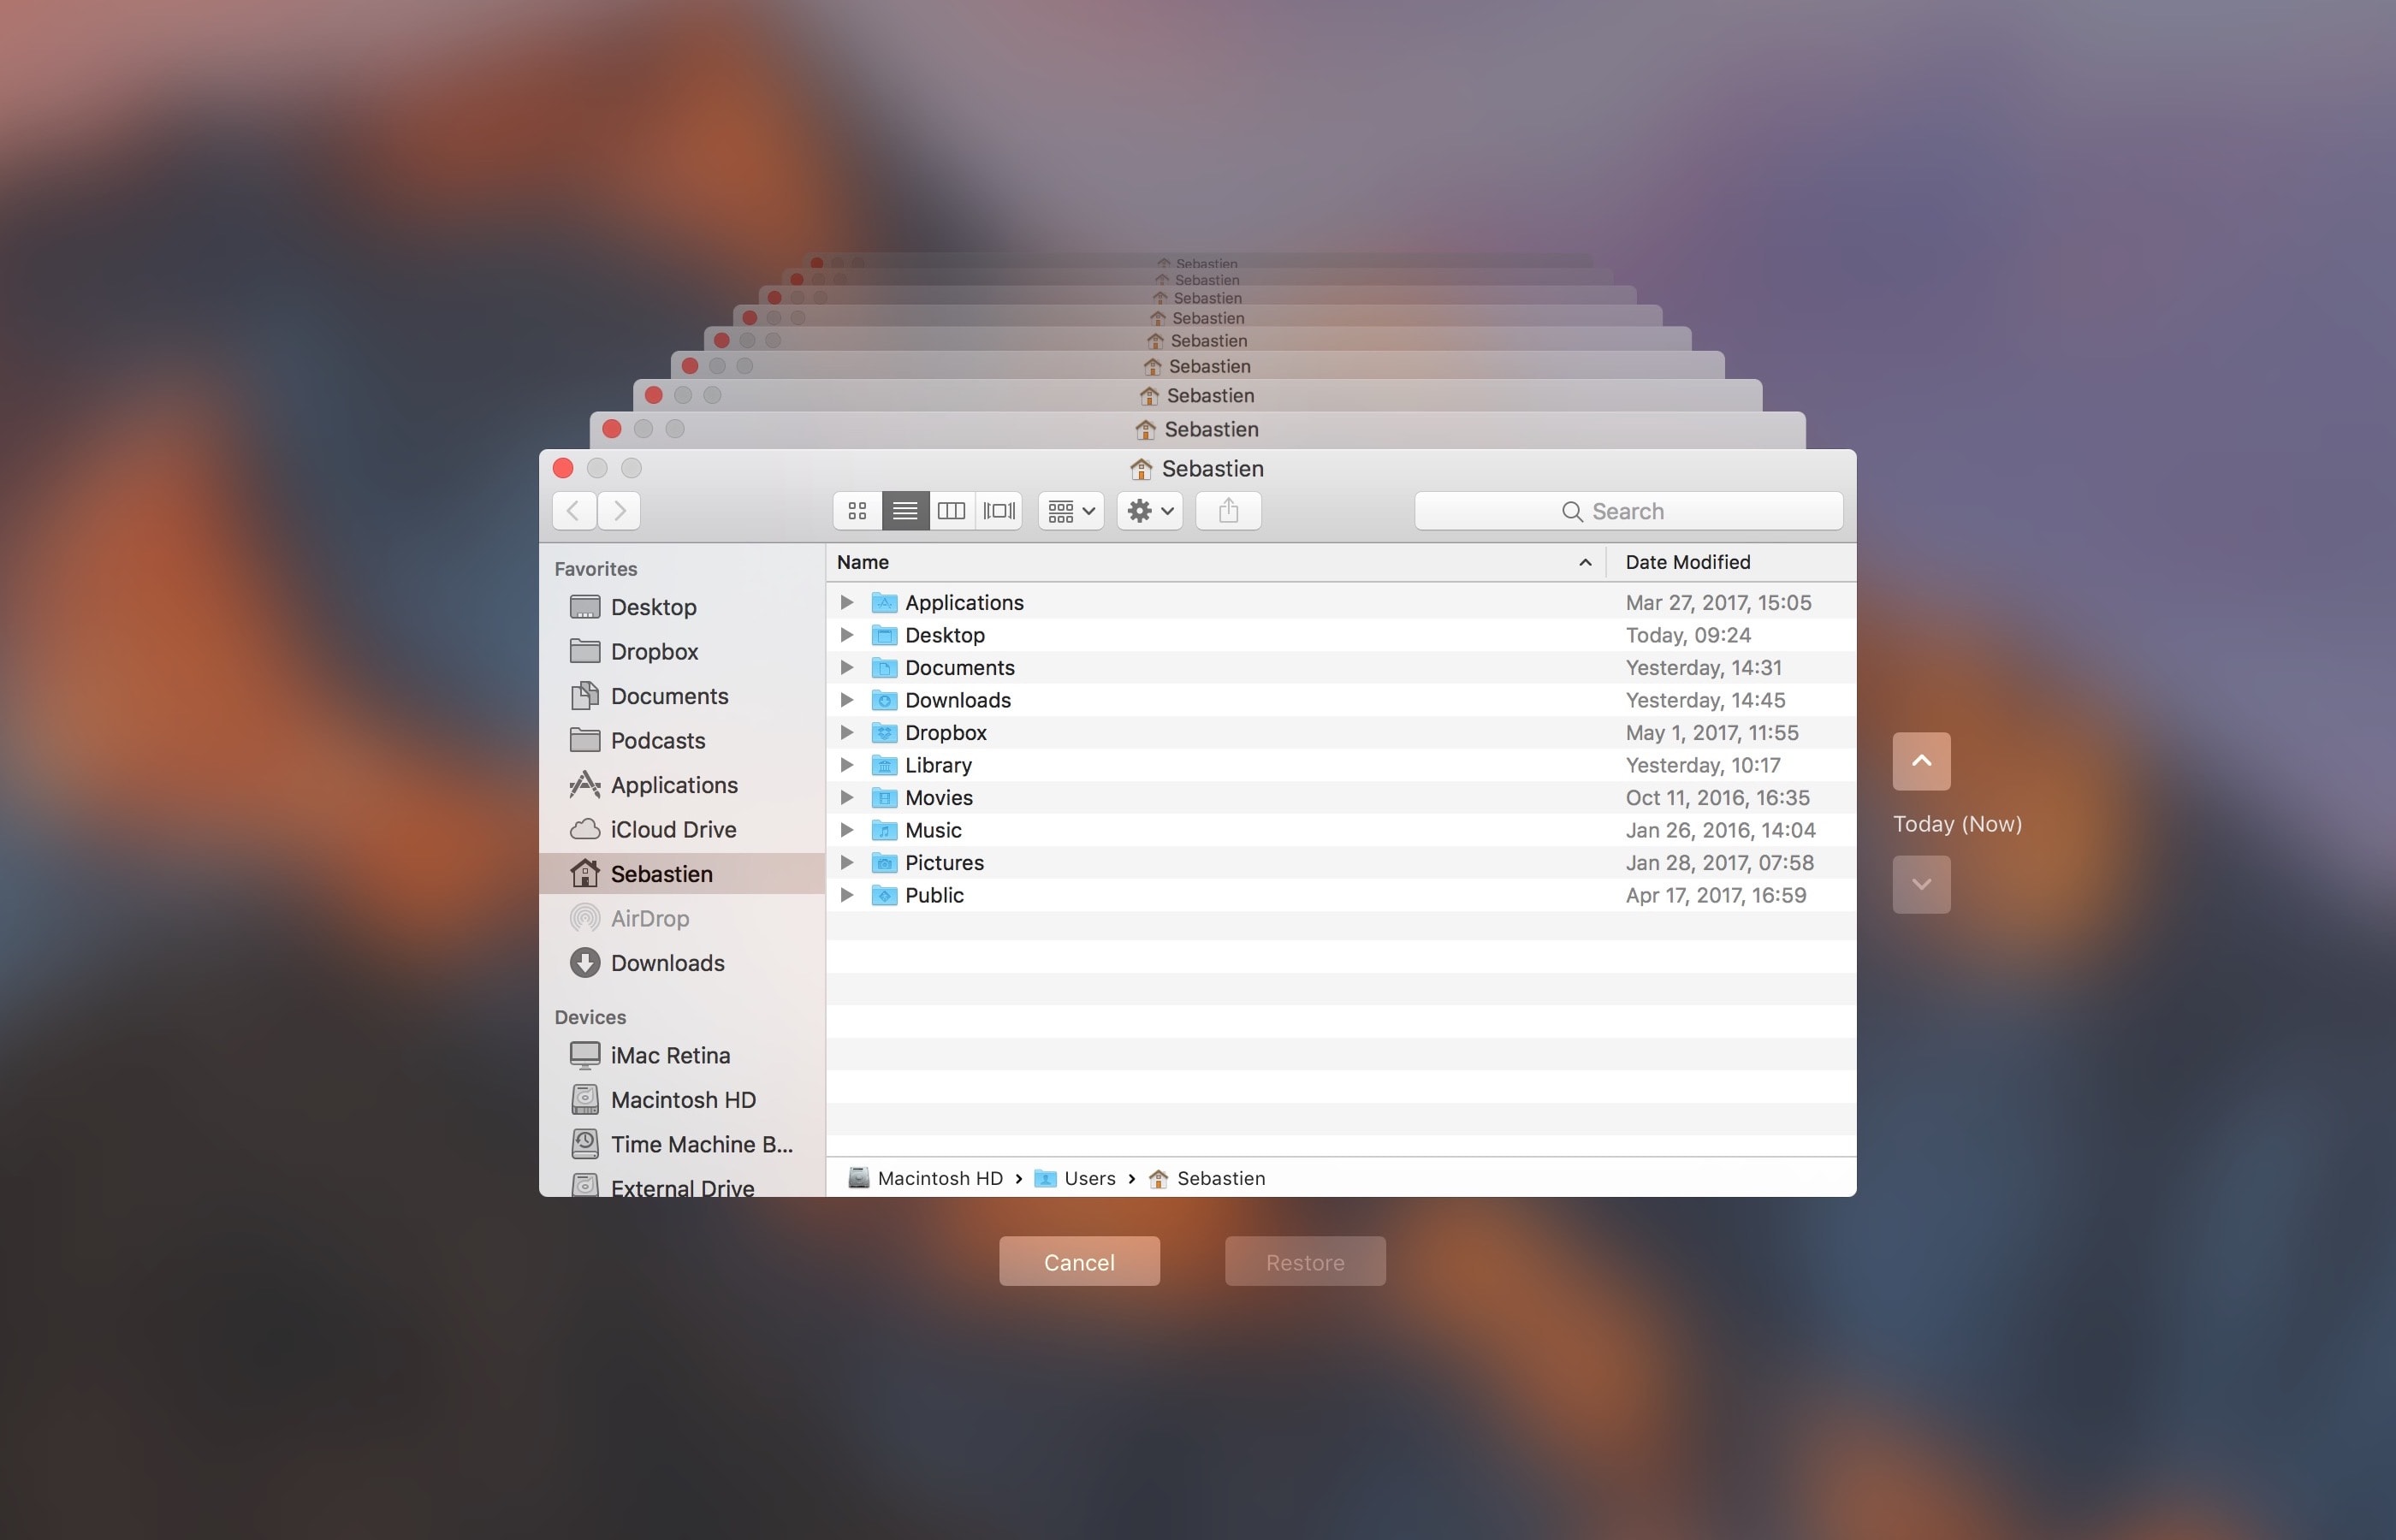
1) Click the Time Machine icon in your Menu Bar to enter Time Machine.

2) Navigate through the interface to the desired date.

3) Once you have located the day you want to delete from your backup, click on the gear icon and select Delete Backup.

4) You will be asked to confirm you indeed want to delete the backup, and you may be ask to enter your administrator password too. Once done, the backup for that specific day will be deleted.

How to remove old Time Machine backups using Finder

1) Click the desktop and open a new window by selecting New Finder Window from the File menu, or press the Command (⌘)—N keys on your keyboard.

2) Connect the disk containing your Time Machine backups to the computer and wait until its name appears underneath the Devices section in the Finder sidebar, then click it.

You may be asked to enter your administrator name and password to continue. If you use AirPort Time Capsule, you may be asked to enter a password to access the backup disk.

3) Navigate to the “Backups.backupdb” folder on your Time Machine backup disk as you would other folders. It should be a top-level folder of your backup drive.

4) Once inside the “Backups.backupdb” folder, navigate to the sub-folder named with your Mac computer's name. For instance, if your Mac is named “iMac Retina” in System Preferences, Time Machine will store backups inside the “iMac Retina” sub-folder.

TUTORIAL: How to change your Mac computer's name

5) You will see a bunch of sub-folders, each prefixed with the date of the backup in the YYYY-MM-DD format. For example, backups of your iMac created on April 19, 2017 would we stored in the sub-folder with the name beginning with “2017-04-19”. To delete a desired backup sub-folder, right-click or Control (⌃)-click it, then choose Move to Trash from the popup menu.

This will delete all copies of a backed-up file or folder from your Time Machine backup disk.

6) Repeat the process for other full-day backups you'd like to remove. When done, disconnect the disk by selecting its icon on the desktop, then choose Eject from Finder's File menu.

While you can safely delete sub-folders within the “Backups.backupdb” folder, you are not allowed to delete individual items inside the dated folders.

You're wholeheartedly discouraged from using Terminal or any other app other than Finder to move, copy or delete items from the Backups.backupdb folder.

You also cannot delete items from local snapshots stored on your internal drive.

To save space on the backup drive, why not exclude individual files or entire folders of files—like your Applications or Downloads folder—in the Time Machine preferences window?

That's all, folks!

If you have a question, post a comment below and we'll do our best to answer it. Please share this tutorial on social media and pass it along to the folks you support.

Submit your ideas regarding future coverage via tips@iDownloadBlog.com.
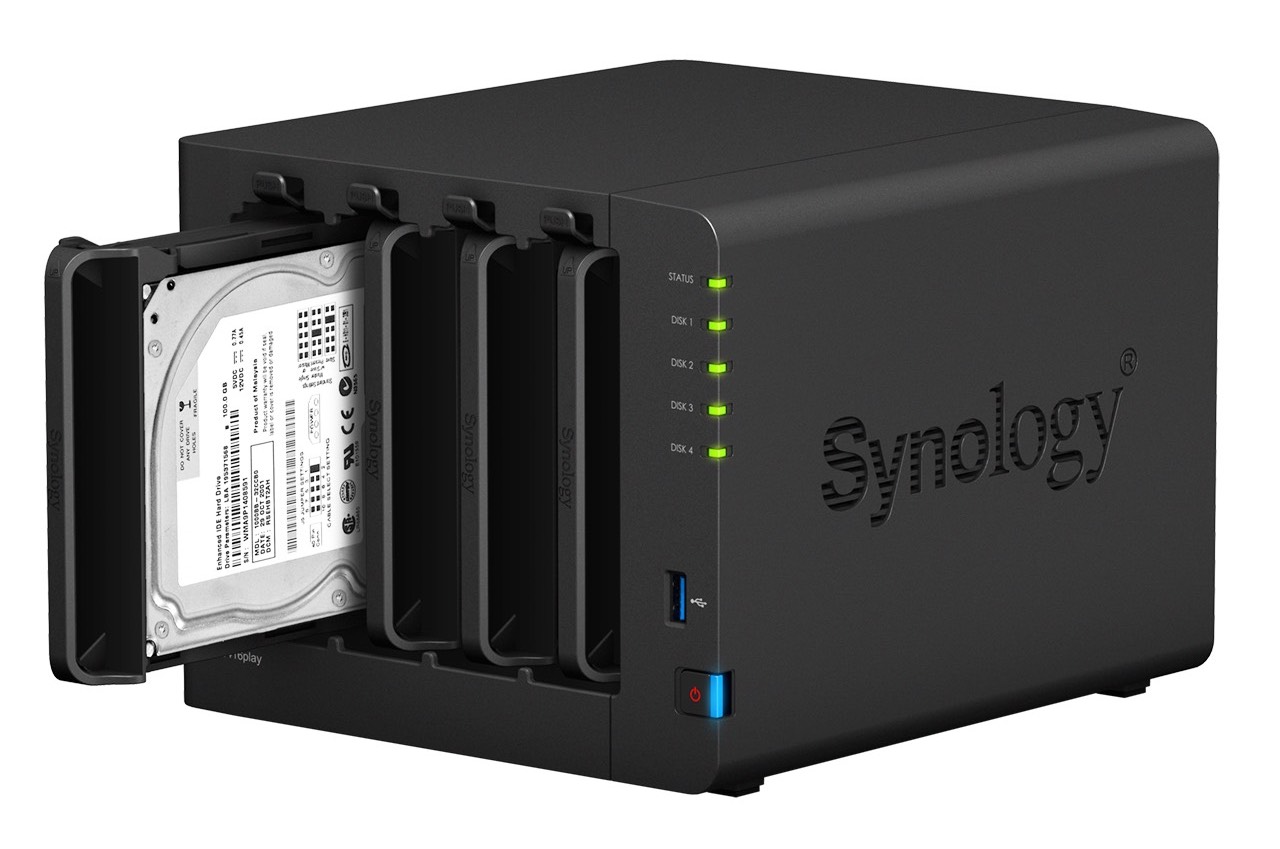
Synology NAS will take your media and file storage to the next level

In this information age, data is more prevalent than ever before. Even the average user tends to require more storage now than ever to keep their photos, videos, music, and documents in a safe and easily accessible location. The cloud is an increasingly popular solution for saving and sharing data, but security has been and will continue to be a concern with storing personal information on a third party’s servers. Additionally, users who deal with slow internet speeds or bandwidth caps have reasons for not fully relying on a cloud service that extend beyond privacy concerns.

iOS 10 found to store call logs for up to 4 months, Apple explains

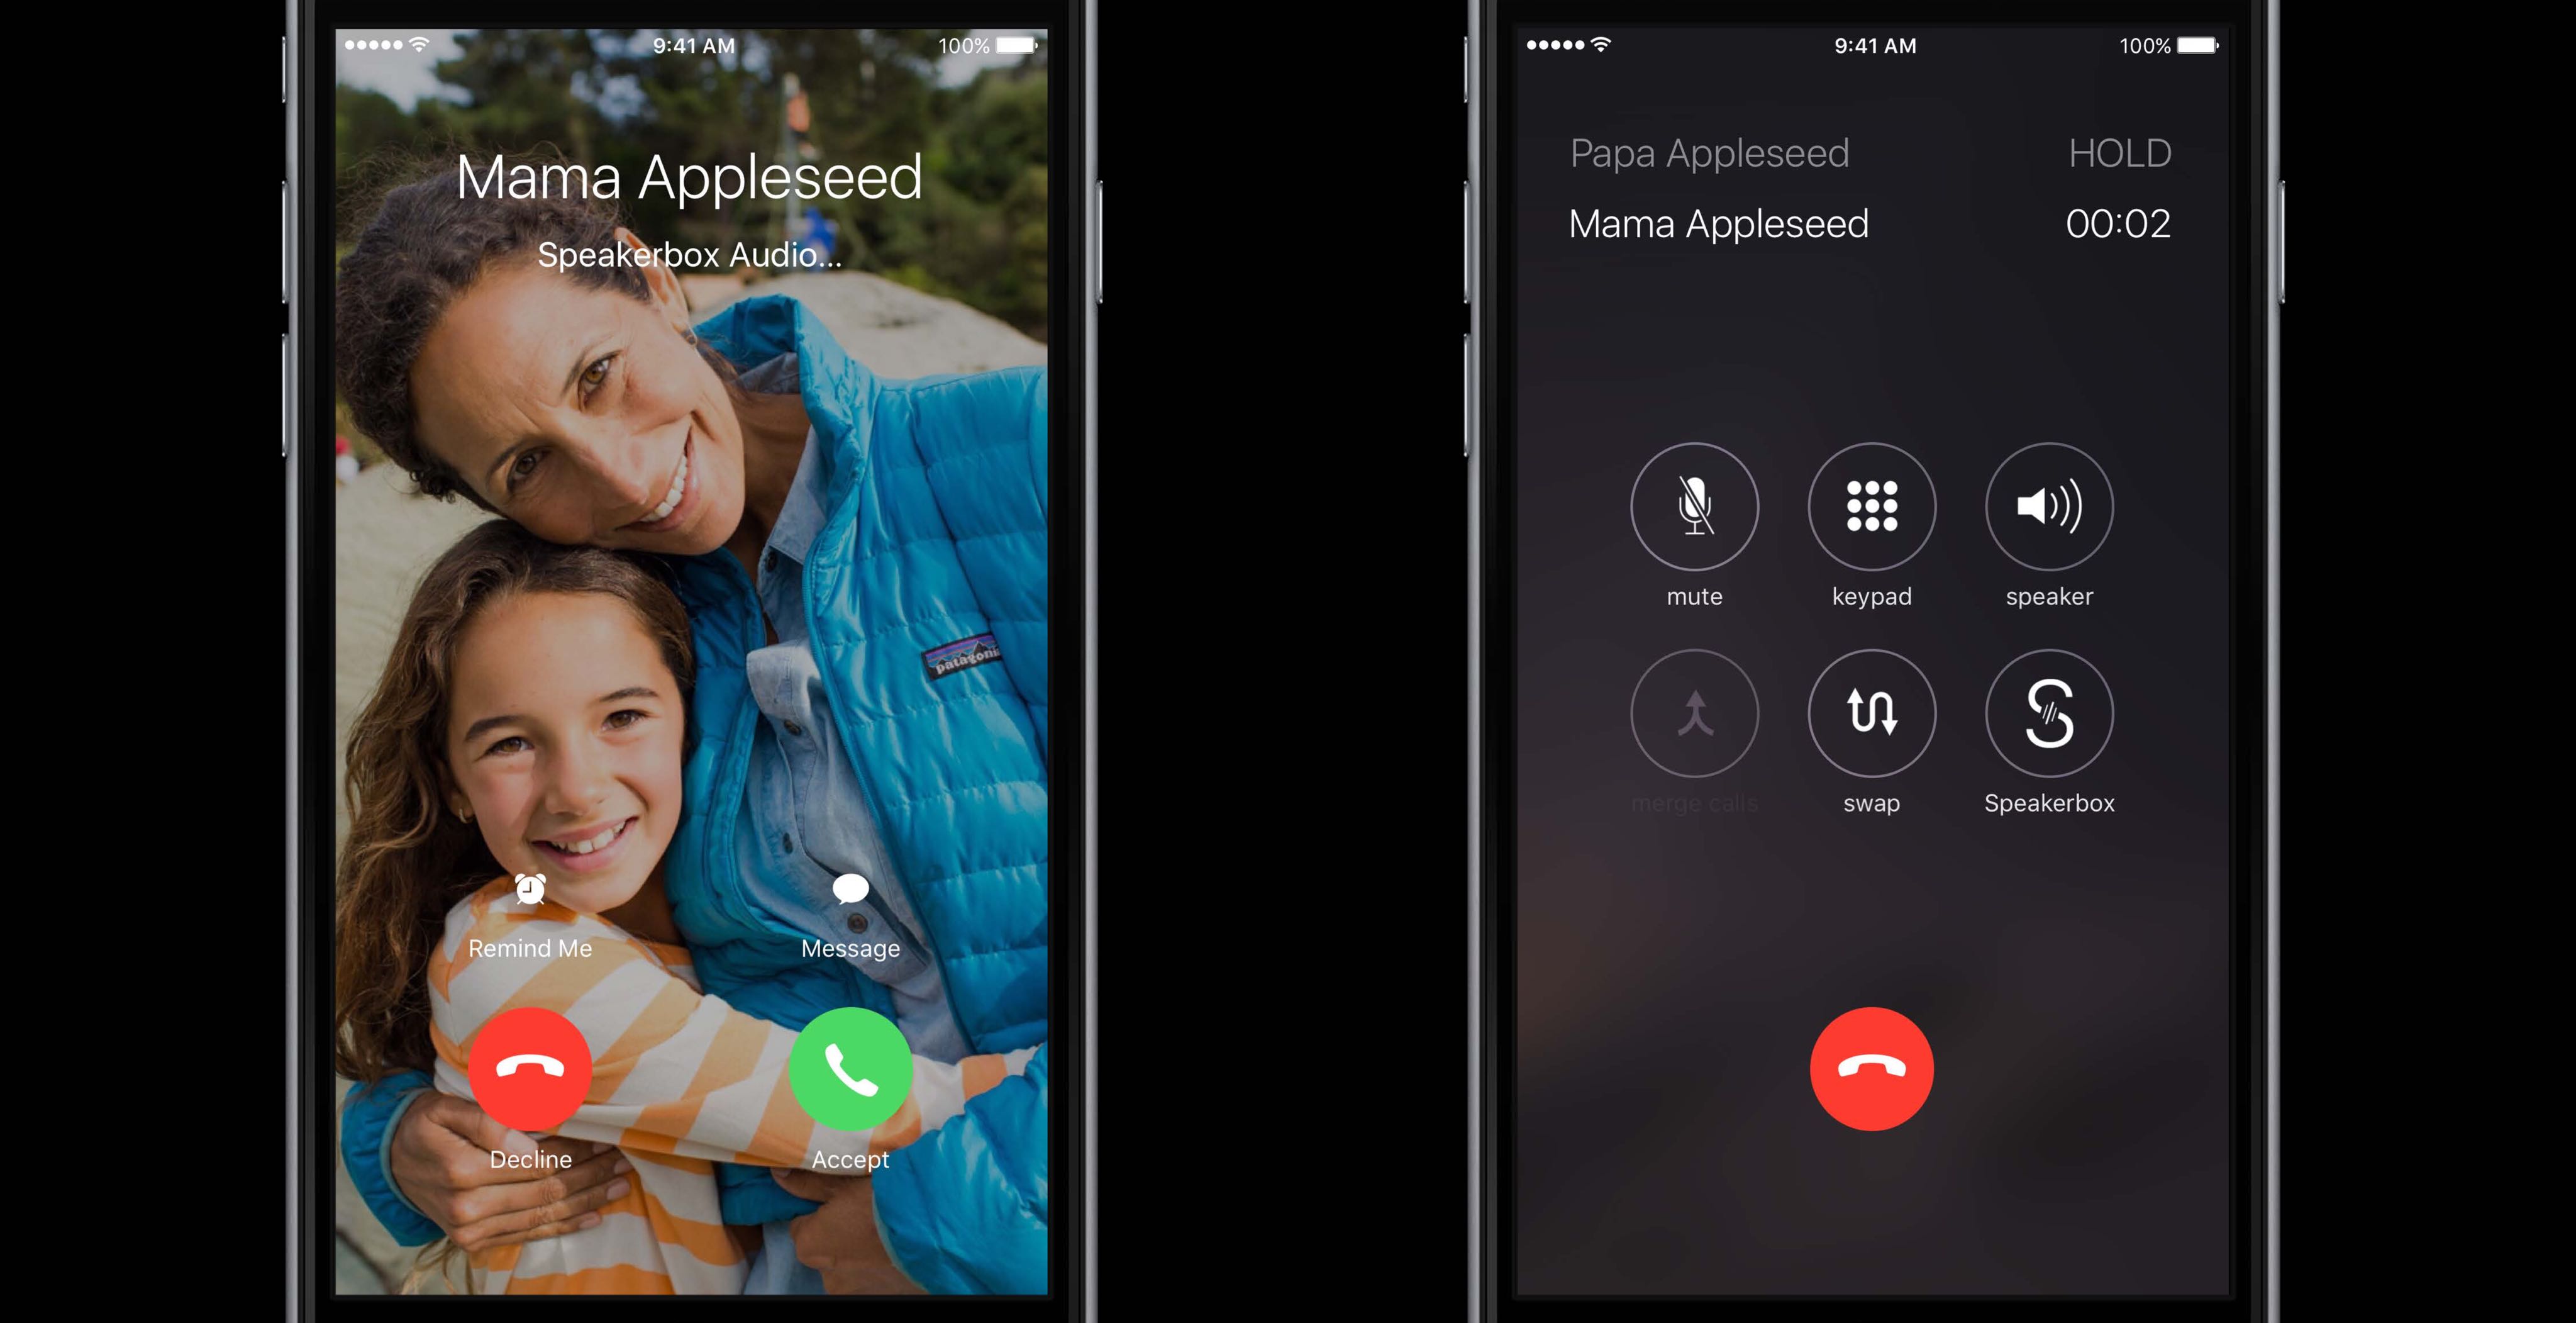
iOS 10's been found to upload missed call logs from apps like WhatsApp and Skype to servers, as well as near-real time FaceTime call logs—even if iCloud backup has been turned off, according to a Russian company called Elcomsoft which makes iPhone forensic tools aimed at law enforcement agencies.

Elcomsoft CEO Vladimir Katalov suspects in an interview with Forbes that this is most likely a result of iOS 10's expanded scope of call logging due to the new CallKit framework which was designed to make VoIP calls from apps like Viber, WhatsApp and Skype behave like cellular calls and integrate with Phone's Recents and Favorites.

According to Apple itself, call log syncing through iCloud is a convenient feature that elevates user experience by allowing customers to easily return calls from VoIP apps.

How to stop your iPhone from asking to install iOS updates

iOS can download and install updates without the need to connect to iTunes; this is known as Over-the-Air (OTA) updating.

When you have an OTA update waiting for you, your Settings app typically gets a red badge and iOS will constantly nag you about software updates. The thing is, not everyone always wants to install Apple's updates.

In this tutorial, we'll show you how to disable requests for iOS updates on your iPhone or iPad. This trick will also remove the nagging badge on the Settings app.

Viber gains iCloud backup, support for sending money, animated GIFs and more

Messaging service Viber this morning pushed a new update to its App Store app, adding several new long overdue features. For starters, iPhone users can now back up and restore their chat history through iCloud, making keeping their conversations after an iOS restore possible.

The application now has a brand new native watchOS 2 app for your wrist with canned responses on your Apple Watch. Other new features in this edition of Viber include support for sending and receiving animated GIF images, sending money from within the app and low-rate Viber Out calling plans via a redesigned screen.