Apple ID

How to remove a device from your Apple account on iPhone and iPad

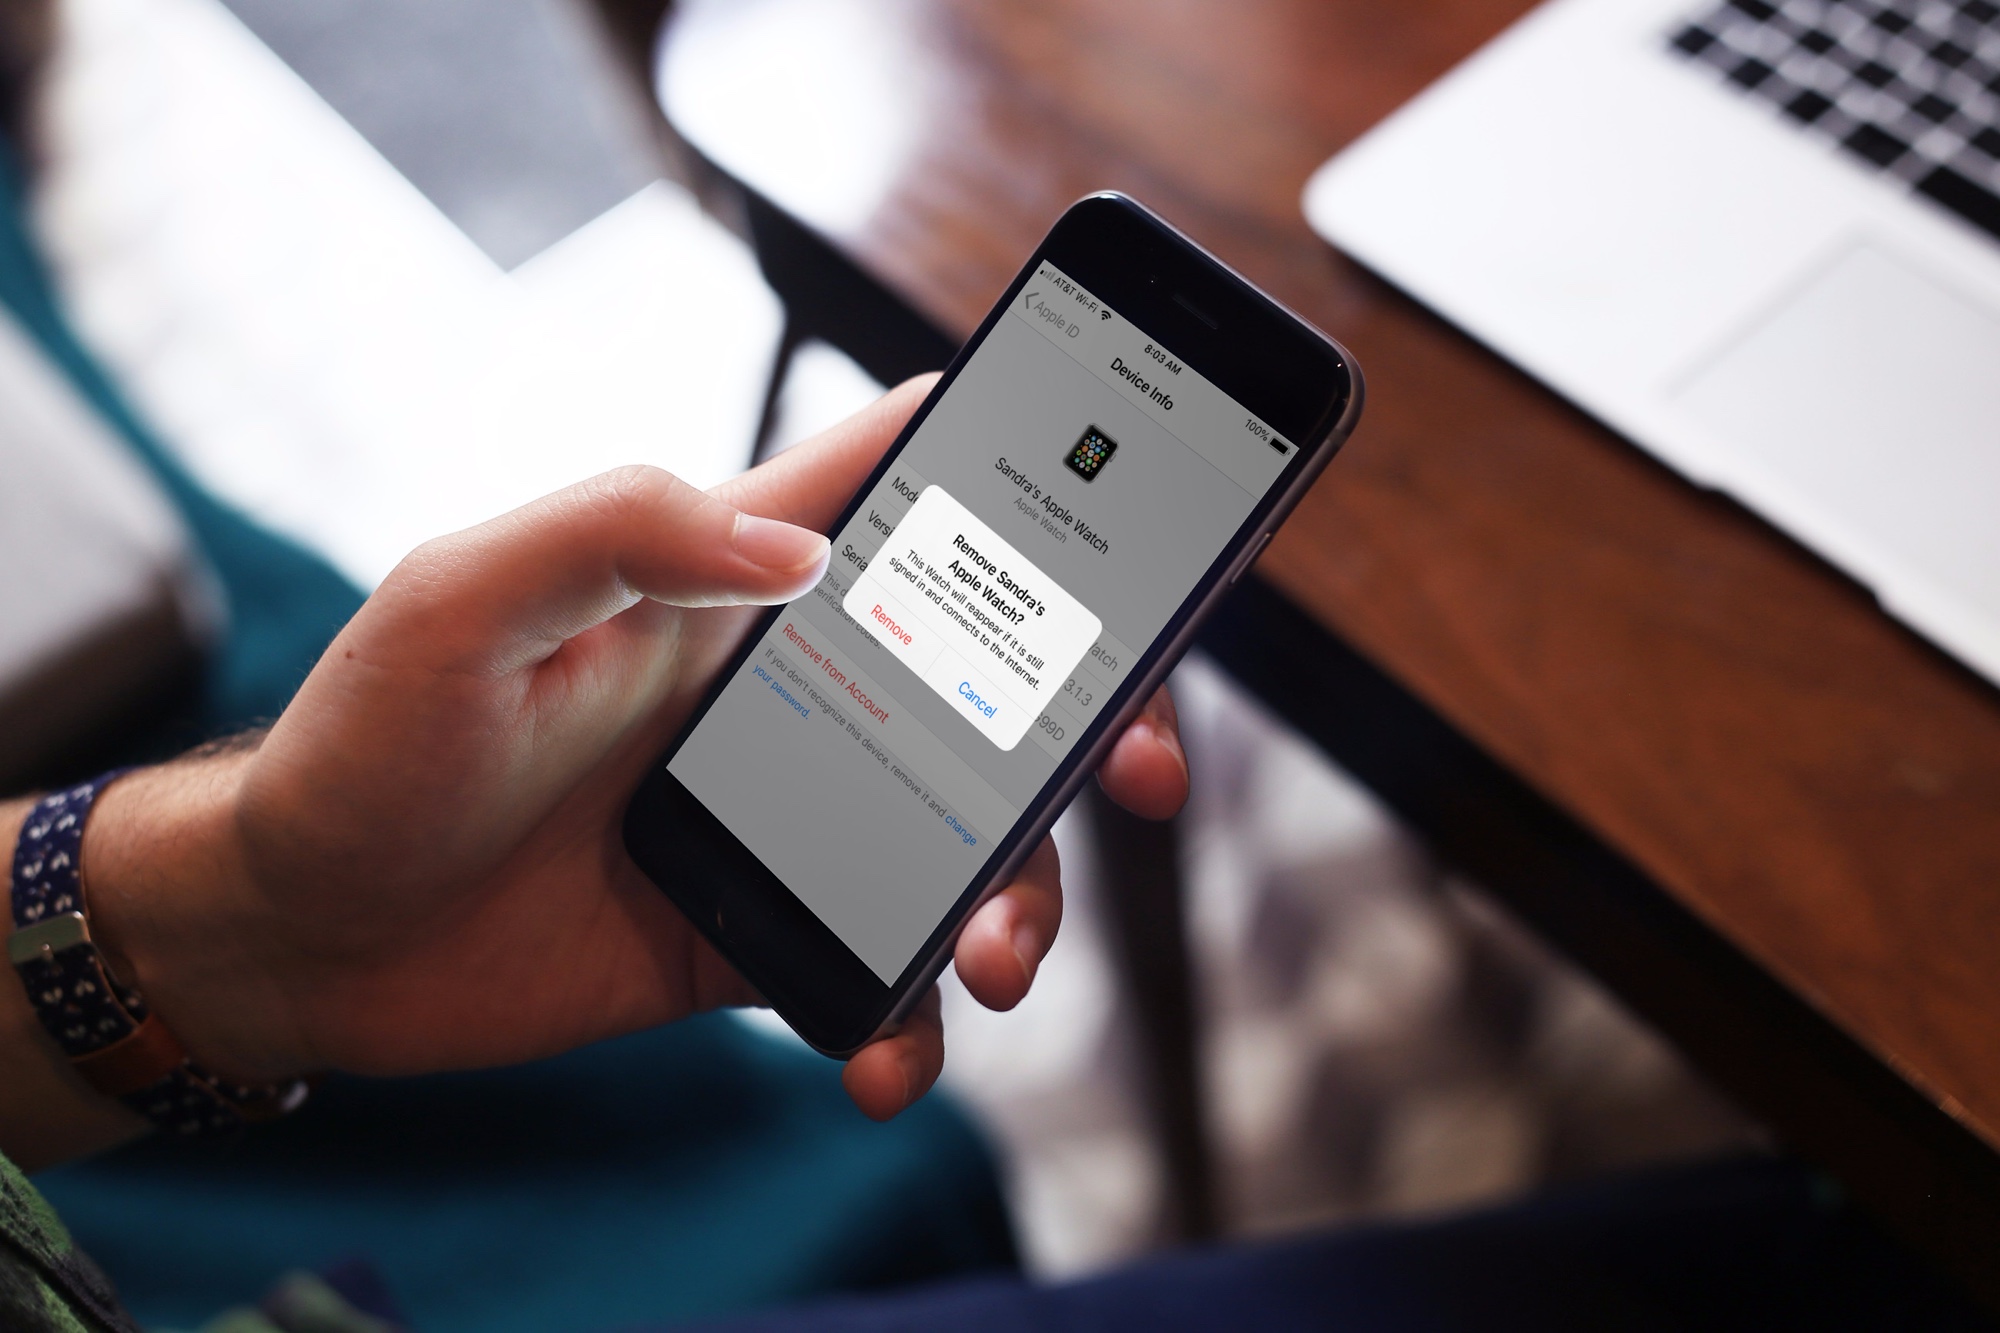
Confirm Removal of Apple Device on iPhone

When you buy a new device, whether it’s the newest iPhone or Apple Watch, do you take the time to remove the old device from your account?

Cleaning up that list of devices on your account is a good idea for removing the clutter. And if you use two-factor authentication, why have devices on the list to get pinged if you no longer own or use them?

This tutorial will show you how to remove a device from your Apple ID on iPhone and iPad so that this list is free from devices you no longer use, have sold, or have given away.

What to do if you use two-factor authentication and can’t sign in or reset your password

In today's day and age, there are chances that your various passwords can be compromised. This can happen even if you have taken just about every precaution possible.

One of the most prevalent and popular precautions has been the introduction of two-factor authentication (2FA). For the unaware, 2FA requires a second input from the user whenever signing into your account.

Thankfully, Apple has joined the movement in recent years in an effort to keep Apple ID's protected. However, there are sometimes where you forget your password, don't have your device handy, and are locked out.

We are going to take a look at what you can do in the event that you are locked out and can’t sign in or reset your Apple ID password.

PayPal for Apple ID expands to 11 markets, now with support for Apple TV & Apple Watch

PayPal announced today that it's expanding support for App Store and other purchases made with Apple ID across Apple devices to eleven new markets, including the United Kingdom, Germany, France, Italy, Austria, Spain, Canada, Mexico, Israel and Australia.

The roll out began today in Canada and Mexico, with other markets including the US due soon.

Before today, the PayPal option was limited to customers in the United States with limited integration requiring a credit card on file with PayPal as a linked method of payment.

As part of an expanded partnership with Apple, your App Store purchases can be now deducted directly from your PayPal account. The new system provides a “secure and versatile payment method to meet the growing demand for digital entertainment,” in PayPal's own words.

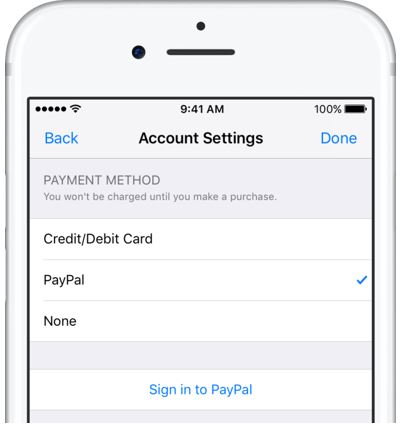
Adding PayPal as a payment method now works in the App Store, iTunes Store and iBooks Store apps for iPhone, iPad and iPod touch: just go to Settings → iTunes & App Stores, tap your Apple ID in the list and choose payment information to link PayPal with your Apple ID.

Previously, customers had to go through iTunes for Mac and Windows PCs to configure their Apple account for PayPal integration. Once PayPal has been selected, all future purchases with the customer's Apple ID will be automatically charged to their PayPal account, including:

Apps on App Store and Mac App Store Apple Music subscriptions Music, movies, TV shows, ringtones and more on iTunes Store Books on iBooks Store iCloud storage upgrades

As a bonus, the feature now supports PayPal's One Touch technology,

One Touch skips the PayPal login screen at checkout after the first use as long as you’re in the same device or browser. In other words, after buying something using your Apple ID from App Store and other stores, One Touch will skip the password field that PayPal normally requires.

More importantly, One Touch allows for simple purchasing from all Apple devices—including your Apple TV and Apple Watch for the first time—since you no longer need to provide your PayPal credentials for every purchase.

Both new and existing customers will be able to switch their account to use PayPal as the default method when the feature goes live in their market.

For more information on how to set up PayPal with your Apple ID account on your iOS device, visit paypal.com/ituneslaunch.

The best thing about using PayPal as a payment method on App Store and elsewhere is the fact that you can add credit cards to your PayPal account to use with your Apple ID without having to enter any financial details into your Apple ID account.

iOS 11 and macOS High Sierra automatically update your Apple ID to use Two-Factor Authentication

If you haven't upgraded your Apple ID from Apple's older Two-Step Verification system to the more secure Two-Factor Authentication, iOS 11 and macOS High Sierra will do that for your when you install either operating system on your devices.

Apple communicated the change in an email to customers with Two-Step Verification enabled for their Apple ID. Here's the full text of the email communique, as obtained by MacRumors:

If you install the iOS 11 or macOS High Sierra public betas this summer and meet the basic requirements, your Apple ID will be automatically updated to use two-factor authentication. This is our most advanced, easy-to-use account security, and it's required to use some of the latest features of iOS, macOS, and iCloud.

Once updated, you'll get the same extra layer of security you enjoy with two-step verification today, but with an even better user experience. Verification codes will be displayed on your trusted devices automatically whenever you sign in, and you will no longer need to keep a printed recovery key to make sure you can reset a forgotten password.

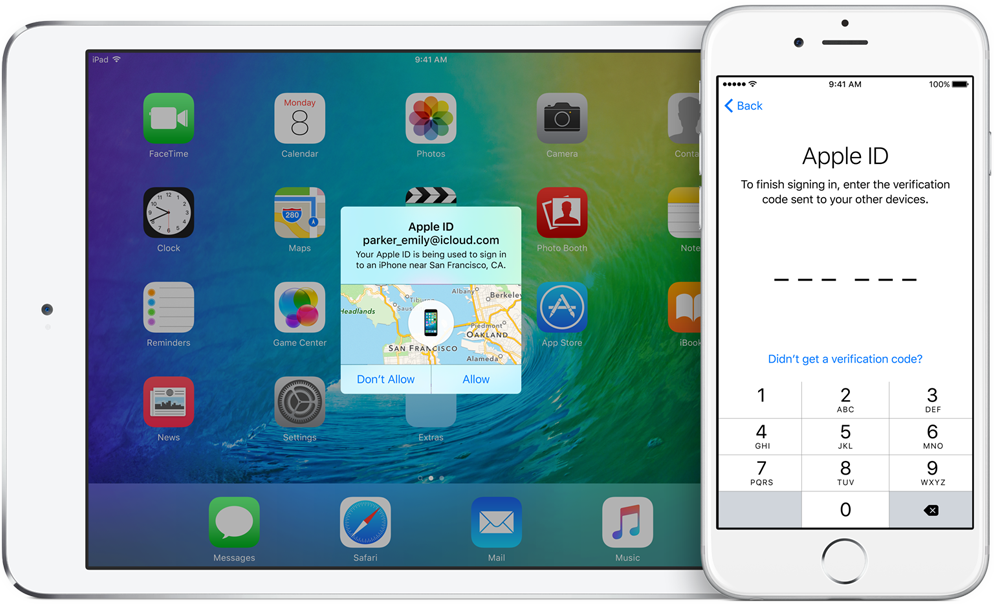
Significantly improving the security of your Apple ID, Two-Factor Authentication requires both your Apple ID password and a one-time code when you sign in to a new device or browser with your Apple ID.

TUTORIAL: How to protect your Apple ID with Two-Factor Authentication

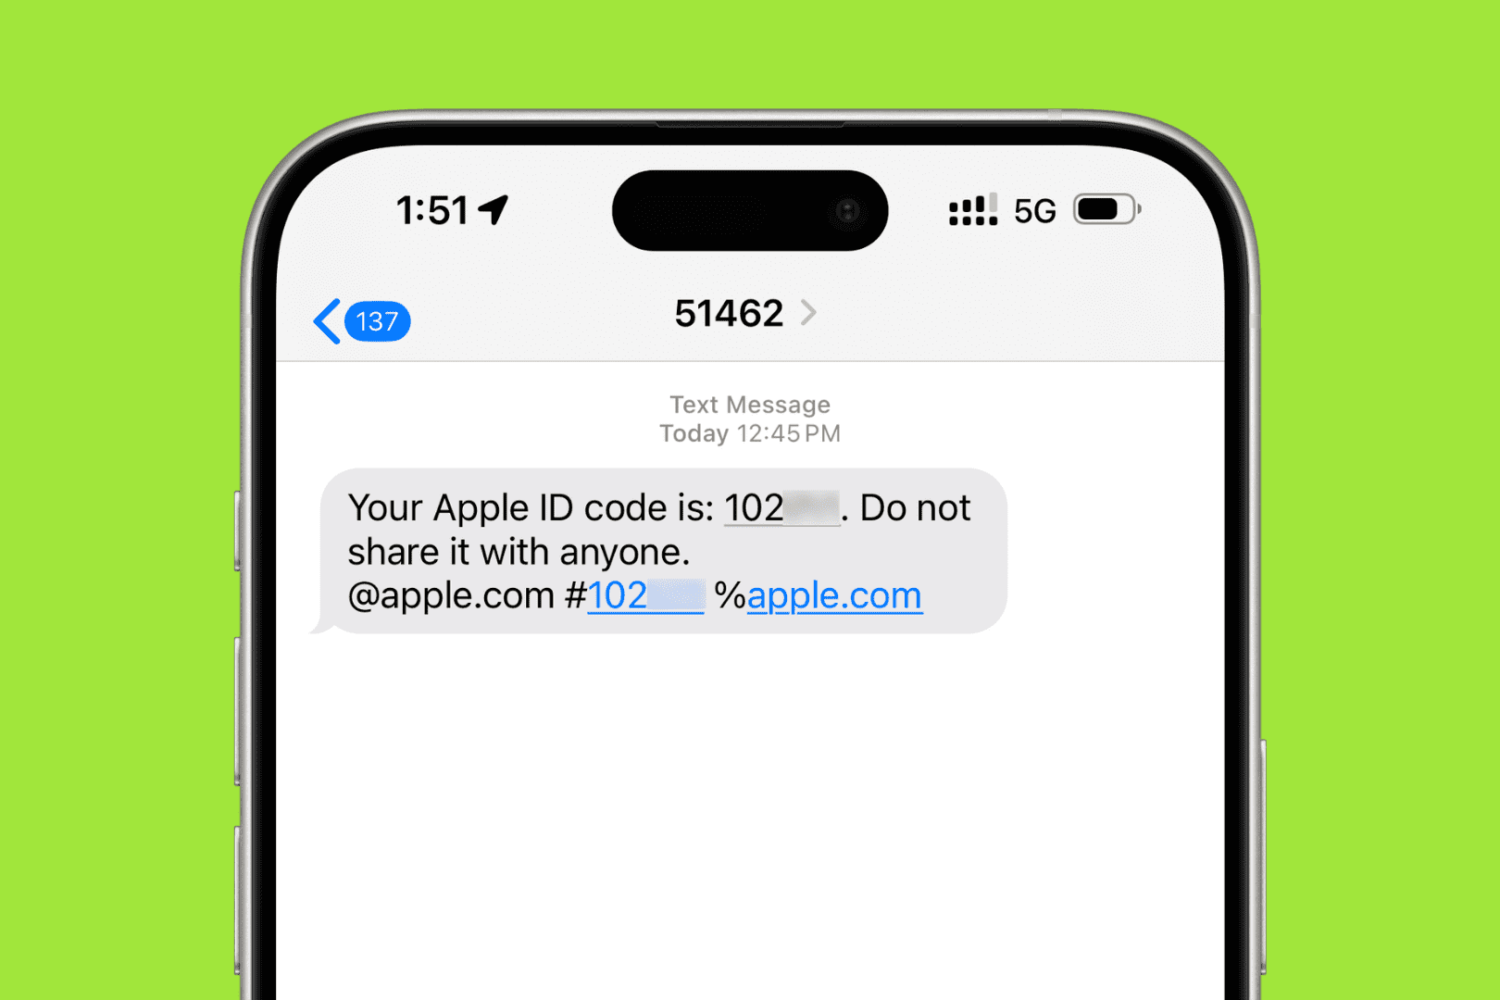
Unlike Two-Step Verification, which sends a six-digit verification code via SMS, Two-Factor Authentication is deeply integrated in iOS 9, OS X El Capitan, watchOS 2 and tvOS or later and features a mechanism that automatically delivers verification codes via push notifications to all trusted devices registered to a given Apple ID.

If you're not using either system to protect your Apple ID, you're wholeheartedly recommended to enroll your devices in Two-Factor Authentication. If your account isn't eligible for two-factor authentication, you can still use two-step verification to protect your Apple ID information.

One way or another, anyone installing Apple's latest OS updates this fall shall be asked to upgrade their Apple ID to the more modern Two-Factor Authentication system. Two-Factor Authentication is available in more than a hundred countries, listed in Apple's support document.

How to generate app-specific passwords

Apps designed to use iCloud Drive for syncing data between devices “just work”. On the other hand, those that don’t natively support Apple's secure Two-Factor Authentication system may ask for your Apple ID password to access data stored in your iCloud account.

For instance, Fantastical for Mac may require your Apple ID user name and password to import your iCloud calendars. And what if you'd like to use your iCloud email account in apps like Spark or Airmail, but don't want to expose your Apple ID credentials to the app?

Given that asking for the user's iCloud password poses a dangerous attack vector, Apple now mandates that all native apps use app-specific passwords to access user data stored in iCloud.

The change goes into effect on June 15, 2017.

To ensure worry-free experience, you can use an app-specific password to sign in to an app or service not provided by Apple, without ever typing your Apple ID password.

In this step-by-step tutorial, you will learn how to create an app-specific password for any native app that wants to access your personal data stored in iCloud, revoke all of your generated passwords one by one or all at once, and more.

About app-specific passwords

Security is paramount.

Protecting your Apple ID account against hackers and nefarious users by turning on Apple's older Two-Step Verification system or the modern, more secure Two-Step Verification also entails using app-specific passwords for any web apps, online services and apps that don’t natively support entering verification codes.

TUTORIAL: How to protect your Apple ID with Two-Factor Authentication

App-specific passwords maintain “a high level of security and ensure that your primary Apple ID password won’t be collected or stored by any third-party apps you might use,” notes Apple.

You can have up to 25 active app-specific passwords at any given time. If you need to, you can revoke passwords individually or all at once.

How to generate app-specific passwords

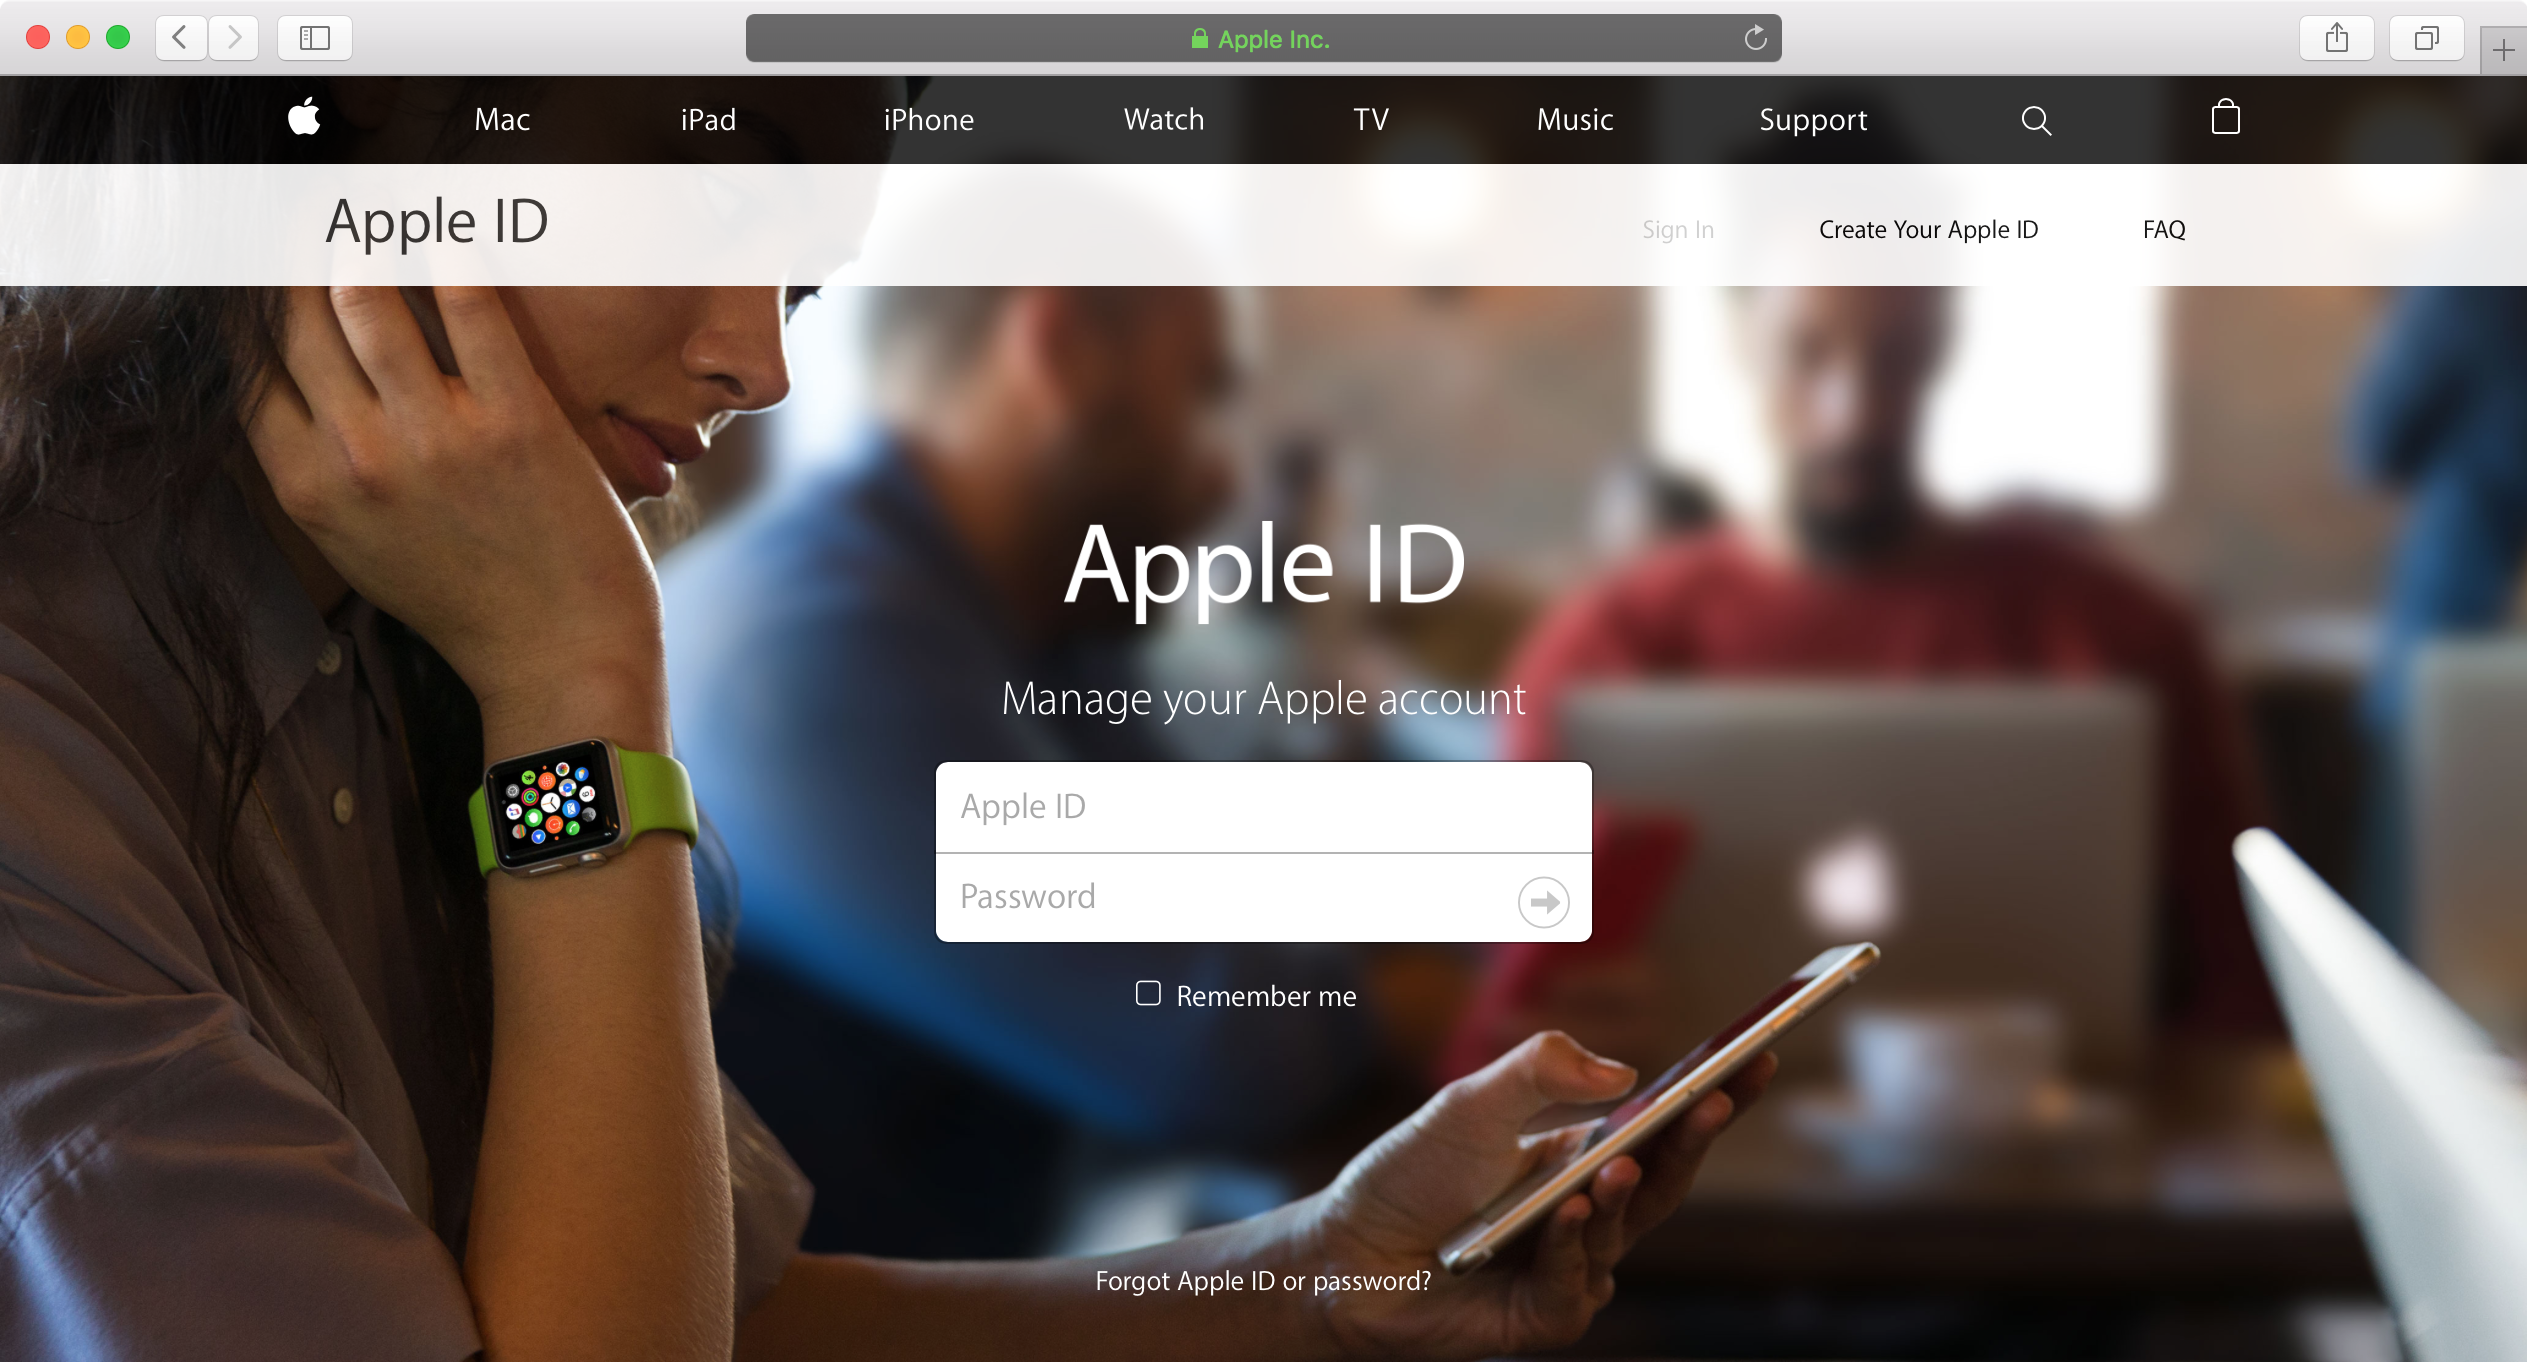
1) Sign in to your Apple ID account page at appleid.apple.com/account/home.

2) In the Security section, click Generate Password below App-Specific Passwords.

3) Type a password label into the text field, then click Create to generate a random password. The password label helps distinguish one app-specific password from another.

I'll create an app-specific password for Fantastical and name it “Fantastical for Mac”.

4) Click Done to finish creating the password.

5) Now paste the password into the password field of the app as you would normally.

Again, I'm a Fantastical believer so I'm going to type the generated password into Fantastical.

Using an app-specific password ensures that Fantastical is able to access my iCloud calendar and gives me a piece of mind knowing I don't have to worry about the security of my Apple ID.

As a reminder, you can have up to 25 active app-specific passwords at any given time. Keep in mind that each app-specific password is case-sensitive and only works in one app.

How to revoke app-specific passwords

You can revoke app-specific passwords individually or all at once. Revoking an app-specific password stops the app from accessing data in your iCloud account.

1) Sign in to your Apple ID account page at appleid.apple.com/account/home.

2) In the Security section, click Edit.

3) In the App Specific Passwords section, click View History.

4) You can now revoke an individual password or all passwords at once:

Revoke individual passwords—To revoke an individual password, click the “x” next to a password you'd like to delete, then click Revoke. Revoke all passwords at once—To revoke all the app-specific passwords you've generated thus far, click Revoke All.

“After you revoke a password, the app using that password will be signed out of your account until you generate a new password and sign in again,” notes Apple.

Be sure to generate new app-specific passwords for any apps that don't support entering verification codes because, for the sake of your own security, all of your app-specific passwords are auto-revoked any time you update or reset your primary Apple ID password.

Need help? Ask iDB!

If you like this how-to, pass it along to your support folks and leave a comment below.

Got stuck? Not sure how to do certain things on your Apple device? Let us know at help@iDownloadBlog.com and a future tutorial might provide a solution.

Submit your how-to suggestions via tips@iDownloadBlog.com.
How to have the Music app only show songs stored on your device

Thanks to the introduction of goodies like the iCloud Music Library and more recently Apple Music, your Music app on iPhone and iPad has not only turned from a luscious red color into a plain icon, but has also become decidedly more convoluted.

The main change since the coming of the cloud-based additions to the Music app? Songs no longer have to be stored locally on your device in order to be visible and playable. In case you haven’t yet found the trick hiding in plain sight to only play the songs downloaded to your device (and prevent exorbitant data charges), let’s fill you in now!