We are back with more photo tips today, so if you missed our first two articles, be sure to go back and read them. We covered creating a stunning HDR in under 3 minutes as well as 3 tips for creating eye-popping photos.
If you are like me, you like to experiment with different looks in your photos. That’s part of the beauty of digital photography – you can quickly and easily try out new ideas and processing styles, without permanently altering your original image. While you probably have a “go-to” style, it’s always rewarding when you step outside the lines a little bit and try something new.
I tend to be drawn to bold and expressive colors, so for me, experimenting with muted colors and vintage effects is kind of like a science experiment – it’s not my natural state, but it’s sure fun to mix things up in the digital lab and see what I come up with. I’m often surprised at the results, and I always learn something new.
Today, we will explore using Tonality from Macphun to quickly and easily add a vintage effect to your photos. You can download a free trial of Tonality and follow along with us. Like all Macphun products, the interface is simple and easy to use, yet there is a lot of power underneath the hood. This means you can go as deep as you like and make some significant changes to your photo, or you can do something a little less involved and create a masterpiece in just a few clicks. It’s really up to you.
That’s what we are doing today. We will walk you through some basic edits in Tonality, but just keep in mind that the end result is always wide open, limited only by your interest in experimenting and your own creativity. You can use Tonality as a one-click solution, or you can delve a little bit deeper and customize the look of your photos.
We will start with a one-click solution, and then make a few minor changes to demonstrate how powerful this product really is. Let’s get started!
This post is part of a mini series of photography tutorials written by professional photographer Jim Nix and brought to you by Macphun. Over the course of several weeks, Jim will share quick and simple tips to dramatically improve your photos with easy-to-use professional software.
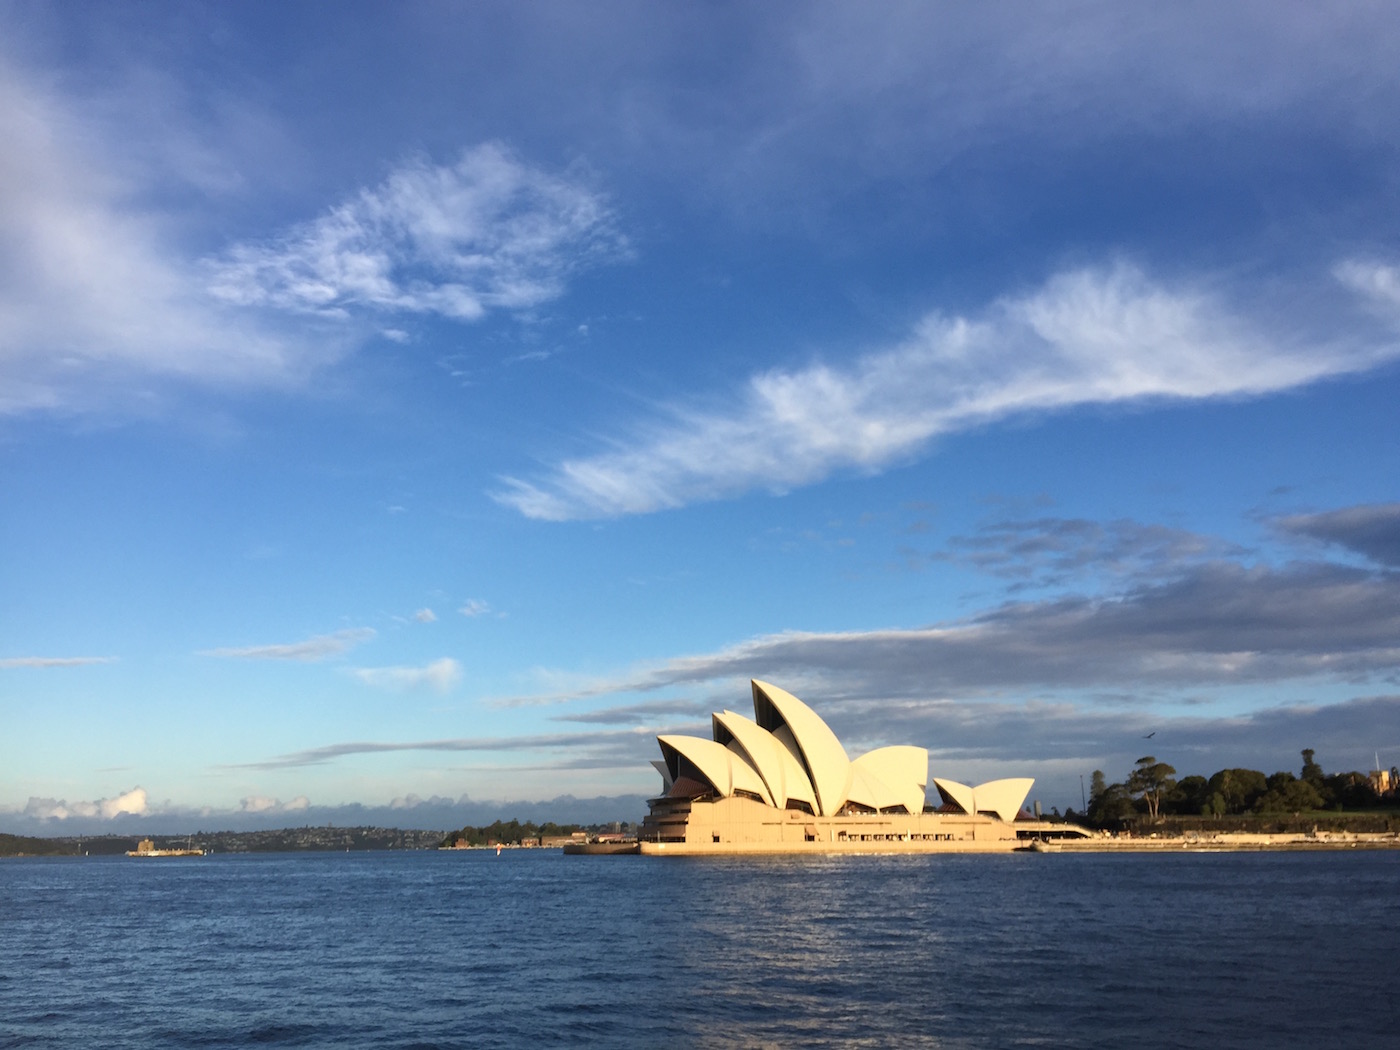
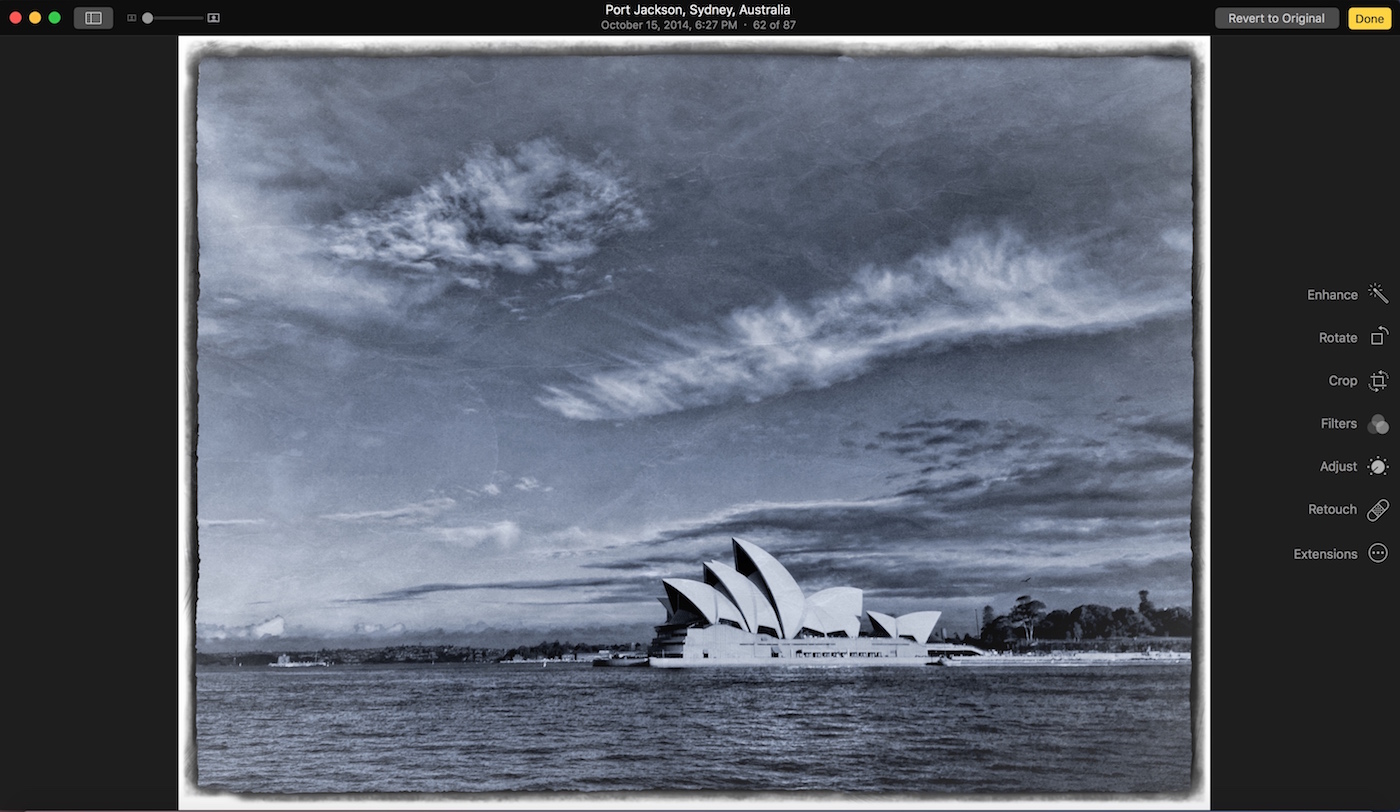
1) As before, we start in Apple’s Photos app. We are going to use this image, which is an iPhone photograph of the Sydney Opera House way down in Australia. It was shot late one afternoon, and obviously it’s quite colorful. We are going to change things up and make it look like an old vintage photo from years past.
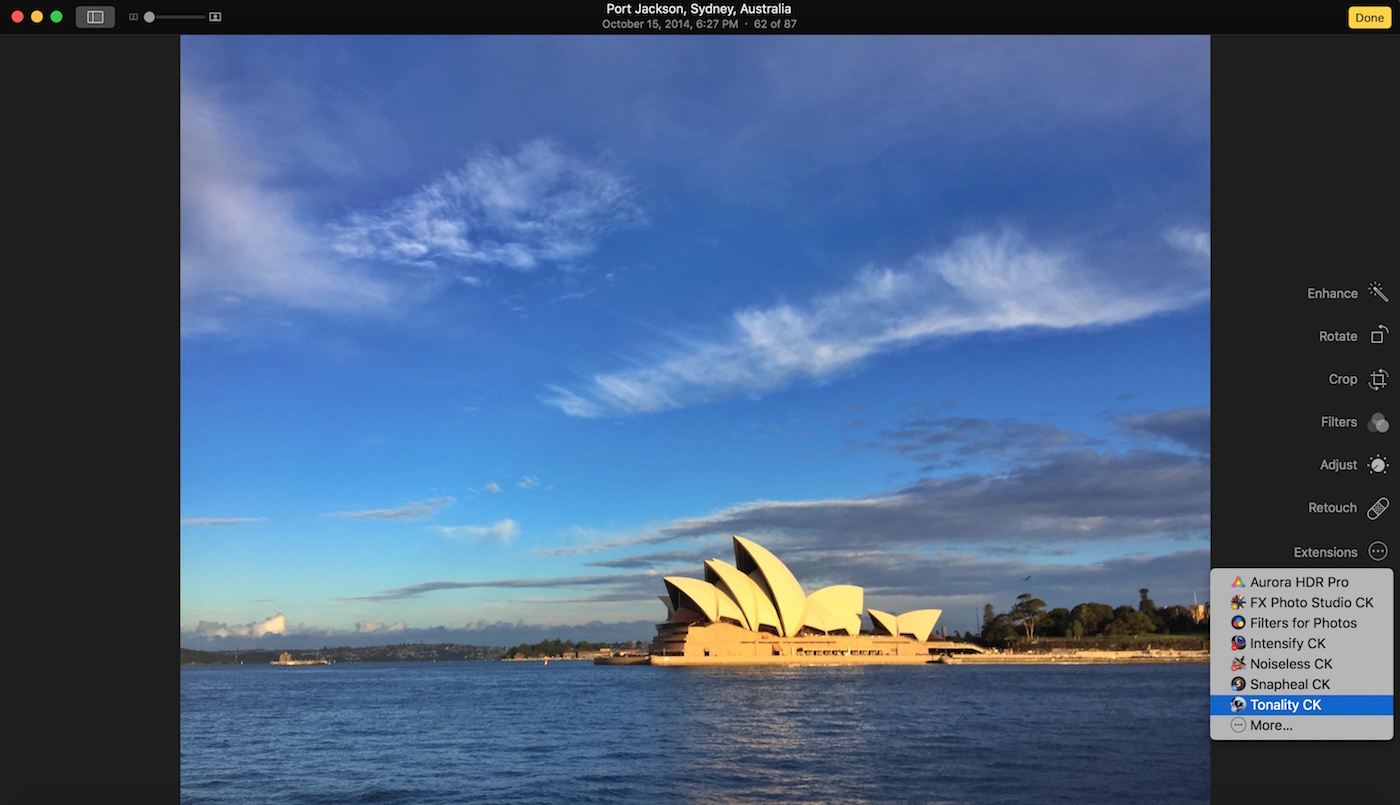
Choose your image in Photos, double click, and then select Edit in the upper right corner. This takes you to the Edit screen in Photos. Click on the Extensions, and then select Tonality from the menu.
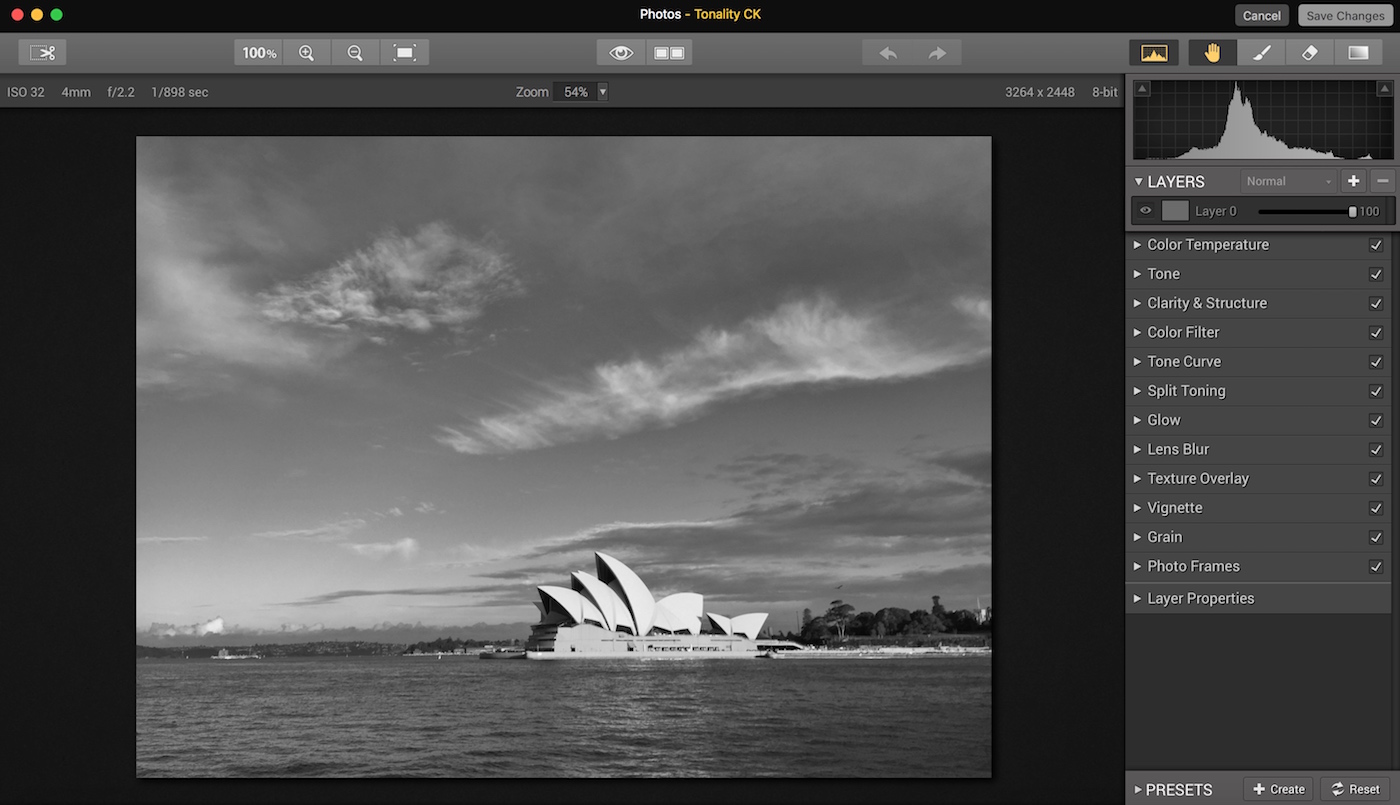
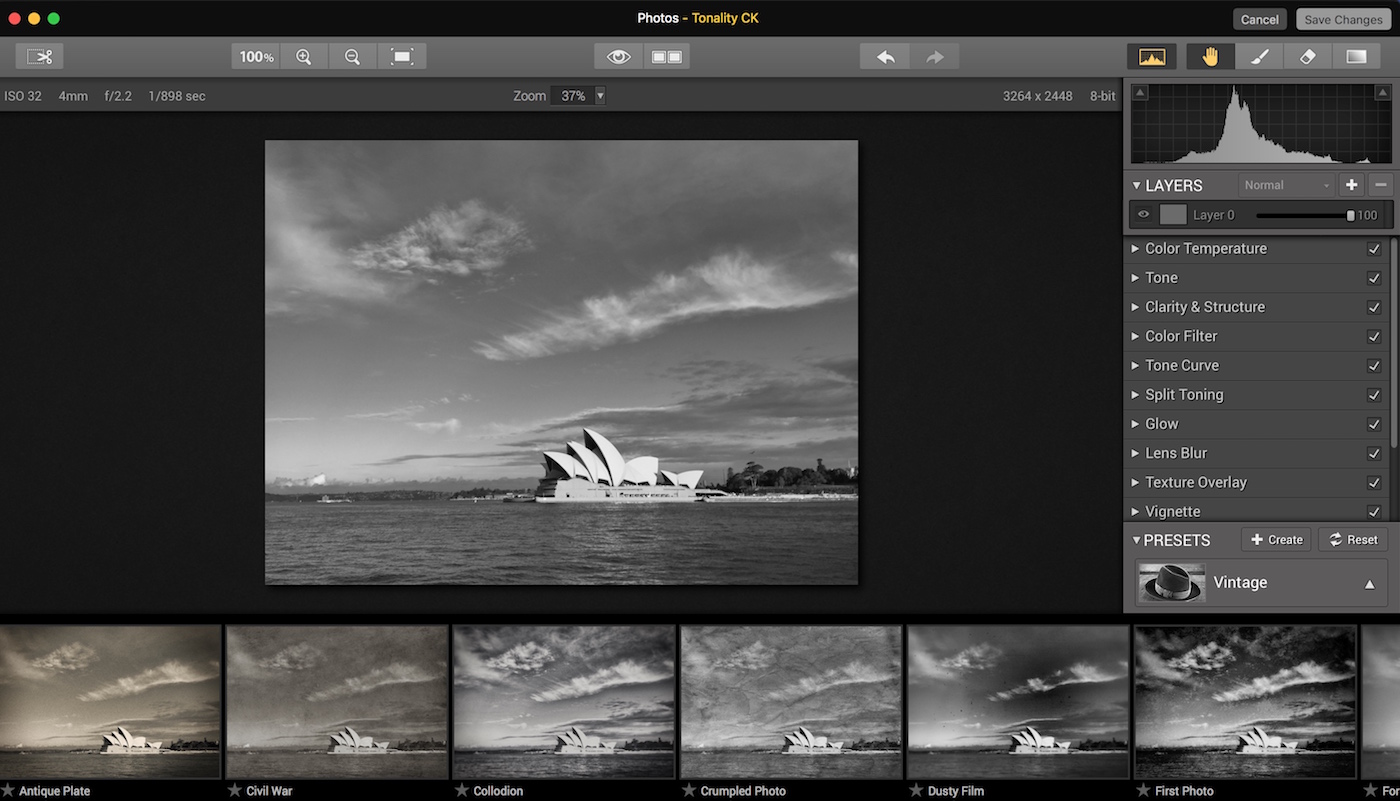
2) You will land on this page in Tonality, and you will immediately notice that your photo has already been converted to monochrome. Note that like in all Macphun products that you have seen in previous articles, there are multiple tools on the right side and the word Presets at the bottom.
3) We are going to start with a Preset, so click on the word Preset at the bottom of the screen, and a film strip will display. There are multiple categories of Presets to choose from, and for this tutorial we are choosing the Vintage category.
4) Once you click on Vintage, you will see many options along the bottom. You can scroll through these to view your options, and you can single-click on any of them to have that effect displayed on your photo. I have scrolled over to the right and chosen the Hand-Coated Selenium preset, which you can see in the photo below. Once you make your selection, just click on the word Preset once more, and this film strip will drop out of sight so your image will display full screen, with the preset applied.
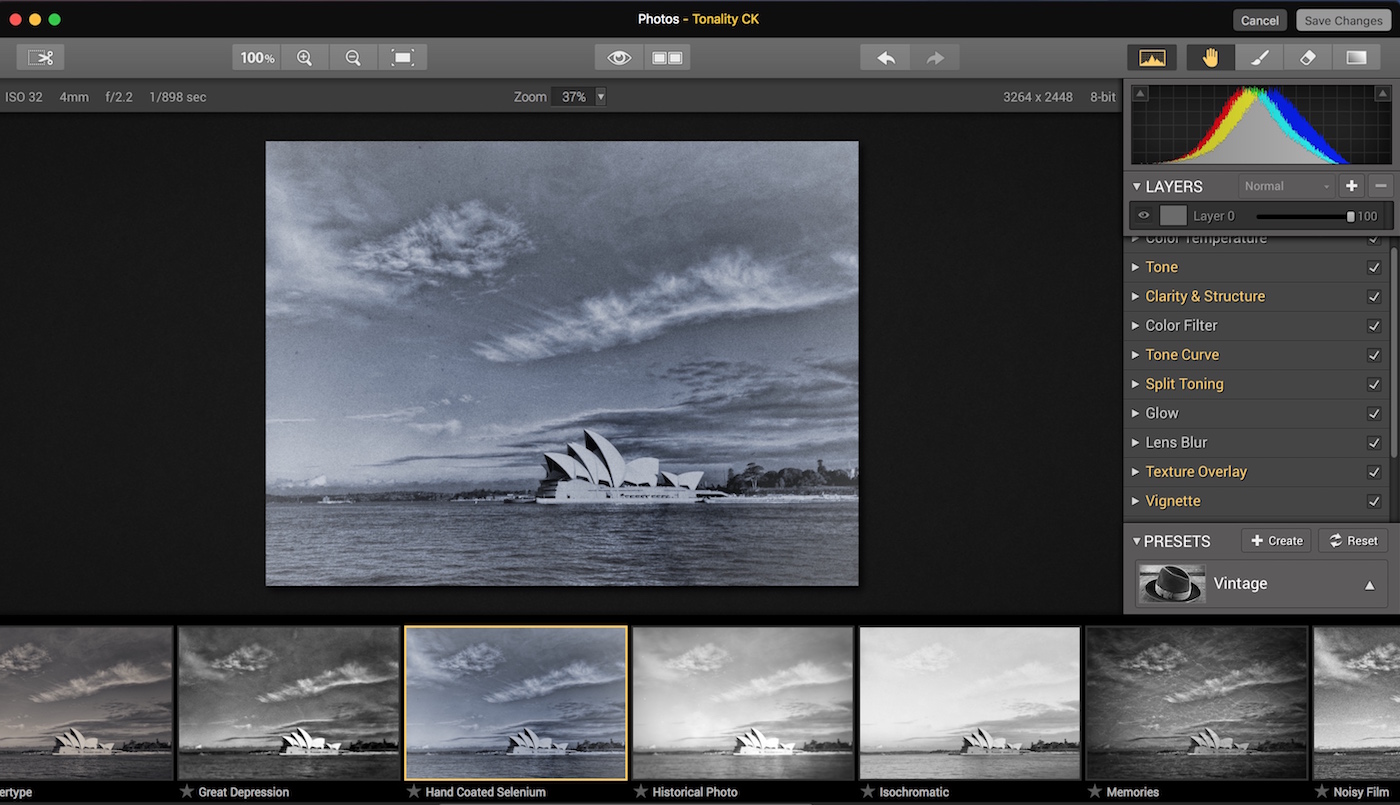
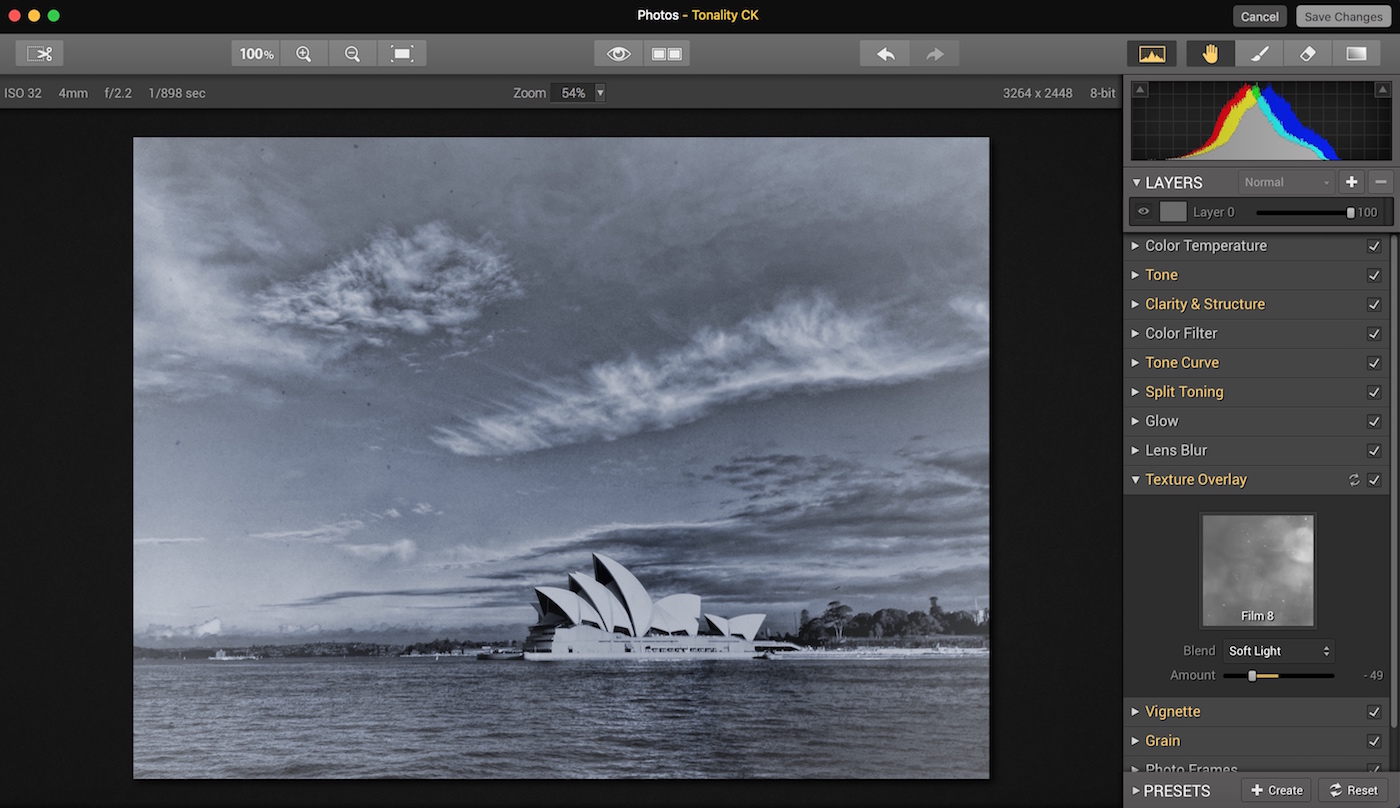
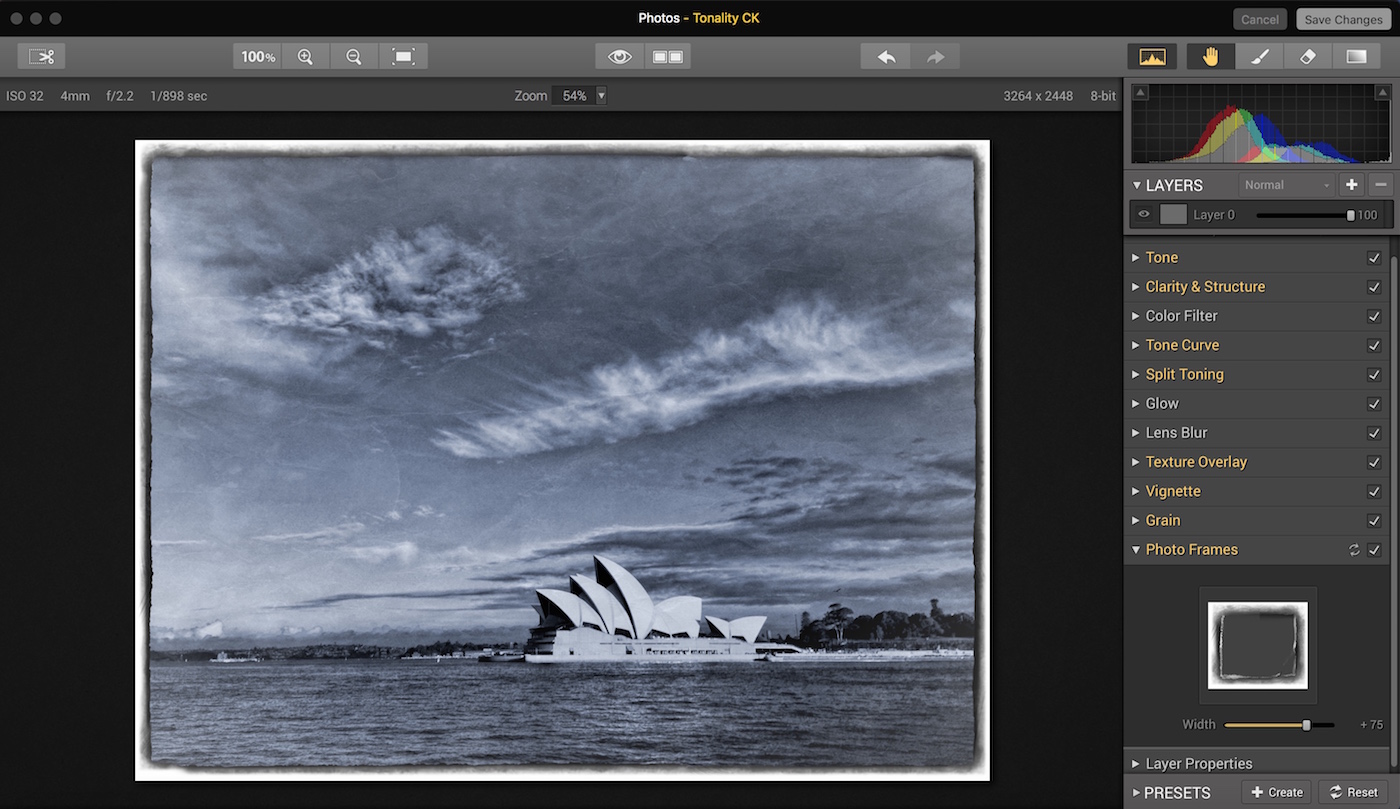
5) Here is the image after applying the preset. If you notice the menu items on the right, some are highlighted in yellow and some are still white. This is because the preset, by definition, made changes to your image. Any changes are represented by the yellow items. In other words, in this image, as this point Tone, Clarity & Structure, Tone Curve, Split Toning, Texture Overlay, Vignette and Grain have all been adjusted.
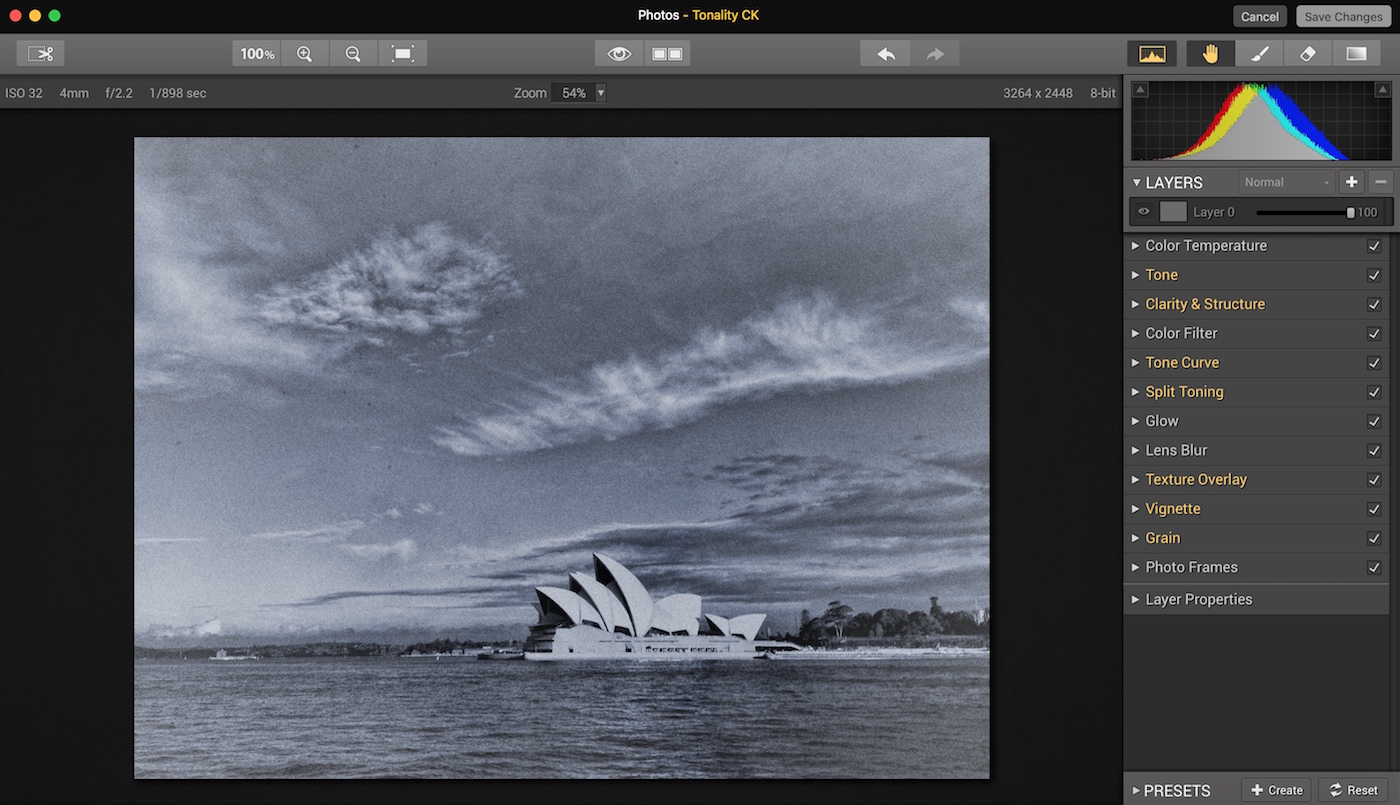
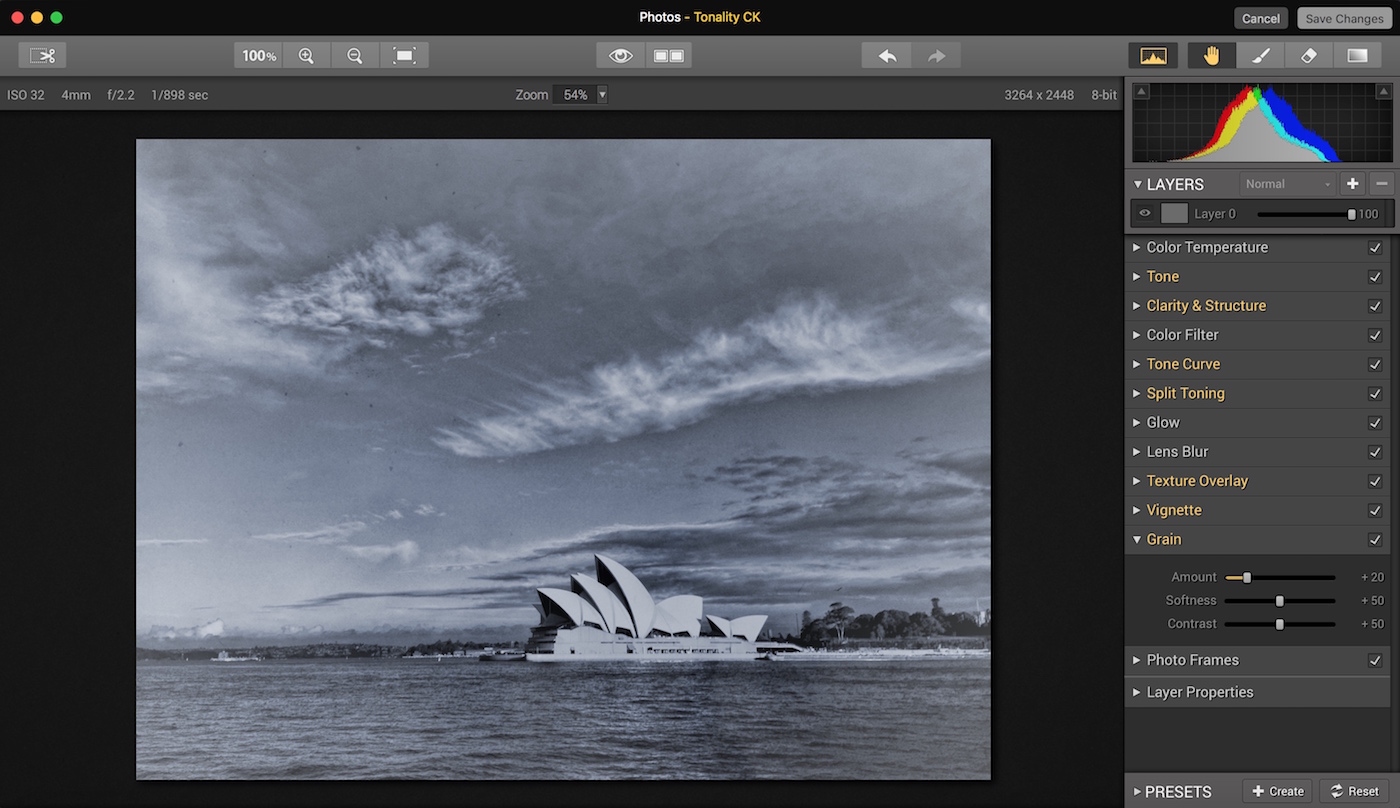
6) Already the photo looks considerably older than it really is, but we are going to fine-tune this preset just a little bit, for a more controlled look. The first thing I do is click on the menu item entitled Grain. When I do, a menu drops down and shows some sliders. The Amount slider is set to +46 by default in the Preset, but I don’t want that much grain, so I am going to reduce it down to +20 by dragging the slider to the left.
7) Next, I am going to change the texture which is included in the Preset. As you can see, the words Texture Overlay are highlighted in yellow, meaning a texture has been applied to the image as part of the Preset.
If you click on that menu item, the drop-down menu will open up and you will see this:
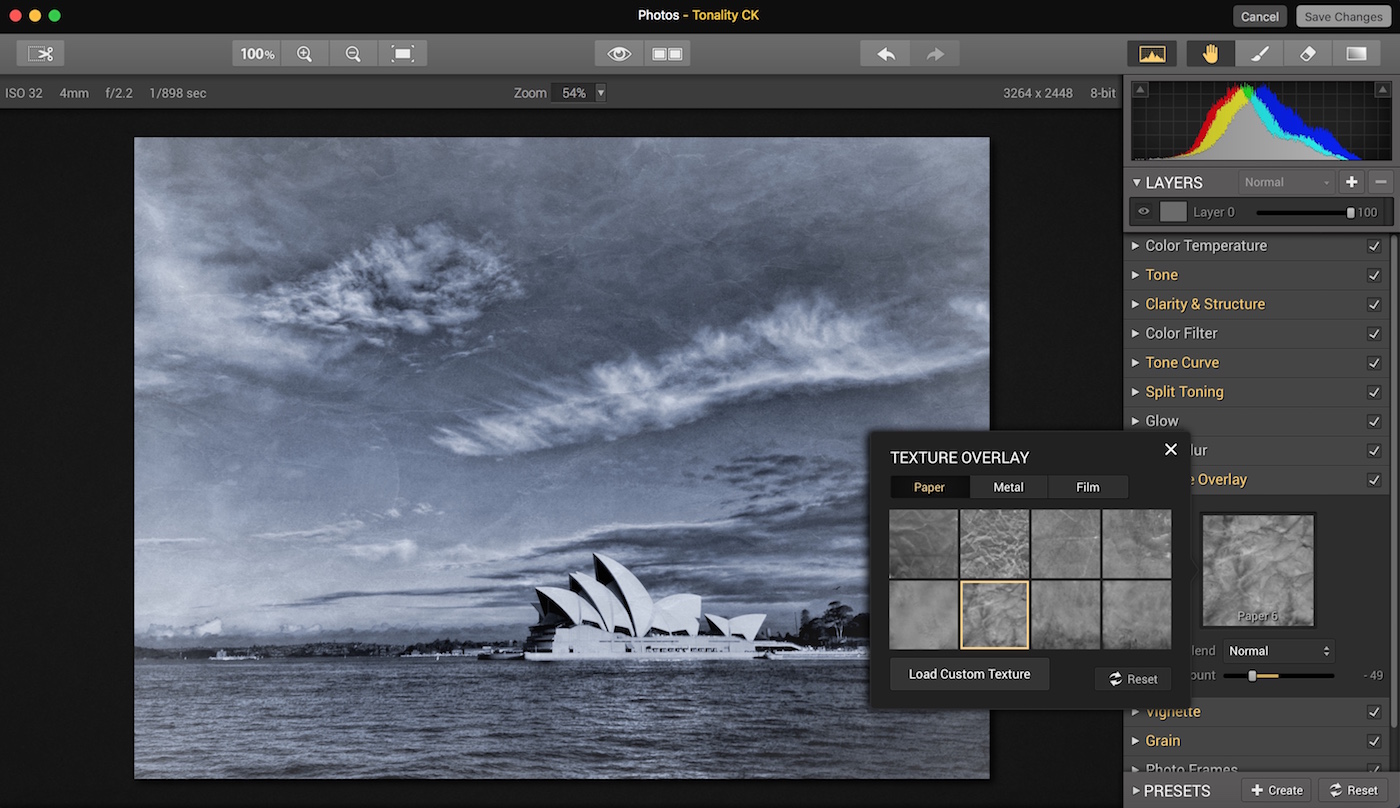
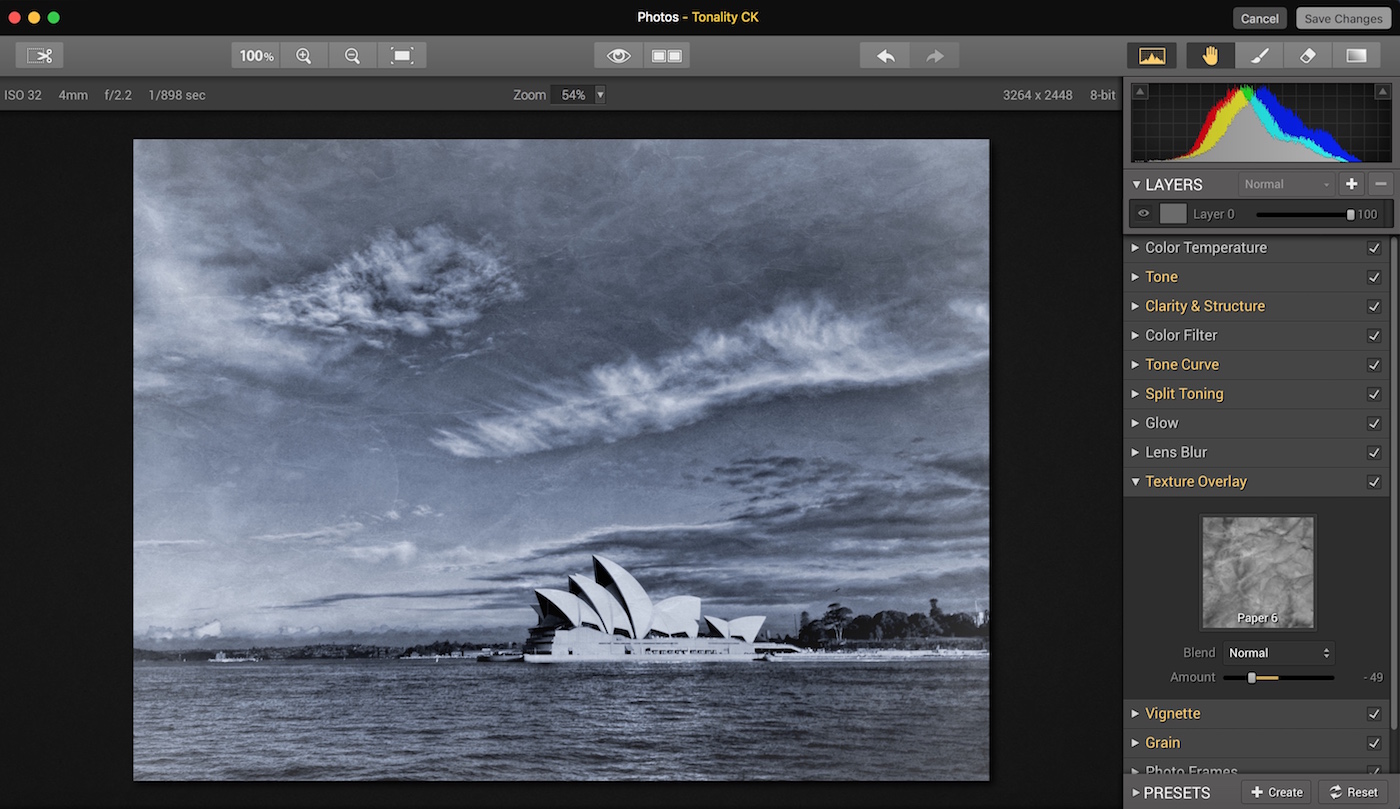
Note that in the square box, it says Film 8. That is the name of the texture that is currently applied to it. Just single click on that, and a texture options menu will open up. We will choose the Paper category, and the texture is named Paper 6. A single click will apply this to the image, and then you can click the X in the upper right to close this window.
We are going to skip Blend Mode and Amount, and leave the texture as is, because it has the effect I was going for in this image. The reason I chose a Paper texture is because it just feels a bit more Vintage to me when it looks like it’s weathered and crinkled a bit, and paper textures are great at displaying that feeling.
8) Our last step is to add a frame to the image. As you can see, the menu item Photo Frames was not highlighted in yellow, meaning it has not been used yet. Just single click on the menu item and it opens up a drop-down menu. Click on Select Frame and you are presented with a lot of options.
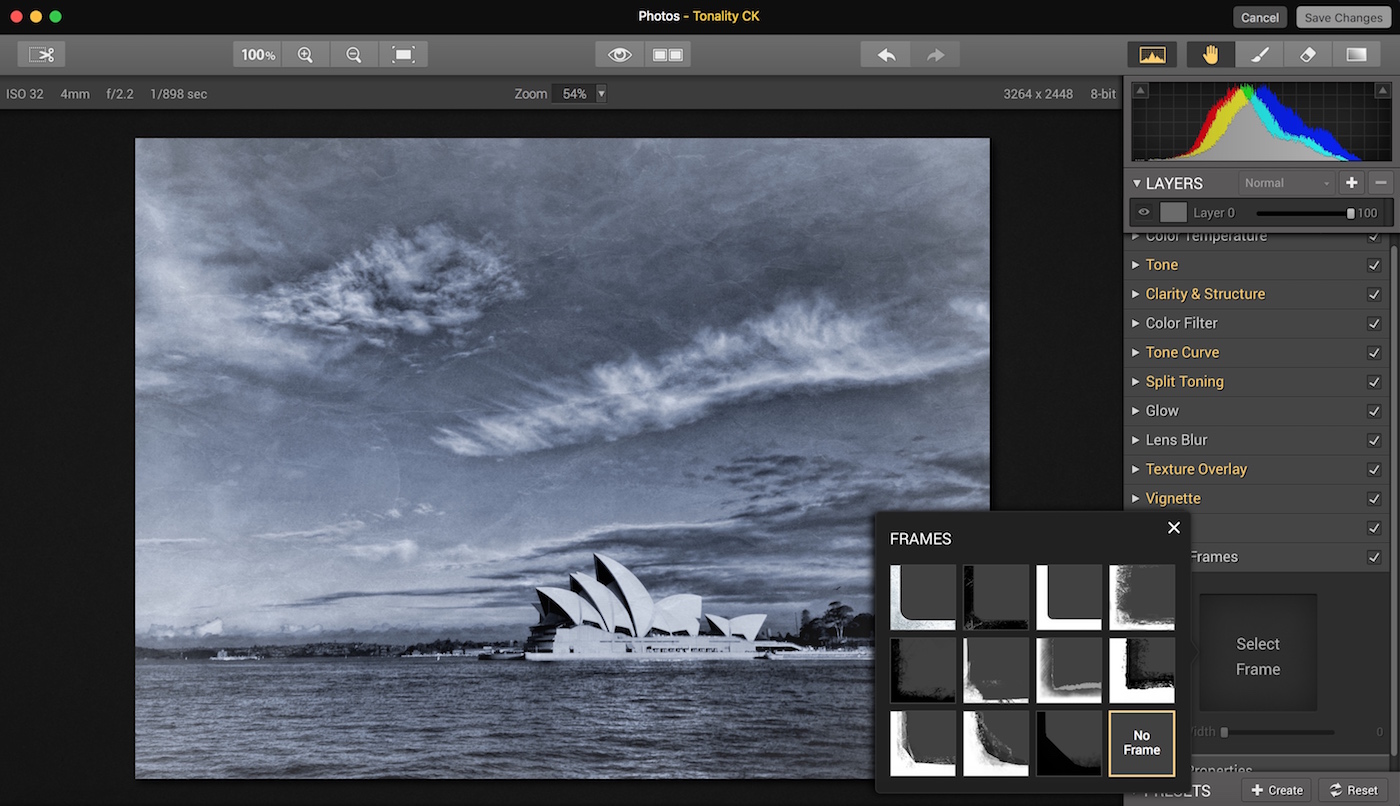
Just select whichever catches your eye (a single click will apply any frame to the image so you can easily experiment), single-click on it, and then click on the X in the upper right corner to close that menu. Also note the slider for Width. I have increased the width of the frame by dragging the slider to the right.
After that, you are all done! Just click on Save Changes in the upper right corner of the screen, and your photo will be returned to the Edit screen in Photos. When there, click Done and your photo will display back in your Library view in Photos.
Here is the final image after applying the preset and making some quick, minor adjustments:
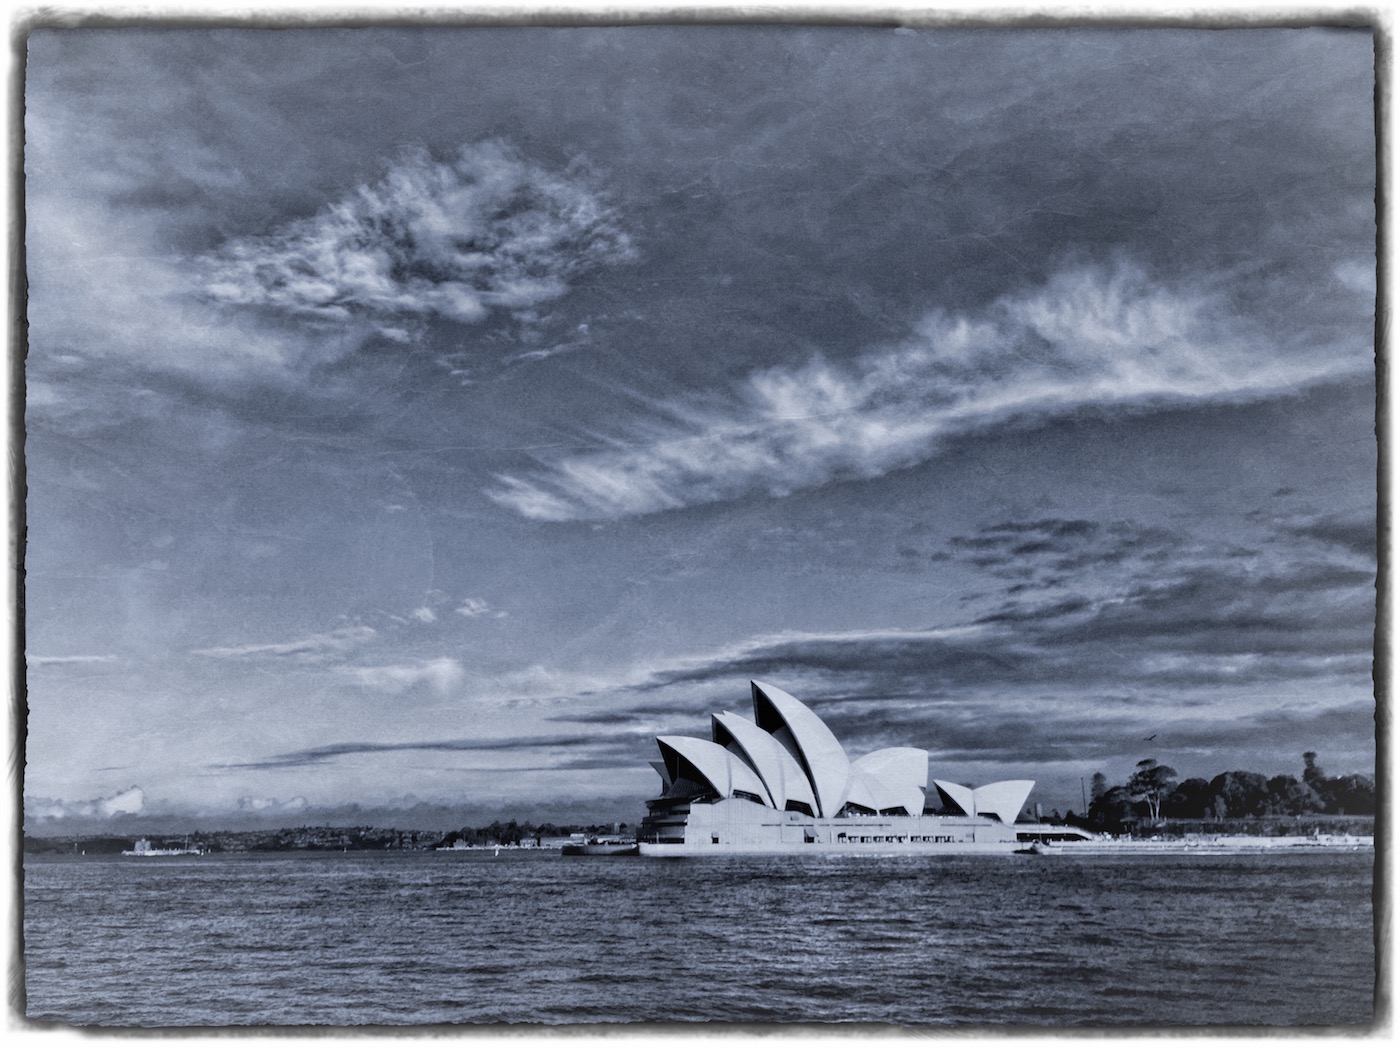
This was just a couple of minutes of work – very quick when you are actually doing it, as opposed to reading it – and gave us a very different look than the sunny and bright image we started with. I feel like this vintage version really looks like an old photo that you found buried in your grandfather’s attic, or something like that. It just looks old, which is exactly what we were hoping to achieve with it.
Thanks for stopping by and let us know if you have any questions!