Do you take a lot of photos with your iPhone? Yep, I do too. I am often shooting with it even as I am capturing a scene with my professional camera. I find that I capture different views on a subject when doing so. For me, shooting with my iPhone is all about the fun, ease and whimsy of mobile photography. Plus, it’s always with you, right?
But do you ever capture photos that look great compositionally, but feel like they are just lacking a little something extra? You know, maybe they need a color boost to bring them up a little, or perhaps the shadows are too dark, or worse yet, there is a lot of digital noise in what should be a smooth sky?
It does happen, because despite being very convenient and a capable little camera, it can only do so much. There are many iPhone apps that people have turned to in order to make edits to their iPhone photos (myself included), but using professional software to make those adjustments can usually offer amazing results.
While we often think of making photo adjustments on the fly for a quick upload somewhere, consider how much more beautiful your shots will be if you exert a bit more fine-tuned control over the final image.
Today, we will take a look at doing just that, and help you create a stunning HDR image in just a couple of minutes, using Aurora HDR from Macphun.
This post is part of a mini series of photography tutorials written by professional photographer Jim Nix and brought to you by Macphun. Over the course of several weeks, Jim will share quick and simple tips to dramatically improve your photos with easy-to-use professional software.
If you aren’t familiar with the term HDR, it stands for High Dynamic Range and it involves combining multiple photos taken at different exposure levels, in order to create a more balanced distribution of light across the photo. Professionals have been using it for years, and you can even capture an HDR photo on your iPhone, either with the built-in HDR option or various third party apps.
But you can also use Aurora HDR software for a single exposure photo and that’s what we will explore today.
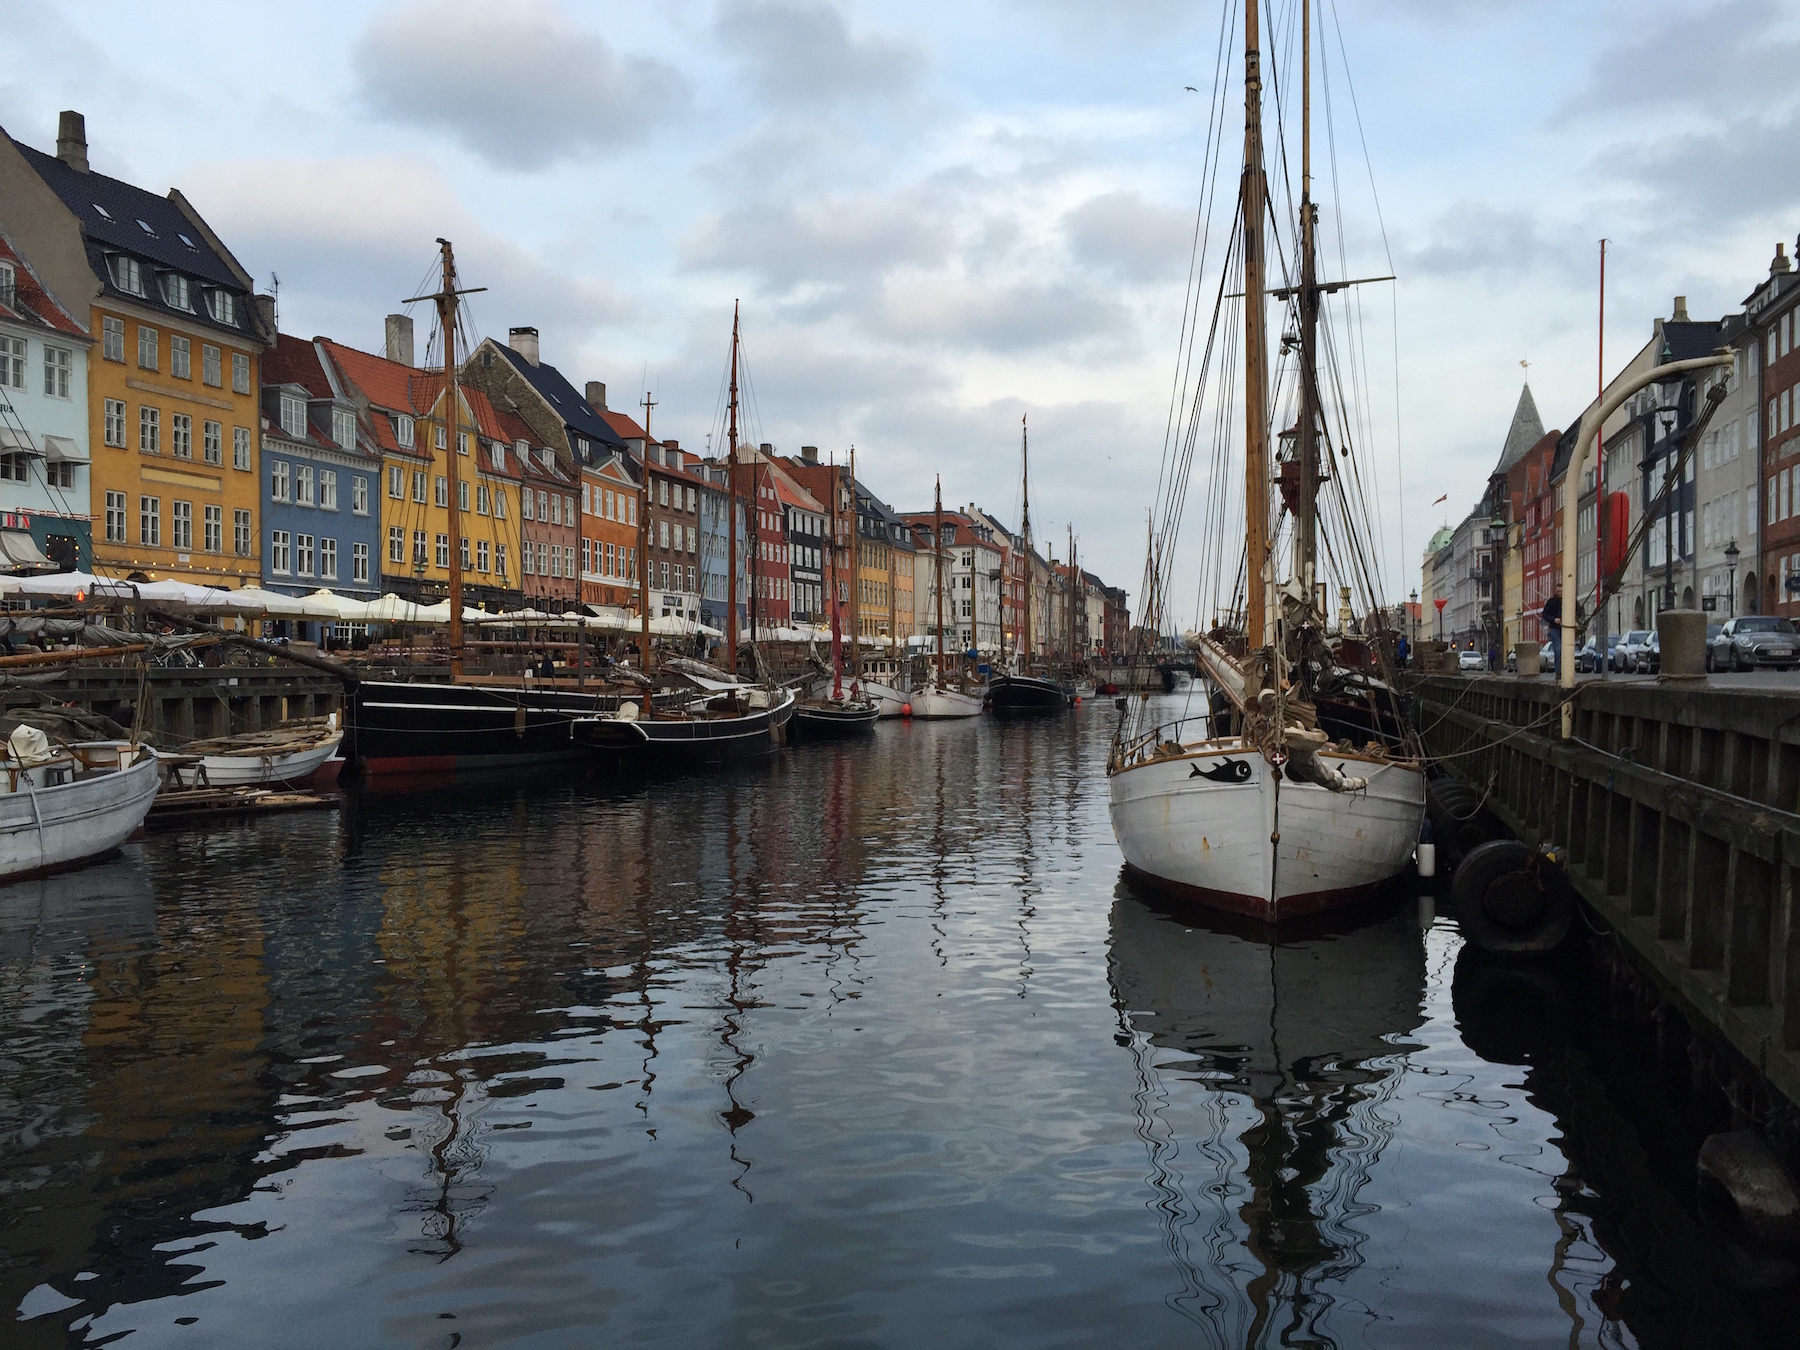
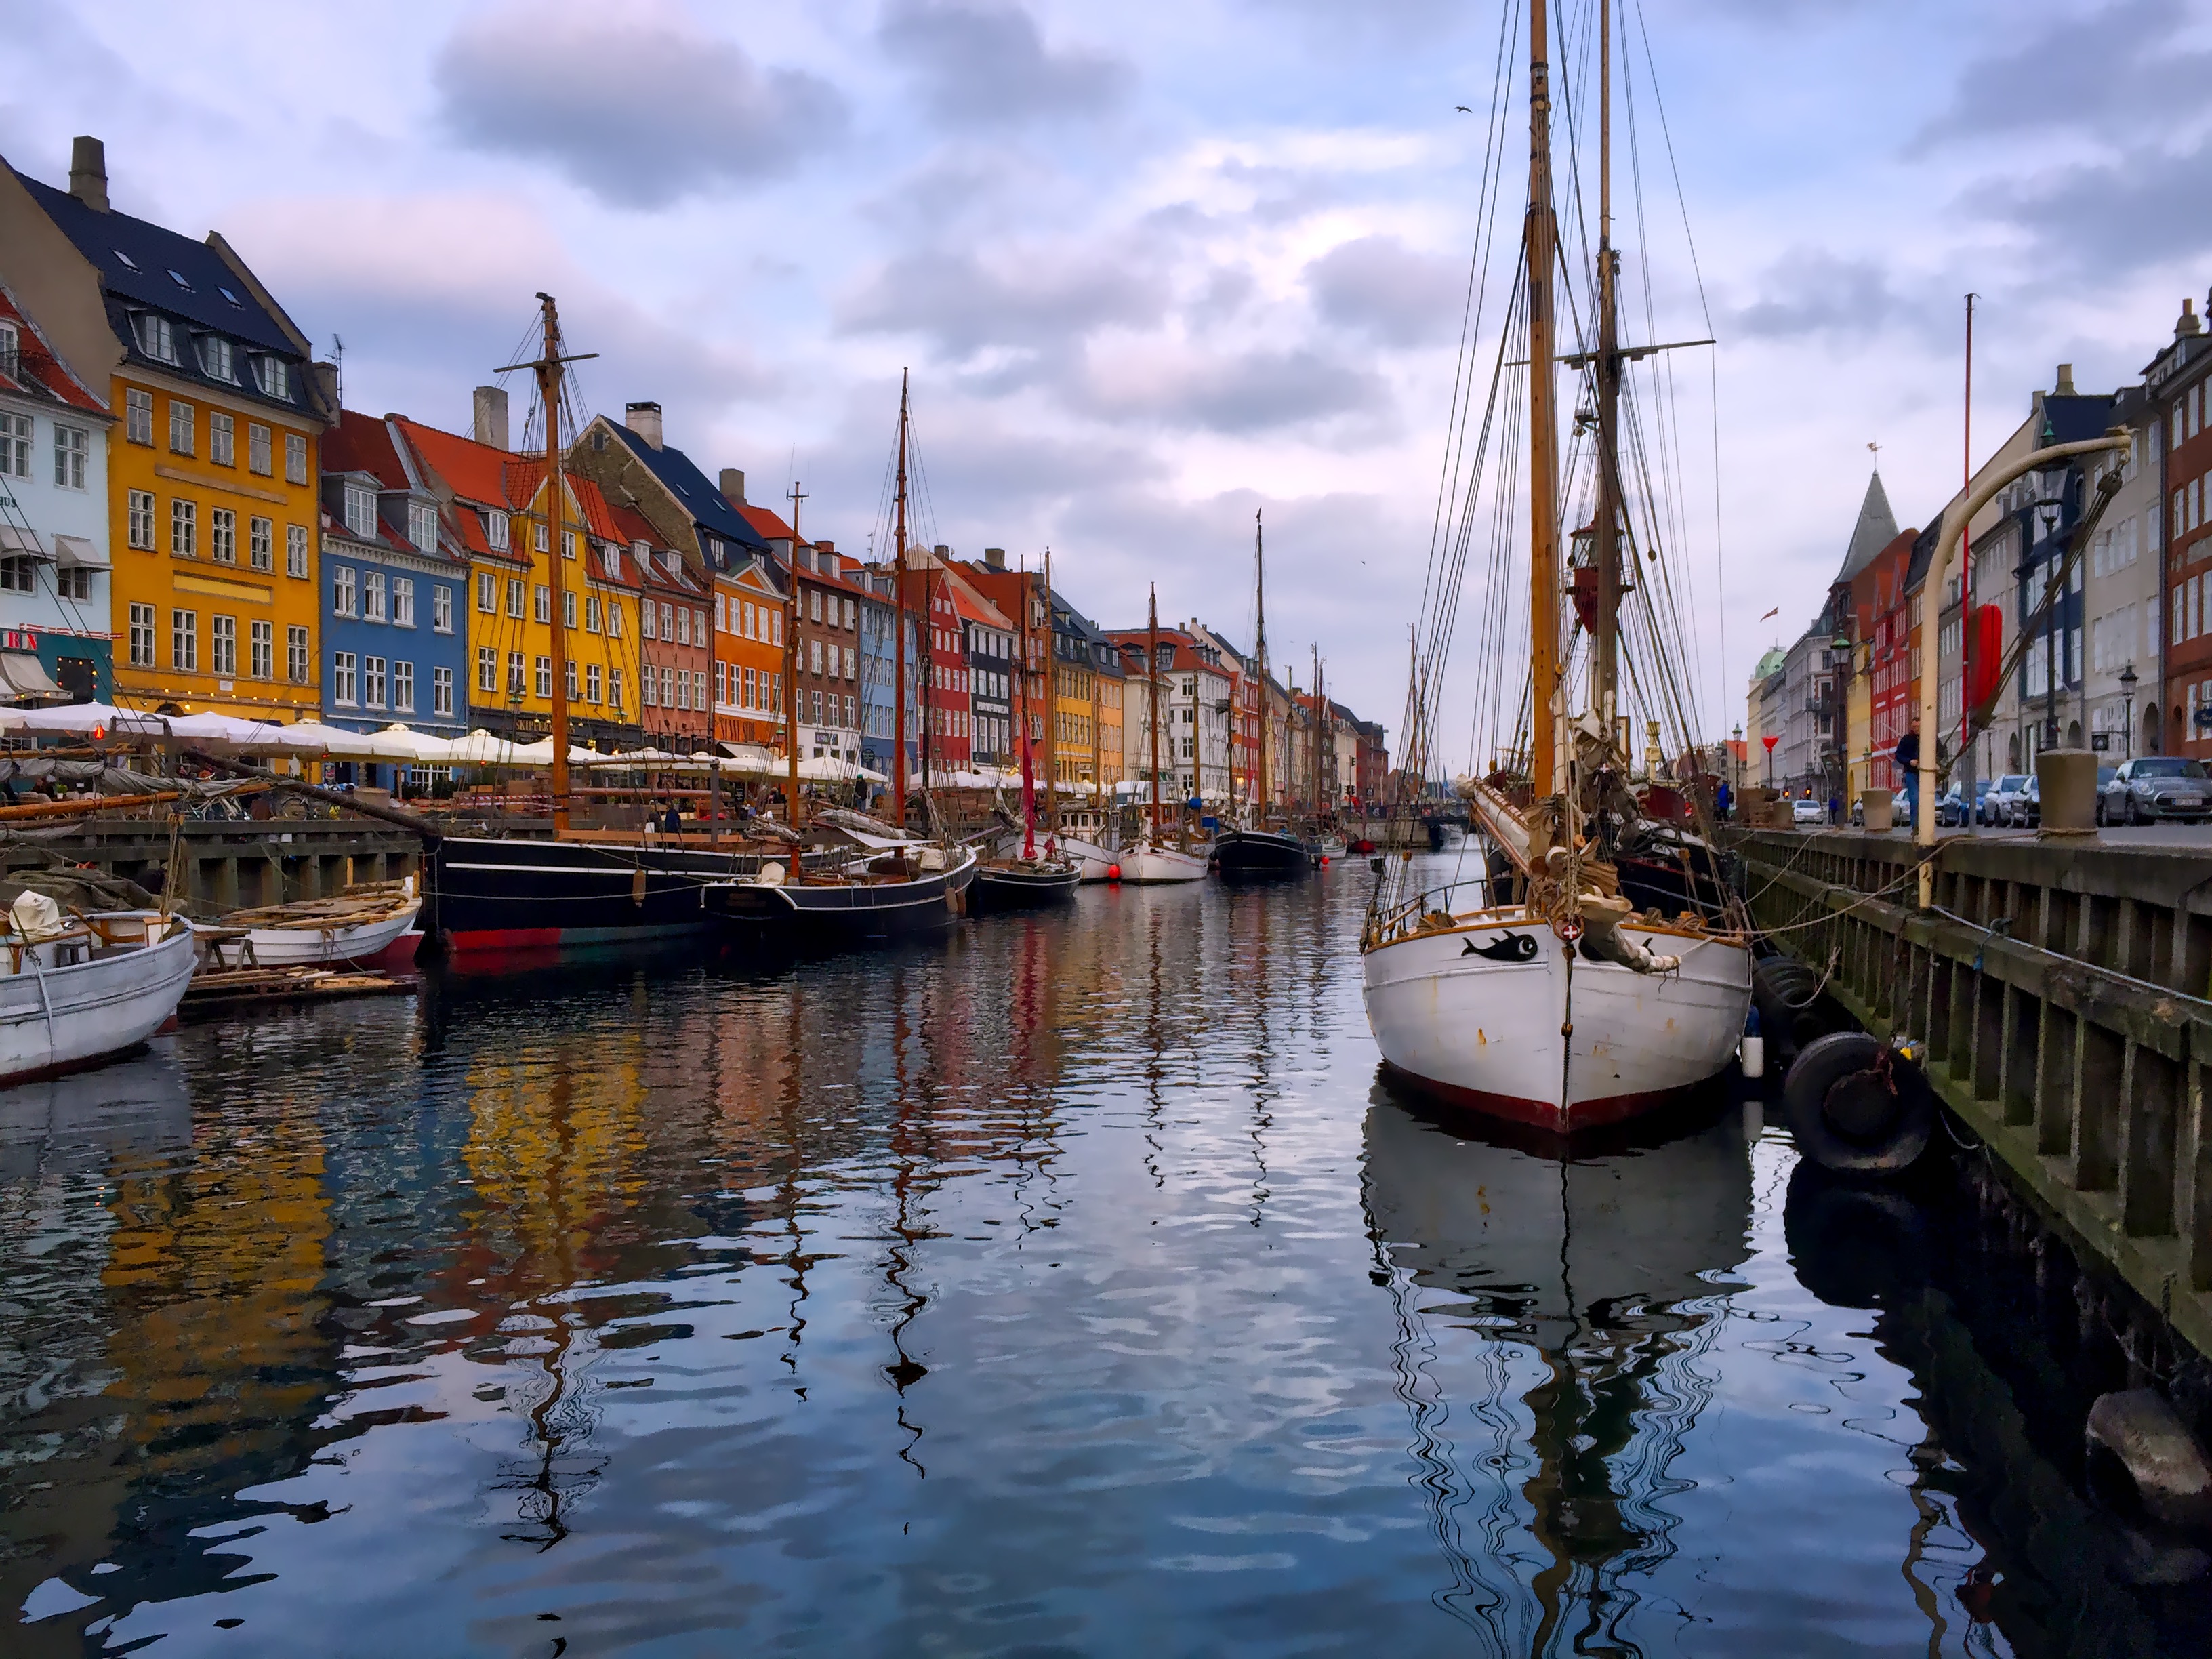
I have chosen to use this photo which was taken around sunset in Copenhagen, Denmark. This is their well-known historic harbor area, known as Nyhavn, and a frequent subject for me when I visit this gorgeous city.
As you can see, the original, straight-from-the-iPhone shot is decent, but lacks any real “pop” in terms of color or contrast. It’s not nearly as vibrant as the scene actually was that afternoon. There is also a little noise in the sky, so we are going to do a quick edit in Aurora and fix all of that.
If you want to follow along using the same photo, you may want to download the full resolution image. Let’s go!
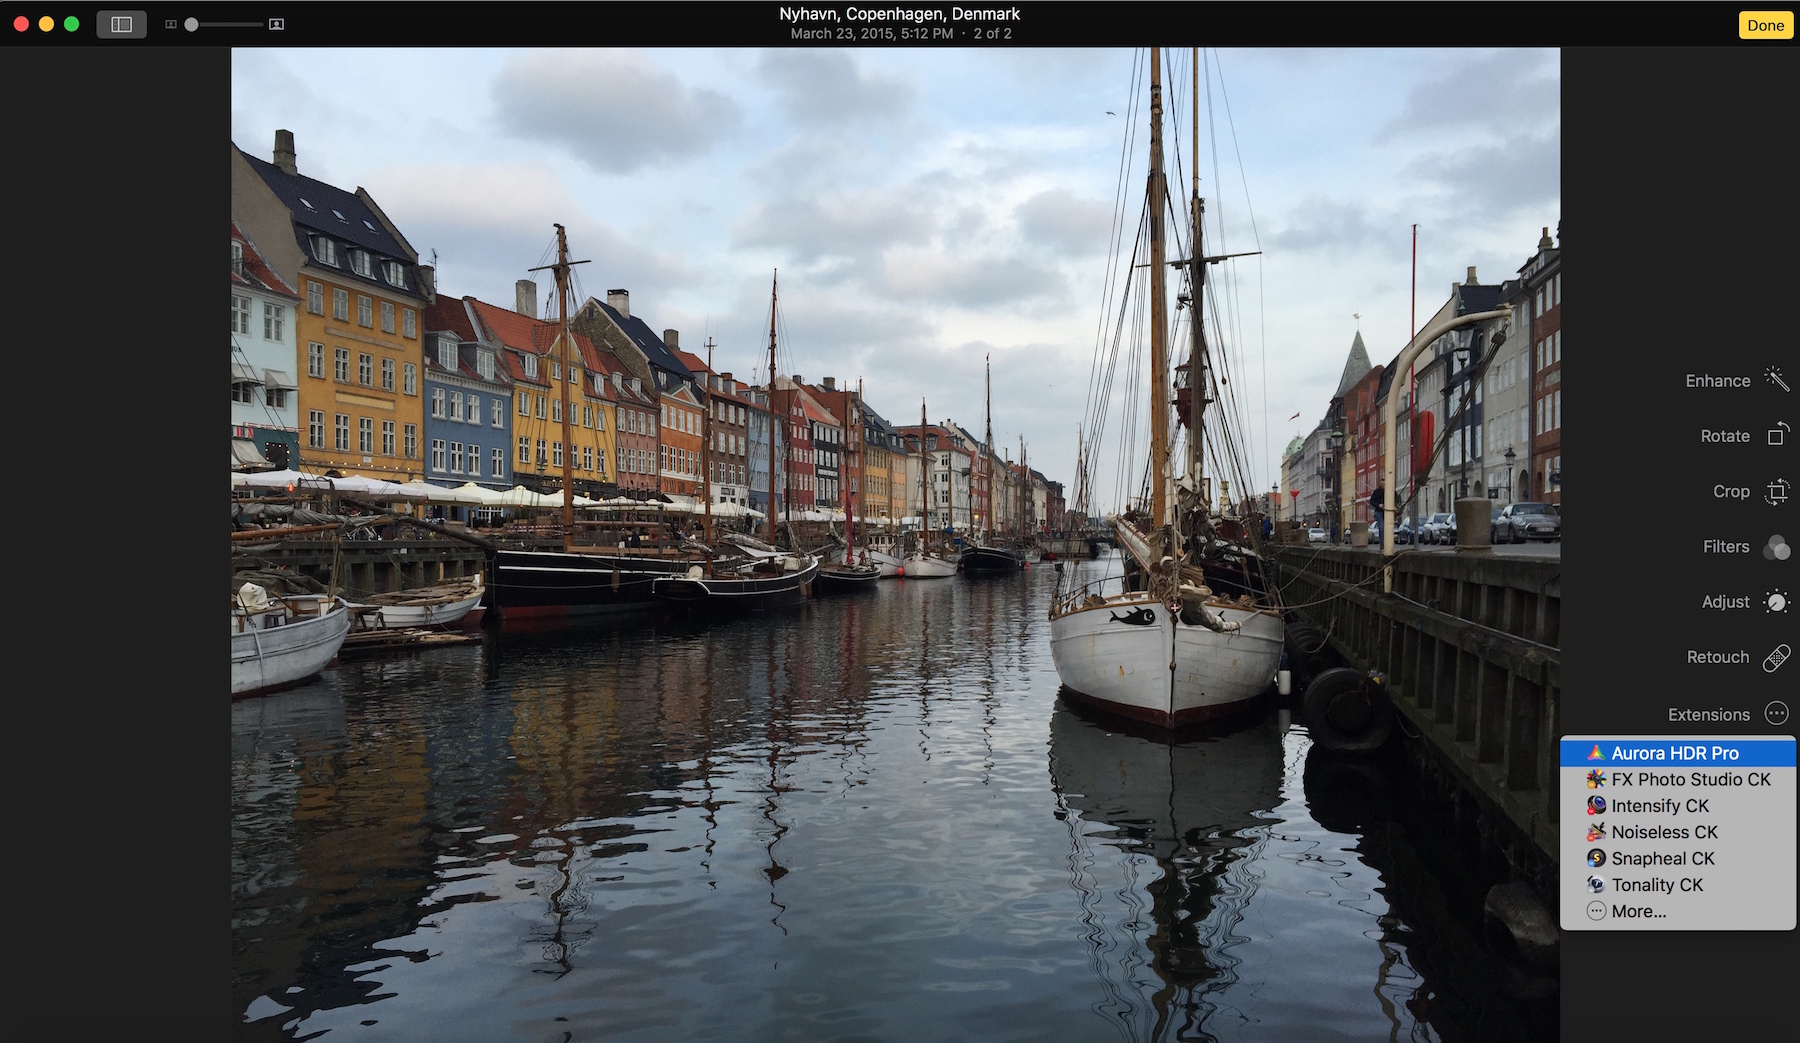
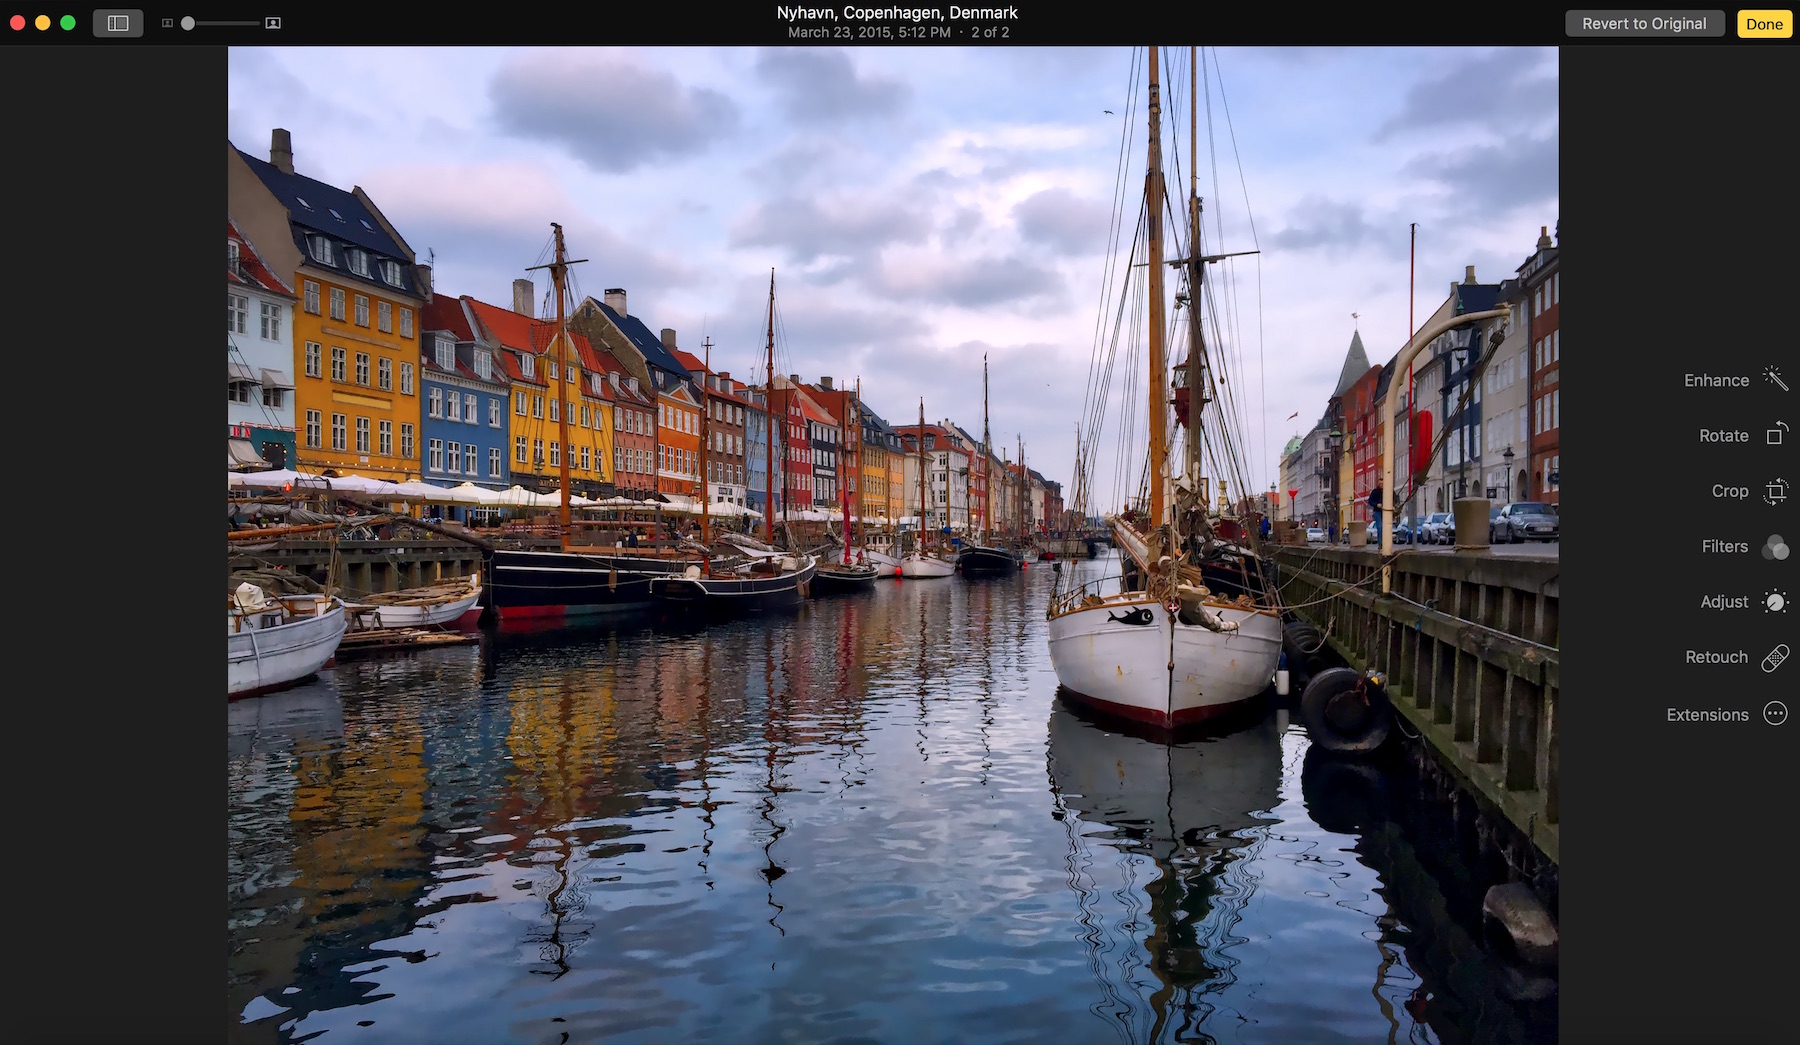
1) First, open up Photos on your Mac and select the photo you would like to work on today. Double-click on the image, and then select Edit to locate the tools that Photos includes for image editing.
Look at the bottom of the list on the right, and you will see the word Extensions. Click on it, and choose Aurora HDR. If you don’t yet have Aurora HDR, you can get a free trial here and add it as an extension.
2) After you have clicked on Extensions and have chosen Aurora HDR, the image will be transferred over to Aurora, and you will be presented with this view.
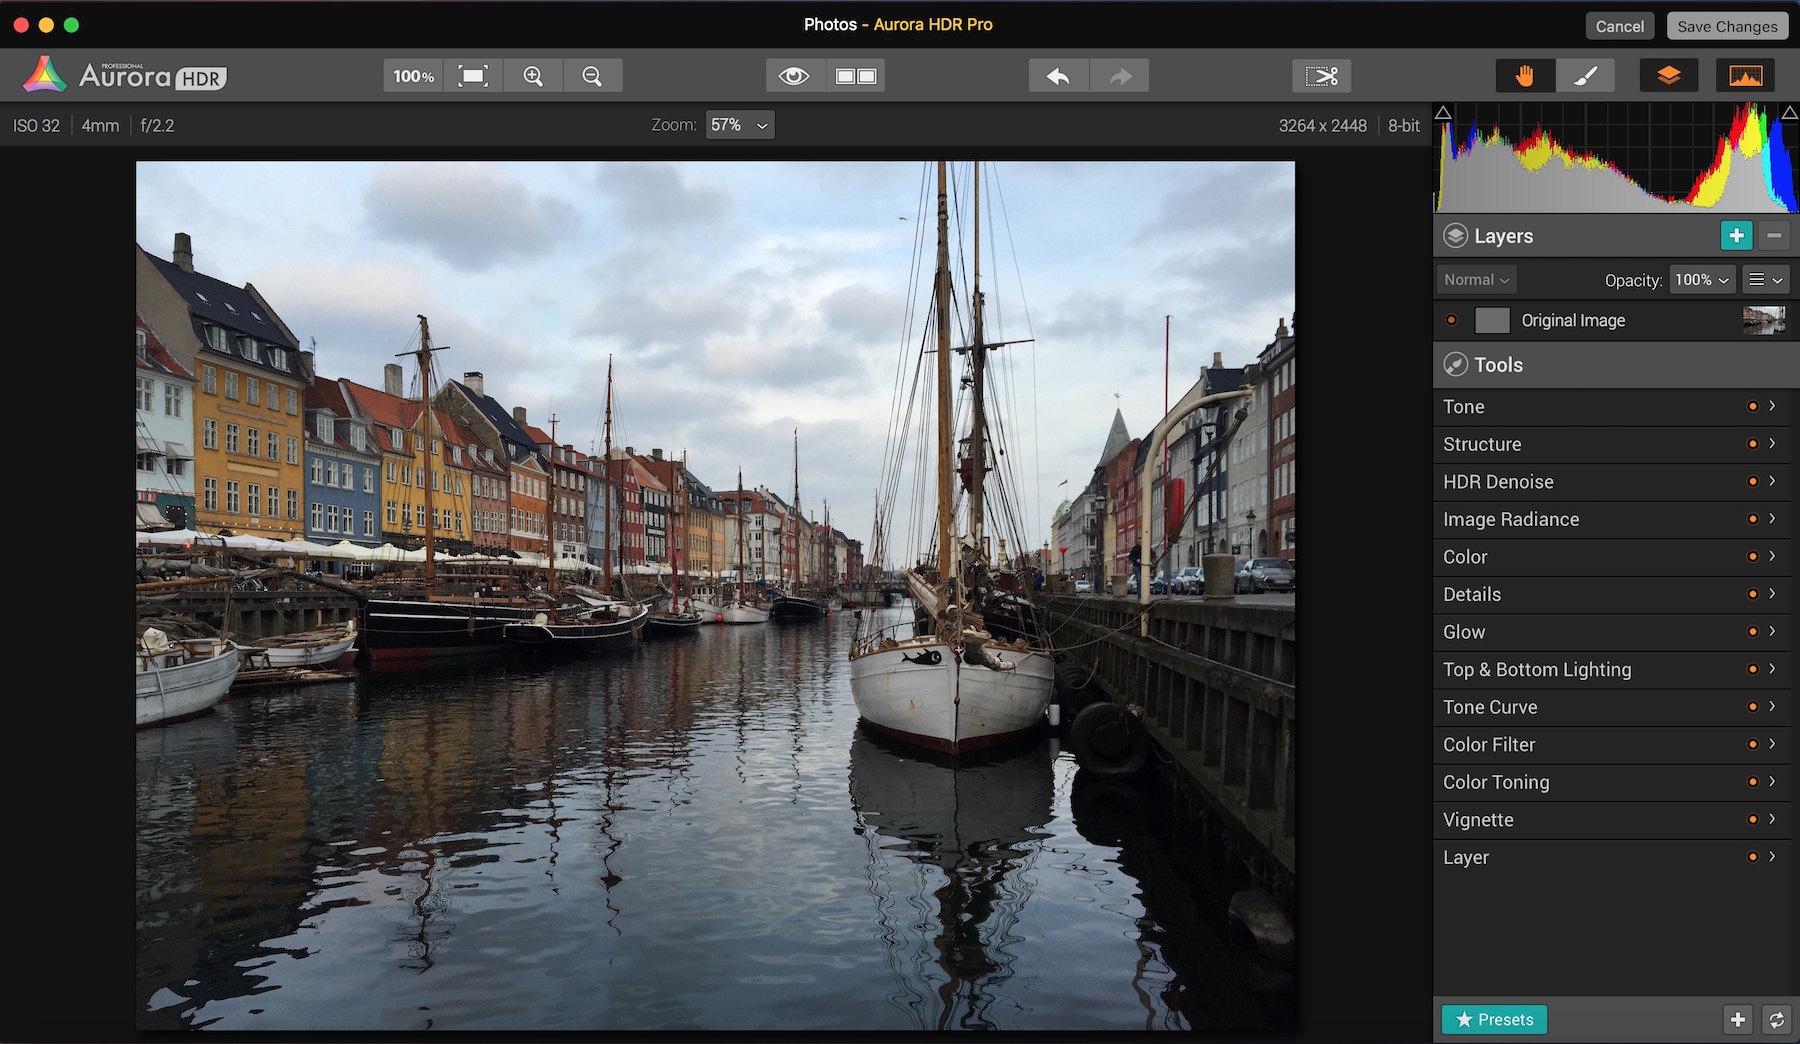
Note all the menu options on the right hand side. Don’t be intimidated – it’s very easy to use! Plus, we aren’t going to use all of that in this lesson today. We are going to use a Preset, which will do a lot of stuff for us with just a single click, making this quick and easy.
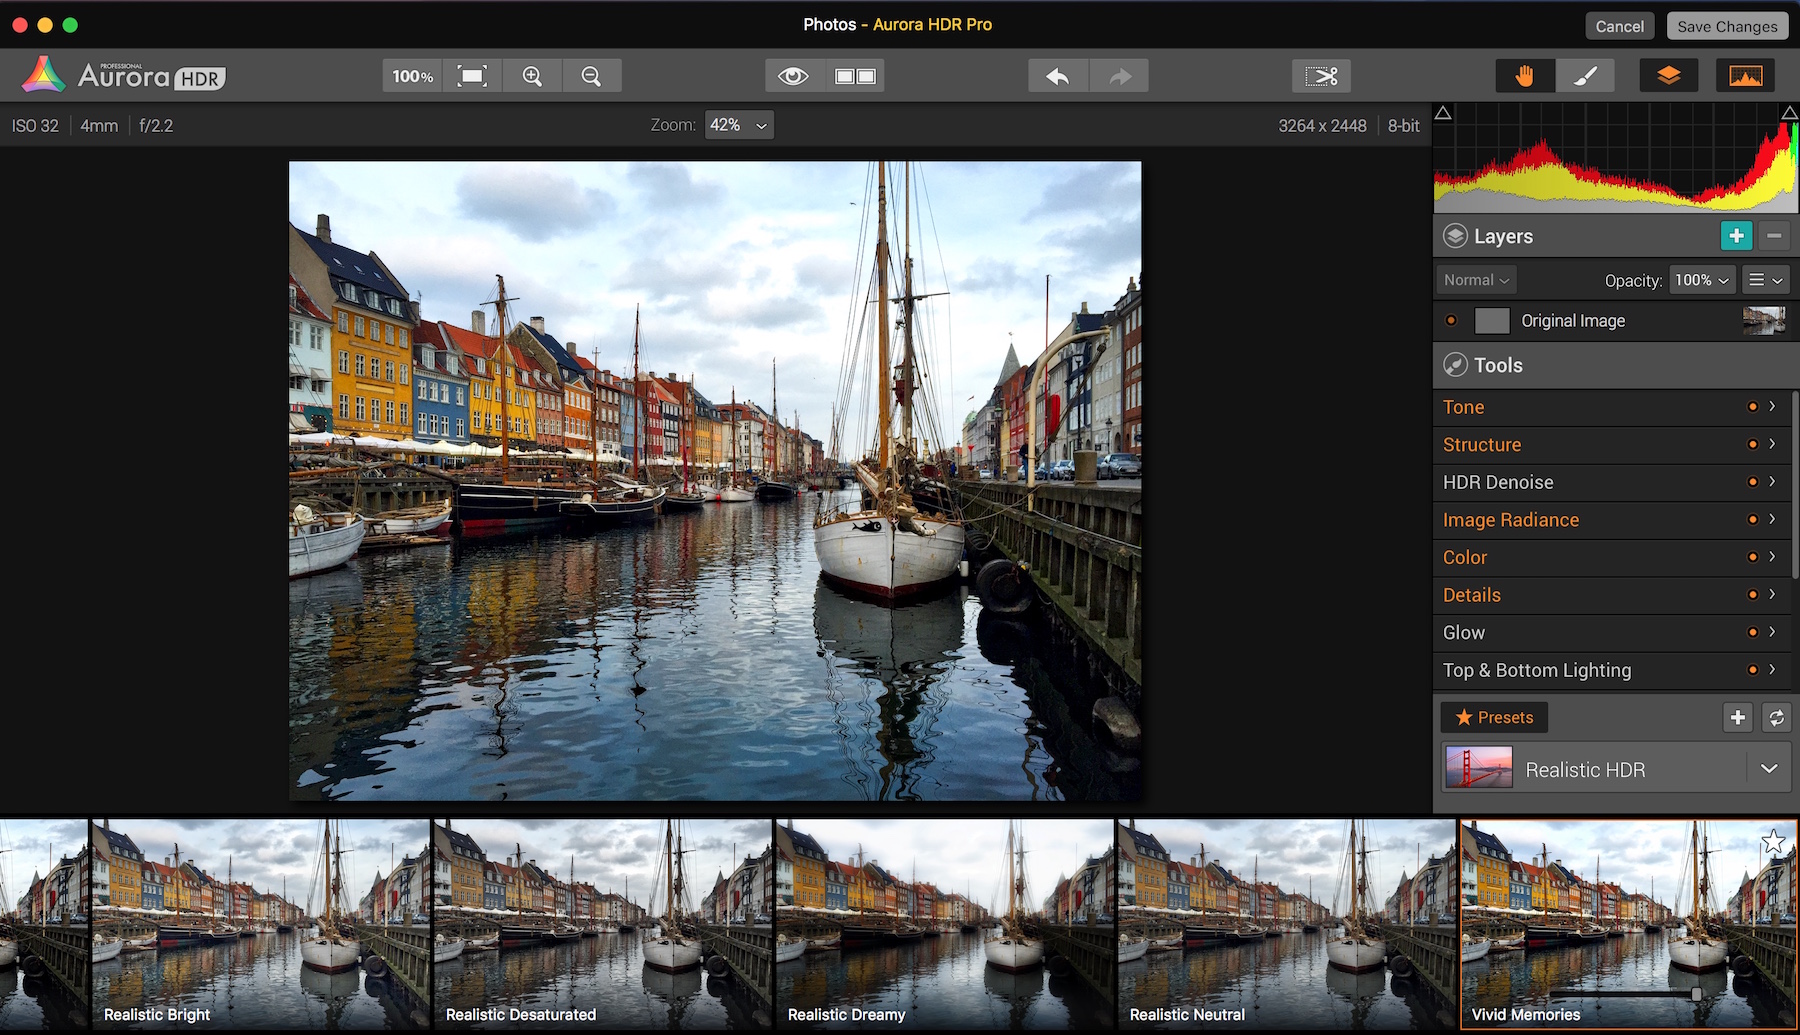
3) If you aren’t familiar with Presets, they are basically a collection of changes which will automatically apply to the photo when you select it. There are several categories of Presets in Aurora, each with various options. Under Presets in the menu options, select the Realistic HDR category. Then choose the Vivid Memories preset.
As you can see, with one click it gives the photo a nice bit of “punch” compared to the much-flatter original shot.
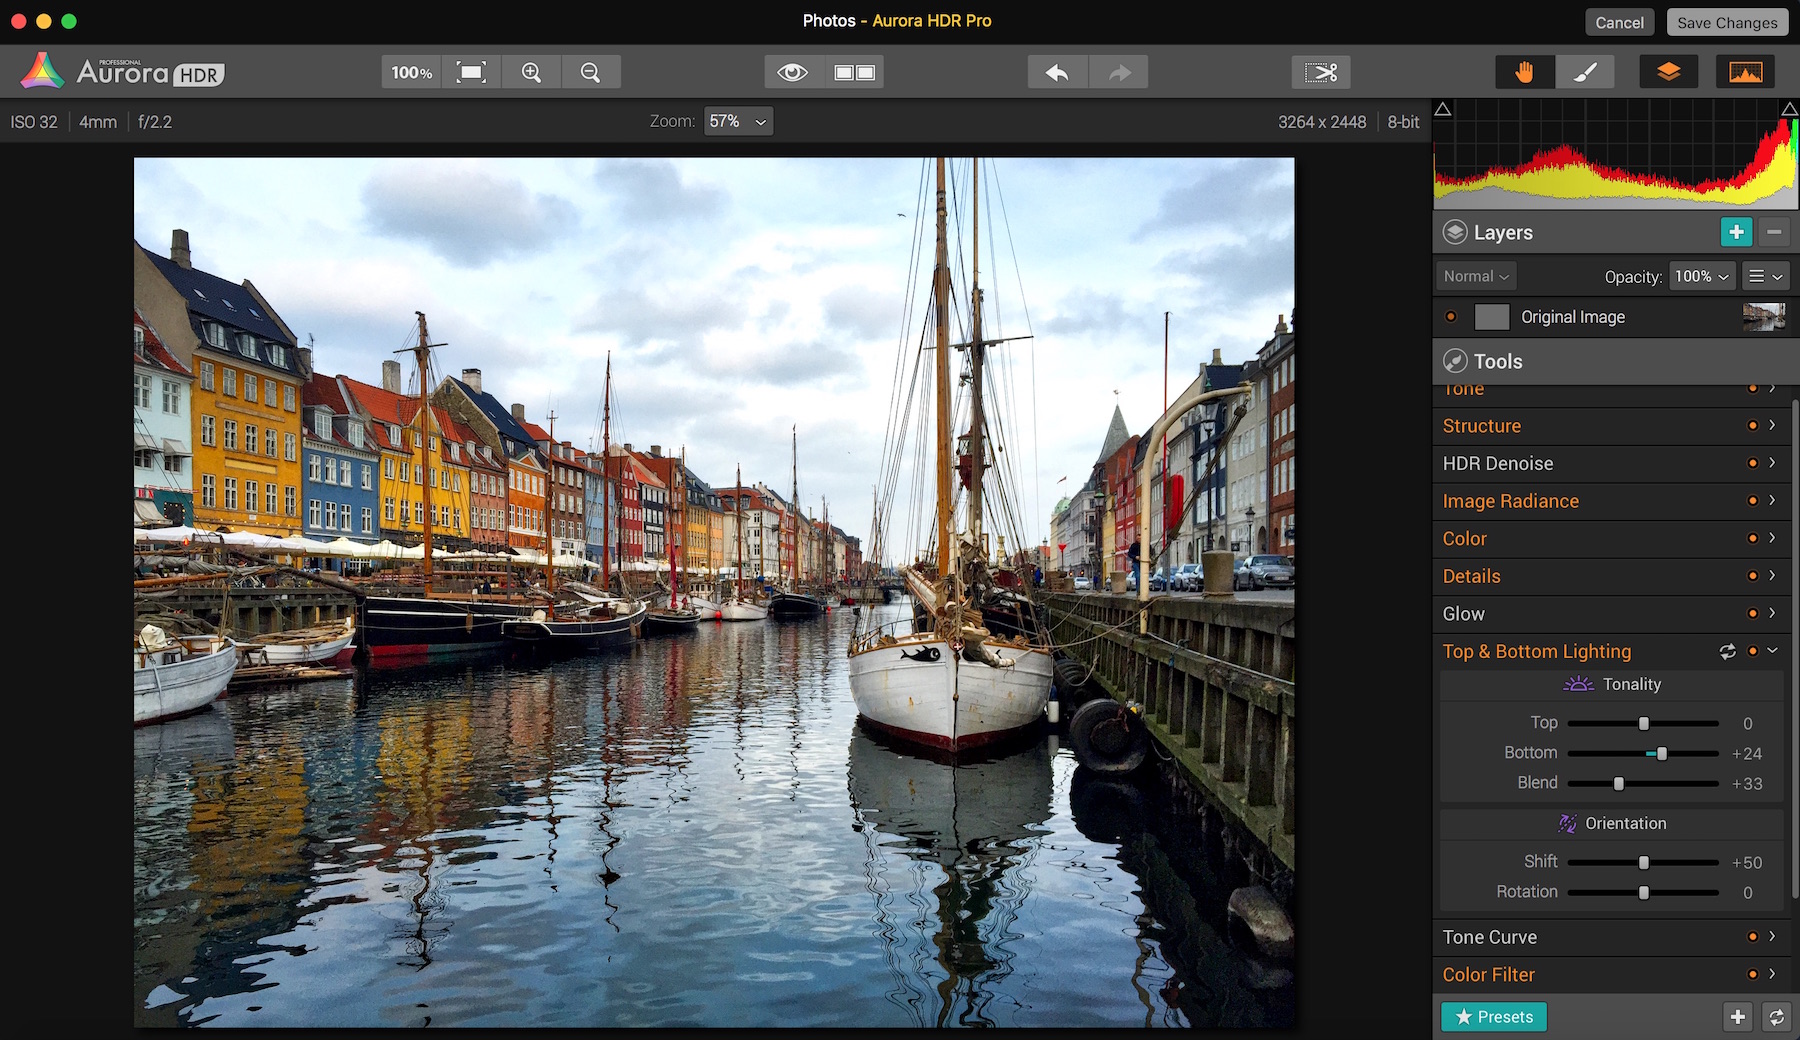
4) After adding this preset, the first thing we want do is brighten up the foreground a little, because it’s slightly dark. To do so, just click on Top & Bottom Lighting on the right hand menu (when you click on it, the menu will open up), and drag the Bottom slider to the right. I have it set at +24, but you can obviously make it more or less bright.
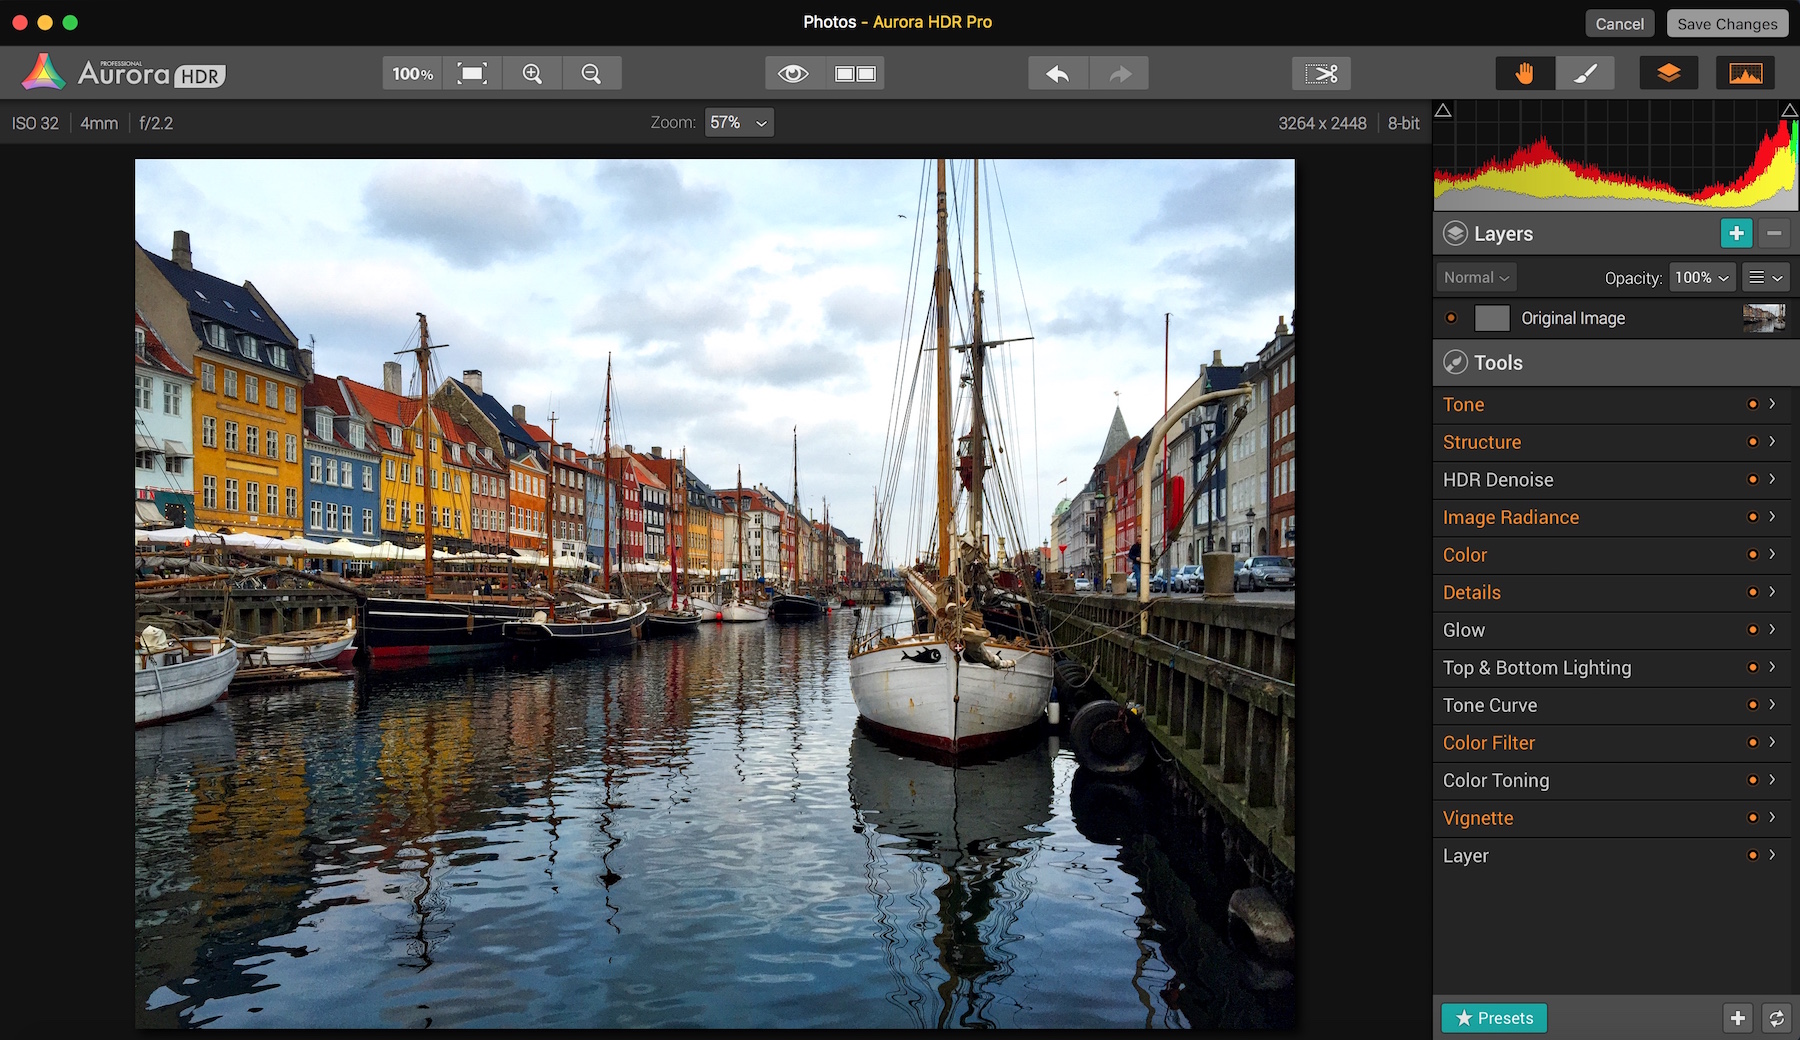
5) Then, click on the Tone menu, and drag the Whites to the left. This will reduce the “blown-out” look of the sky. It was too white in the middle, next to the ship’s mast, so we toned that down a little.
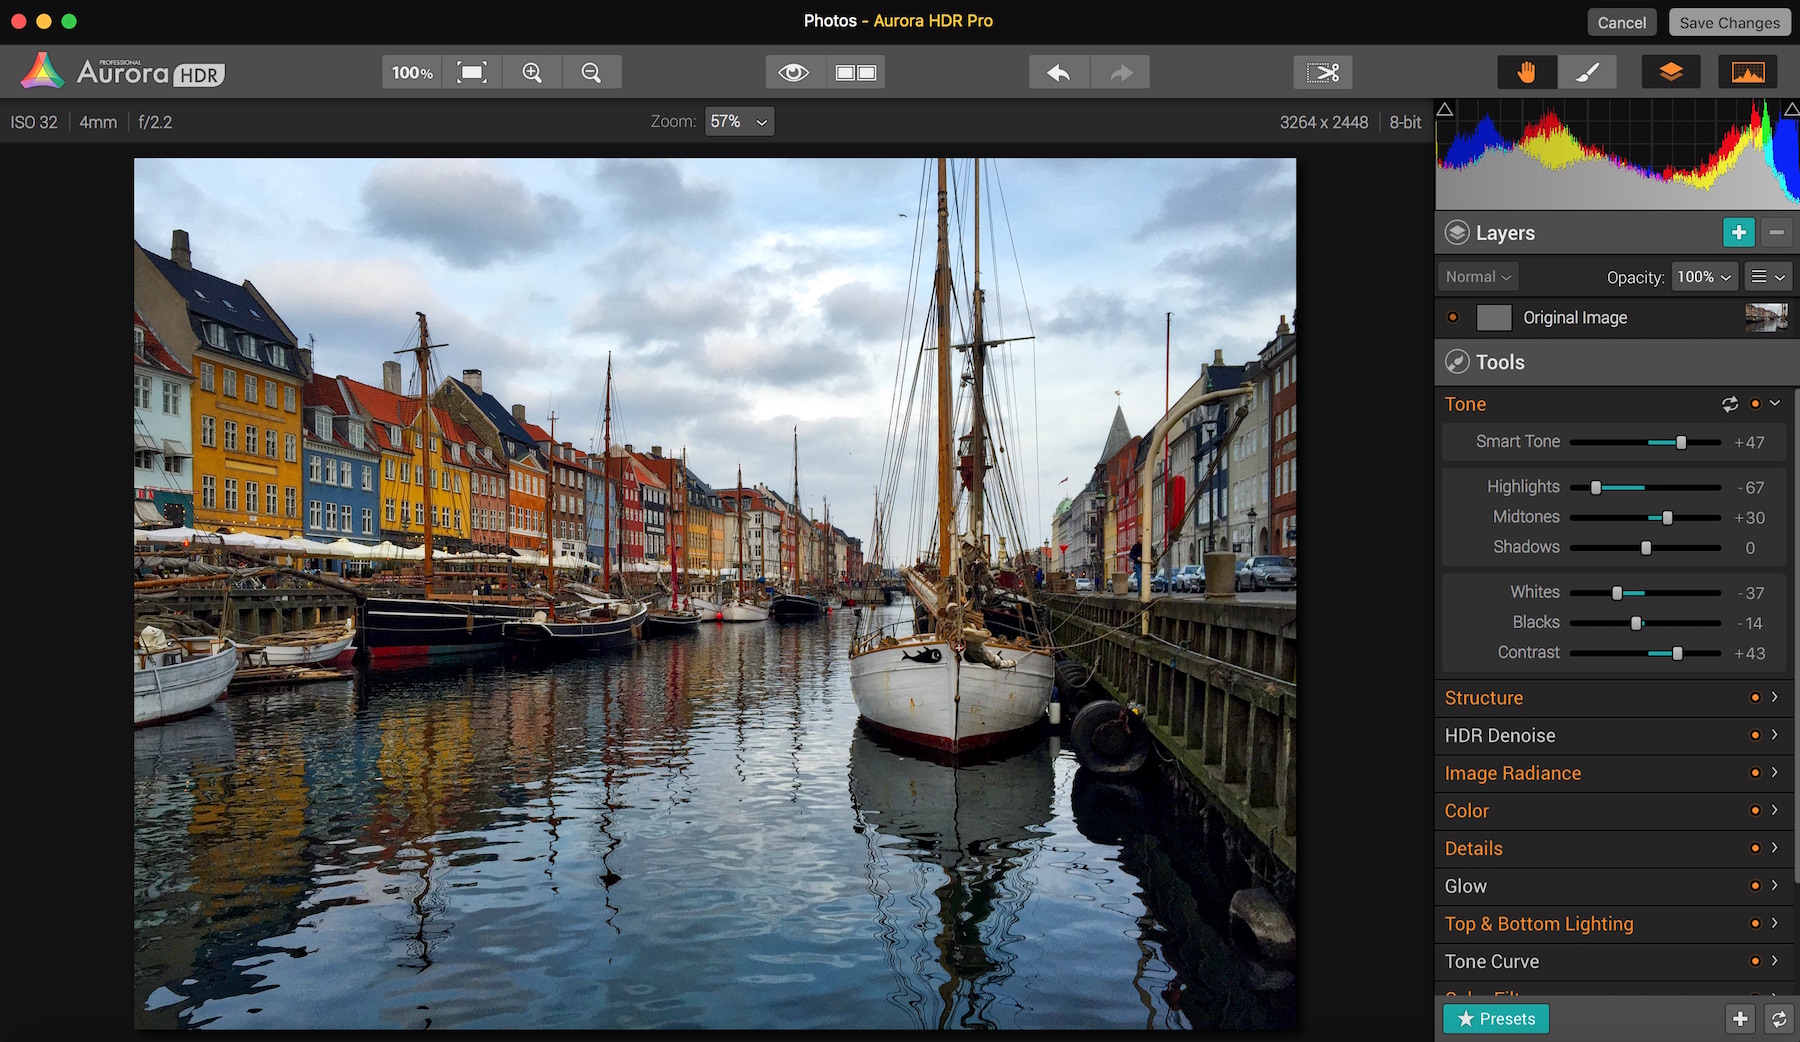
6) Next, click on the Color menu and make some minor adjustments to Temperature, Tint and Saturation. This adjusts the overall color scheme of the photo and brings a little more vibrance to it. Again, you want to play a little bit with the sliders until you get something you like. To replicate my edits, simply look at the value of the different adjustments in made in the screenshot below.
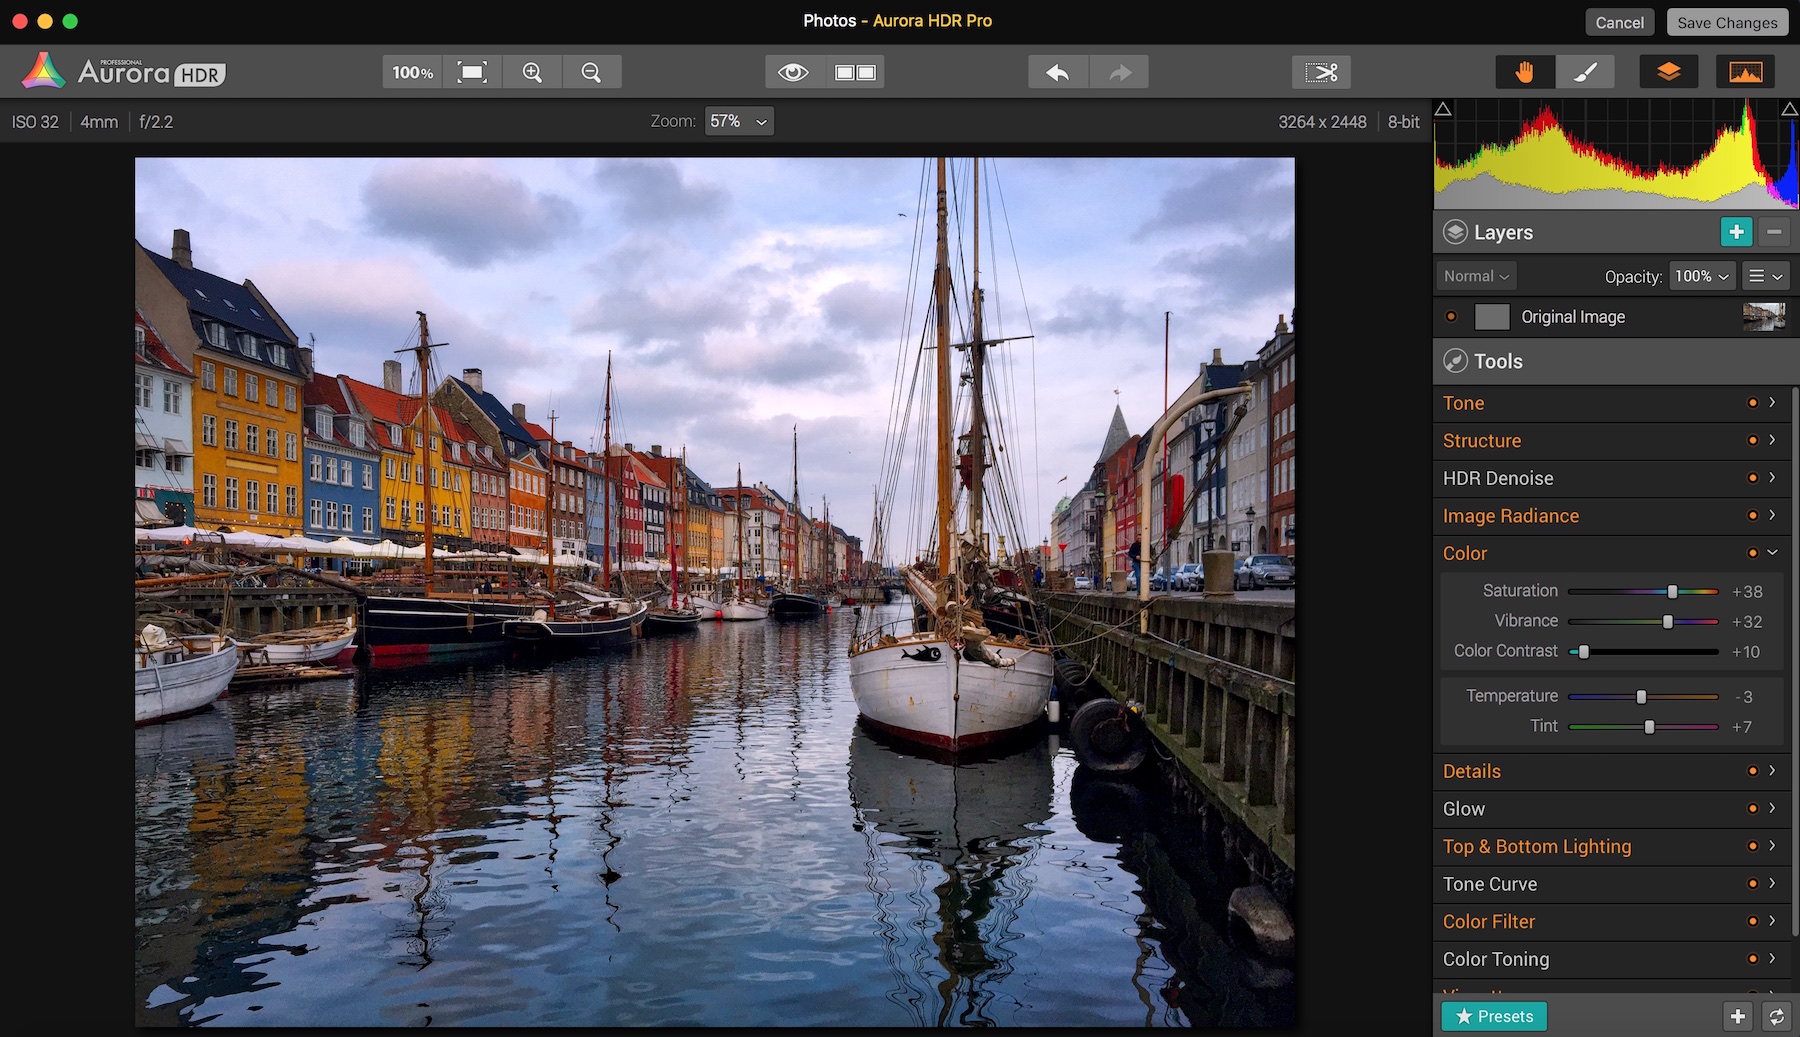
Already the photo is looking much better, and much more like it looked when I was standing there!
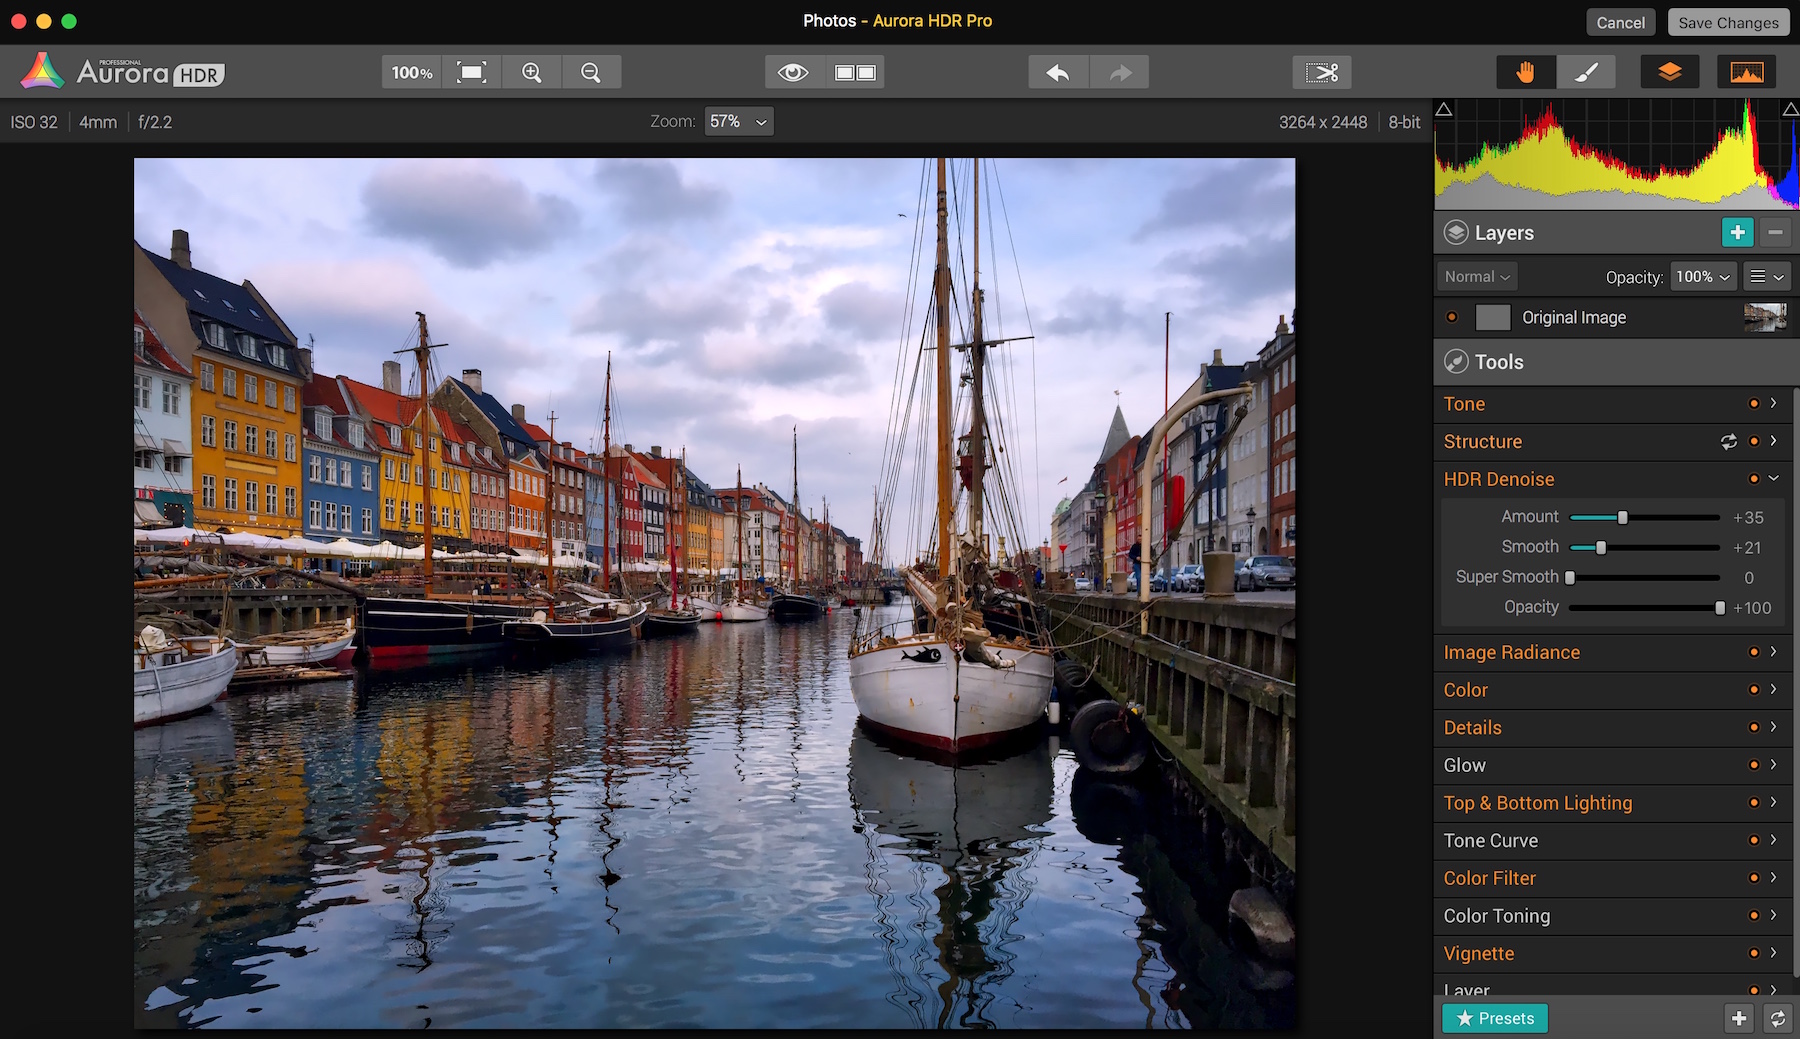
7) We have just one more step, and that is to remove some digital noise from the sky. Noise in a photo is the little bit of grainy stuff you see in areas that would normally be smooth (such as the sky). It generally occurs when your photo is taken in low light. The less available light, the more noise. It’s not too prevalent here, but we are going to smooth that out a little bit.
To do so, just click on the HDR Denoise menu, and drag the sliders until you like the result. Note that what this does is smooth out the photo, so you want to be careful because this is being applied to the entire photo. Aurora allows you to selectively make the adjustments if you would like to, but that is a lesson for another time (or view the helpful videos on the Aurora HDR website).
8) Once you are satisfied with your result, click the Save Changes button in the upper right corner, and it will drop the photo back into Photos automatically. Then, you can click Done to return to your Photos library.
Here’s the final result:
Now it’s time to share it and wow your friends! Click the Share button and you can send the photo to Facebook, Twitter, or anywhere else you want to share it.
That’s it – a quick but professional edit of an iPhone image using an amazing piece of software!
Here are some more Before and After iPhone images with similar edits applied, each done in under 3 minutes in Aurora HDR.
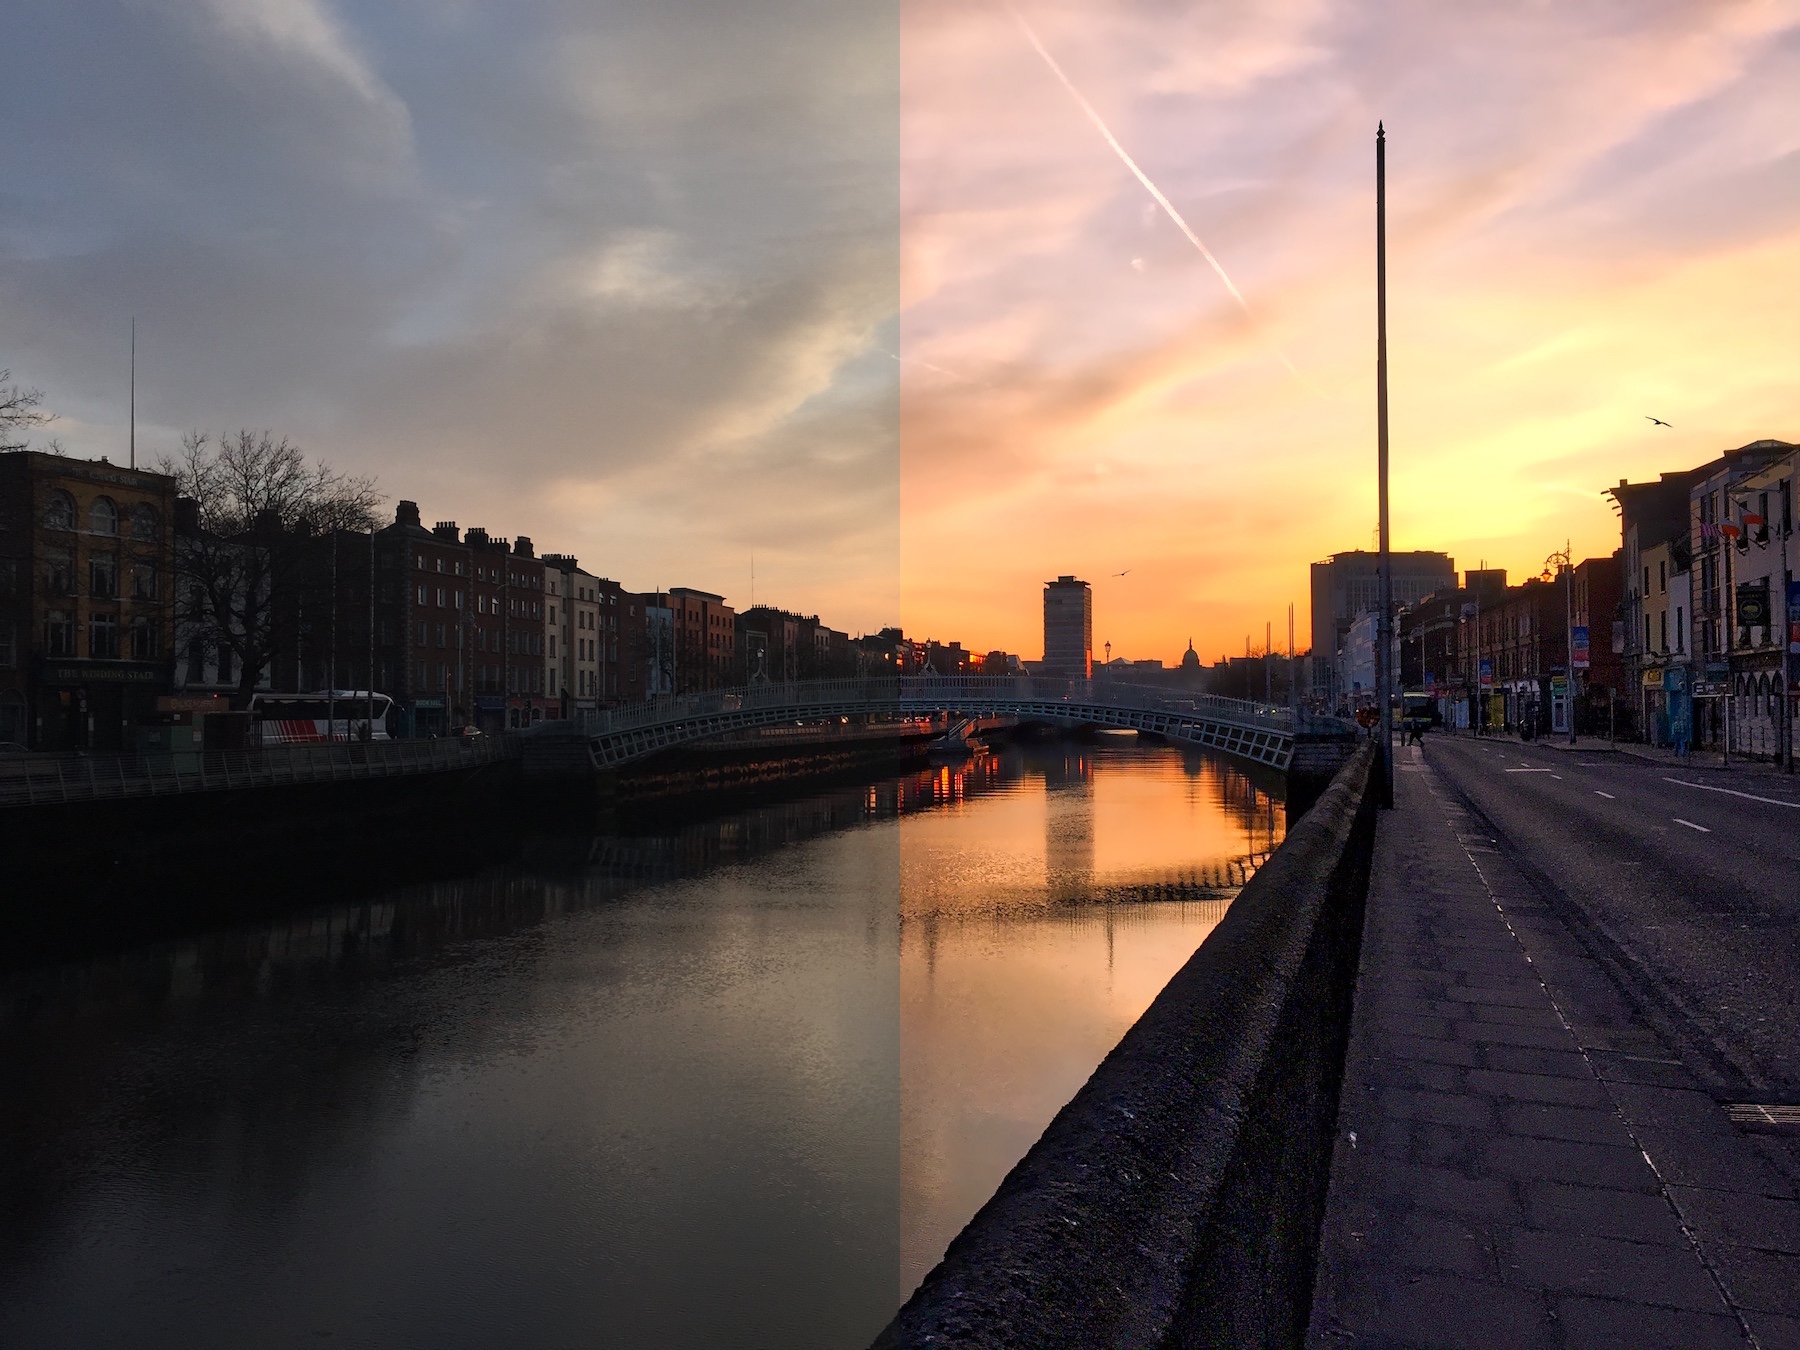
Dublin
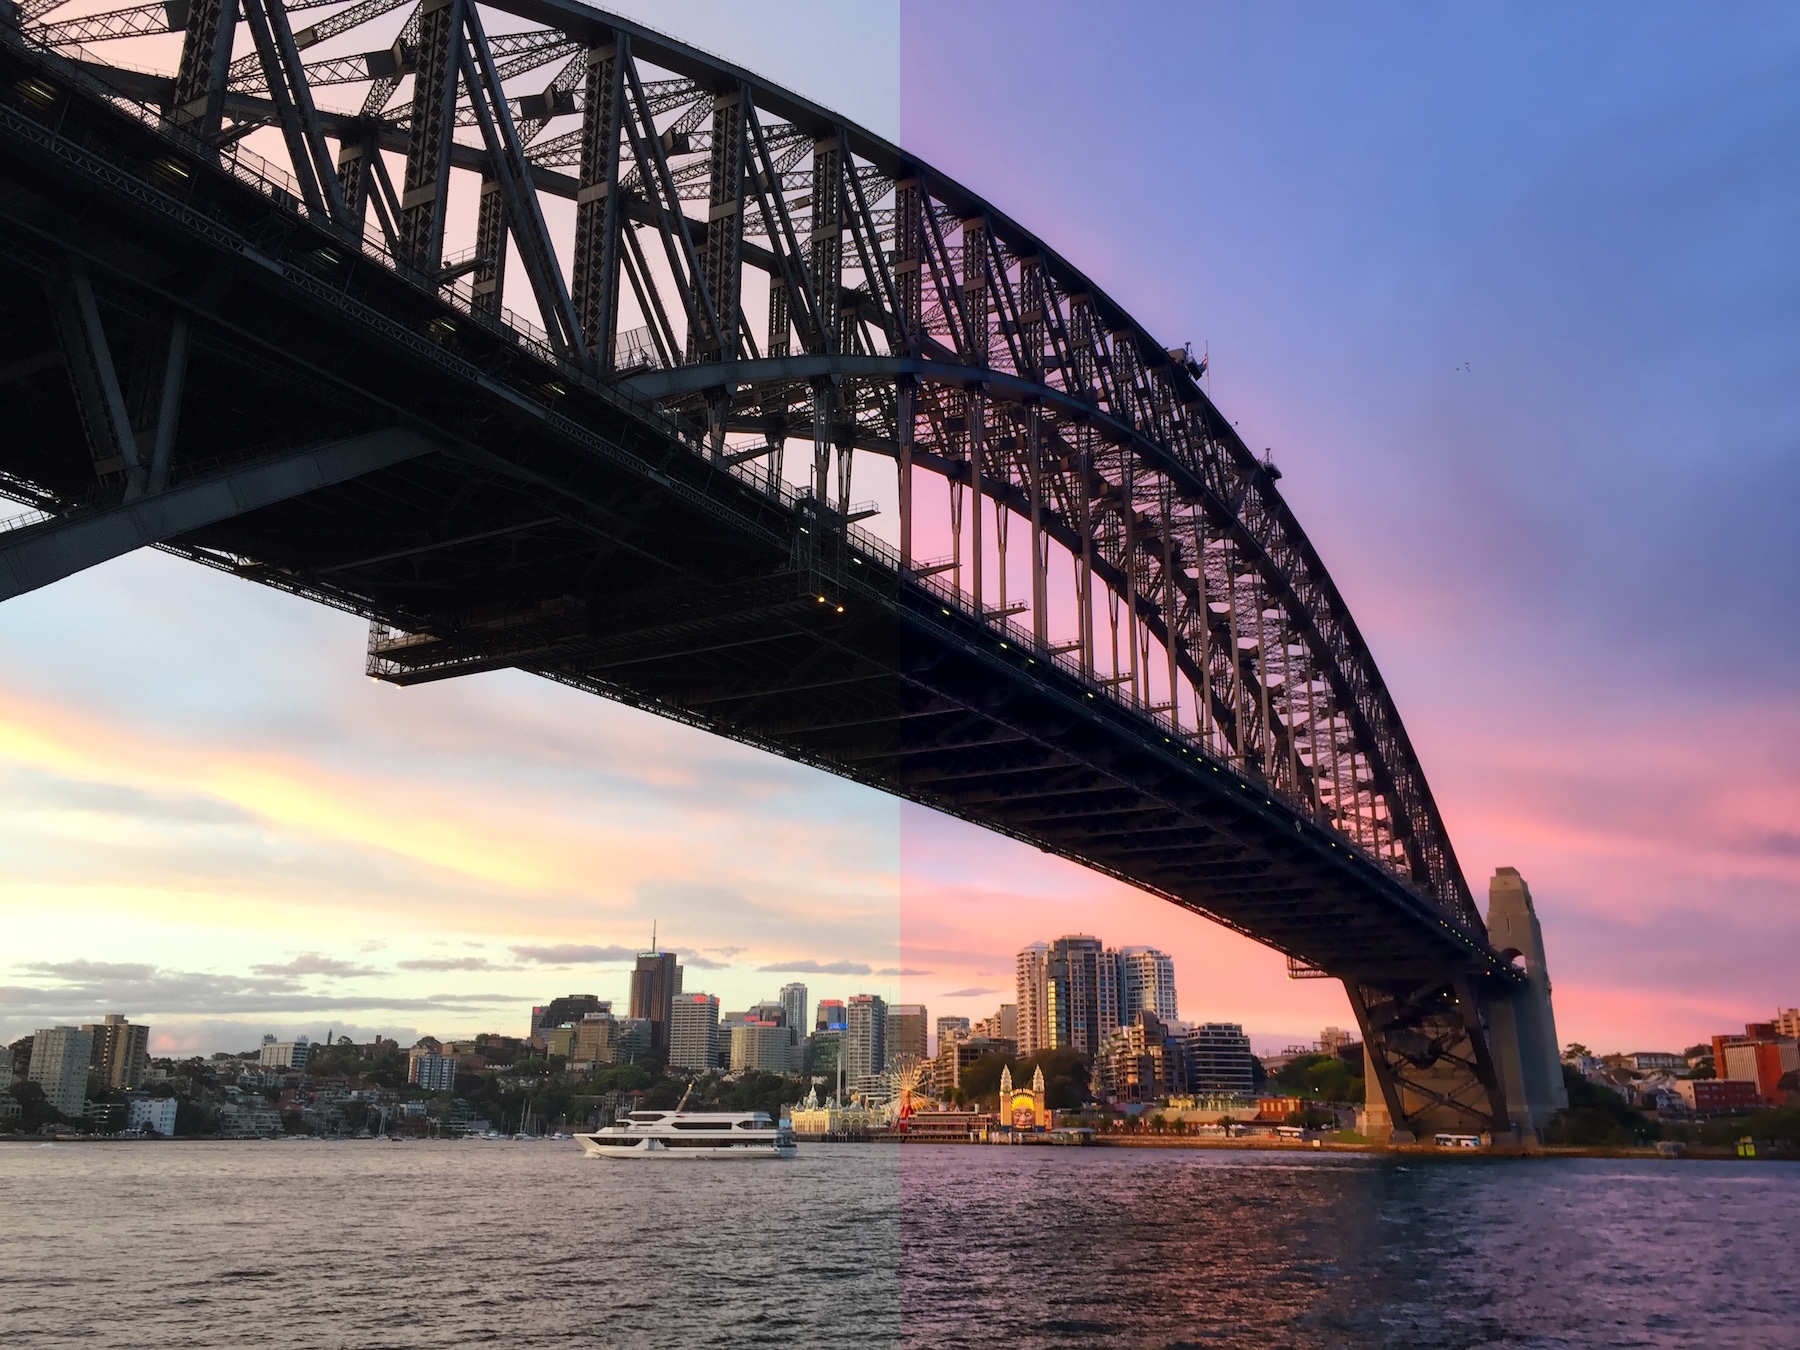
Sydney
If you have questions or comments, feel free to ask in the comments, and I’ll make sure to help out if necessary!
Jim Nix is a traveler, photographer, and wanderlust sufferer. He aims to inspire others with his photos, tips, adventures and more on his blog . You can connect with him on Facebook, or YouTube.