![]()
Should you ever find yourself in the need to create blank disk images, OS X’s built-in Disk Utility is your friend. A disk image usually has a .dmg extension and appears, looks and behaves like any ordinary file, with one key exception: launching it prompts OS X to mount the volume on the desktop.
These mountable disk images can be useful in a number of situations. For example, you may want to create blank disk images for storage.
Furthermore, disk images can be used as a virtual disk for software distribution, to burn CDs or DVDs and so forth. In this step-by-step tutorial, you’ll learn how to create blank disk images in Disk Utility, at any size, with optional password protection, formatting options and more.
This tutorial was brought to you because someone asked about it.
How to create blank disk images with Disk Utility
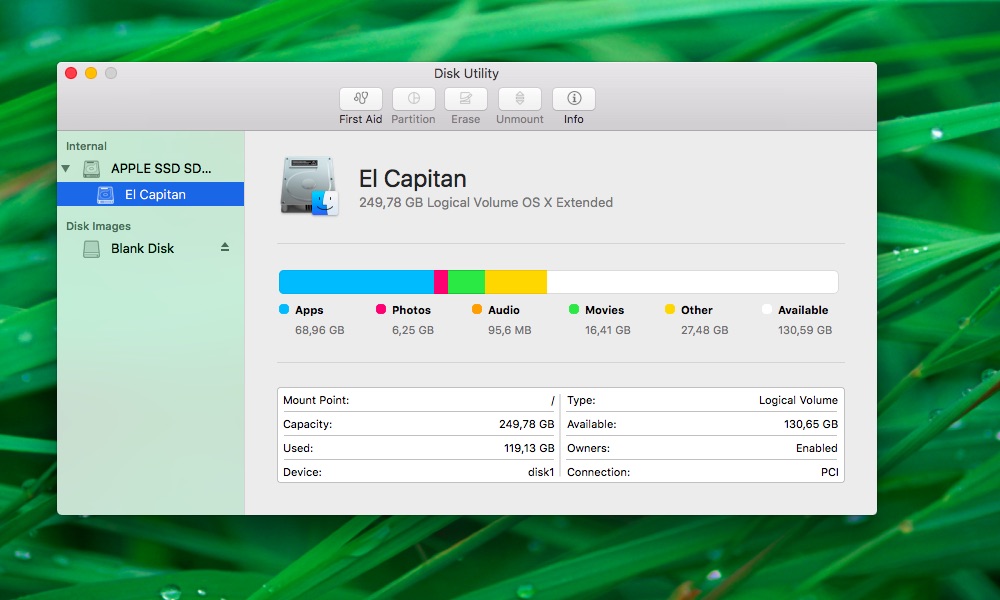
1) Open Disk Utility using Spotlight or directly from your /Applications/Utilities/ folder.
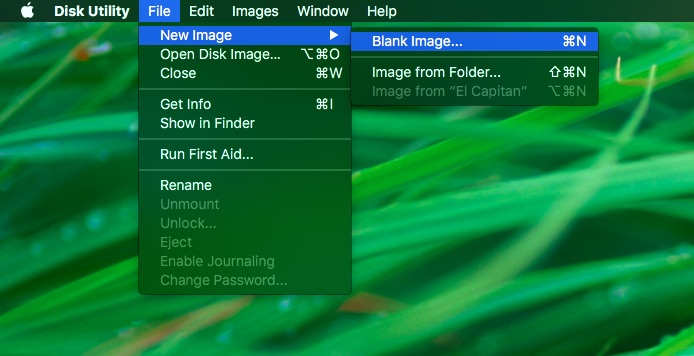
2) Choose File → New Image → Blank Image to get started.
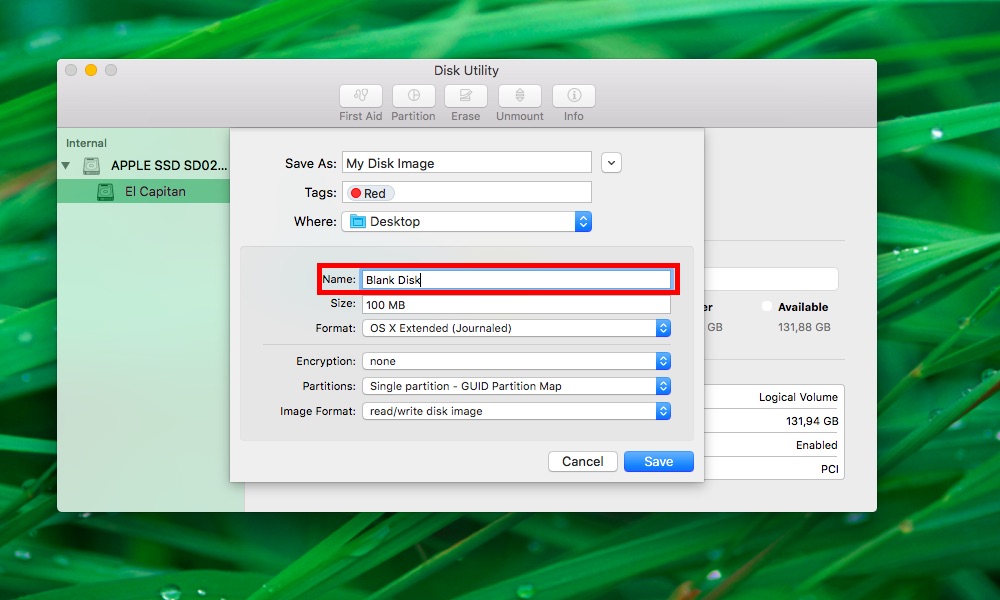
3) In the Save As field, type a new for your disk image file. You can also add tags, if necessary, and click the arrow down button next to the Save As field in order to choose a folder on your Mac to save the DMG file in.

4) In the Name field, enter the name that will appear on the Mac’s desktop and in the Finder sidebar after open the image file.
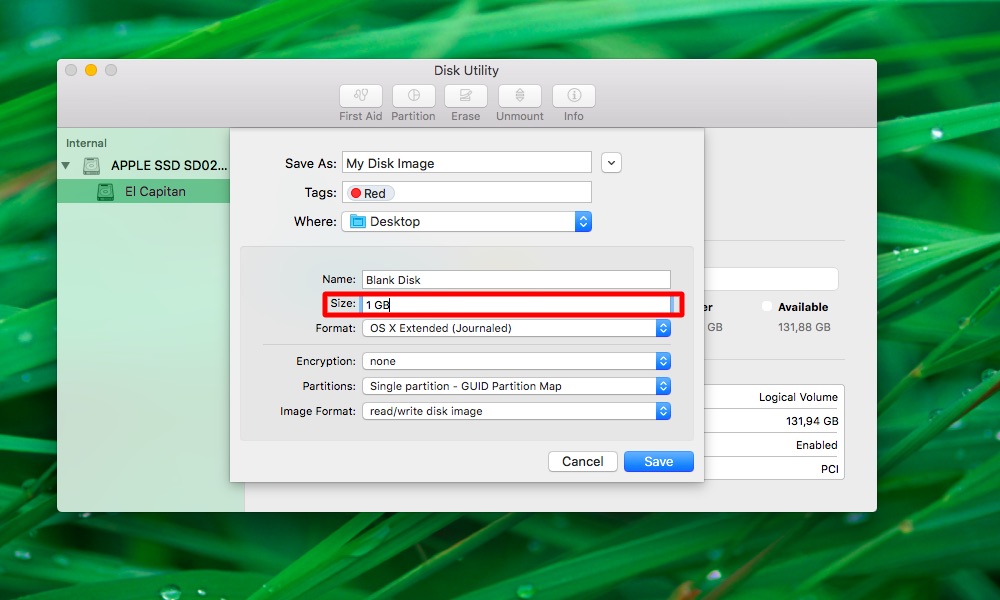
5) In the Size field, enter an arbitrary size for the disk image. You must manually type in the size of the image file: i.e. “100 MB”, “2 GB”, “1 TB” etc. Typing just a number (i.e. 100, 500, 5000) will yield an audible alert warning you that the value is incomplete.
6) Click the Format menu and choose a format for your image file.
Choose among the following options:
- OS X Extended (Journaled) or OS X Extended—Select either option if the disk will only be used with Macs. The former option uses the Mac’s Journaled HFS Plus file format to protect the integrity of the hierarchical file system.
- MS-DOS (FAT)—Use this if your disk will be used with Windows and Mac PCs.
- ExFAT—For disks larger than 32GB that’ll be used with Windows and Mac PCs.
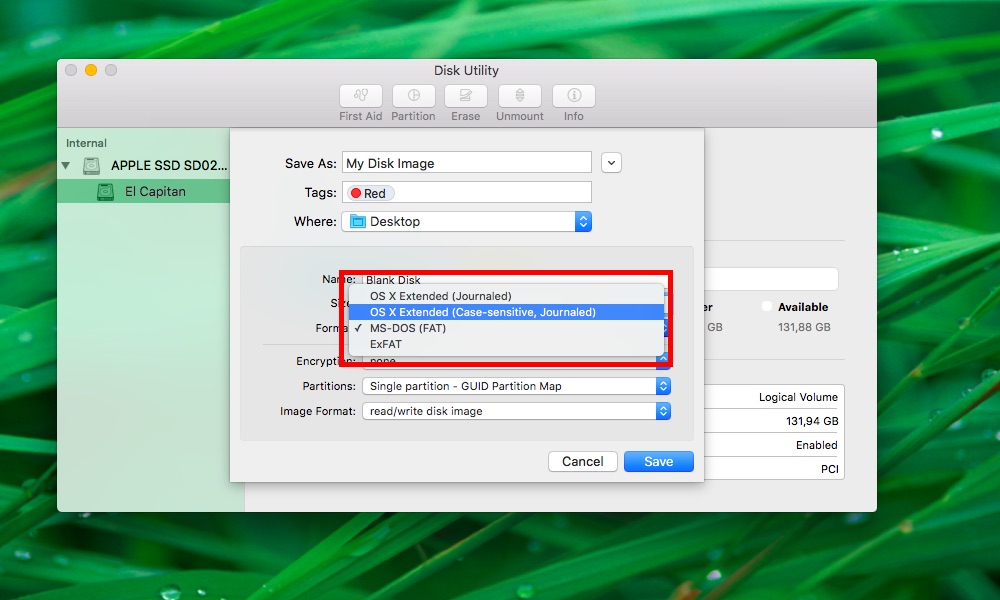
Tip: For MS-DOS and ExFAT partitions, the disk name must be eleven characters or less due to legacy limitations of Microsoft’s file system.
7) To optionally encrypt your disk image, click the Encryption menu.
You can choose between the following encryption options:
- 128-bit AES—A recommended option that provides a trade-off between encryption speed and security.
- 256-bit AES—Select this option for maximum security, at the expense of encryption speed.
Select either encryption option will put up a prompt asking you to enter and re-enter the password that will be used to encrypt and unlock the disk image.
Type an arbitrary password and then click Choose.
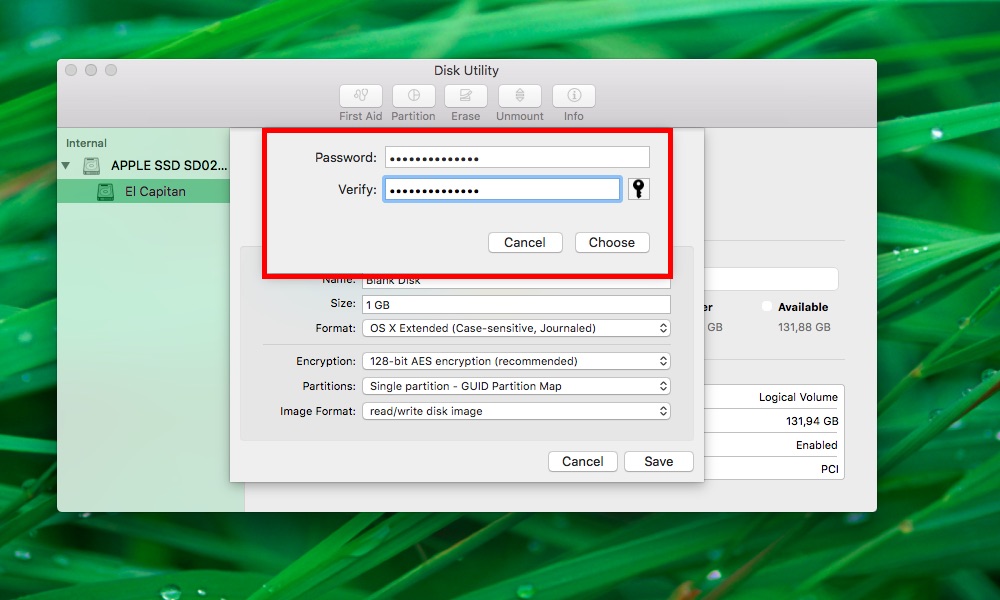
Anyone attempting to open the disk image file will first need to type in your password.
Tip: Make sure to write down the password and store it in a safe place. Should you forget it, you won’t be able to open the disk image or access any of the files.
8) Select a partition layout in the Partitions menu:
- CD/DVD—Select this if you’re creating a disk image to burn a CD or DVD.
- Single partition-Apple Partition Map—Used for compatibility with older, PowerPC-based Mac computers.
- Single partition-GUID Partition Map—Used for all Intel-based Macs.
- Single partition-Master Boot Record Partition Map—Used for Windows partitions that will be formatted as MS-DOS (FAT) or ExFAT.
- No partition map—The disk image will not have a partition map.
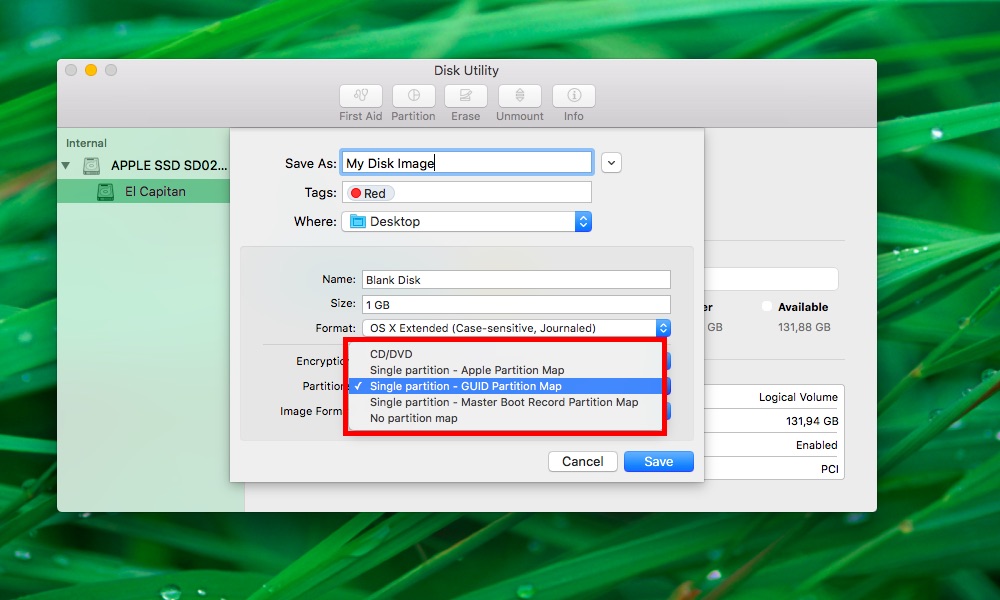
For most people, No Partition Map will be the preferred option here.
9) Select the format for your disk image by clicking the Image Format menu.

You have the following image formatting options at your disposal:
- Sparse—Creates an expandable disk image file that shrinks and grows as needed (no additional space is used). Uses the .sparseimage file extension.
- Sparse Bundle—Same as a sparse image, but uses the .sparsebundle file extension and the directory data for the image is stored differently.
- Read/Write—This option allows you to add files to the disk image after it’s created and uses the standard .DMG file extension.
- DVD/CD Master—This changes the size of the disk image file to 177 MB (CD 8 cm) and adds the .CDR extension to the file. The file can be used with third-party apps to create other CDs or DVDs and includes a copy of all sectors of the disk image, whether they’re used or not.
10) Click Save to start creating your disk image.

Once the disk image has been created, click Done and quit Disk Utility.
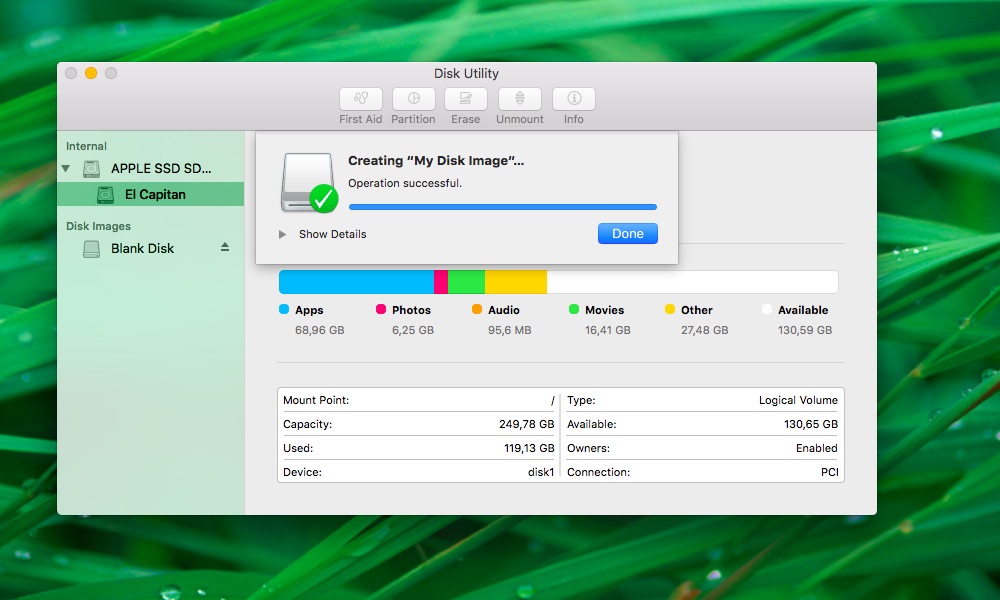
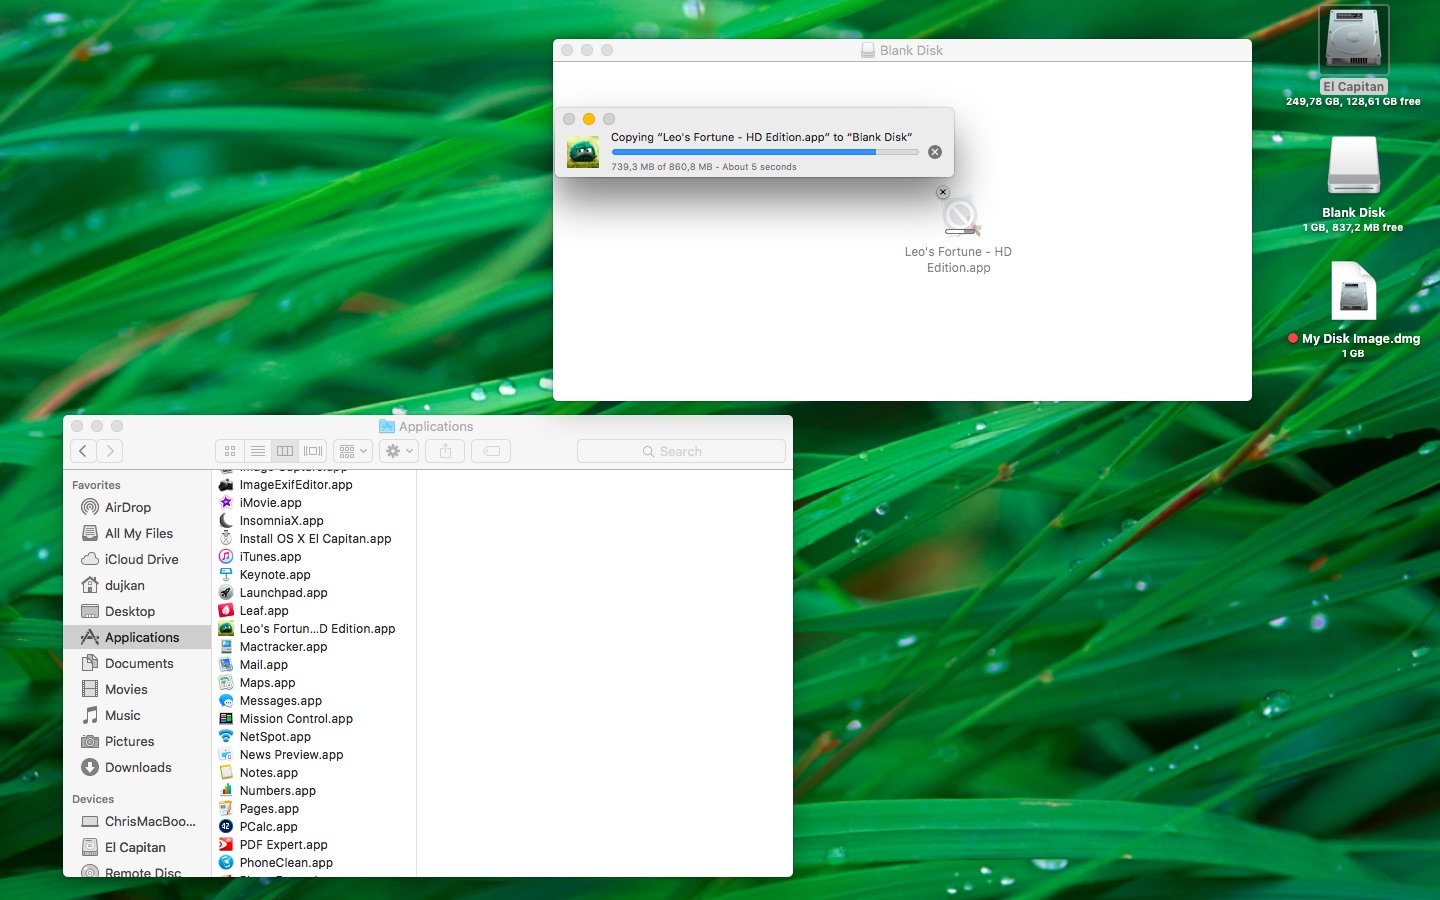
After Disk Utility creates the disk image file it’ll get saves in the location you specified, the volume automatically mounted. Its disk icon will appear on the desktop and in the Finder sidebar, letting you add, remove and edit files on the mounted disk image by way of drag-and-drop just as you would with any ordinary disk.
To finish working with the mounted disk image, right-click or Option-click its icon on the desktop and then choose Eject from the menu, or simply drag the icon to the Trash.
Did you like this tutorial?
Need help? Ask iDB!
Got stuck? Not sure how to do certain things on your Apple device? Let us know at help@iDownloadBlog.com and a future tutorial might provide a solution.
Submit your how-to suggestions at tips@iDownloadBlog.com.