As rare as it may be, your processor or CPU cooling fans can fail, and there is a really easy way to test your Mac’s hardware with the Terminal app that comes with macOS to ensure everything is working right.
In this tutorial, we’ll show you how to stress test your Mac using Terminal so you can ensure all your processor’s cores are working up to snuff and your cooling fans aren’t grinding or failing to cool your Mac as they should.

Why stress test your Mac
If you suspect that your Mac’s CPU or cooling fans might be failing, putting it through a quick stress test to see whether or not your hardware is performing as expected may not be a bad idea. This will give you an idea of whether or not your hardware is heading out the door or not.
It’s a quick and simple test that will bring your Mac’s CPU usage up to 100% so that your CPUs will show whether or not they can handle the load, and your cooling fans will show whether or not they can keep the CPU cool enough.
If the processor fails to keep a steady 100% load during the test, you could have a faulty processor. Likewise, if your fans can’t keep your computer cool and it shuts off due to heat, you may need a fan replacement.
This process should work on any Mac model.
When should I stress test my Mac?
If your Mac is getting really hot all the time, you might use this test to check and see if a cooling fan is doing its job or not. A bad cooling fan will further damage your CPU as you keep it going in that state, so you might want to get that fixed pronto!
Likewise, if your Mac is running really slow and you know it’s not a software problem because you’ve tried everything, including updating to the latest available version of macOS and a system restore, then you might try this test to see if your CPU is failing. After all, just a weak connection or solder point somewhere can cause issues down the line.
How to stress test Mac with Terminal
No fancy software is required to stress test your Mac. You’ll only be using two applications that come with your Mac out of the box – Activity Monitor and Terminal. You’ll be using Terminal to perform the commands for the stress test, and you’ll be using Activity Monitor so you can monitor your CPU usage throughout it all.
To start, go ahead and launch the Activity Monitor app on your Mac before starting the Terminal commands, and open the CPU tab so you can view your CPU usage.
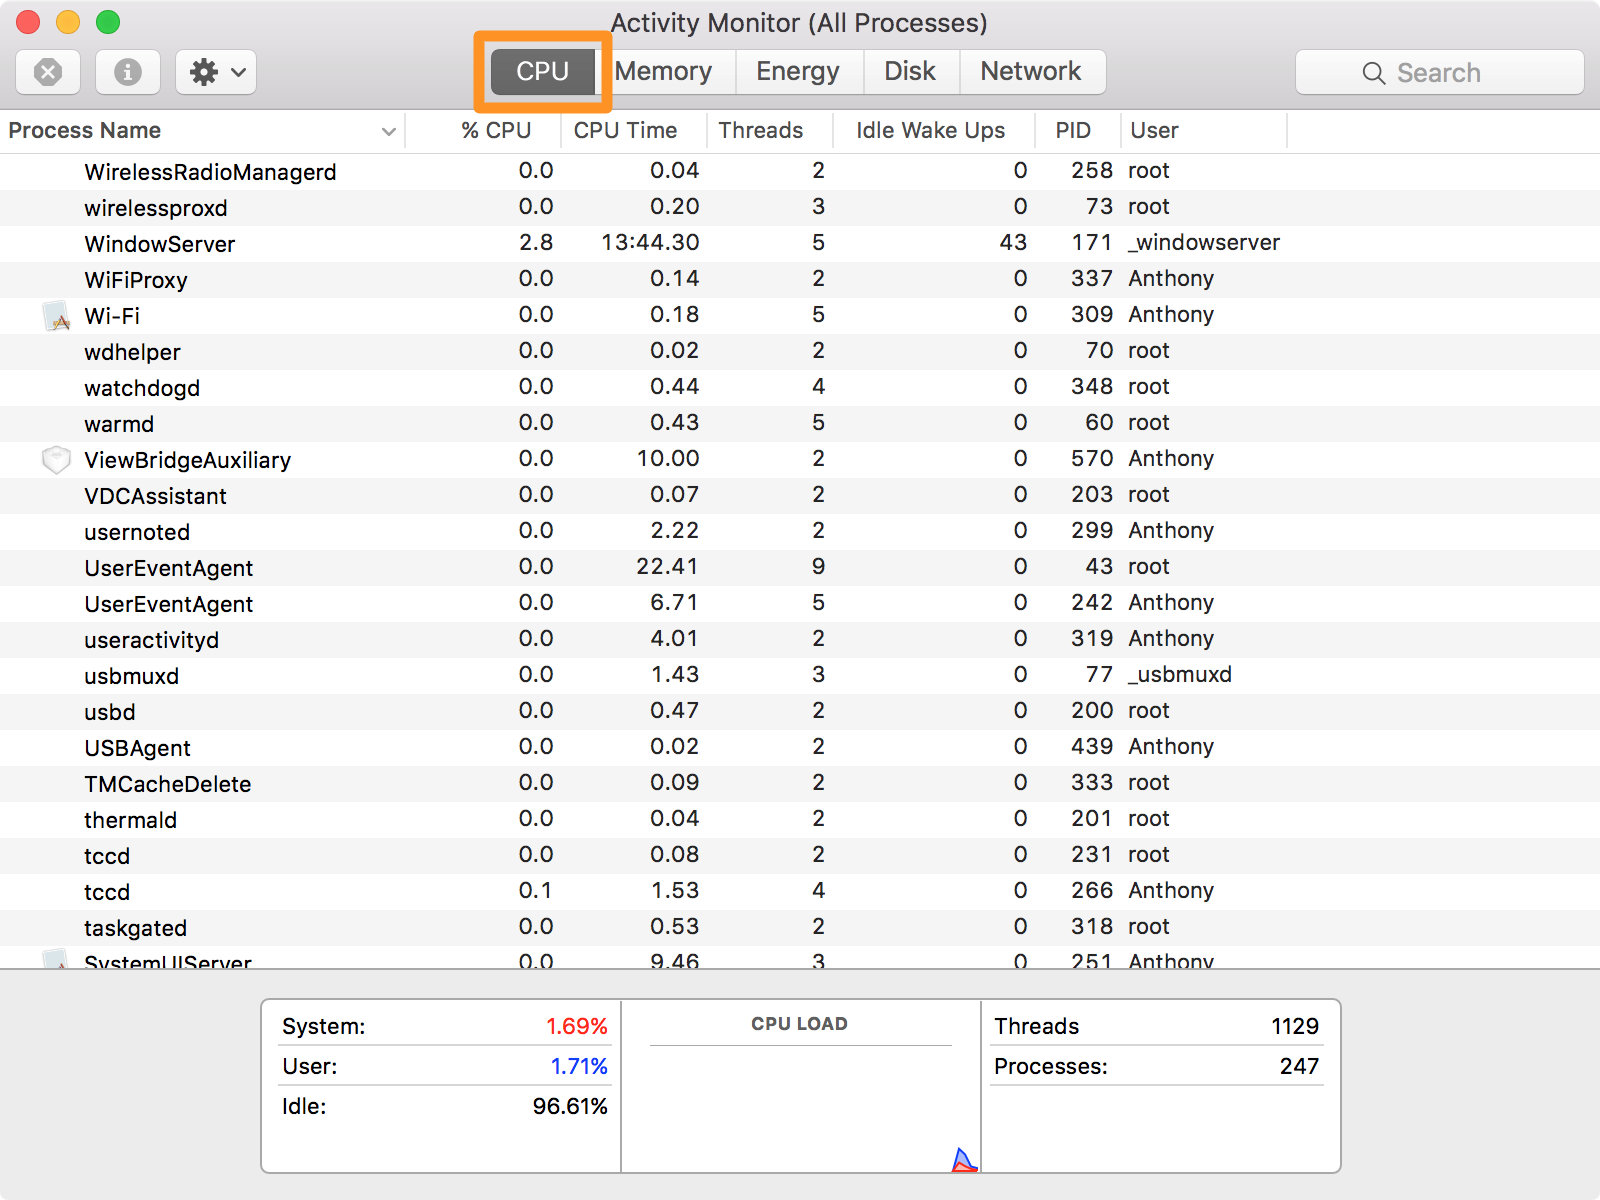
This window lets you see all the processes that are running on your computer in real-time. At the bottom of the window, you can see a graph that shows the CPU load, as well as how much of the system is idle, how much is being used by the user, and how much is being used by the system. It even shows how many individual threads and processes are running at a given time.
As we go through these tests, you’ll watch Activity Monitor closely to understand how this command pegs out your CPU to its maximum capacity. We’ll first take you through maxing out a single processor core, and then we’ll move on from there.
Start by launching the Terminal app on your Mac. It should look something like this:

With the app open, type the following command and then press the return key on your keyboard.
yes > /dev/null &

Terminal will show you [1] process of ‘yes’ occurring on your Mac. To confirm, you can head over to Activity Monitor to see what this command is doing:

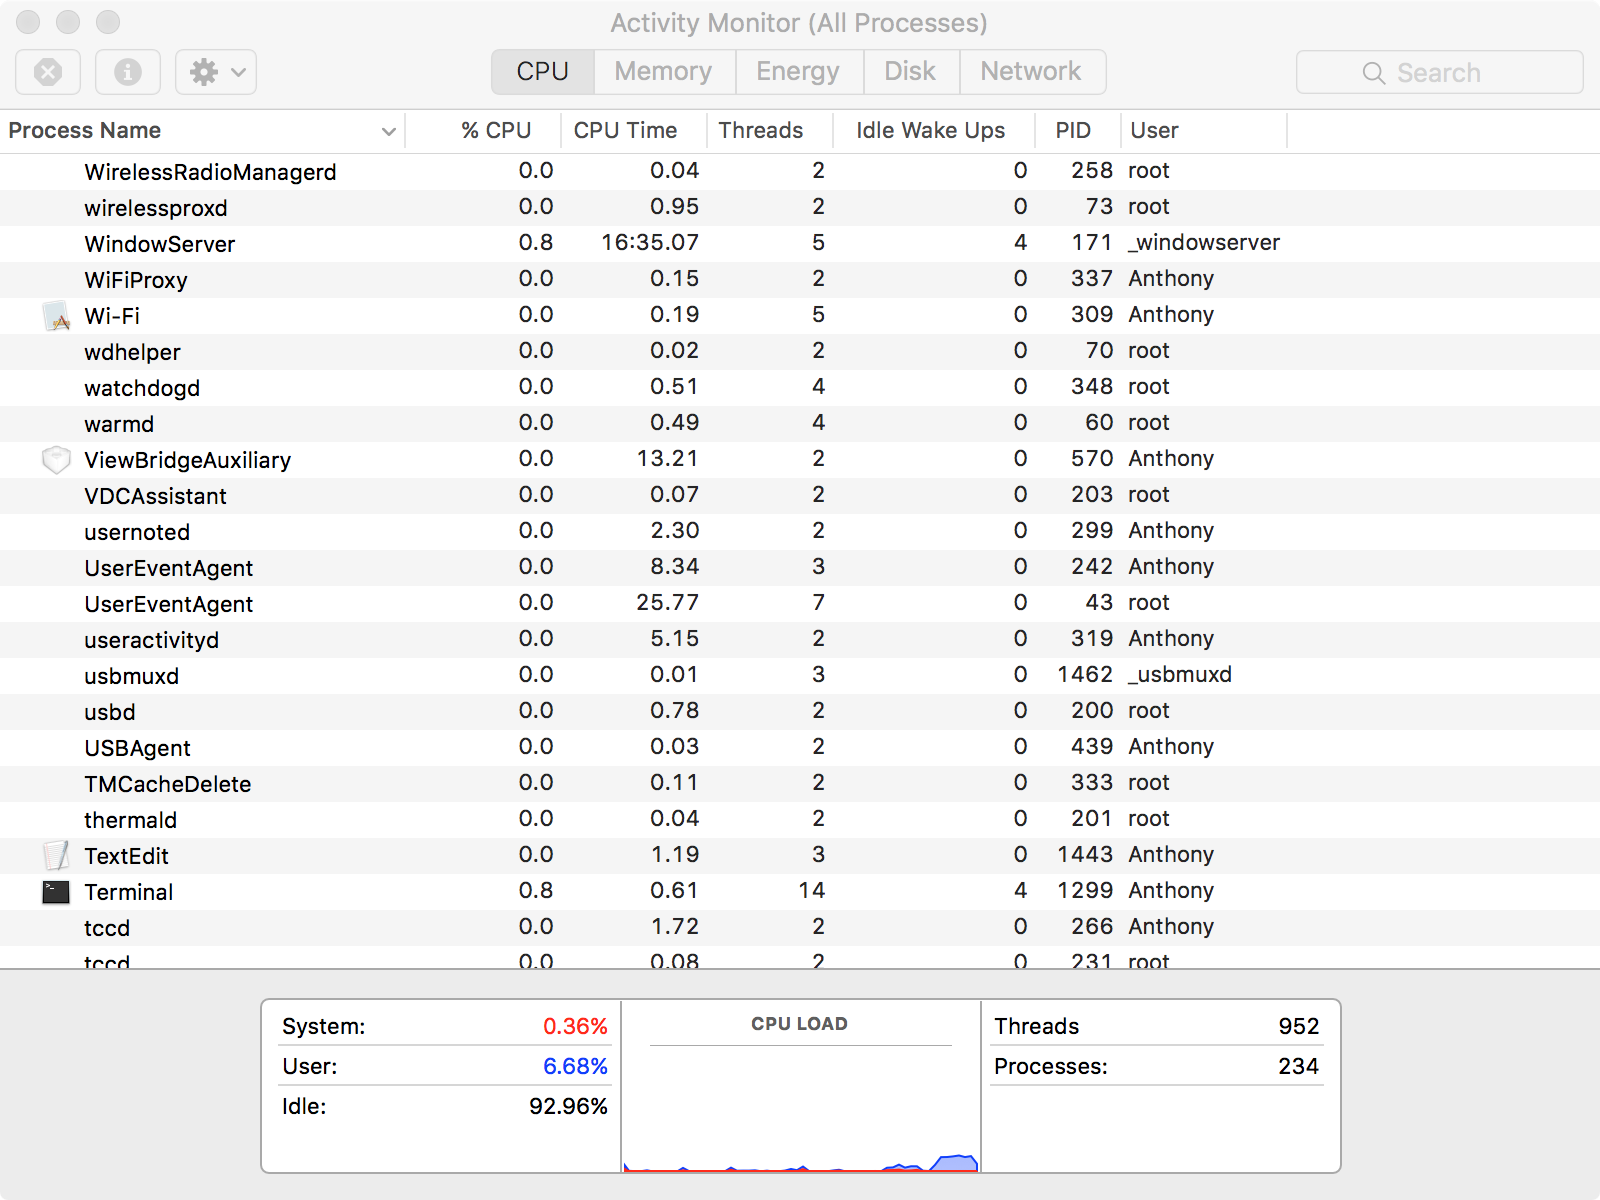
As you can see, there is one occurrence of ‘yes’ in the Activity Monitor too. Although this occurrence of ‘yes’ shows 100% CPU usage, if you look at the graph at the bottom of Activity Monitor, you’ll see it’s only using about 12% of my Mac’s entire system resources. This is because I’m using a quad-core Mac that supports hyper-threading, which means I have up to 8 “cores,” and 100% divided by 8 cores = ~12%.
Is it starting to make sense now? If so, good, because next, we’re going to show you how to stress test multiple CPU cores at once.
The next thing you’ll do is kill the ‘yes’ instance you created by entering the following command in Terminal and then pressing the Return key on your keyboard:
killall yes
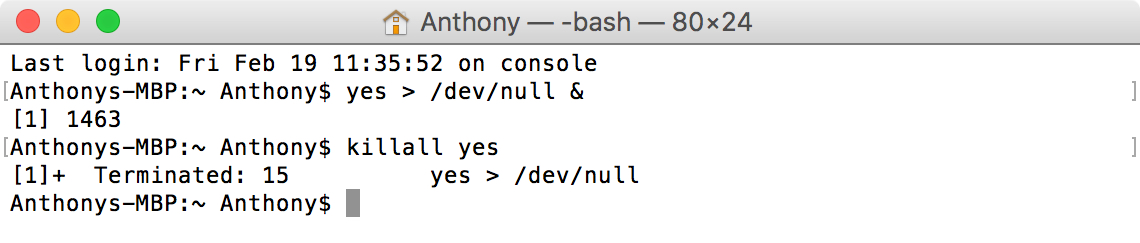
This command kills all instances of ‘yes’ running on the machine, returning your CPU to an idle or low-power state. As you can see, after using this command, ‘yes’ no longer appears in Activity Monitor:
How to stress test multiple CPU cores on your Mac
Now that you know I’m using a quad-core Mac, I’ll go ahead and show you how I can stress test all four cores at once. Yet again, I’ll launch Terminal, and this time I’ll enter the following command and then press the Return key on my keyboard:
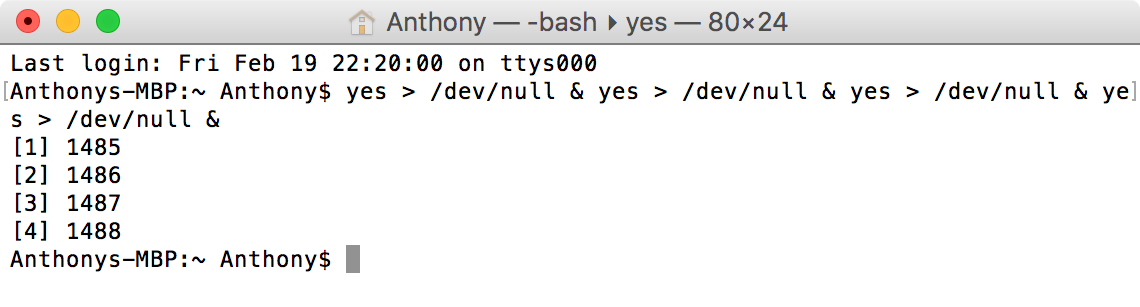
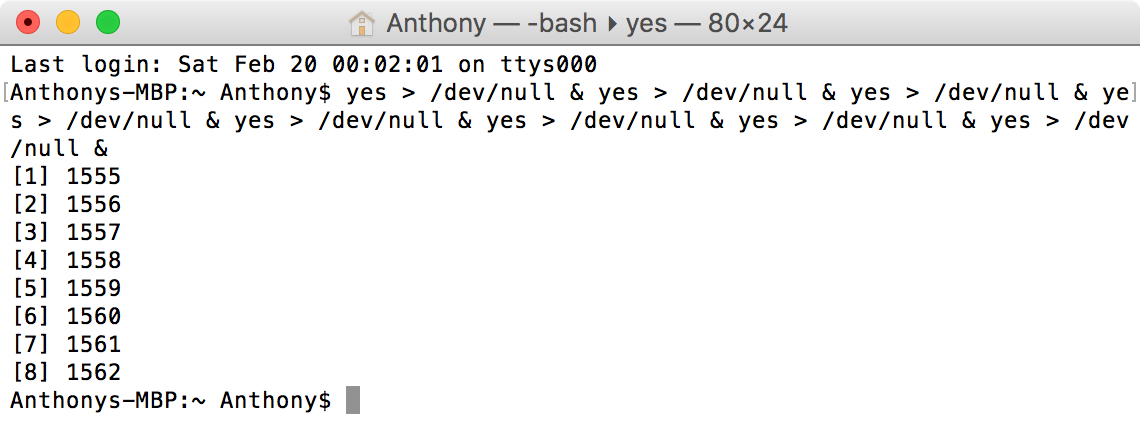
yes > /dev/null & yes > /dev/null & yes > /dev/null & yes > /dev/null &
Did that command look familiar? It should. It’s actually the previous command repeated four times in a row, one right after another in-line with each other.
The output in Terminal should show [1] [2] [3] and [4] instances of the ‘yes’ command after entering this command in Terminal. Now, if I open Activity Monitor, I’ll see four instances of ‘yes’ running:

Take note of how although I have a quad-core machine, four instances of ‘yes’ only show 50% of total CPU usage on my machine. Take that ~12% we mentioned earlier and multiply that by 4, and you should get ~50%, which is the number you’re seeing in Activity Monitor. The reason behind this is that my Mac supports hyper-threading and I have 8 virtual cores.
So now, I’ll go ahead and show you what it’s like to fill all 8 virtual cores on my Mac.
I’ll open Terminal once again, and this time I’ll repeat the command 8 times before pressing Return on my keyboard, like so:
yes > /dev/null & yes > /dev/null & yes > /dev/null & yes > /dev/null & yes > /dev/null & yes > /dev/null & yes > /dev/null & yes > /dev/null &
Now what you see in the output is that I have [1] [2] [3] [4] [5] [6] [7] and [8] instances of ‘yes’ running in the background. In theory, my computer’s CPU should be screaming right about now, so let’s look at Activity Monitor to confirm that theory:
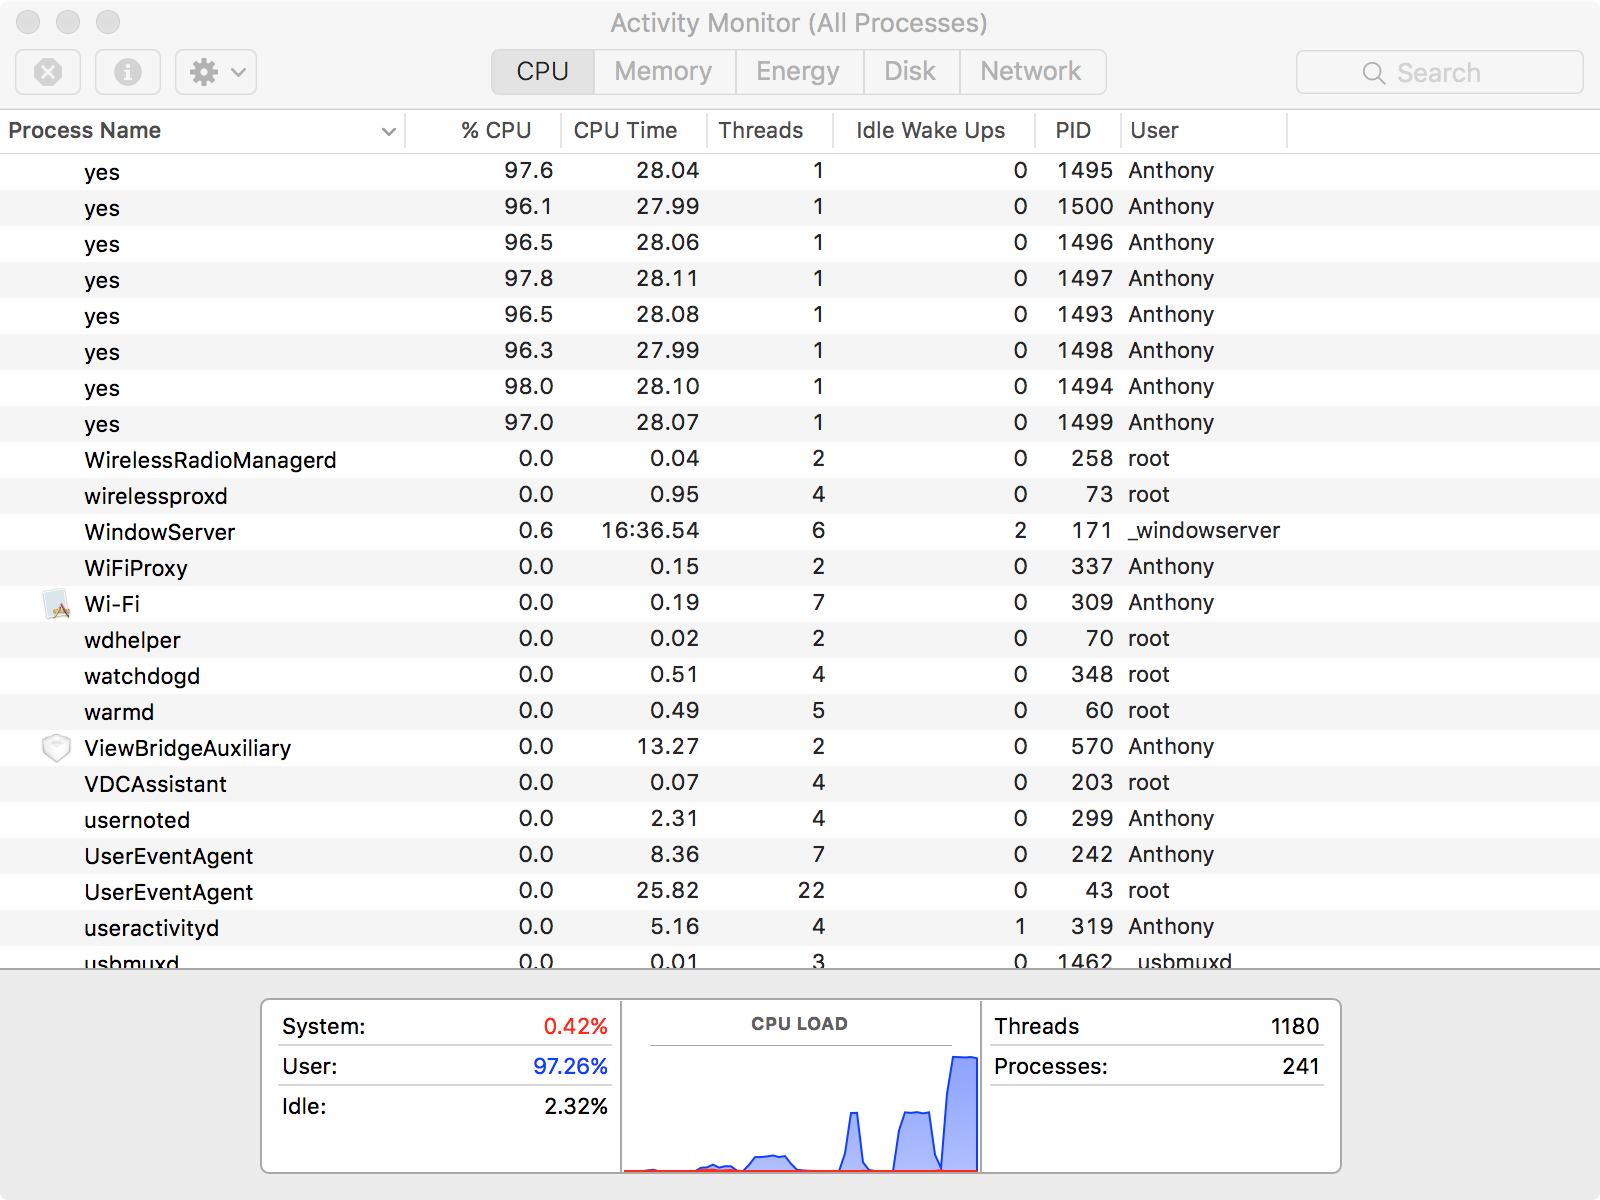
As you can see from Activity Monitor, the CPU is using nearly 100% of its 8-core resources with the 8 instances of ‘yes’ running in the background. This is because ~12% x 8 = ~100%.
What does all this fancy information even mean?
What this information tells you is just how much load your CPU is taking when you perform these commands. As you perform the commands, you should listen carefully to the computer to ensure you don’t hear any abnormal electrical noises and or grinding in your fans.
By the time your processor is running at 50% capacity or higher, your fans should be blowing full blast within just a few seconds because your processor is going to get very hot while it processes all those 0’s and 1’s, which is essentially just raw electricity and this generates heat.
If you hear any abnormal electrical or sizzling sounds, your CPU might be getting ready to take a dump. If you hear any abnormal grinding or clicking noises while the fans are moving full-blast, then you should probably consider getting a replacement fan soon; otherwise, your processor could become damaged from overheating.
Apple can take care of all these repairs at the Apple Store, so you should be able to just take your Mac to a local retail store with a Genius Bar appointment. Assuming you’re under warranty, the computer should be covered for repairs. If it’s not, you might be paying an arm and a leg for repair(s) or replacement(s).
Related: Should you get AppleCare+ for your MacBook?
Stress test on Mac
If you’re interested in stress testing your Mac to see if there are any problems with some of the most critical pieces of hardware, then try these Terminal commands and listen for anything abnormal and watch the Activity Monitor to see if you notice anything abnormal. These clues will help you diagnose a problem before it strikes and forces you to pay for expensive replacements, or worse, a new computer.
Did you find this information helpful? If so, let us know how it worked for you in the comments below.
Related: