The Path Bar displays the interactive path to the current working directory at the bottom of all Finder windows. In this tutorial, you are going to learn how to show or hide the Path Bar and use it like a pro to navigate your Mac’s file system more efficiently than ever.
How to show or hide the Finder’s Path Bar
- Open Finder by clicking its icon from the Dock.
- Click View from the top menu bar.
- Select Show Path Bar.
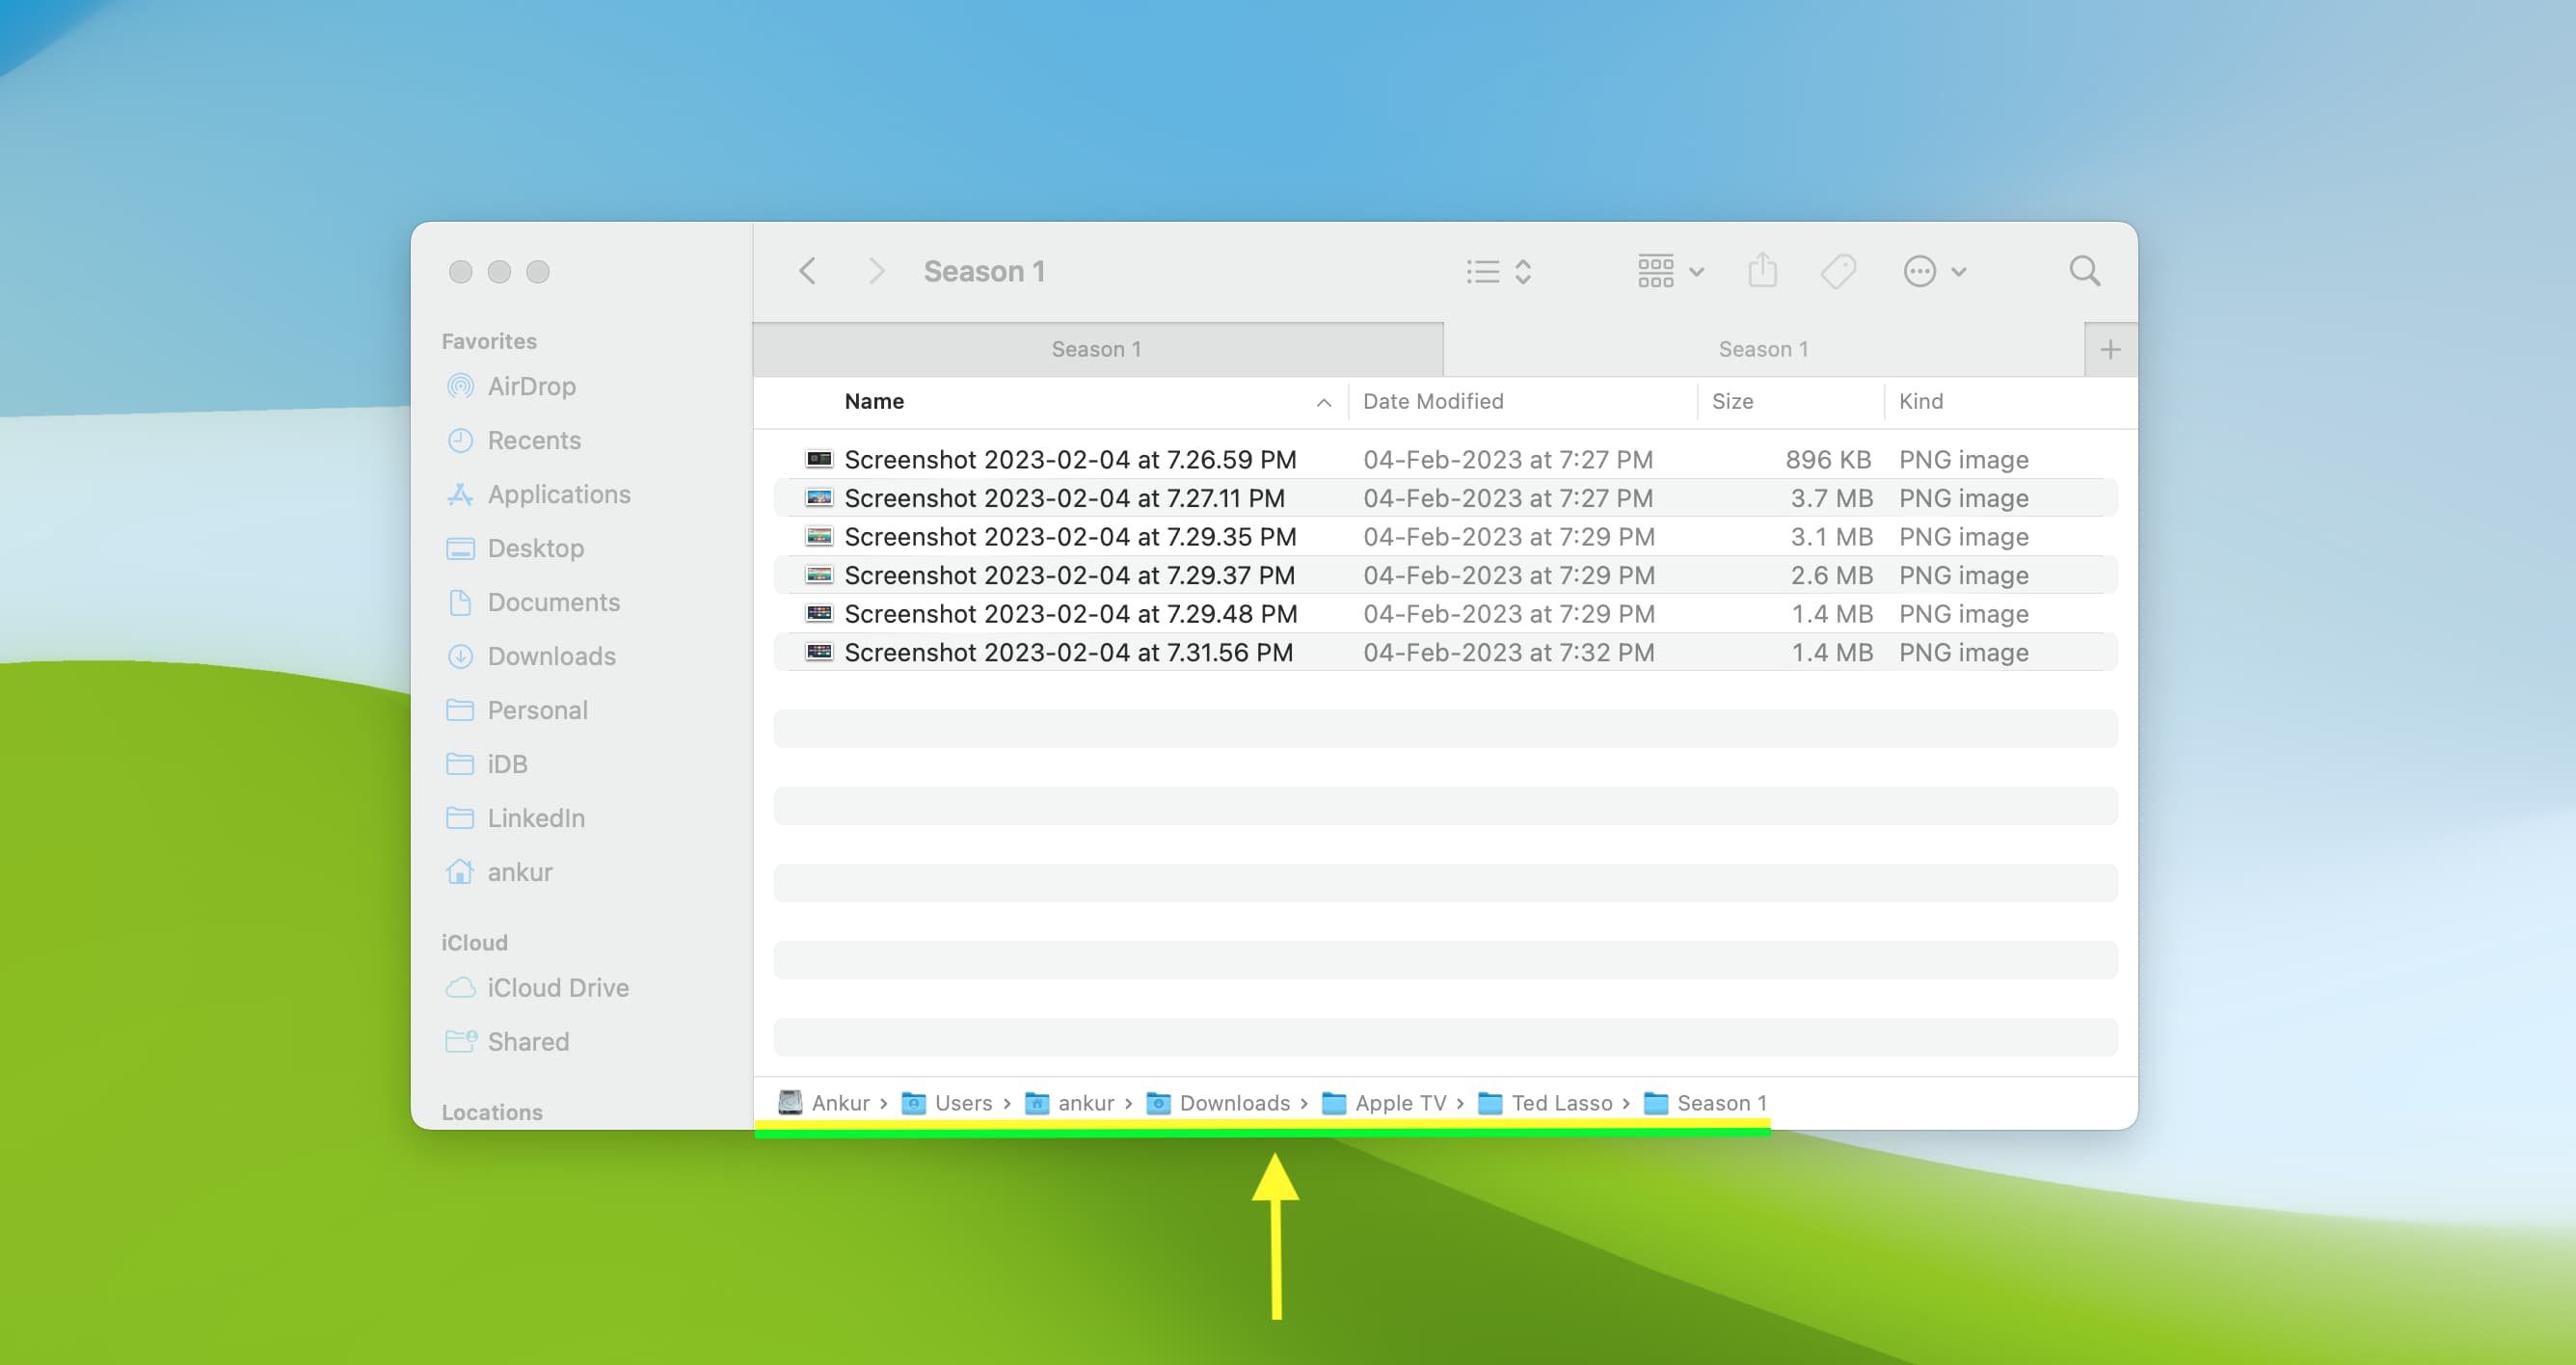
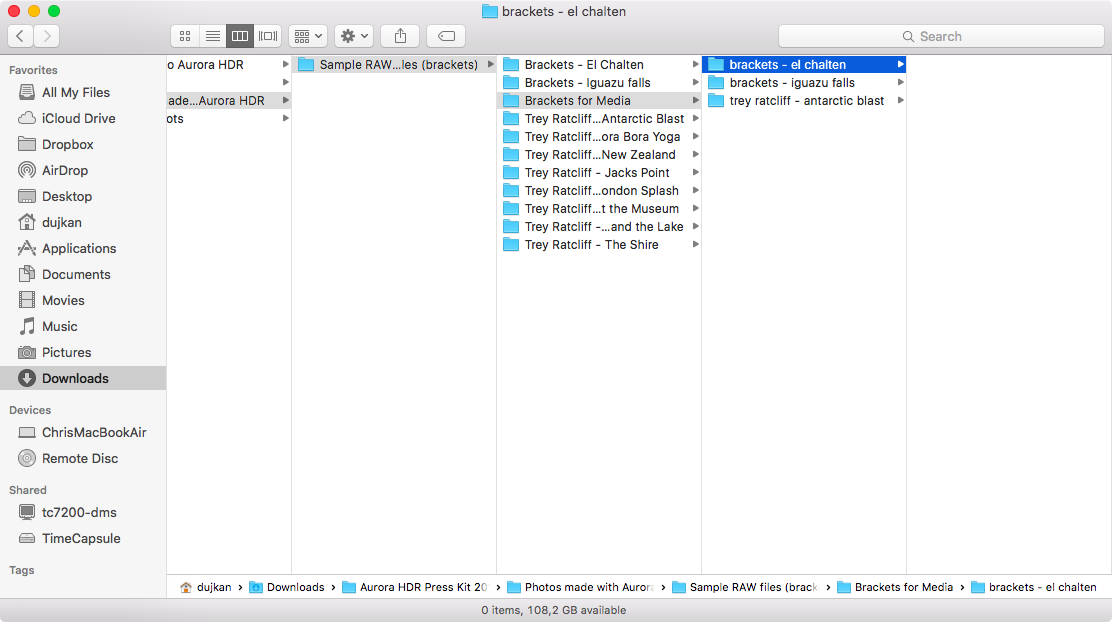
As evidenced by the screenshot, the Path Bar should appear at the bottom of all current and new Finder windows by default. Even better, the Path Bar gets shown regardless of your preferred view mode (Icons, List, Columns, or Cover Flow).
Alternatively, you can also press together Option + Command + P keys when in Finder to show or hide the Path Bar.
How to interact with the file system using the Path Bar
Obviously, the Path Bar automatically updates itself with the current path as you navigate your Mac’s file system. The Path Bar isn’t just for showing off: you can interact with file system elements directly from it.
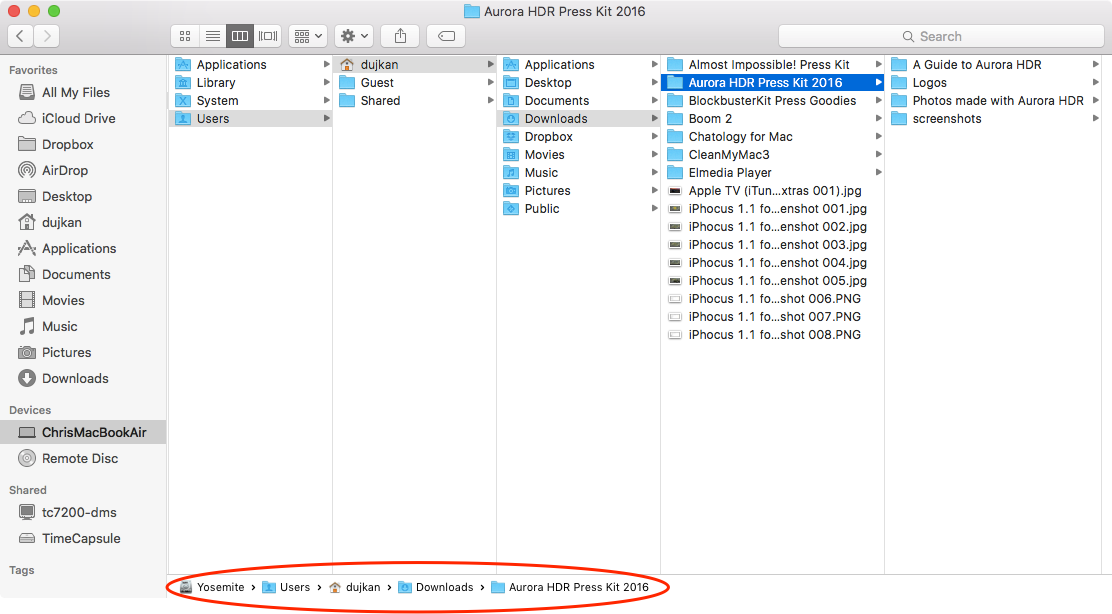
For instance, drop an item onto a specific item within the Path Bar to move the file to that location. If you want to copy the file instead, simply hold the Option key before releasing the mouse button. As shown below, I dragged the image file from my desktop and dropped it into the Downloads folder shown within the Path Bar.

This is very handy if you’re several levels deep in the Finder and need to copy or move an item into a folder within your path without opening another window.
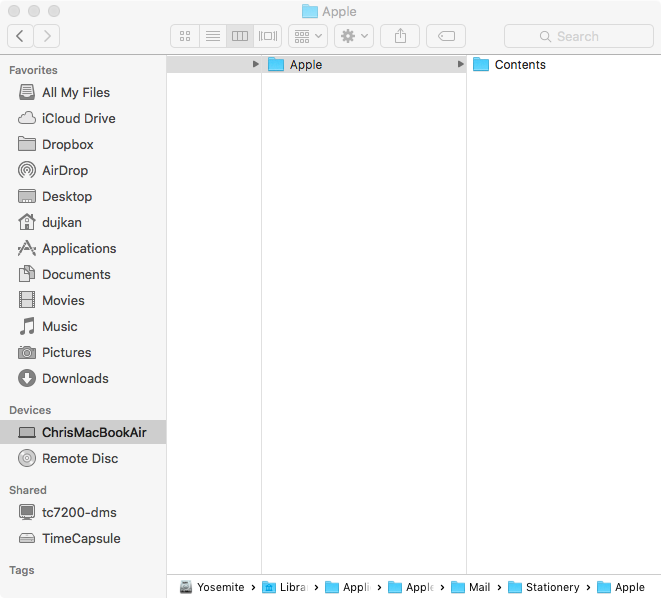
But what if you’re so deep in the file system that your current path no longer fits within the Path Bar? Well, the Finder is smart enough to truncate items within the Path Bar while ensuring that both the starting and current browser folders are always visible.
If you hover the mouse over a truncated item within the Path Bar, its name gets expanded temporarily to give you a sense of where exactly you are in the file system. As illustrated below, the Application Support folder shown within the Path Bar is instantly expanded upon hovering over it.
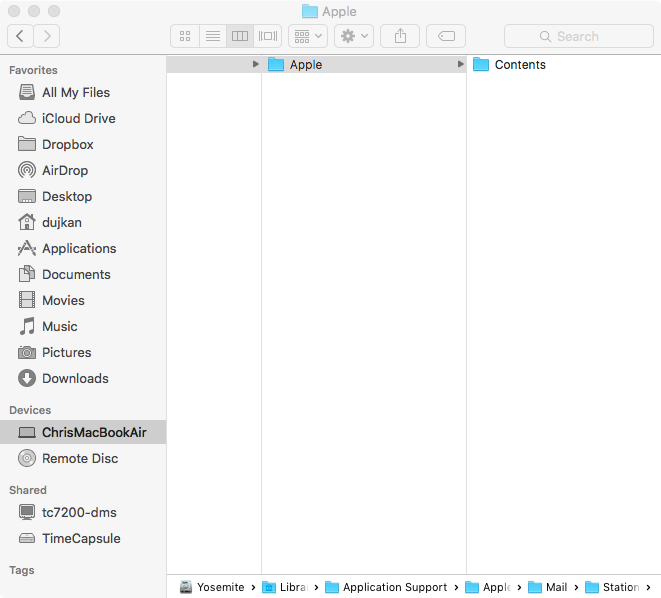
I find these auto-expanding Path Bar items to be very functional.
For instance, I can move the mouse pointer across the Path Bar while dragging a file and watch the truncated folder names expand before dropping the file into one — without needing to enlarge the Finder window itself.
How to set Path Bar to be relative to the Home directory
Do you find the Path Bar too distracting because it always shows the full path relative to the root disc? No problem; you can set it to be relative to your user account’s Home directory with the following Terminal command:
defaults write com.apple.finder PathBarRootAtHome -bool TRUE;killall Finder
So instead of the cluttered Path Bar like this…

…you get a more streamlined one relative to your home directory, like this.
To revert to the default Path Bar, execute the following Terminal command:
defaults delete com.apple.finder PathBarRootAtHome;killall Finder
Related tutorials: