![]()
macOS has a nifty little productivity boost that makes it both easy and fun to run two apps side-by-side in your Mac’s native full-screen mode.
This can be indispensable when focusing on specific tasks at hand while disregarding everything else, like online research and taking notes, or blogging and writing, or reading news while keeping tabs on your Twitter feed and so forth.
This mode, called Split View, is normally activated by dragging an app to either side of the screen by its window’s upper left green button, and then choosing another app to fit the other half of the screen.
But the multi-step process is often a tad confusing for novice users, especially those accustomed to Windows 7’s effortless window snapping. Thankfully, your Mac supports creating Split Views right within Mission Control, which in macOS has been tidied up and made clearer and more obvious.
In this tutorial, you’ll learn how to go, and exit, Split View just by dragging app windows inside your Mac’s Mission Control.
How to create Split View in Mission Control
I want to create a Split View with Photos and Apple Maps from within Mission Control, how do I do that?
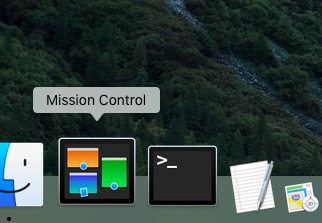
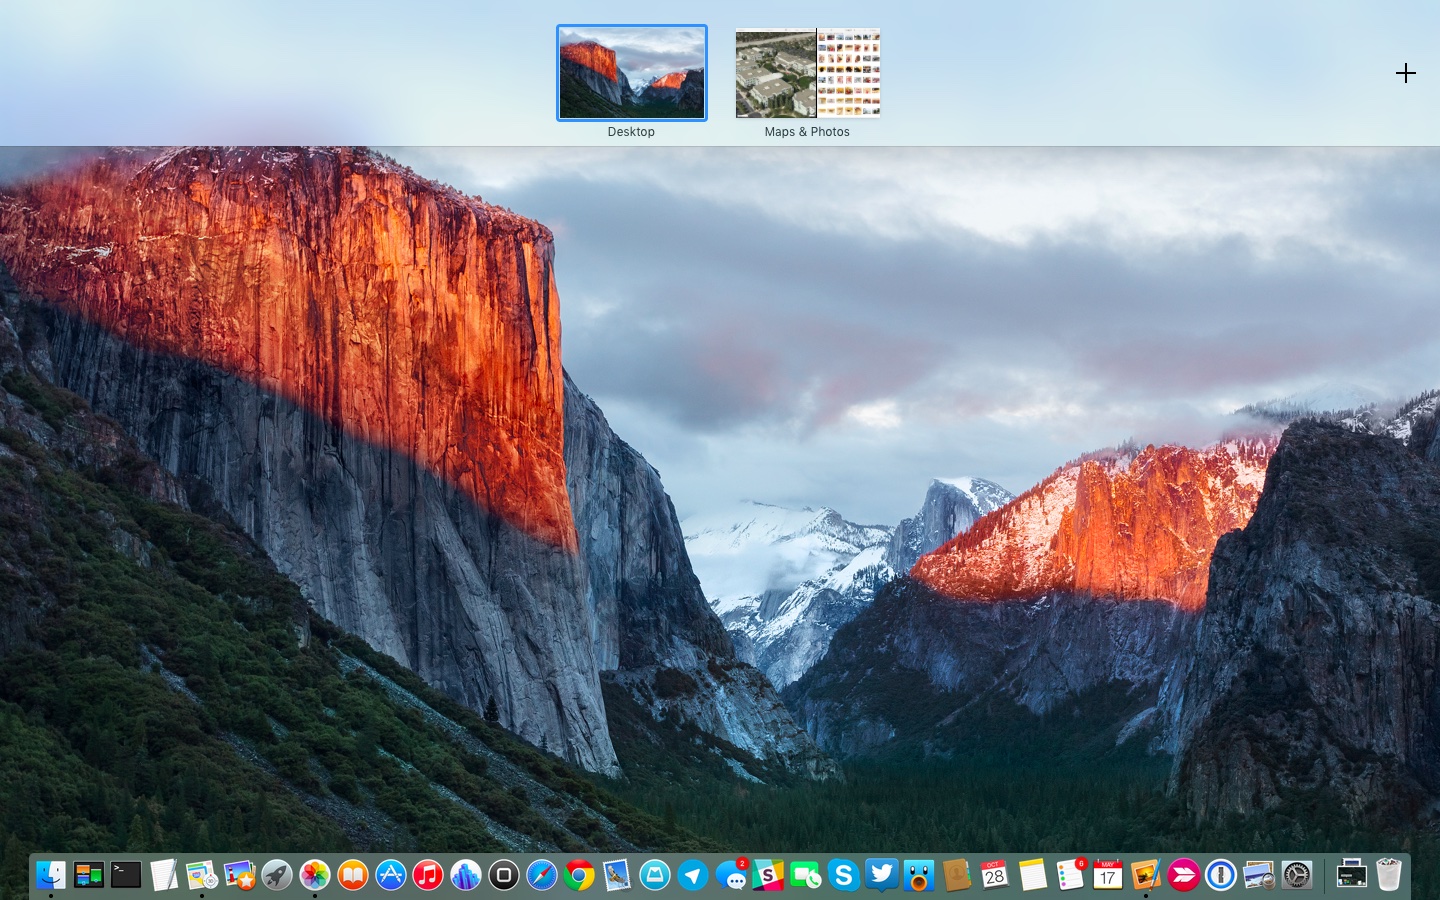
Step 1: Launch Mission Control by clicking its icon in the Dock. Alternatively, use Spotlight to search for ‘mission control’ or open its icon in the Applications folder.
Tip: You can also activate Mission Control by hitting F3 on the keyboard. And if you own a Mac notebook or Magic Trackpad, Mission Control can be activate with so-called “claw” gesture (swipe up with four fingers).
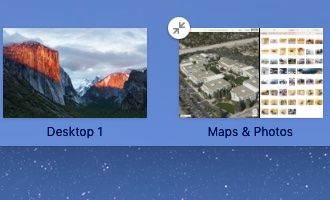
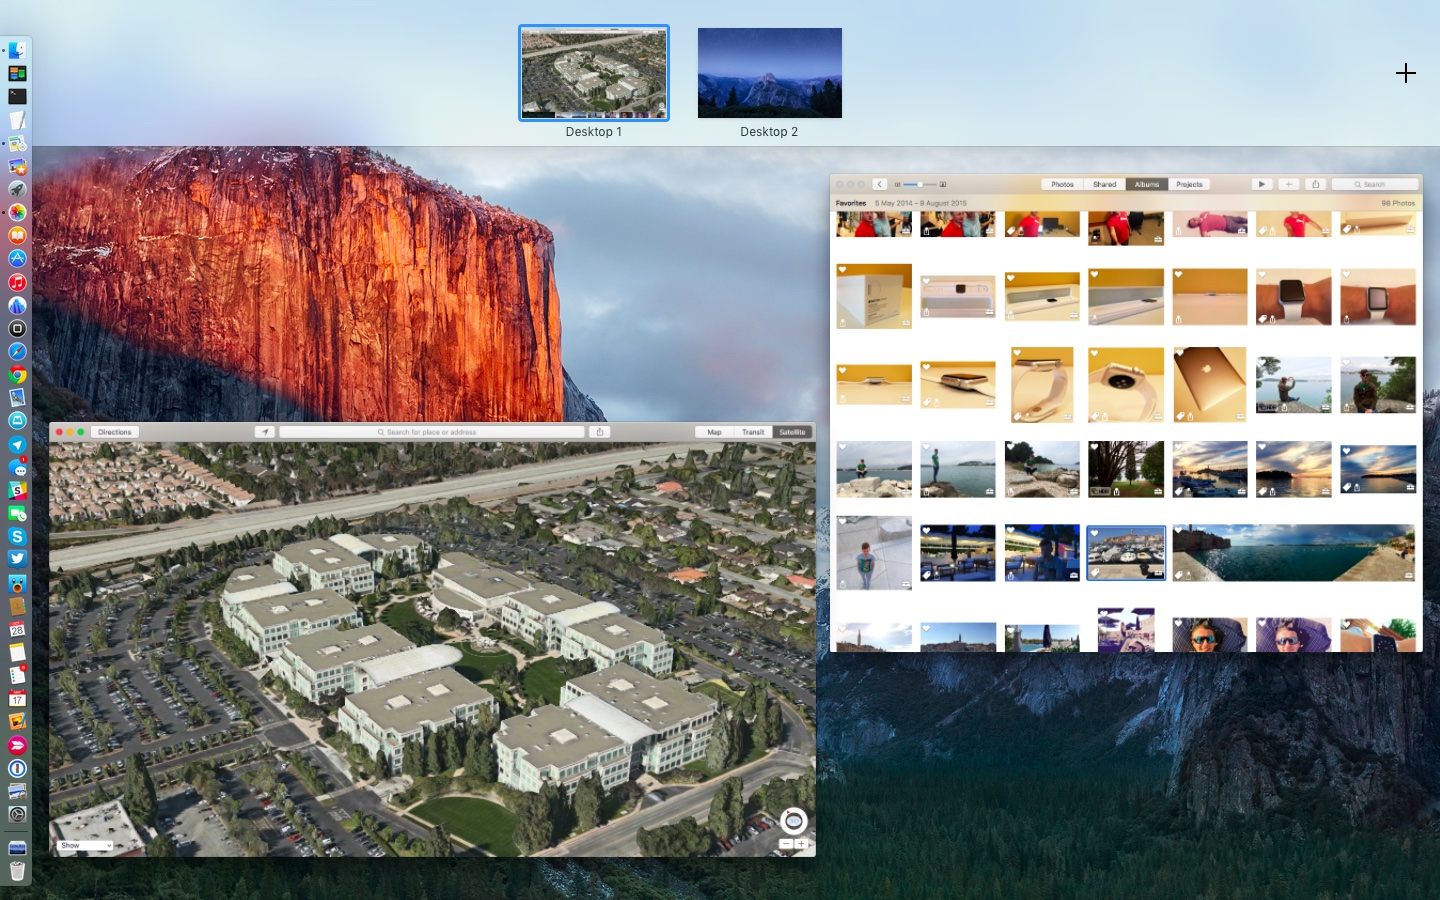
Step 2: Drag and drop the first app on an empty area in Mission Control’s multitasking tray at the top of the interface. This will create a dedicated Space and put that app in full screen. In my example, Photos is now full screen while Maps is still running on desktop.
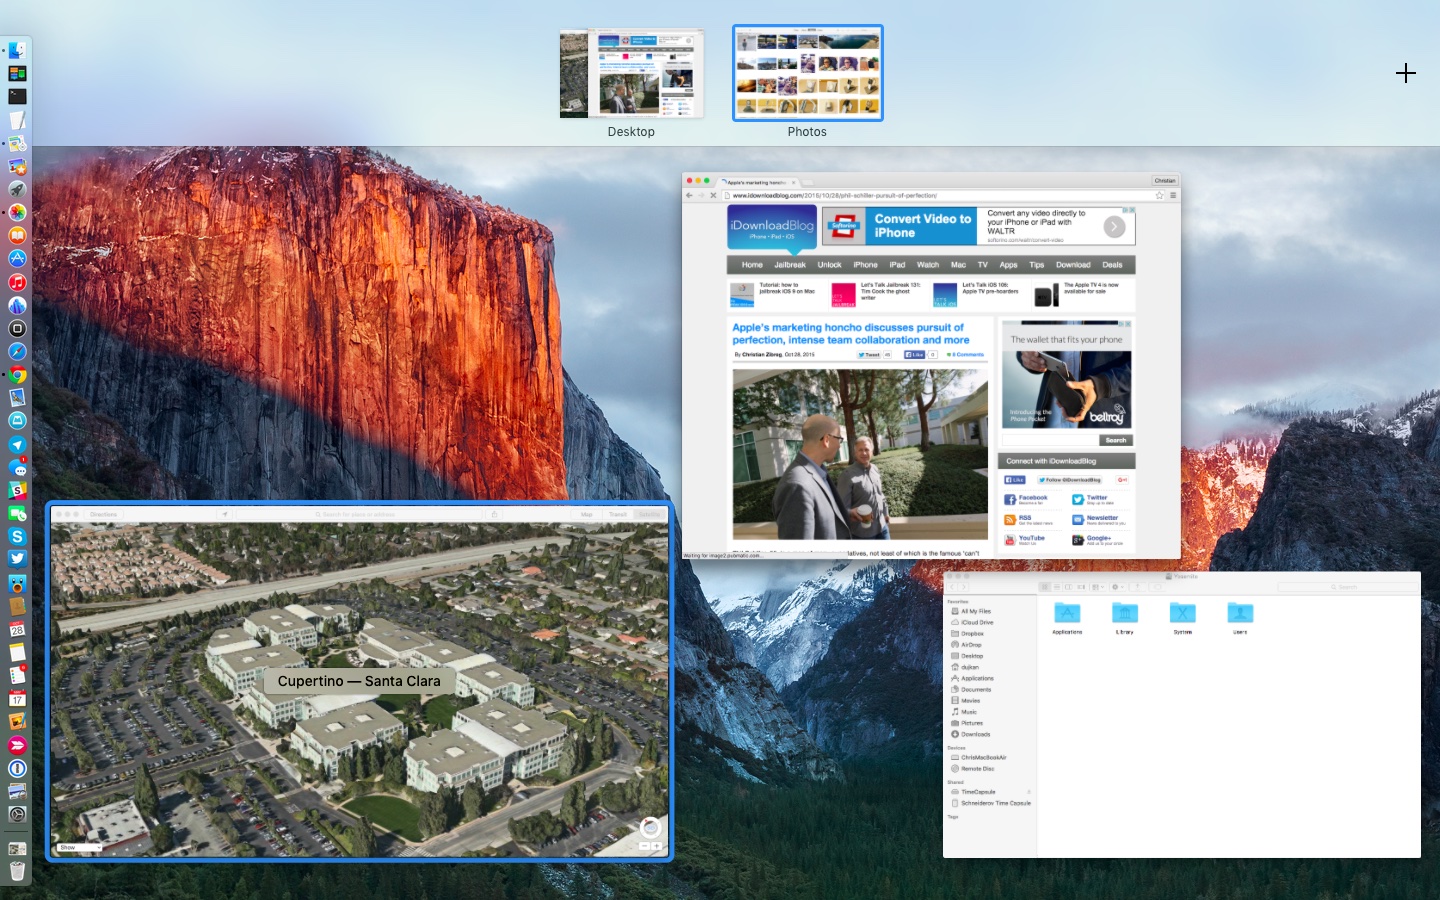
Step 3: Now drag the other app (in my case, Maps) over the Space occupied by the first app (Photos) in Misson Control’s multitasking tray.
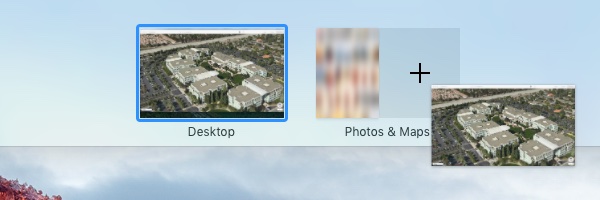
Doing so should reveal the plus sign inside the Space thumbnail, indicating the app being dragged supports Split View. Another way to tell if an app works in Split View: if its window’s green expand button has the plus sign, it won’t go Split View.
If the window button has two opposing arrows, the app is compatible with Split View.
Tip: This is Apple so attention to detail comes out of the box. In the case of Mission Control, you can control Split View orientation depending on where you actually drop the other app within the first app’s Space.
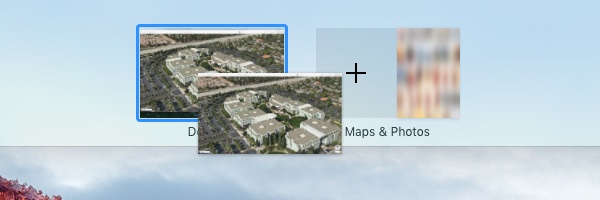
Say I wanna create a Split View with Maps on the left side: I just drag and drop Maps to the left side of Photos’ Space and Mission Control does the right thing.
Attention to detail? Mission Control even adjusts the Space label accordingly to read “Maps & Photos” or “Photos & Maps,” depending on app orientation.
Step 4: Let go of the mouse button to create your Split View configuration.
Step 5: To switch to the just-created Split View, click the Space with two full-screen apps in Mission Control’s multitasking tray and you’ll immediately go Split View.
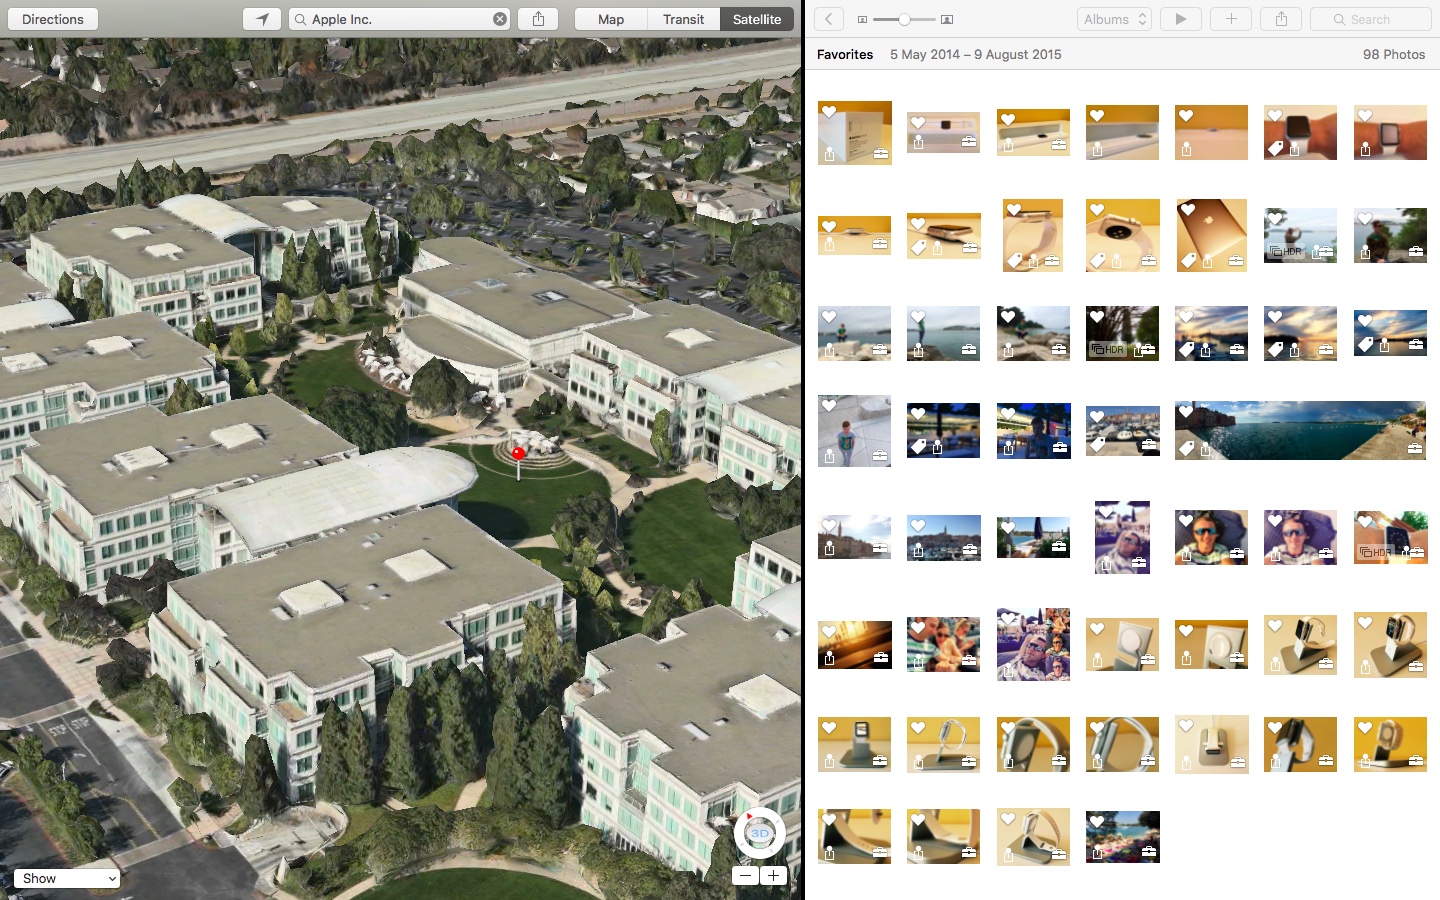
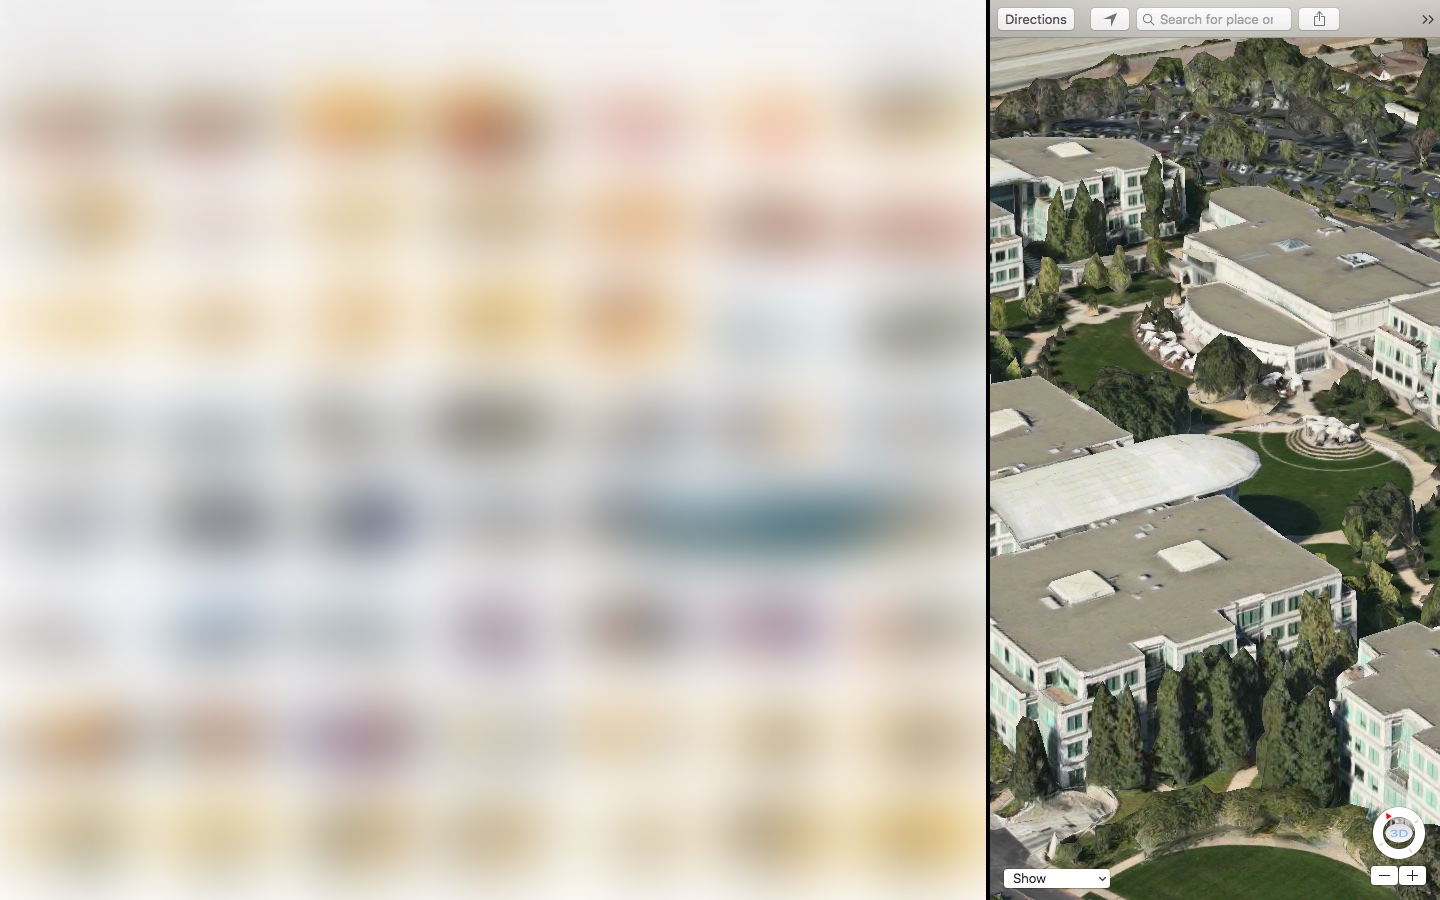
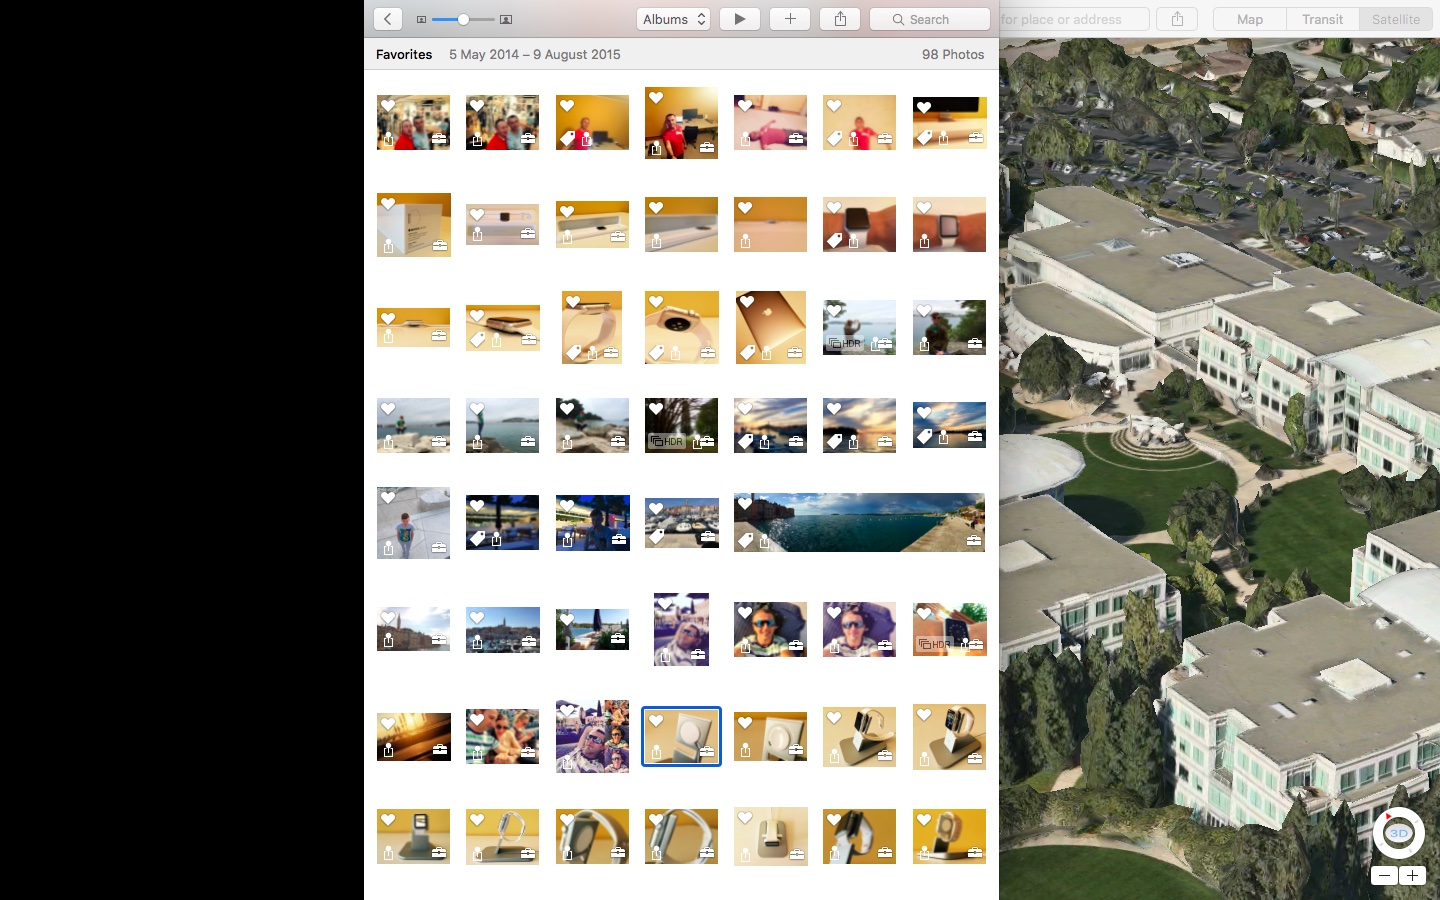
And here I am, browsing my favorite photos and appreciating Maps’ beautiful Flyover view of Apple’s Cupertino HQ in the Mac’s full-screen Split View mode.
How to exit Split View from Mission Control
To exit Split View, hit ESC on the keyboard. The problem is, this only brings the currently active Split View app to the desktop while the other app continues to run full screen. Worry not, Mission Control lets you leave Split View far more elegantly.
Step 1: Activate Mission Control.
Step 2: Hover over the Space with Split View in Mission Control’s multitasking tray.
Step 3: As shown above, two opposing arrows appear in the upper left corner. Click that button and both apps will swoosh back to their previous positions on your desktop.
Tip: The same effect can be achieved by dragging the Space thumbnail just outside Mission Control’s multitasking tray.
Signing off, please keep in mind that you cannot create Split View unless both apps support the feature. If dragging an app in Mission Control onto a Space won’t yield desired results, then one of the apps definitely doesn’t play nice with Split View.
Oh, and don’t forget you can actually drag the vertical divider left and right while in Split View in order to give one of the apps more screen real estate at the expense of the other.
And while in Split View, you can drag one window to the other side of the screen to swap apps in one fell swoop, as shown above. Try it out yourself, it’s really cool!
Do you know of other Split View tricks that work in Mission Control? If so, please post them in the comment section below and I’ll add them to the post.