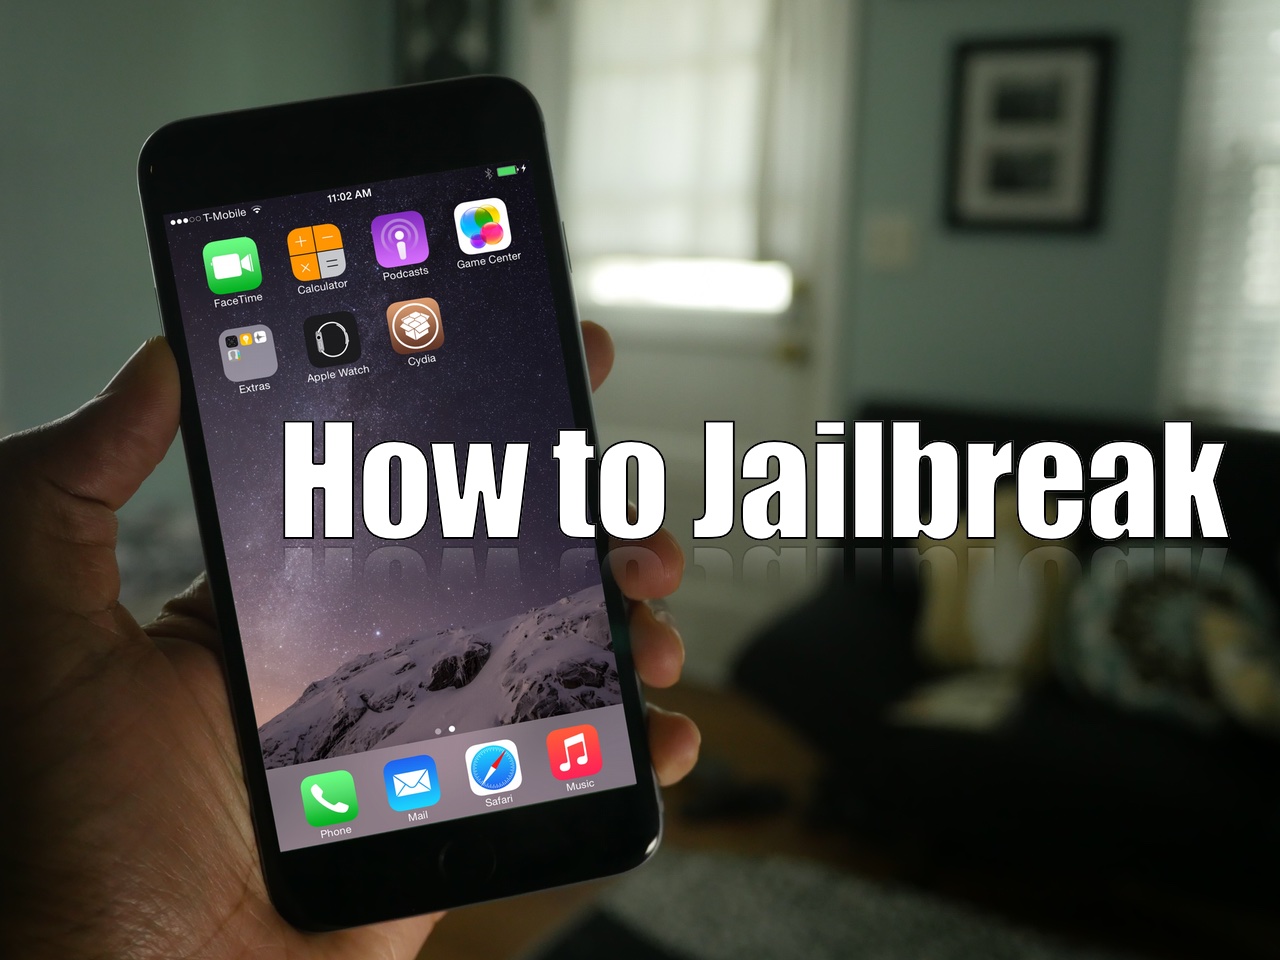
As we mentioned earlier, TaiG has released version 2.1.3 of its jailbreak tool, and it’s a significant update as far as fixes go. First and foremost, it works with virtual machines, so you no longer need to modify your virtual machine to use the tool. Secondly, it fixes the 20% hangup. With these things in mind, we thought we’d show you how to jailbreak using this latest TaiG update.
This post is primarily aimed at those who have yet to jailbreak, and are looking for guidance with the latest tool. In the video that follows, we’ll show you the proper way to go about jailbreaking your iPhone or iPad, and we’ll show you how well the tool runs on a virtual machine.
How to jailbreak the right way using TaiG 2.1.3
Step 1: Download TaiG 2.1.3 from our downloads page and extract it to your desktop
Step 2: Disable Find My iPhone and Passcode lock on your iOS device. As a precautionary measure, enable Airplane mode as well
Step 3: Connect your device to your computer, and ensure that iTunes (make sure you’re running the latest version) recognizes it
Step 4: If you’re using a virtual machine, go to Virtual Machine in the menu bar → USB & Bluetooth → and select Connect iPhone, if it’s not already connected
Step 5: Right click on the TaiG 2.1.3 tool on your desktop and choose Run as Administrator → Yes
Step 6: Wait until TaiG detects your iPhone and uncheck the 3K assistant tool
Step 7: Click Start and be patient until the jailbreak completes. Don’t touch your phone until you see the Jailbreak succeeded! message on the TaiG tool
That’s it! After you finish your jailbreak, be sure to check out our full iOS 8.3 jailbreak roundup.
Did this fix your jailbreak issues?