
Time Machine is a Mac utility that allows you to automate hourly, daily, and weekly backups on an external drive that’s connected directly to your Mac or via a local network. It’s seen as the first line of defense against data loss, and features simple setup.
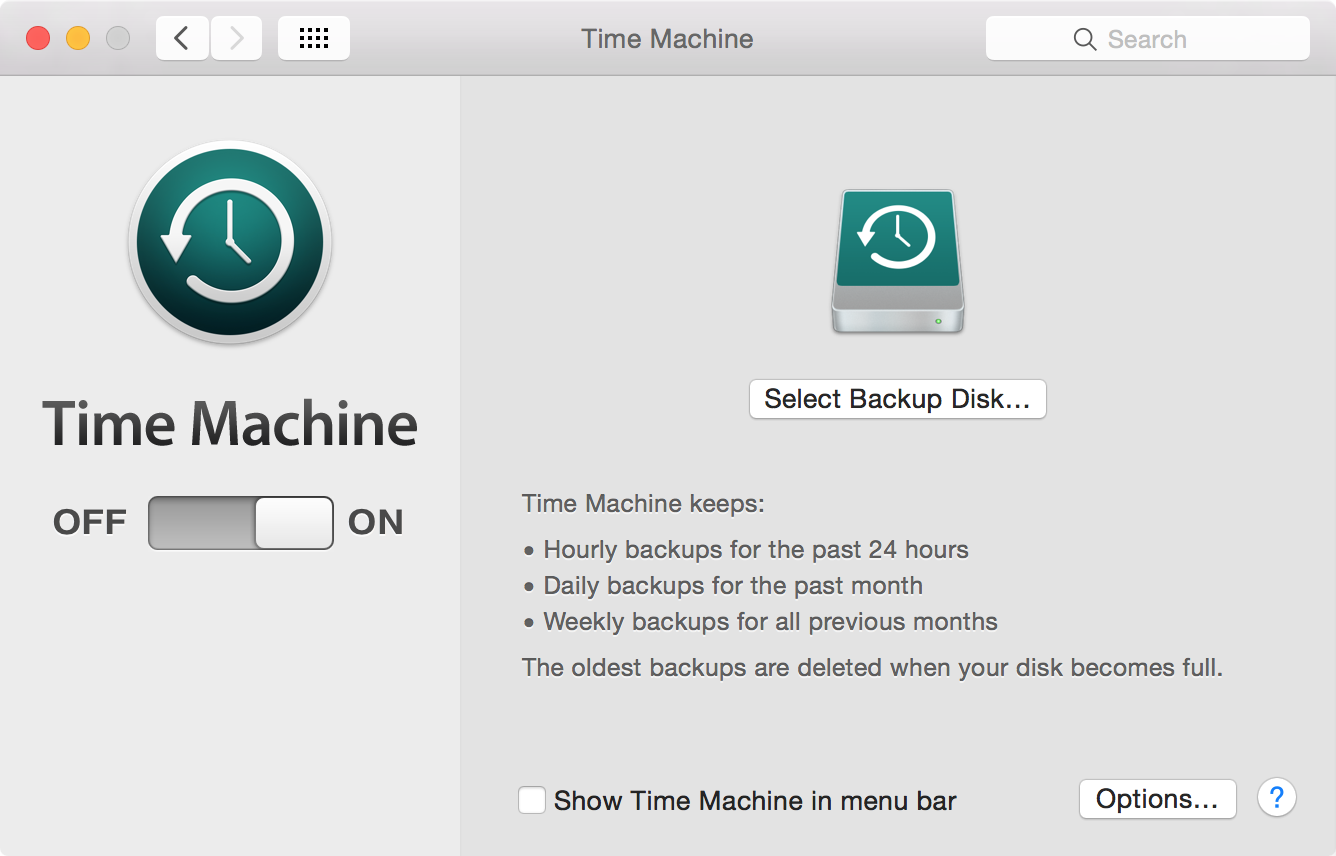
Setting up Time Machine, in its most basic configuration, is extremely easy. All you need to do is launch the Time Machine preferences, turn on Time Machine, select a Backup Disk, and you’re pretty much set.
Of course, there’s much more to Time Machine than just the initial setup, but in this first post in our Time Machine tutorial series for OS X, we’ll cover some of the basic set up options.
Initial Time Machine setup
Step 1: Connect an external HDD to your Mac. You can also use a Time Capsule, or other form of network attached storage, such as an AirPort Extreme with an external HDD connected via USB.
Step 2: Open System Preferences → Time Machine.
Step 3: Enable the Time Machine switch.
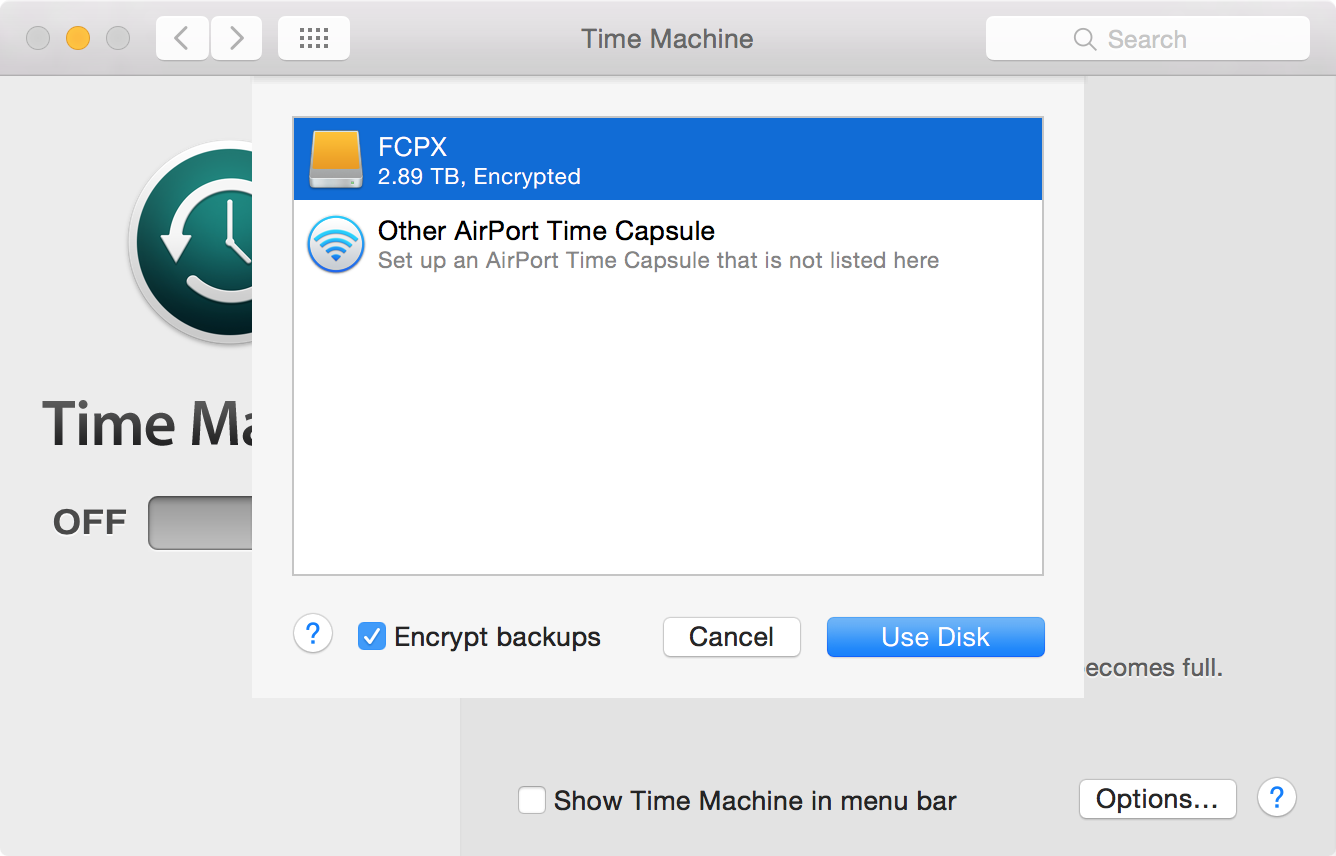
Step 4: Click Select Backup Disk… and select your external disk.
Step 5: Click Use Disk.
The first backup will begin in two minutes.
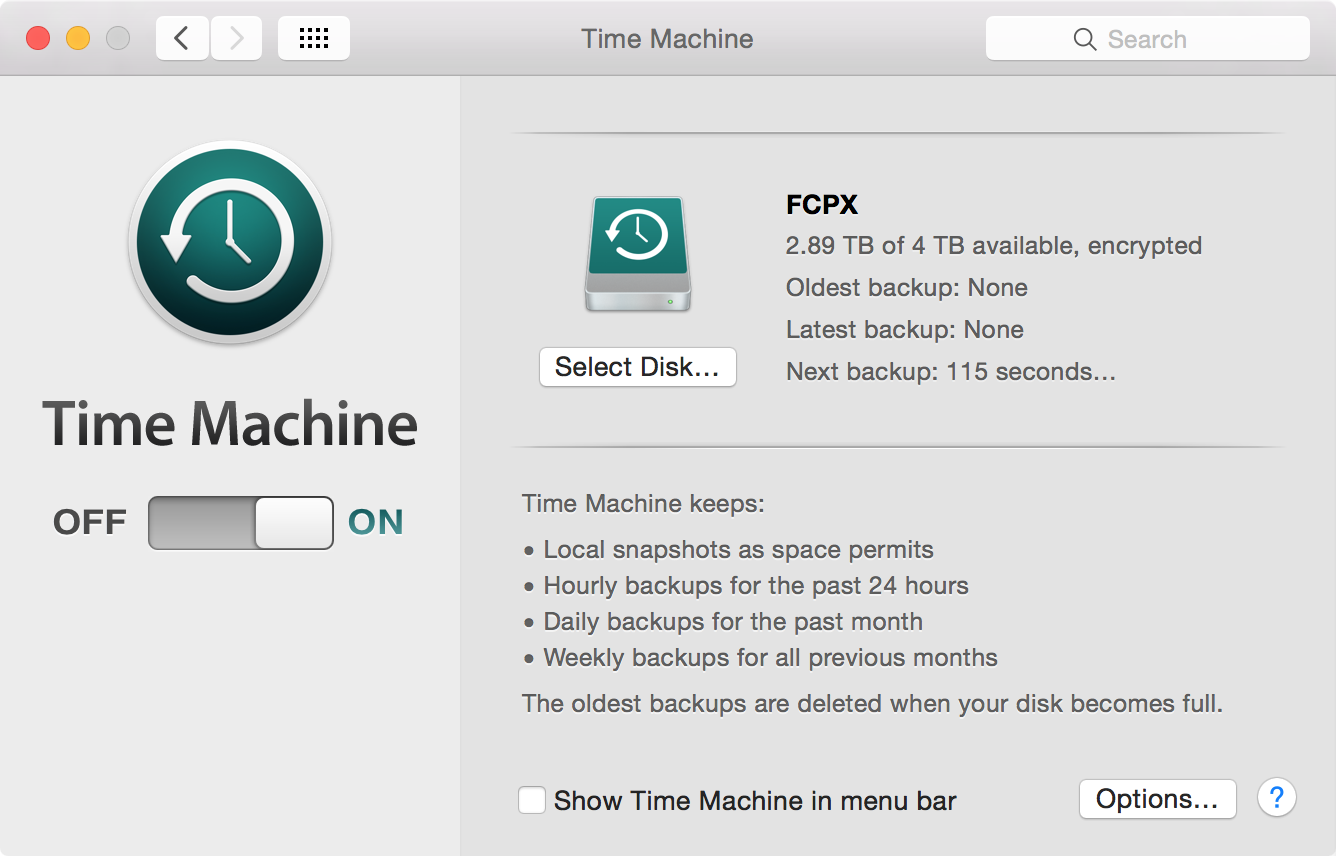
Once the backup begins, you’ll see backup statistics in the Time Machine preferences.
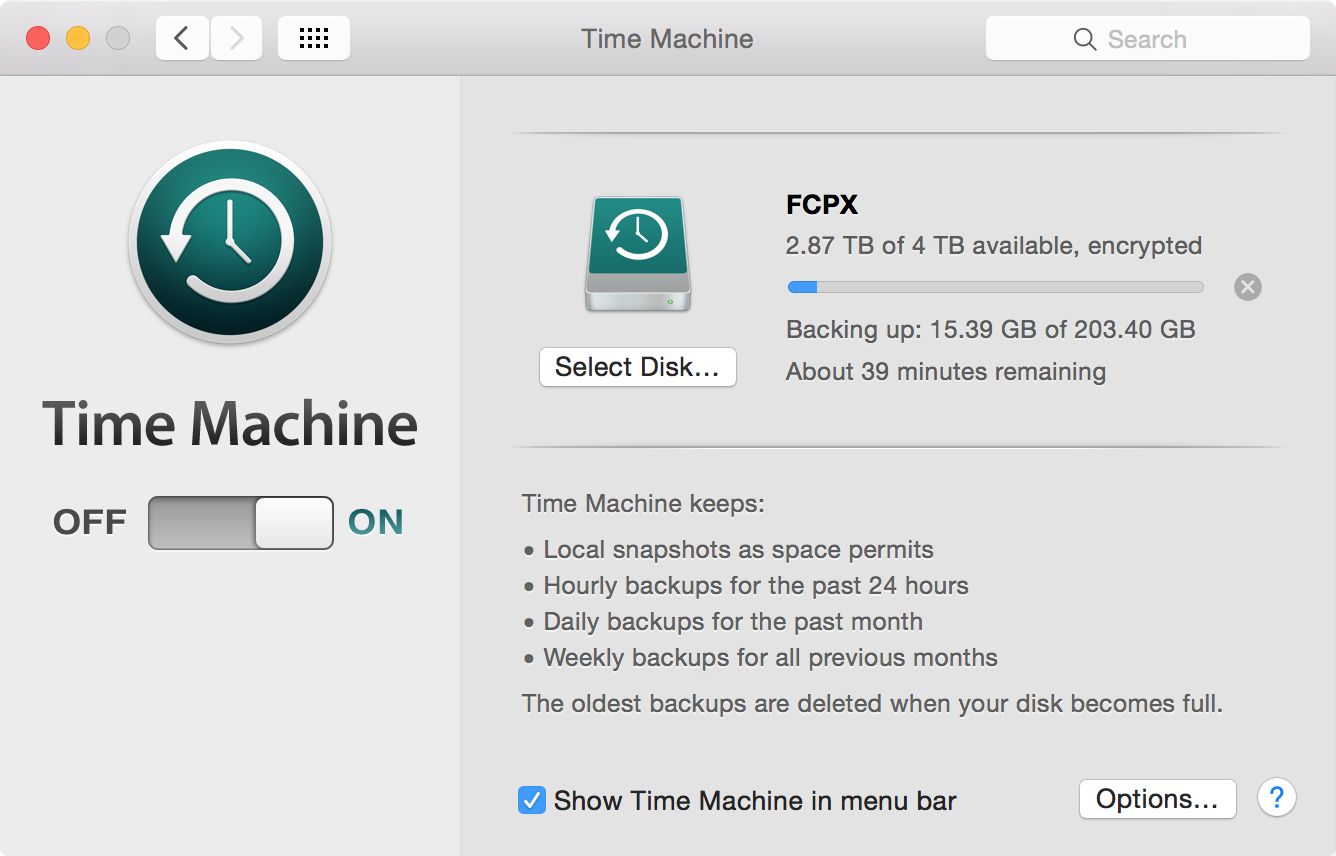
If you have the “Show Time Machine in menu bar” option enabled, you can also check the progress of the backup by clicking the Time Machine menu bar icon.
Since this is my first initial backup using Time Machine, it will probably be large, and thus it will take a while to complete. As you can see from the screenshot above, the first backup is over 200GB. Each subsequent backup should be smaller (and faster), since they are of the incremental variety.
In this example, I used a basic setup that involved connecting a USB 3.0 external drive directly to my Mac. In future Time Machine tutorials, we’ll go more in depth with how to browse backups, restore specific files, local network options, encryption, etc.
To learn more about Time Machine, make sure to also check out these other tutorials:
- How to encrypt Time Machine backups
- How to exclude files from being backed up in Time Machine
- How to view and restore specific files using Time Machine
- How to create a partition on your Time Machine external hard drive
- How to set up a new Mac from a Time Machine backup
- How to move Music or Photos to a new Mac using Time Machine