Creating separate libraries. It’s one of the best ways to go about organizing photos with the new Photos app in macOS. I find that using multiple libraries to separate things like work and personal life is a good strategy. Fortunately, it’s extremely simple to create new libraries and to switch between those libraries on the fly.
How to create additional Photos libraries on Mac
Step 1: Close the Photos app.
Step 2: Hold the Option (⌥) key on your Mac’s keyboard and click the Photos app in your dock or in your Applications folder.
Step 3: Click Create New…
Step 4: In the Save As field, give your new library a name. You can also change the location of the library by adjusting the Where field
Step 5: Once you are satisfied with your new library name and location, click OK
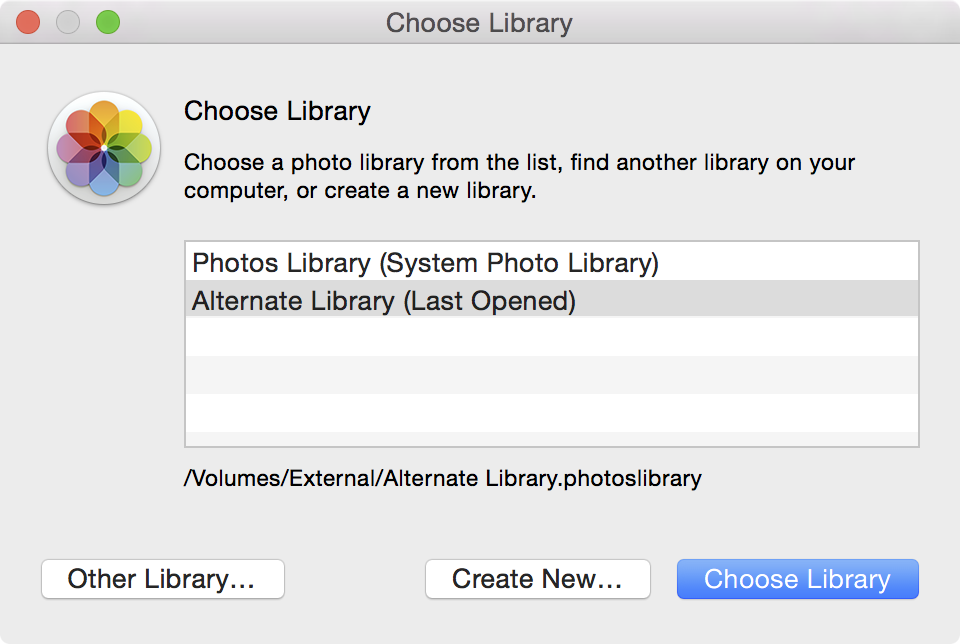
Step 6: To switch between libraries, open the Pictures folder and double-click on the library you wish to use. You can also hold the Option (⌥) key on your Mac’s keyboard and click the Photos app in your dock and then click Choose Library after selecting a listed library. You can use the Other Library option to locate a library located elsewhere that isn’t listed.
You can only have one library open at any given time. If you try to open a library while another is opened, the first one will close before the second will be allowed to open.
Do you use multiple libraries in your Photos app setup?