I know, it may sound fairly niche, but hear me out. Recently, there’s been a lot of buzz about using Android Wear devices with the iPhone, and that’s the reason why I started exploring this topic to begin with.
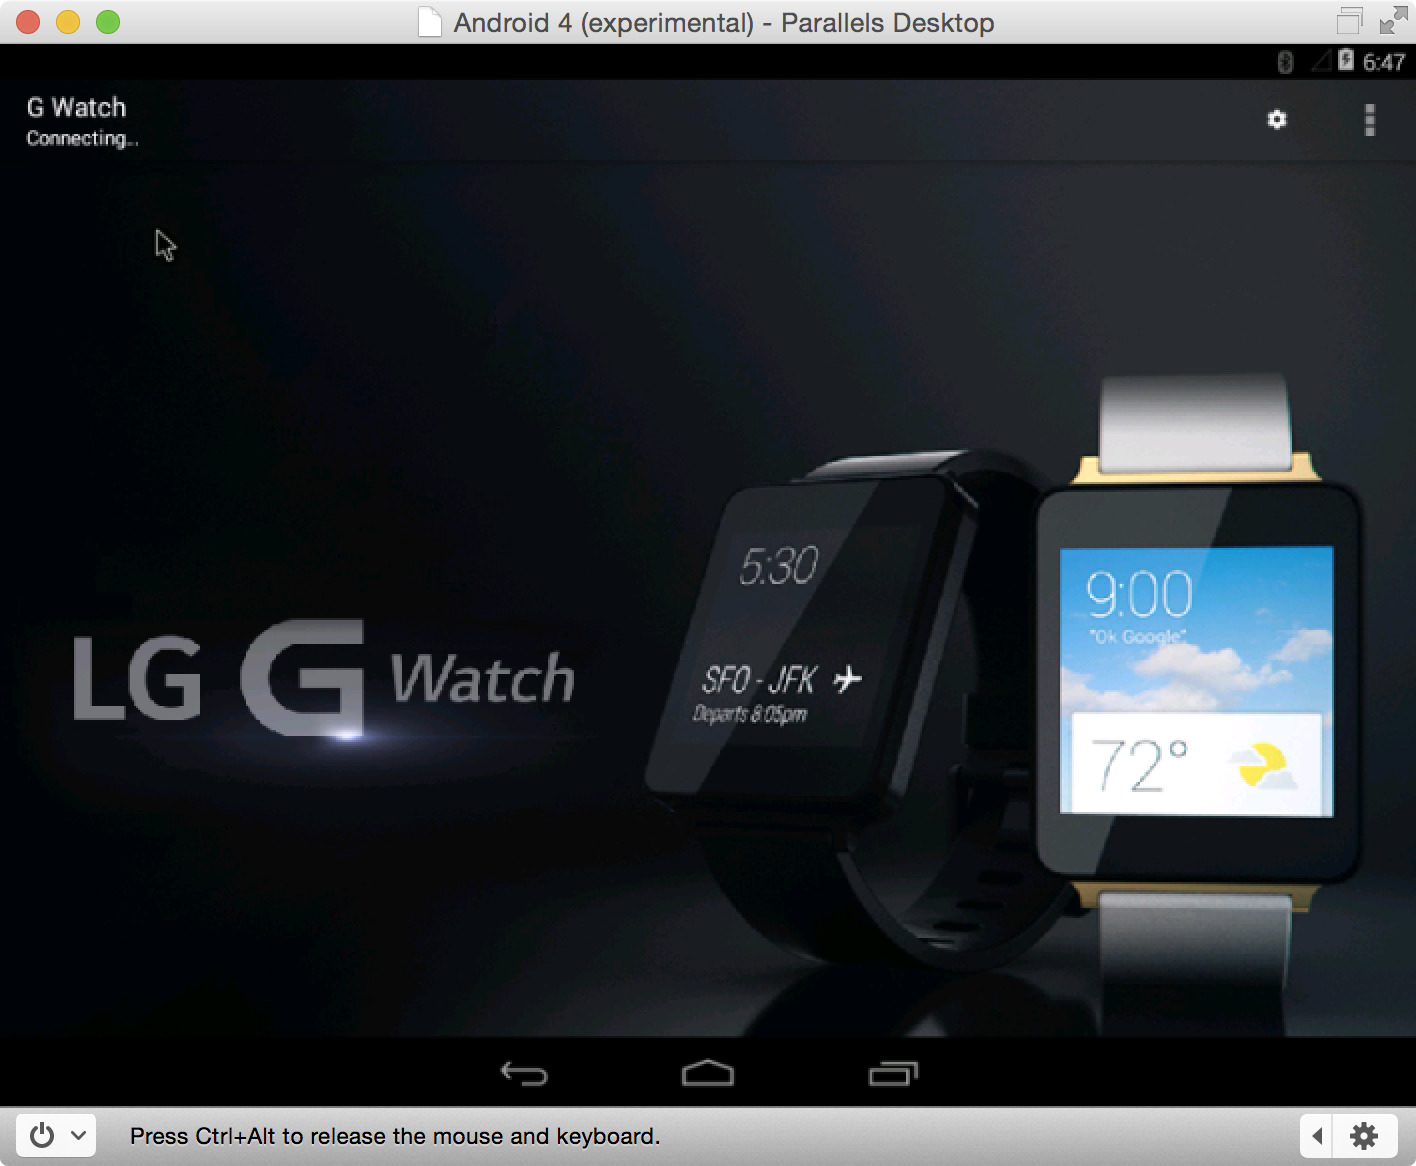
As it turns out, when you buy an Android Wear device, you need an Android device to “activate” the smartwatch (go figure). Since I don’t currently own an Android phone, my LG G Watch was stuck at the pairing screen.
Yes, there are more “in-depth” ways to go about getting passed this screen, but not everyone is up to that task. With this in mind, I’ve created a video tutorial that shows you how to run an Android virtual machine on your Mac with Parallels, and how to then pair an Android Wear device with the virtual machine.
First of all, special thanks to matrixfatalerror over at the XDA forums for creating the original tutorial. I’ve basically taken his tutorial, tried my best to add a little clarity and polish, and created a video. Make sure you visit his post for the original tutorial.
Step 1: Download and install Parallels (you can use a free trial)
Step 2: Download android-x86-4.4-RC2.iso and save it to your desktop
Step 3: Launch Parallels and the New Virtual Machine window should appear
Step 4: Double click on Download Android Free and click the Download button
Step 5: Once the download is complete, it will unarchive, register, and run Android 4 (experimental)
Step 6: Shut down the Android virtual machine
Step 7: Open Parallels Settings → Hardware → CD/DVD 1 → Click the Connected box → Choose the image file saved from Step 2
Step 8: Click Boot Order → Choose CD/DVD → Click the Up button to make CD/DVD boot first
Step 9: Close Settings and click Android 4 (experimental) Click to start
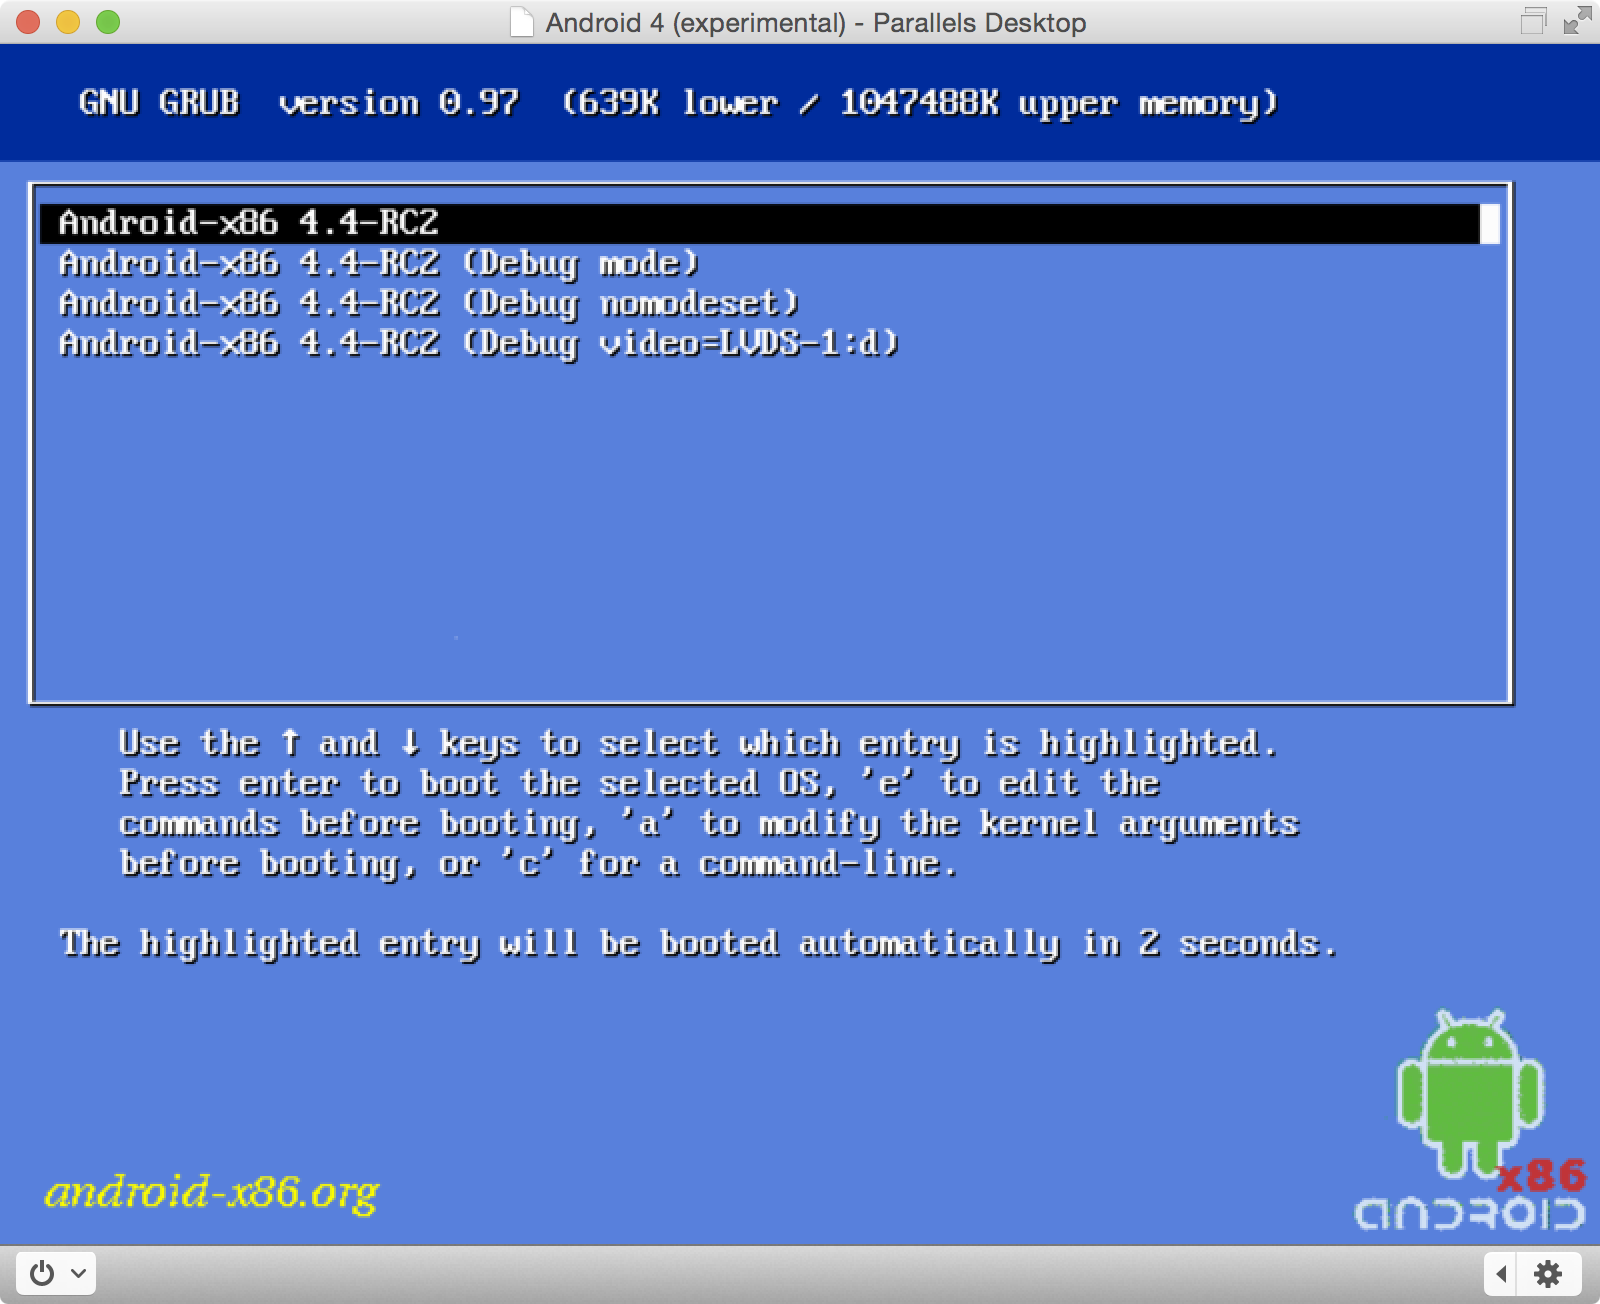
Step 10: Use your arrow keys to select Installation – Install Android-x86 to hardest and press Return on the keyboard
Step 11: Select sda1 Linux → ext3 → Yes → Yes → Yes → Run Android-x86
Step 12: Shut down the Android virtual machine
Step 13: Open Parallels Settings → Hardware → Click Boot Order → Choose CD/DVD → Click the Down button to make CD/DVD boot second
Step 14: Close Settings and click Android 4 (experimental) Click to start
Step 15: Android will boot and will require you to go through the initial set up process. Make sure you log in with a Google account. You don’t need to worry about the Wi-Fi network, as it should share your Mac’s network connection.
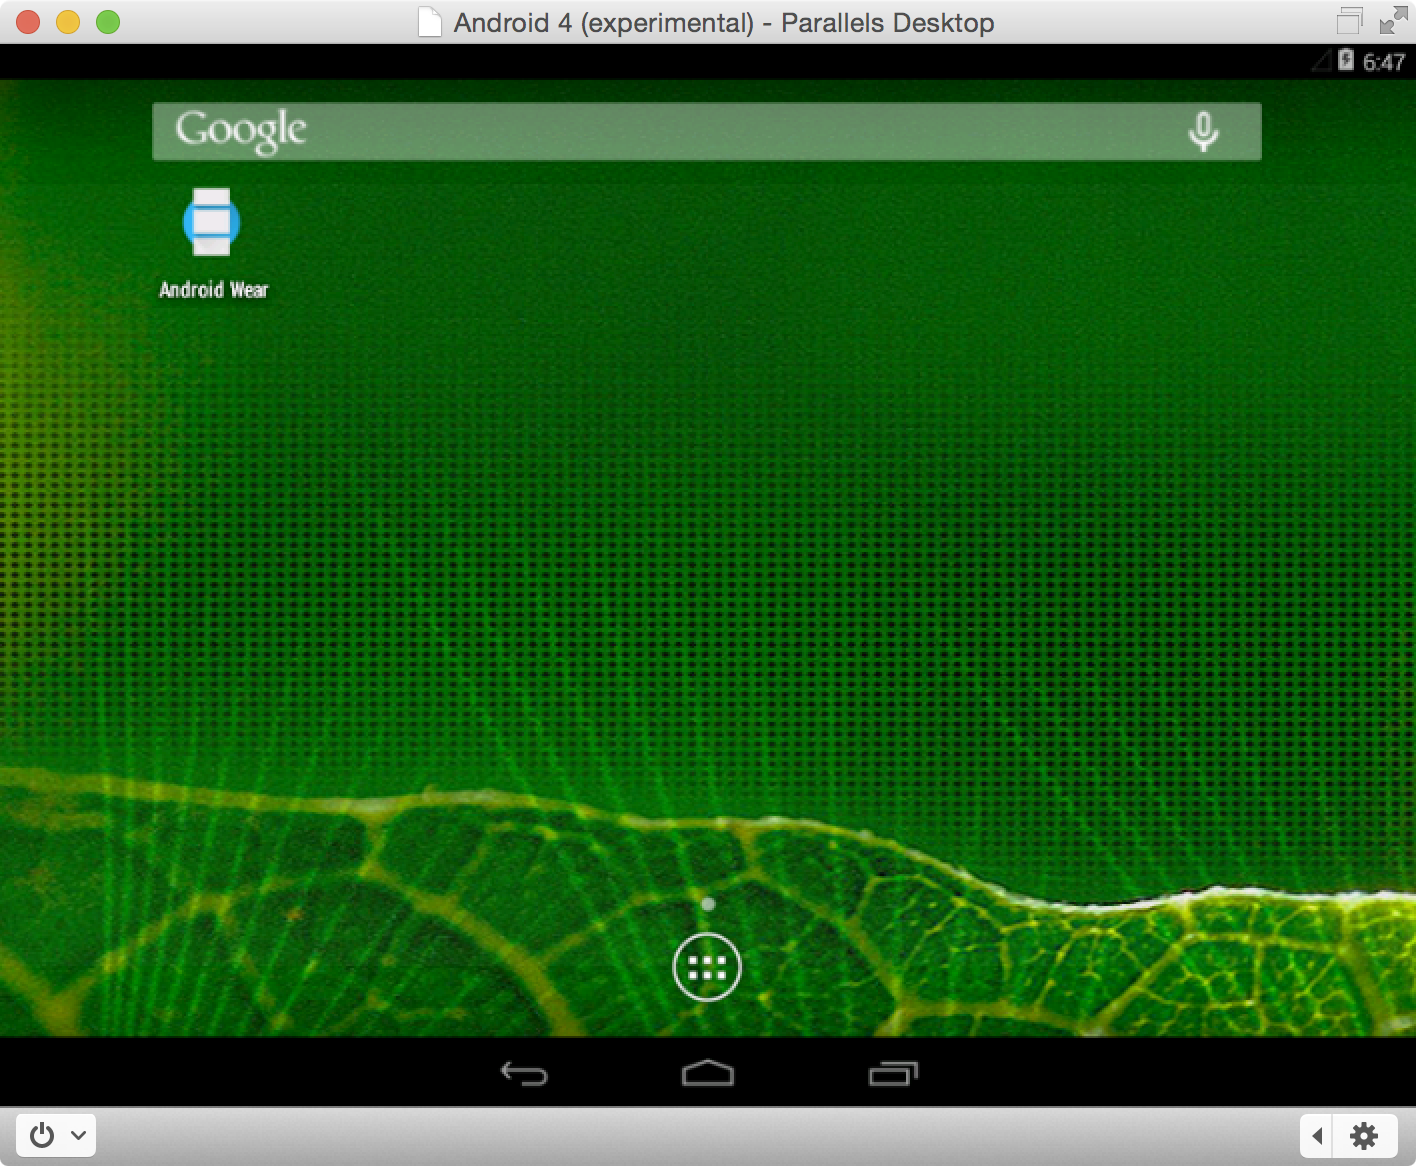
Step 16: Open Google Play and download Android Wear
Step 17: Open Parallels Settings → Hardware → USB & Bluetooth → Check Bluetooth devices
Step 18: Restart the Android Virtual Machine
Step 19: Pull down the status bar in the upper-right hand corner to reveal Android’s settings and open the Bluetooth settings
Step 20: Make sure that your Android Wear device is on, and the Android virtual machine should see your Android Wear device. Go through the pairing process, and you should now be able to get passed the pairing screen on the Android Wear device.
You can now use your Android Wear device with the virtual machine, or better yet, use it with a jailbreak tweak and Android app to pair it with you iPhone.We’ll have more on that in a future post.
What do you think? I know it looks like a lot of steps, but this can seriously be done in less than 10 minutes. Just watch the video, and you’ll see how simple it actually is.