As most of you probably know by now, Apple has no plans to create a first party dock like it has for previous versions of the iPhone. That’s unfortunate, since I rely on a dock for doing videos and such, and I know plenty of others miss it as well.
The only recourse us iPhone 5 owners have, is to opt for a third party product. One such product is The Lightning Dock, a dock comprised of a solid piece of aluminum, which can be ordered in one of four configurations.
After ordering my Lightning Dock back on October 5th, I finally received it in the mail yesterday via USPS. Needless to say, I was stoked to finally have a dock that could function with new Lightning enabled devices like the iPhone 5, iPod touch 5th gen, and even the iPad mini.
Take a look inside for our hands-on video walkthrough and review…
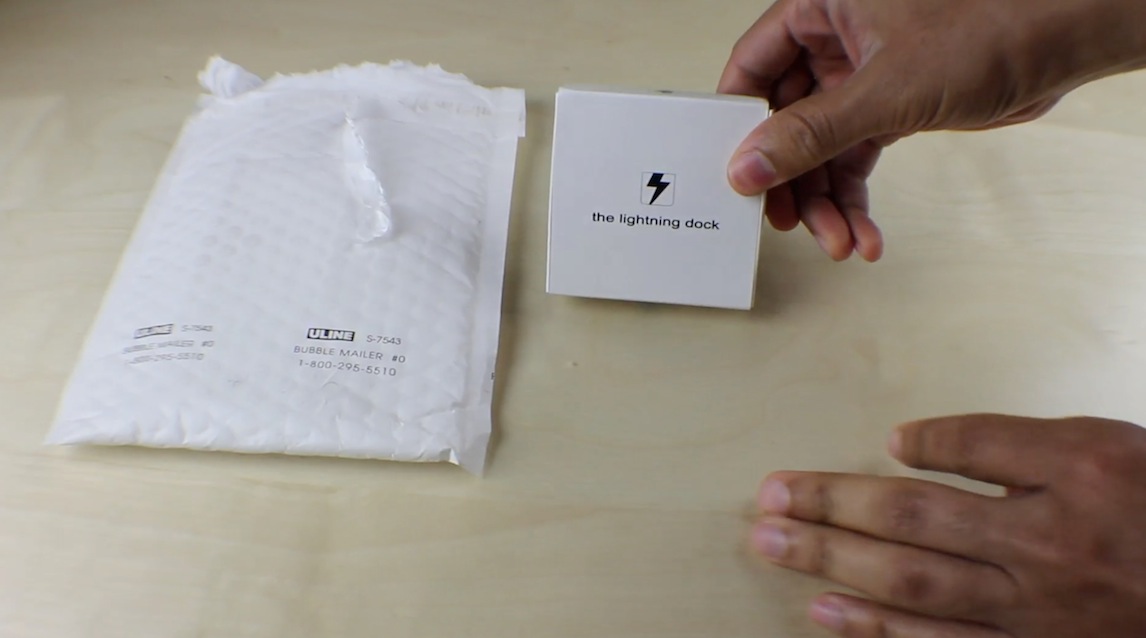
My Lightning Dock came packaged in a fairly unassuming white bubble wrap envelope. Since the folks behind the dock shipped with USPS, instead of UPS or FedEx, I was pleasantly surprised to find it sitting with the rest of the “regular mail”. I had received a shipment notification about a week earlier, but by yesterday I had totally forgot that it was on its way.

Opening the package presents you with a simplistic white box that’s about the size of two cup coasters stacked on top of one another. The printing on the box looks like it could have been put together with the printer in my office, and for that matter, so does the box itself. It has the Apple-inspired simplicity, but it’s not quite Apple quality.
One thing you will notice is how heavy the box is, which is a bit surprising given its size. Remember, though, that there’s a solid chunk of aluminum nestled neatly inside. Sliding the box open exposes an instruction card, that again, looks like I printed it on my Canon photo printer, along with a small tool kit containing a hex screwdriver, two plexiglass back support pieces, and of course, the dock itself.
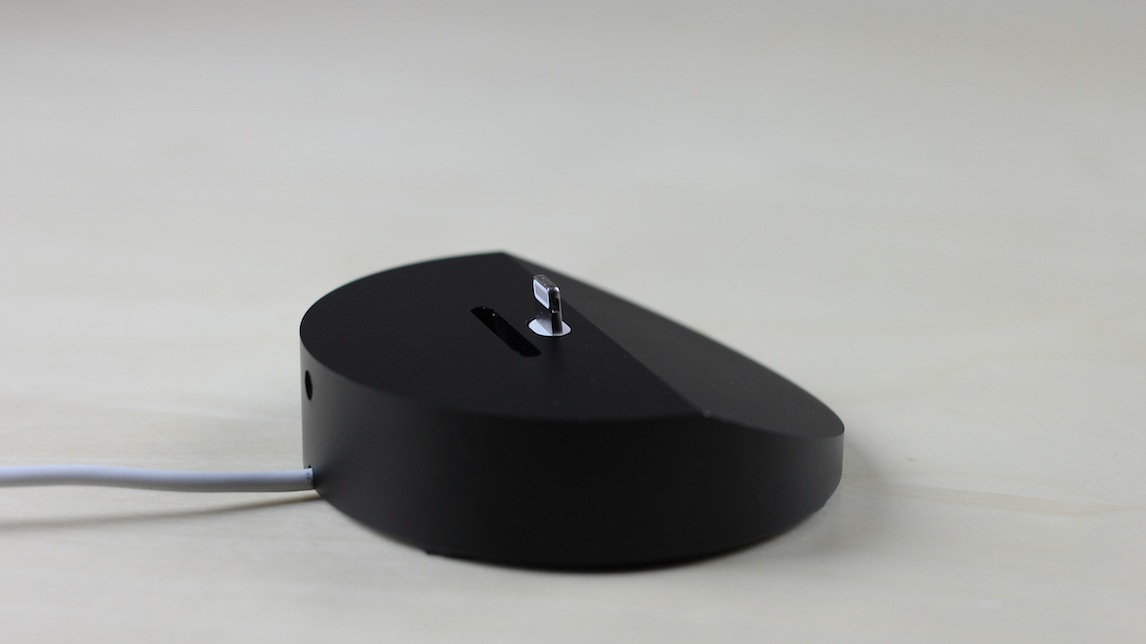
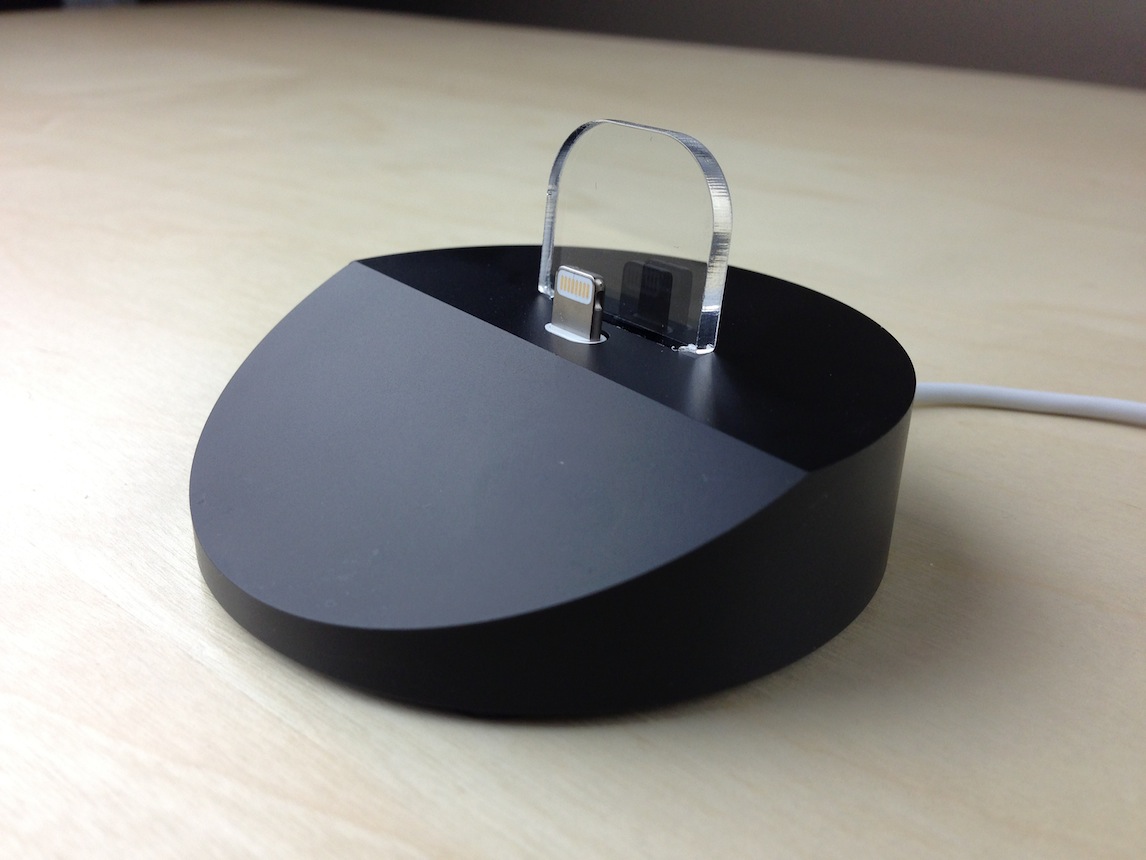
Like most docks, the actual cable used to hook into the power source isn’t included with the package. The difference with The Lightning Dock is that you actually have to “permanently” mate the Lightning Cable with the dock itself. That’s because, unlike previous docks — such as the official iPhone 4 dock — there is no connector port to plug the cable into. Instead, you must supply a Lightning Cable that acts as the end-to-end connector to the device and to the power source.
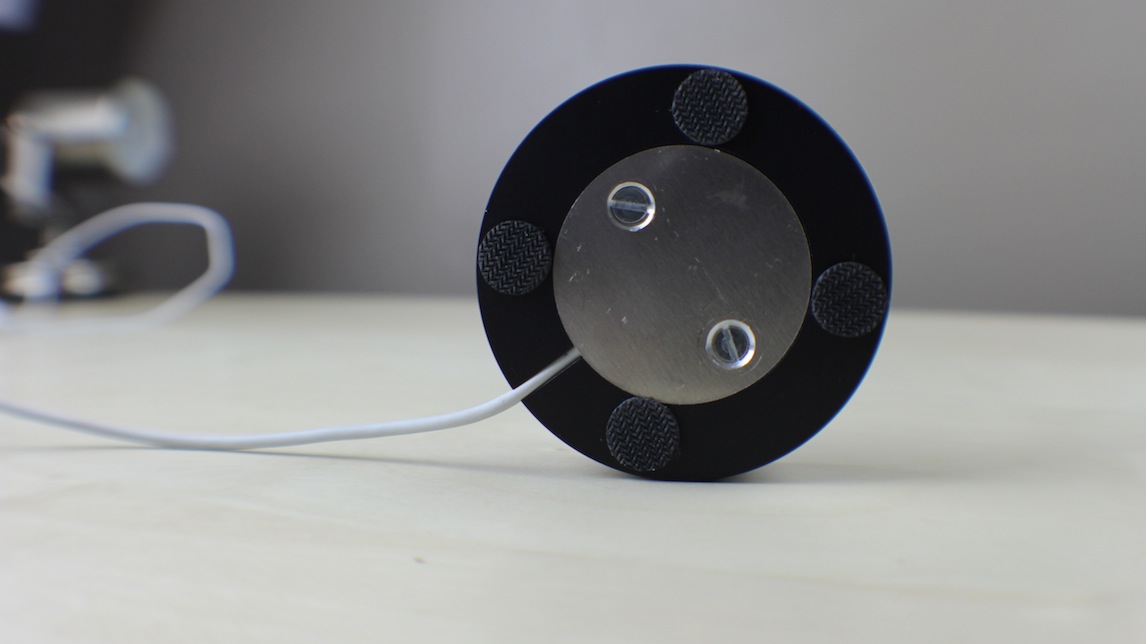
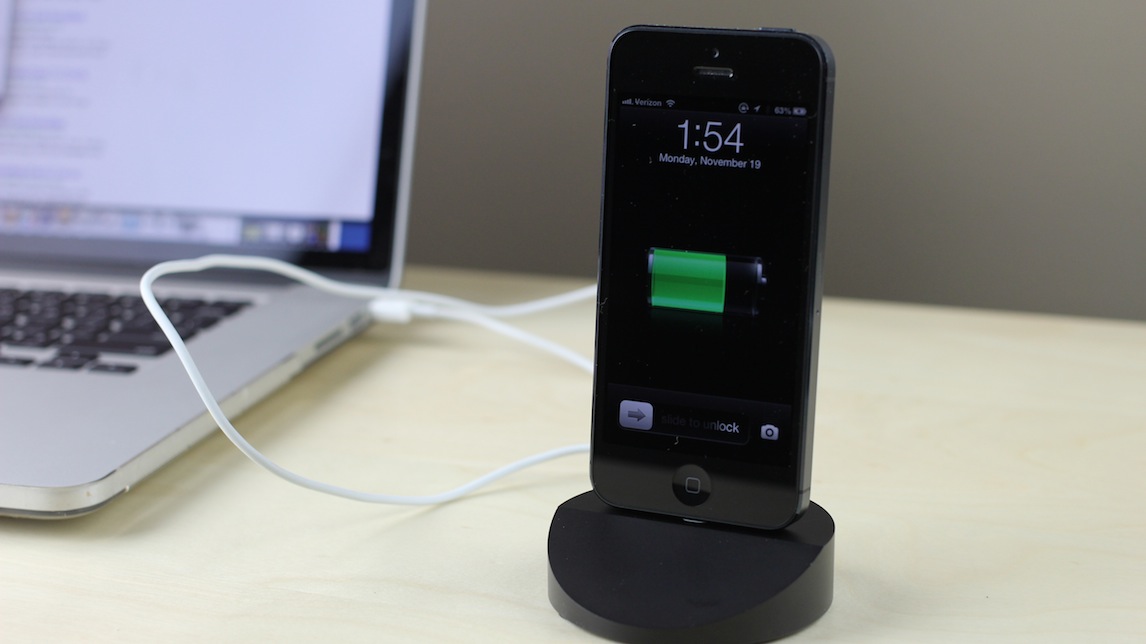
All of this is accomplished by means of hole in the top of the dock, along with a removable backplate in the bottom of the dock used for porting the cable from the underside. The end of the Lightning Cable connector thus sticks out far enough so that your device can connect to it while standing upright on the base of the dock. It may seem complicated, but it’s dead simple and it works well. In fact, as you probably saw via the video, setup took no more than five minutes total.
Although the package comes with the hex screwdriver needed to tighten the small screw that presses against the Lightning cable connector to keep it in place, you’ll need to supply your own Philips screwdriver to remove and replace the bottom plate.

The folks at The Lightning Dock give you the option to order a plexiglass backplate so that your device can rest against the plate while it’s docked. This is great for those who don’t like the idea of their iPhones being help upright using the Lightning connector alone. To be honest, I was surprised at how good of a job the Lightning connector fared by its lonesome. If I had to do it again, I probably would have forgone the decision to buy the extra $9 back plate, but it admittedly does provide some extra peace of mind.
As I stated, The Lightning Dock comes in four flavors (five, if you count the now unavailable wood version). There’s black aluminum and traditional silver aluminum. Either color is available in one of two finishes — a bead finish or a brushed finish. The brushed finish usually runs an extra $5, but as of this writing, it appears that they’re all on sale at $34.95 a pop. I purchased the (at the time) less expensive black aluminum bead finish, and I’m quite satisfied with how it looks when paired with my black iPhone 5.
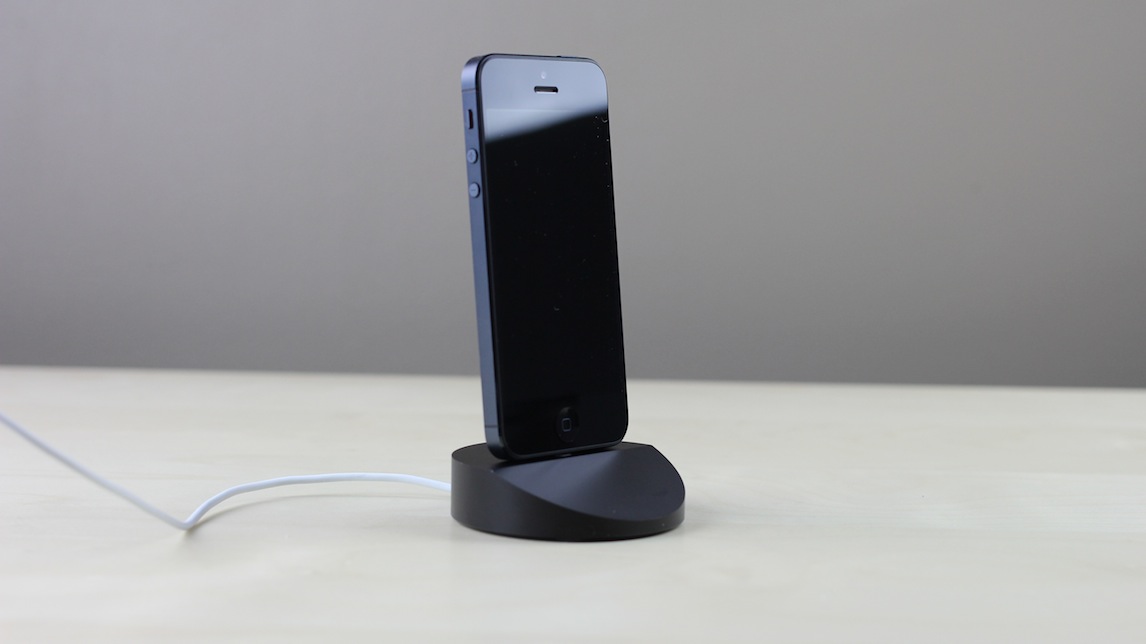
After using The Lightning Dock for about a day, I’ve concluded that this is a very well designed dock that can function with a variety of Lightning enabled devices and configurations. It can be adjusted to work well with an iPhone wrapped in a case, it can work with the thinner iPod touch, and it even works with the iPad mini. The nice thing about The Lightning Dock is that the cable’s connector can be adjusted up or down to accommodate different types of cases and circumstances.

Along with good overall design, The Lightning Dock is a well built device that isn’t prone to tipping over, thanks in part, because of its heft. It features four rubber non-slip pads on the bottom for extra protection, and a machined duct so that the lightning cable can snugly slide out of the back of the dock without causing imbalance.
If there’s one complaint I have about The Lightning Dock, it’s those plexiglass backplates that cost $9. Not only are those overpriced, but they’re quite ugly as well. It would have been nice if the backplates somewhat resembled the color of the rest of the setup, but instead they’re just white pieces of plastic that stick out of the device like a sore thumb. Fortunately, you won’t see them while your iPhone or iPod touch is connected.
There aren’t many solutions when it comes to docking a next generation iOS device, but even if there were, I’m convinced that The Lightning Dock would be near the top of the list. It’s well built, features a rock solid design, and it’s a cinch to setup. If you’re looking for an iPhone 5 docking solution, I highly recommend that you give The Lightning Dock a try.
Update: So the folks at The Lightning Dock sent me an email clarifying the use of the plexiglass backplate. As it turns out, the white covering can be removed in order to reveal the smooth transparant plexiglass. I had tried to remove the white adhesive protective cover to no avail, but apparently I didn’t try diligently enough.
After about 5 minutes of struggle (perhaps my nails aren’t long enough?) I finally was able to remove the covers, revealing the plexiglass in full. As you can see, it looks much better this way.